Are you tired of your coats, hats, and bags piling up on chairs and floors? Hanging a coat rack on drywall might seem tricky, but it doesn’t have to be.
With the right steps, you can securely mount your coat rack and keep your space organized. In this guide, you’ll discover simple tips that make the job easy and lasting. Keep reading, and by the end, you’ll have a sturdy coat rack ready to hold all your essentials without damaging your walls.
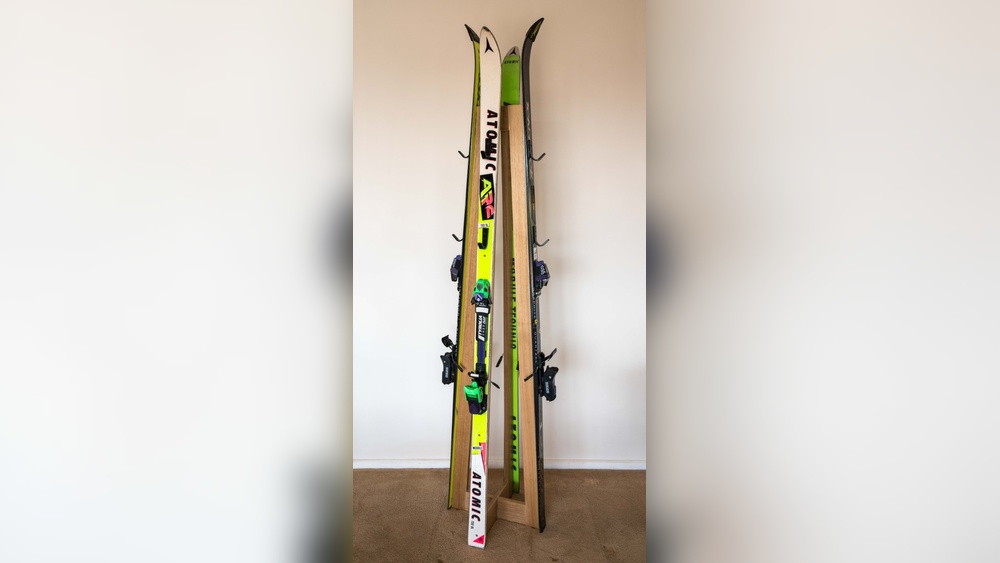
Choose The Right Coat Rack
Choosing the right coat rack is the first step to a secure and lasting installation. The right rack holds your coats without damaging the wall. It must fit your space and needs. Consider what you want to hang and where you will place the rack.
Picking the right coat rack also helps avoid unnecessary repairs. Drywall is delicate and requires proper support. A suitable rack ensures safety and convenience.
Consider Weight And Size
Think about how many coats or bags the rack must hold. Heavy coats need stronger racks. Large racks may need more support points on the wall. Small racks work well for light items. Balance size and weight to match your space.
Check the rack’s weight limit before buying. A rack too small or weak can fall off. This causes damage and frustration. Choose a rack that fits the load and space available.
Select Suitable Materials
Material affects the rack’s strength and look. Metal racks are strong and hold heavy items. Wood racks add warmth and style. Plastic racks are light but less durable.
Consider moisture and humidity in your room. Metal resists moisture better than wood or plastic. Choose materials that last and suit your room’s style. Good materials protect your wall and keep your coats safe.

Credit: www.renovationservices.com
Gather Necessary Tools
Gathering the right tools is the first step to hang a coat rack on drywall. Having everything ready makes the job easier and faster. It helps you avoid interruptions and mistakes.
Some tools are essential. Others can help make the coat rack stronger and more secure. Knowing what you need helps you plan well.
List Essential Tools
- Drill with drill bits
- Stud finder
- Level
- Screwdriver
- Measuring tape
- Pencil
- Wall anchors or toggle bolts
- Screws
Optional Tools For Extra Support
- Power screwdriver for faster work
- Hammer for anchors
- Safety goggles to protect your eyes
- Masking tape to mark spots
- Rubber mallet to tap anchors gently
Locate Wall Studs
Finding the wall studs is the first step to hang a coat rack securely on drywall. Studs are vertical wooden or metal beams behind the drywall. Screwing directly into studs keeps your coat rack stable and strong. Drywall alone cannot support heavy weight. So, locating studs is important to avoid damage and keep the rack steady.
Use A Stud Finder
A stud finder is a small tool that detects studs behind the wall. Turn it on and move it slowly across the wall surface. It will beep or light up when it finds a stud. Use a quality stud finder for better accuracy. This tool saves time and makes stud location easier.
Mark Stud Positions
After finding a stud, mark its position on the wall. Use a pencil to draw small vertical lines at the stud edges. These marks guide where to drill holes for screws. Mark all studs along the wall section where you want the coat rack. Marking ensures precise and secure mounting.
Mark Mounting Points
Marking the mounting points is a key step before hanging a coat rack on drywall. It helps place the rack evenly and securely. Taking time to do this right saves effort later. This step ensures your coat rack hangs straight and holds weight well.
Be precise and careful. Use the right tools for accurate marks. This process makes the installation smooth and stable.
Measure And Level
Start by measuring the height for your coat rack. Choose a spot easy to reach and fits your space. Use a tape measure to mark this height on the wall.
Next, use a level to draw a straight horizontal line. This line guides where to place the rack. Check the level twice to avoid a crooked rack.
Mark Screw Holes
Hold the coat rack against the wall on the level line. Find the spots for screws on the rack’s back. Use a pencil to mark these points on the wall clearly.
Double-check the marks to match the rack’s holes. Accurate marks help drill straight and secure holes. This step keeps your rack stable and balanced.
Drill Pilot Holes
Drilling pilot holes is a key step to hang a coat rack on drywall. These small holes guide the screws and prevent drywall from cracking. They make the installation stable and durable. Without pilot holes, screws may slip or damage the wall.
Careful drilling ensures the coat rack stays secure and holds weight well. Follow simple steps to drill pilot holes correctly. This helps your coat rack last longer and look neat.
Choose Correct Drill Bit
Select a drill bit that matches your screw size. Too large a bit makes holes loose. Too small a bit makes screwing hard. Use a bit slightly smaller than the screw’s diameter. A wood or drywall bit works best for this task.
Drill At Marked Points
Mark the exact spots on drywall for drilling. Hold the drill steady and drill straight into the wall. Drill slowly to avoid damaging drywall or making large holes. Stop once the hole is deep enough for the screw. Check the depth by comparing with screw length.
Install Anchors If Needed
Installing a coat rack on drywall often needs extra support. Drywall alone can’t hold heavy weight well. Anchors help keep the rack secure and stable. They spread the weight across a larger area. This stops the rack from pulling out or damaging the wall. Follow these steps to install anchors correctly for a strong hold.
Select Proper Drywall Anchors
Choose anchors based on the coat rack’s weight. Light racks need plastic expansion anchors. Medium weight racks require self-drilling anchors. Heavy racks need toggle or molly bolts. Check the package for weight limits. Match anchors to your drywall thickness too. Using the right anchor ensures safety and durability.
Insert Anchors Correctly
Mark the spots for the rack’s screws on the wall. Drill pilot holes if needed. Push or screw the anchor into the drywall. Use a screwdriver or drill to secure it firmly. Avoid over-tightening to prevent damage. The anchor must sit flush with the wall surface. Now the coat rack can be attached with confidence.
Attach The Coat Rack
Attaching the coat rack to drywall needs care and focus. This step ensures the rack stays strong and holds your coats safely. Follow simple directions to fix the rack properly. Take your time to avoid damage and keep the rack steady.
Align With Holes
Start by matching the coat rack holes with the wall anchors. Check that the holes line up well. Hold the rack close to the wall. Make small adjustments to get the perfect fit. Proper alignment makes screwing easier and holds the rack tight.
Secure With Screws
Use screws made for drywall anchors to fix the coat rack. Insert screws into each hole slowly. Tighten them with a screwdriver or drill. Do not force screws too hard. Stop when you feel resistance. This keeps the wall and rack safe.

Credit: www.youtube.com
Test For Stability
Testing the stability of your coat rack on drywall is important. It ensures the rack holds weight safely. This step helps avoid accidents and damage to your wall.
Apply Weight Gradually
Start by hanging a light item on the rack. Observe how the rack holds the weight. Slowly add more weight step by step. This checks if the rack stays firm and secure. Stop adding weight if you notice any movement or sagging.
Check For Loose Areas
Press gently around the rack and drywall. Look for any wiggle or looseness. Loose spots mean the rack is not stable. Tighten screws or adjust anchors if needed. A solid rack means safe use and long-lasting support.
Tips For Maintaining Support
Maintaining the support of your coat rack in drywall is key to its durability. Proper care helps keep it secure and prevents damage to your wall. Small efforts ensure your coat rack lasts longer and stays stable.
Avoid Overloading
Do not hang too many heavy items on the rack. Each hook has a weight limit. Overloading can pull the rack away from the wall. Spread the weight evenly across all hooks. Use the rack for coats, hats, and light bags only.
Periodic Tightening
Check the screws and anchors regularly. Screws can loosen over time from use and vibrations. Tighten them with a screwdriver to keep the rack firm. Loose screws reduce the rack’s support and can damage drywall. Make this a habit every few months.

Credit: aquilon-spa.com
Frequently Asked Questions
How Do I Hang A Coat Rack On Drywall Safely?
Use wall anchors or find studs to support the rack’s weight. Mark the spots, drill pilot holes, insert anchors or screws into studs, and mount the rack securely. This prevents damage and ensures stability.
What Tools Are Needed To Hang A Coat Rack On Drywall?
You need a drill, screwdriver, level, tape measure, pencil, and wall anchors or screws. These tools help you mark, drill, and secure the coat rack properly onto drywall.
Can I Hang A Heavy Coat Rack On Drywall Alone?
No, drywall alone cannot support heavy weight. Use anchors designed for heavy loads or attach the rack to wall studs for maximum strength and safety.
How Do I Find Studs Behind Drywall For Hanging?
Use a stud finder to locate wooden studs behind drywall. Mark their positions with a pencil. Studs provide strong support for mounting heavy items like coat racks.
Conclusion
Hanging a coat rack on drywall is simple with the right steps. Use anchors or find studs to keep it steady. Measure carefully and mark spots before drilling. Tighten screws firmly but don’t overdo it. A well-installed rack holds coats safely and looks neat.
Enjoy the extra space and easy access to your items. Small effort, big difference. Your wall stays strong, and your home stays organized. Give it a try today!