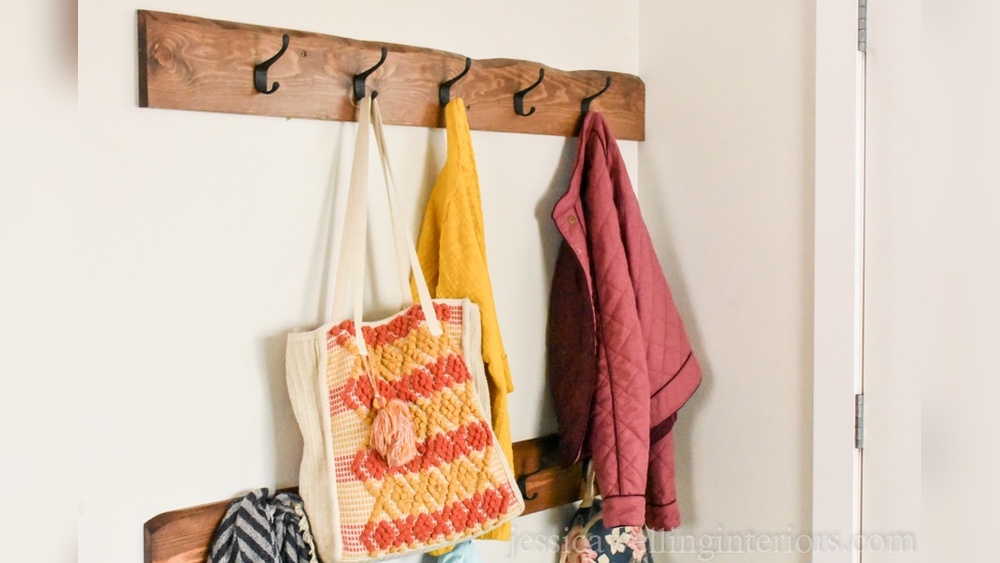
Looking for a simple way to add style and function to your entryway? Hanging a DIY coat rack is a quick project that can transform your space and keep your coats, hats, and bags organized.
You might think it’s tricky, but with the right steps, you can do it yourself without any hassle. In this guide, you’ll discover easy tips and tricks that make the process smooth and stress-free. Keep reading, and you’ll have your own custom coat rack ready in no time!
Credit: marvisdiners.com
Choosing The Right Spot
Choosing the right spot for your DIY coat rack is important for both function and style. The right location helps keep your space tidy and makes it easy to hang and grab coats. Think about your daily routine and how you use your space. This will guide you to pick the best spot for your coat rack.
Assessing Wall Space
Look for a wall with enough room for the coat rack. The space should fit the rack without crowding other items. A clear wall works best to avoid clutter. Measure the wall to match the rack size. Avoid walls with electrical outlets or switches. This keeps installation safe and simple.
Considering Height And Accessibility
Place the rack at a height that suits everyone in your home. Make sure kids and adults can reach the hooks easily. Avoid placing it too high or too low. The coat rack should be comfortable to use. Think about the types of coats and bags you hang. Adjust the height to fit these items well.
Avoiding Obstructions
Check for objects that block the coat rack. Avoid doors, windows, or furniture nearby. These can make it hard to use the rack. Leave enough space around the rack for easy access. This keeps the area safe and convenient. Clear space helps the rack look neat and tidy.
Credit: campermanufaktur.org
Selecting Materials And Tools
Selecting the right materials and tools is key to a strong DIY coat rack. It makes the project easier and ensures the rack lasts long. Start by choosing a design that fits your space and style. Then, gather all tools before starting. Last, pick mounting hardware that holds the rack firmly on the wall.
Picking The Coat Rack Design
Choose a design that matches your room’s style. Simple wooden racks suit most homes. Hooks can be metal or wood, based on your taste. Think about the rack size to fit your wall space. Small racks work well in tight spots. Larger racks offer more hanging space.
Gathering Necessary Tools
Get all tools before you start. Basic tools include a drill, screwdriver, level, tape measure, and pencil. A stud finder helps find strong wall spots. Sandpaper smooths wood edges. A hammer may be needed for nails. Having tools ready saves time and avoids hassle.
Choosing Mounting Hardware
Select mounting hardware that suits your wall type. Drywall anchors work for hollow walls. Screws and wall plugs fit better in solid walls. Make sure hardware can hold the rack’s weight. Check the package for weight limits. Proper hardware keeps your rack safe and stable.
Preparing The Wall
Preparing the wall is the first step in hanging your DIY coat rack. A strong and level surface makes the rack sturdy and safe. This process involves finding the right spots on the wall and marking them correctly. Careful preparation saves time and prevents damage.
Locating Studs
Studs are the wooden beams behind drywall. They hold heavy items better than drywall alone. Use a stud finder to locate them. Move the finder slowly across the wall. Mark each stud location with a pencil.
If you do not have a stud finder, tap the wall lightly. A solid sound means a stud is there. A hollow sound means no stud. Measure 16 inches apart. This is the usual distance between studs.
Marking Drill Points
Mark drill points on the wall at stud locations. Use a pencil for easy changes. Measure the coat rack width first. Mark spots that align with the rack’s holes. Double-check all marks before drilling. This avoids mistakes and extra holes.
Using A Level For Alignment
A level ensures your coat rack hangs straight. Place it on the marks before drilling. Adjust marks until the bubble is centered. Straight racks look better and work well. Even a small tilt can be noticeable.
Once the marks are level, you can drill safely. This step makes installation easier and neater.
Mounting The Coat Rack
Mounting the coat rack is a key step in your DIY project. It ensures the rack stays strong and holds your items safely. Careful mounting prevents damage to your wall and keeps the rack steady.
Drilling Pilot Holes
Start by marking the spots where the screws will go. Use a pencil for accuracy. Drill small pilot holes at these marks. Pilot holes guide the screws and stop the wood from splitting. Make sure the drill bit matches the screw size.
Inserting Anchors
Wall anchors provide extra support, especially in drywall. Push or tap the anchors into the pilot holes. They expand behind the wall for a tight fit. Choose anchors based on the wall type and weight of the rack. This step keeps the rack from pulling out.
Attaching The Rack Securely
Place the coat rack against the wall, aligning it with the holes. Insert the screws through the rack into the anchors. Tighten the screws firmly but avoid over-tightening. Check the rack is level and stable. Your coat rack is now ready to use.
Finishing Touches
Finishing touches bring your DIY coat rack to life. They ensure the rack works well and looks great. These final steps make your project complete and ready to use. Focus on stability, style, and care for the best results.
Checking Stability
Test the rack by gently pulling each hook. Make sure it feels strong and steady. Tighten screws if any part feels loose. Use a level to confirm the rack is straight. A stable rack holds coats without bending or falling.
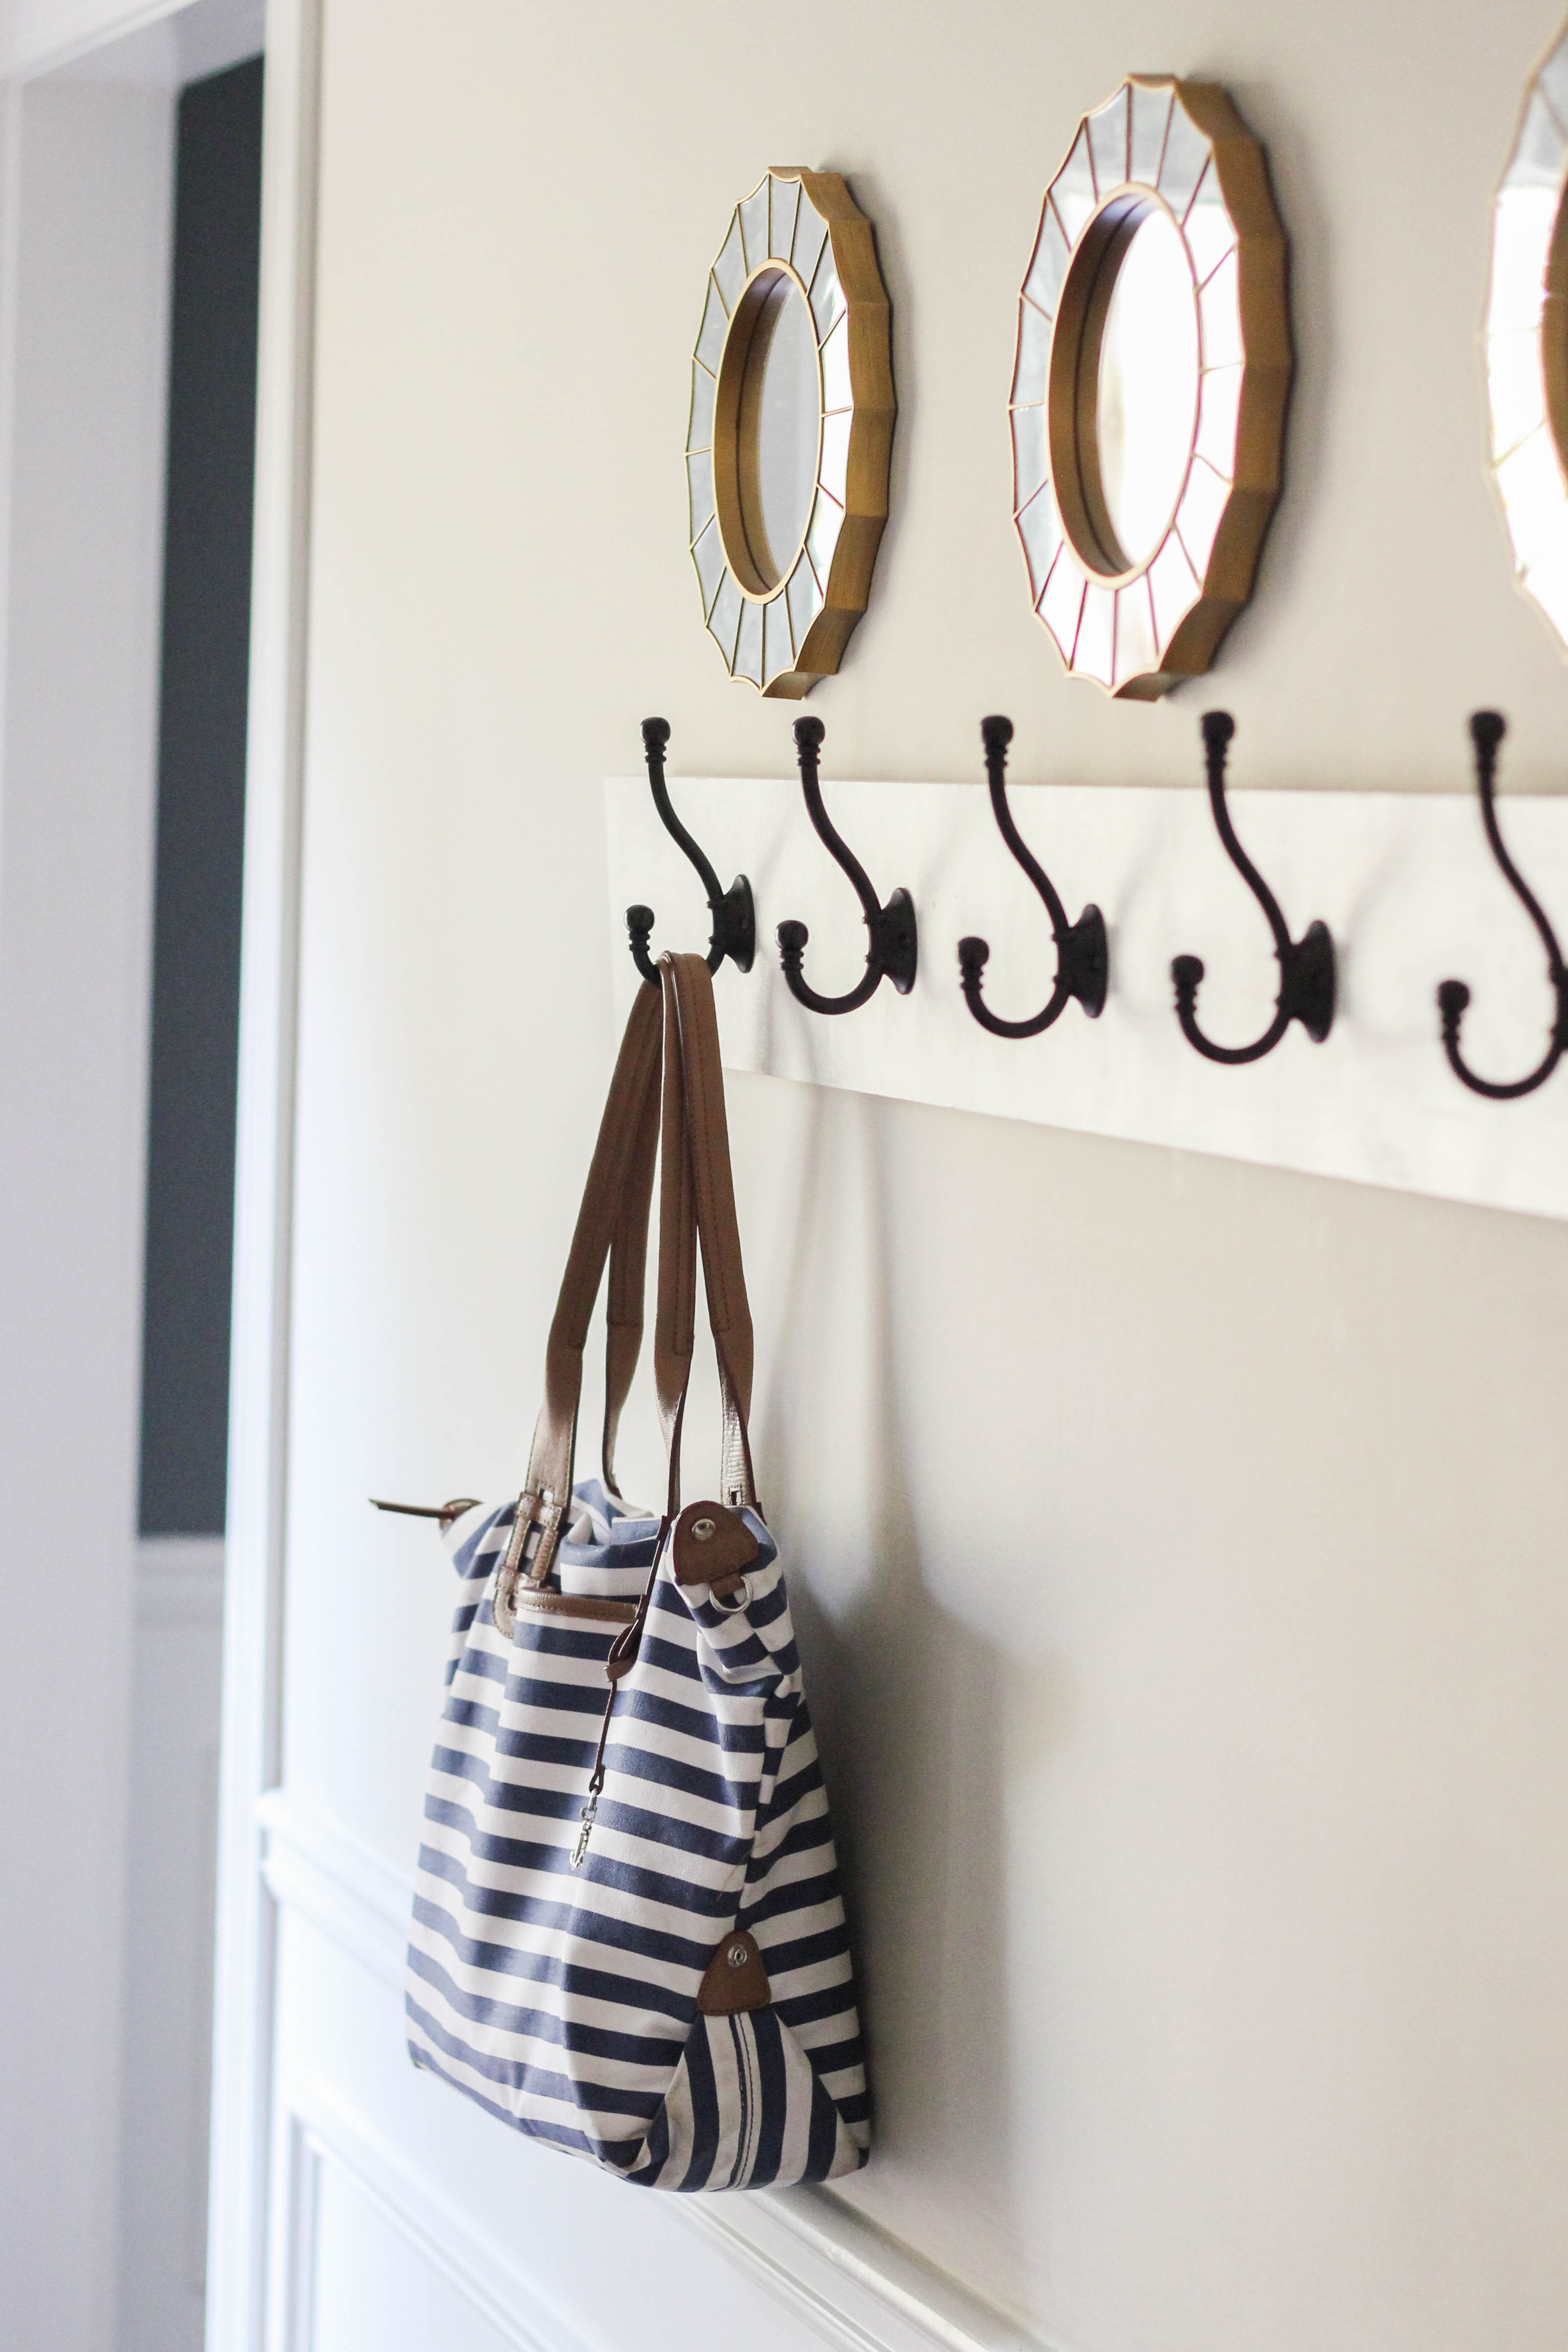
Adding Decorative Elements
Choose decorations that match your room’s style. Paint the rack in colors that brighten the space. Add small details like stencils or patterns. Use knobs or hooks with unique shapes or colors. These touches make the rack stand out and feel personal.
Maintaining The Rack
Clean the rack regularly with a soft cloth. Avoid water or harsh chemicals that damage the finish. Check screws and hooks every few months. Tighten anything loose to keep the rack safe. Regular care helps your DIY project last longer and look good.

Credit: dcare-eg.com
Frequently Asked Questions
How Do I Choose The Best Wall For My Diy Coat Rack?
Select a sturdy wall near your entrance or hallway. Avoid drywall alone; use studs for secure mounting. Measure space to fit your coat rack size perfectly.
What Tools Are Needed To Hang A Diy Coat Rack?
You need a drill, screws, wall anchors, a level, and a measuring tape. A stud finder helps locate secure mounting points.
How High Should I Install A Diy Coat Rack?
Install the rack at about 5 to 6 feet high. This height suits most users for easy access to hooks.
Can I Hang A Diy Coat Rack On Drywall?
Yes, but use wall anchors or mount into studs. Drywall alone won’t support heavy coats and may cause damage.
Conclusion
Hanging a DIY coat rack is simple and fun. Choose the right spot and tools first. Measure carefully to keep it level. Secure the rack firmly to the wall. This adds both style and function to your space. A well-hung coat rack keeps your home tidy.
Try this easy project to organize your entryway. Enjoy the satisfaction of a job done well. Small steps make a big difference in your home.
