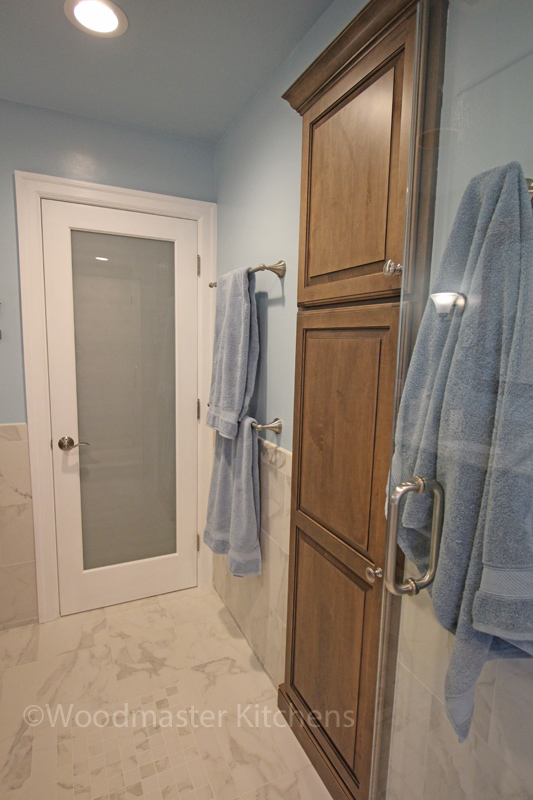
Are you looking to add extra storage and style to your home? Installing a linen cabinet in a niche can be the perfect solution.
It keeps your towels, sheets, and essentials neatly organized while making the most of unused space. But if you’re unsure where to start or worried about making mistakes, don’t worry—you’re in the right place. This guide will walk you through every step, making the process simple and manageable.
By the end, you’ll have a beautiful, functional linen cabinet installed that fits perfectly in your niche. Ready to transform your space? Let’s dive in.
Credit: www.woodmasterkitchens.com
Prepare The Niche
Preparing the niche is the first key step before installing a linen cabinet. A well-prepared space ensures the cabinet fits perfectly and stays secure. Take time to get this right to avoid problems later. Follow these simple steps to prepare your niche properly.
Measure The Space
Start by measuring the height, width, and depth of the niche. Use a tape measure for accuracy. Write down each dimension. Double-check your measurements to avoid mistakes. These numbers will guide you in choosing the right cabinet size.
Check For Obstructions
Look inside the niche for any pipes, wires, or nails. Clear any obstacles that could block the cabinet. Pay close attention to corners and walls. Removing obstructions helps the cabinet fit flush and sit securely in place.
Clean The Area
Remove dust, dirt, and debris from the niche. Use a vacuum or a damp cloth for thorough cleaning. A clean surface improves cabinet adhesion and prevents damage. Let the area dry completely before moving to the next step.
Choose The Right Linen Cabinet
Choosing the right linen cabinet is key for a neat and functional space. The cabinet must fit the niche perfectly and match the room’s style. It also needs to be strong enough to hold all your linens safely. Think about what will work best in your space before buying.
Select Size And Style
Measure the niche carefully to find the right size cabinet. Too big or too small will look awkward and waste space. Pick a style that fits your room’s look, such as modern, traditional, or rustic. The right style makes the room feel more put together.
Consider Material And Finish
Choose materials that last and match your needs. Wood is classic and strong, while metal offers a sleek look. Think about moisture in the area. A water-resistant finish helps protect the cabinet from damage. Pick a finish that blends well with other furniture.
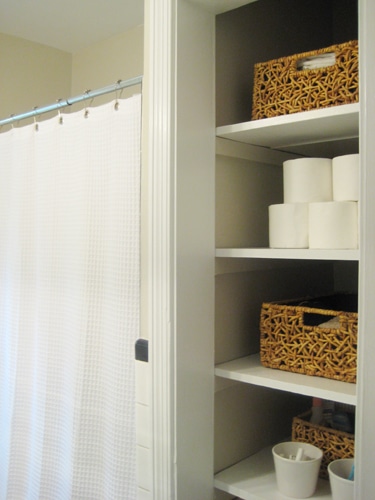
Gather Necessary Tools
Gathering the right tools is the first step to install a linen cabinet in a niche. Having everything ready saves time and avoids frustration. It also helps you work safely and efficiently. Prepare all tools before starting the installation.
List Essential Tools
These tools are necessary for a smooth installation:
- Measuring tape to check dimensions accurately
- Level to ensure the cabinet is straight
- Drill with drill bits for making holes
- Screwdriver to secure screws tightly
- Stud finder to locate wall studs
- Hammer for light tapping and adjustments
- Pencil to mark drilling points
- Safety glasses to protect your eyes
- Clamps to hold the cabinet in place
Safety Equipment
Safety is important during any installation task. Protect yourself with proper gear:
- Safety glasses prevent debris from entering your eyes
- Work gloves protect your hands from splinters and cuts
- Dust mask keeps you from inhaling dust particles
- Ear protection reduces noise from drilling
Wearing the right safety equipment keeps you safe and comfortable.
Credit: www.younghouselove.com
Assemble The Cabinet
Assembling the linen cabinet is a key step in the installation process. It sets the foundation for a sturdy, functional cabinet. Careful assembly ensures the cabinet fits well in the niche and lasts long.
Follow Manufacturer Instructions
Start by reading the manufacturer instructions carefully. These guides offer specific details for your cabinet model. Follow each step in order to avoid mistakes. Use the recommended tools to speed up the work. Keep all parts organized as you go. This prevents confusion and lost pieces.
Pre-assemble Components
Lay out all cabinet parts on a clean surface before starting. Connect smaller parts like shelves and panels first. Check each piece fits snugly without forcing. Use screws and fittings supplied with the cabinet. Tighten them just enough to hold parts firmly. Pre-assembly helps spot any defects early. It also makes final installation smoother and faster.
Install The Cabinet
Installing the linen cabinet in the niche is a key step for a neat look. This part needs care to make sure the cabinet fits well and stays strong. Follow clear steps for a smooth installation.
Position Cabinet In Niche
Place the cabinet inside the niche carefully. Check that it fits without gaps or pressure. Adjust the cabinet so it sits flush against the walls.
Level And Secure The Unit
Use a level tool to check the cabinet’s balance. Adjust with shims under the base if needed. A level cabinet ensures doors work well and looks good.
Hold the cabinet steady while securing it. Use screws to keep the cabinet from moving. Tighten the screws but avoid overdriving them.
Attach To Wall Studs
Locate the wall studs behind the niche. Use a stud finder for accuracy. Mark the stud positions on the cabinet frame.
Drive screws through the cabinet into the studs. This gives the cabinet strong support. Make sure screws go deep enough to hold tight.
Finish Installation
Finish installation is the final step to complete your linen cabinet project. It makes the cabinet look neat and ready to use. This phase involves adding doors and hardware, then applying paint or caulk for a clean look.
Install Doors And Hardware
Attach the doors carefully to the cabinet frame. Use a screwdriver to fix the hinges tightly. Check if the doors open and close smoothly. Next, attach handles or knobs to the doors. Choose hardware that fits the style of your room. Secure the hardware firmly to avoid any loose parts.
Apply Touch-up Paint Or Caulk
Look for any scratches or gaps around the cabinet. Use touch-up paint to cover scratches and marks. Apply caulk along edges and corners to seal gaps. This prevents dust and moisture from getting inside. Smooth the caulk with your finger for a clean finish. Let everything dry completely before using the cabinet.
Test And Adjust
After installing your linen cabinet in the niche, testing and adjusting is key. This step ensures the cabinet fits perfectly and works smoothly. Small issues can cause big problems later. Take time to check every detail carefully. This will save effort and keep your cabinet looking great.
Check Door Alignment
Open and close each door slowly. Look for gaps or uneven spaces around the edges. Doors should line up evenly with the cabinet frame. Check if doors touch or rub against the cabinet or each other. Notice if doors hang too low or sit too high. Good alignment means the doors look balanced and operate easily.
Make Necessary Adjustments
Use a screwdriver to adjust the hinges. Most hinges have screws to move doors up, down, left, or right. Turn screws a little at a time. Recheck the door alignment after each adjustment. If doors still don’t close properly, check the cabinet level. Use shims to correct any tilt in the cabinet. Tighten all screws once doors align well. Test doors again to confirm smooth operation.
Maintenance Tips
Maintaining your linen cabinet in the niche keeps it looking new and lasting longer. Simple care steps protect the cabinet’s material and finish. Regular upkeep prevents wear and tear. A well-kept cabinet stays functional and attractive for years.
Cleaning Recommendations
Clean your linen cabinet often to remove dust and dirt. Use a soft cloth or microfiber towel. Avoid rough materials that can scratch the surface. Mild soap mixed with water works well for cleaning. Wipe gently and dry with a clean cloth. Avoid soaking the wood to prevent swelling or damage.
Preventing Damage
Place the cabinet away from direct sunlight to avoid fading. Keep it in a dry area to stop moisture buildup. Use coasters or mats under items to prevent stains. Avoid placing heavy objects on top to stop warping. Fix loose hinges or handles quickly to avoid bigger problems. These steps help your cabinet stay strong and beautiful.

Credit: www.vanico-maronyx.com
Frequently Asked Questions
What Tools Are Needed To Install A Linen Cabinet In A Niche?
You need a drill, level, measuring tape, screws, anchors, and a screwdriver. These tools ensure precise fitting and secure installation.
How Do I Measure A Niche For A Linen Cabinet?
Measure the niche’s height, width, and depth accurately. This ensures the cabinet fits perfectly without gaps or tight spots.
Can I Install A Linen Cabinet Without Professional Help?
Yes, with basic DIY skills and proper tools, you can install it yourself. Follow instructions carefully for best results.
What Type Of Linen Cabinet Fits Best In A Niche?
Choose a cabinet sized to fit your niche with adjustable shelves. Custom or semi-custom cabinets often work best for niches.
Conclusion
Installing a linen cabinet in a niche can improve your space. Follow each step carefully for the best results. Measure twice to avoid mistakes. Secure the cabinet firmly to keep it safe. Take your time to align it correctly. A well-installed cabinet adds storage and style.
Enjoy the neat and organized look it brings. Small projects like this boost your home’s value. Try this simple upgrade to make your room better.
