Are you looking for a simple way to organize your books and add a touch of charm to your space? Building a 2×3 bookshelf might be the perfect project for you.
It’s not just about putting shelves together—it’s about creating something useful and stylish with your own hands. In this guide, you’ll discover easy steps and helpful tips that make the process smooth and enjoyable. By the end, you’ll have a sturdy bookshelf that fits your needs and looks great.
Ready to get started? Let’s dive in!
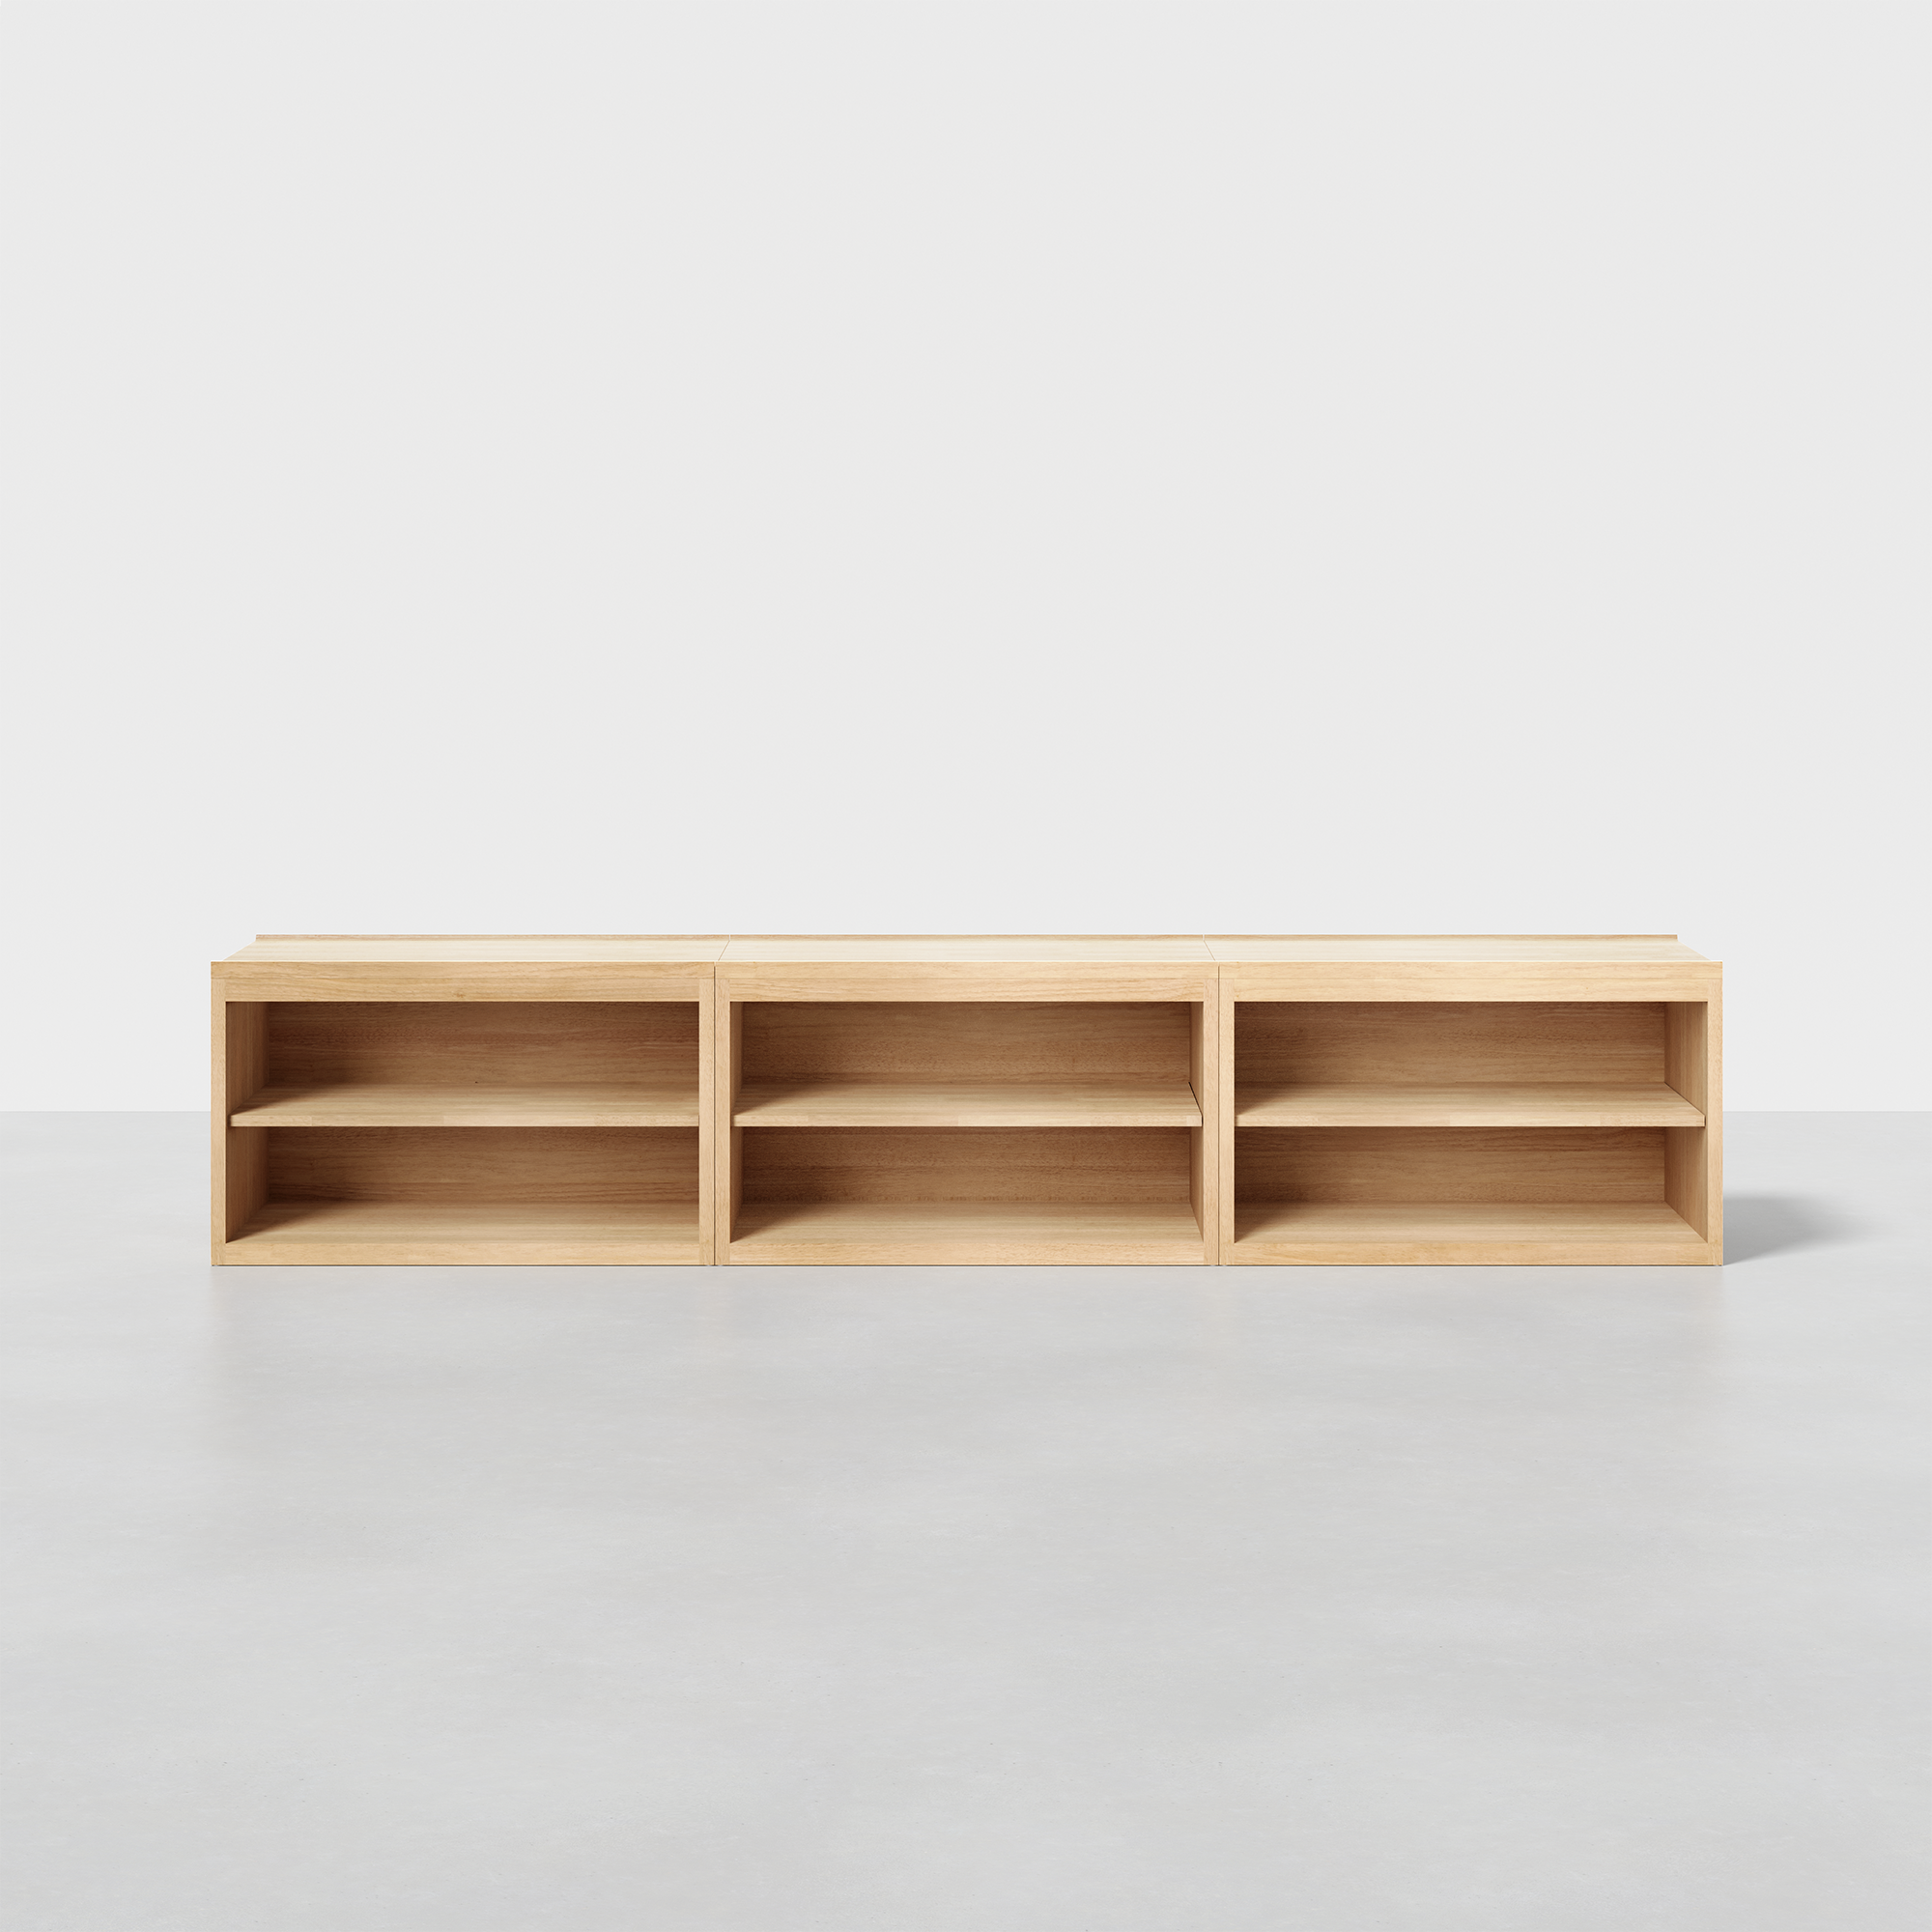
Credit: www.thuma.co
Materials Needed
Building a 2×3 bookshelf needs specific materials. Getting the right items makes the project smooth and enjoyable. Prepare all supplies before starting. This saves time and avoids interruptions.
Wood Selection
Choose wood that is strong and easy to work with. Pine is popular for beginners. It is affordable and cuts easily. Plywood is also a good choice. It offers stability and smooth surfaces. Avoid wood with cracks or knots. This keeps the shelf sturdy and neat.
Tools Required
Basic tools include a saw, drill, and screwdriver. A tape measure helps with exact cuts. Sandpaper smooths rough edges. Clamps hold pieces tight while gluing. A level ensures the shelf is straight. Using these tools makes assembly easier and safer.
Additional Supplies
Get wood glue for strong joints. Nails or screws keep pieces together firmly. Wood filler hides small holes or gaps. Paint or stain adds color and protection. Brushes or rags help apply finishes evenly. Having these supplies ready improves the final look.
Preparing The Wood
Preparing the wood is the first step to build your 2×3 bookshelf. This stage ensures all pieces fit perfectly. It sets the base for a strong and neat shelf. Careful preparation saves time and effort later.
Start by choosing the right wood. Use dry, smooth boards free of cracks or knots. Next, measure and cut each piece with accuracy. Finally, smooth all edges for a clean finish.
Measuring And Marking
Measure the wood pieces according to your shelf design. Use a tape measure for exact lengths. Mark the cut lines clearly with a pencil. Double-check all measurements before cutting.
Mark every piece on the wood surface. This helps avoid mistakes during cutting. Keep your marks light but visible enough to follow.
Cutting The Pieces
Use a saw to cut along the marked lines. A handsaw or power saw works well for straight cuts. Cut slowly and steadily to keep edges straight.
Wear safety gear like goggles and gloves. Cut on a stable surface to avoid accidents. Keep all pieces organized after cutting to prevent mix-ups.
Sanding Edges
Sand all cut edges with medium-grit sandpaper. This removes splinters and rough spots. Sand until the wood feels smooth to touch.
Focus on corners and ends for safety. Smooth edges help the paint or finish stick better. Wipe off dust with a dry cloth before assembling.
Assembling The Frame
Assembling the frame is the next step in building your 2X3 bookshelf. This part shapes the main structure. A strong frame supports the shelves and holds everything steady. Follow the steps carefully to ensure the frame fits together well and stays durable.
Joining The Side Panels
Start by placing the two side panels upright and parallel. Use wood glue on the edges that will connect. Clamp the panels gently to keep them tight. Then, drill pilot holes to avoid splitting the wood. Secure the panels with screws, making sure they are straight and aligned.
Attaching The Shelves
Next, position the shelves between the side panels. Measure equal spaces for each shelf to keep balance. Apply wood glue on the ends of the shelves before placing them. Use clamps to hold each shelf in place. Drill pilot holes and fasten the shelves with screws for extra strength.
Securing The Back Panel
The back panel adds stability to the frame. Place the panel flat against the back edges. Use a hammer and nails or screws to attach it firmly. Make sure the panel covers the entire back evenly. This step prevents wobbling and keeps the bookshelf solid over time.
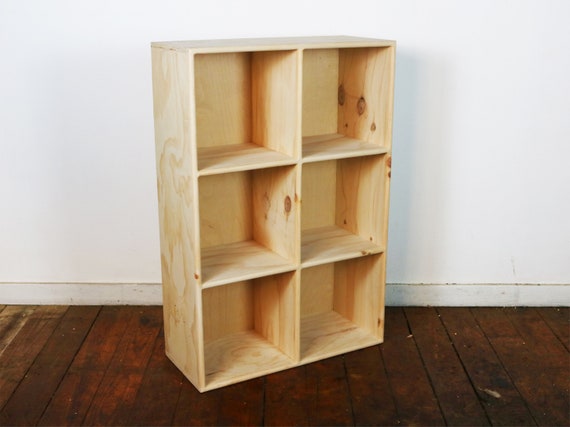
Credit: www.etsy.com
Finishing Touches
Finishing touches make your 2×3 bookshelf look complete and polished. These steps protect the wood and improve its appearance. A well-finished bookshelf lasts longer and fits better in your space.
Filling Holes And Gaps
Start by filling holes and gaps with wood filler. Use a putty knife to press filler into cracks and screw holes. Let it dry fully before sanding smooth. This step hides imperfections and creates a clean surface.
Applying Paint Or Stain
Choose paint or stain to match your room’s style. Apply thin coats with a brush or cloth. Let each coat dry before adding the next. Paint gives color, while stain shows the wood grain beautifully.
Adding Protective Coating
Seal your bookshelf with a clear protective coat. Use polyurethane or varnish to guard against scratches and moisture. Apply at least two coats for best protection. This step keeps your bookshelf looking good for years.
Tips For Stability
Building a sturdy 2×3 bookshelf is important for safety and long-lasting use. Stability helps prevent tipping and damage to your books. Small details can make a big difference in how solid your shelf feels.
Focus on adding strong supports and securing the shelf properly. These steps keep your bookshelf steady, even when fully loaded. Below are key tips to improve stability.
Using Brackets And Supports
Metal brackets add extra strength to your bookshelf. Attach them at corners to hold shelves firmly in place. Use at least two brackets per shelf for better support.
Wooden cleats are another option. Fix cleats under shelves to stop them from sagging. Choose strong wood that can carry the weight of your books.
Make sure screws go deep into the wood. This prevents loose shelves and wobbling. Tighten all connections before placing any items on the shelf.
Anchoring To The Wall
Secure the bookshelf to the wall to avoid tipping. Use wall anchors or screws fixed into studs for the best hold. Check your wall type to pick the right anchors.
Attach brackets at the top back of the bookshelf. This keeps it close to the wall and adds safety. Make sure the bookshelf is level before anchoring.
Regularly check the anchors and tighten if needed. This keeps the bookshelf stable over time. Anchoring is especially important in homes with children or pets.

Credit: www.homfurniture.com
Customizing Your Bookshelf
Customizing your 2×3 bookshelf makes it truly yours. You can change its look and function to fit your space and needs. Small changes make a big difference. It helps your bookshelf stand out and hold your items better.
Adding Decorative Elements
Decorative touches add personality to your bookshelf. Paint it with bright or soft colors. Use stencils or stickers for patterns. Attach small wooden shapes or metal handles. These details make your shelf unique and attractive. Choose decorations that match your room style.
Adjusting Shelf Height
Adjusting shelf height allows for different sized books and items. Measure your tallest books first. Place shelves to fit big and small objects easily. Use removable shelf supports for flexibility. Change shelf positions as your collection grows. This keeps your bookshelf practical and neat.
Frequently Asked Questions
What Materials Are Needed For A 2×3 Bookshelf?
You will need plywood or solid wood, screws, wood glue, sandpaper, paint or stain, and brackets for support. Basic tools like a saw, drill, screwdriver, and measuring tape are also essential for assembly.
How Long Does It Take To Build A 2×3 Bookshelf?
Building a 2X3 bookshelf typically takes 2 to 4 hours. Time varies based on skill level and tools available. Preparation and finishing may add extra time.
Can I Customize The Size Of A 2×3 Bookshelf?
Yes, you can customize the shelf dimensions by adjusting the length and height of the boards. Just maintain proportional spacing for stability and aesthetics.
How Do I Ensure The Bookshelf Is Sturdy?
Use quality wood, secure joints with screws and glue, and add brackets if needed. Proper sanding and finishing also help prevent warping over time.
Conclusion
Building a 2X3 bookshelf is simple and fun. You just need basic tools and wood. Follow the steps carefully and take your time. This project helps organize books and adds charm to any room. Customizing the size or color makes it even better.
A handmade bookshelf shows your effort and style. Start today and enjoy a neat, useful space.
