Are you tired of your bookshelf speakers sitting awkwardly on your desk or crowded shelf? Imagine how much better your music could sound if your speakers were perfectly positioned at the right height and angle.
Making your own bookshelf speaker stands is easier than you think, and it can transform your listening experience without spending a fortune. In this guide, you’ll learn simple steps to build sturdy, stylish stands that fit your space and style.
Keep reading, and you’ll have the confidence to create something that not only looks great but makes your sound come alive.
Choosing Materials
Choosing the right materials is key to building sturdy bookshelf speaker stands. The materials affect strength, weight, and sound quality. Pick materials that support your speakers well and fit your room’s style. This section guides you through wood types, tools, and budget choices. Let’s start with the wood options.
Wood Types And Benefits
Wood is the top choice for speaker stands. It looks good and holds weight firmly. Hardwood like oak or maple is strong and lasts long. Pine is softer but easy to cut and cheaper. MDF (medium-density fiberboard) is smooth and good for painting. It also stops vibrations well. Choose wood based on how much weight your speakers have.
Required Tools And Hardware
You need a few tools to build your stand. A saw to cut wood pieces is important. Sandpaper smooths rough edges and makes wood safe to touch. Wood glue and screws hold everything tight. A drill helps make holes for screws. Clamps keep parts in place while glue dries. Use hardware that fits your wood size and stand design.
Budget-friendly Options
Building on a budget is possible. Pine and MDF cost less than hardwood. Look for scrap wood or leftover pieces at stores. Use simple designs with fewer parts to save money. Basic tools like a hand saw and screwdriver work well. Small hardware packs from hardware stores are affordable. You can build strong stands without spending a lot.

Credit: www.walmart.com
Designing Your Stand
Designing your bookshelf speaker stand is the first step to a perfect build. A good design makes sure your speakers look great and sound clear. Focus on size, height, and stability before cutting any wood. Planning helps avoid mistakes and saves time.
Start with careful measurements and think about where your stand will go. A strong and steady stand keeps your speakers safe and improves sound quality. Sketching your idea on paper makes the project easier and more fun.
Measuring Your Speakers
Measure the width, depth, and height of your bookshelf speakers. Note the exact size to fit the stand properly. Add a little extra space for easy placement and removal. Check the speaker base shape to match the stand top. Accurate measurements make your stand stable and neat.
Height And Stability Considerations
Choose a height that places speakers at ear level when seated. This improves sound clarity and listening comfort. Make the base wide enough to stop the stand from tipping. Use heavy materials or add weight at the bottom for stability. Avoid tall and skinny stands that can wobble.
Sketching A Simple Plan
Draw a basic sketch of your speaker stand before building. Show the top platform, legs, and base in your drawing. Mark all measurements clearly to avoid confusion later. Keep the design simple to save time and materials. A clear plan helps guide your work step-by-step.
Cutting And Preparing Wood
Cutting and preparing wood is the first big step in making a bookshelf speaker stand. This step shapes the wood to fit your design. It also ensures the stand looks neat and lasts long. Proper cutting and preparation make the assembly easier and safer.
Safe Cutting Techniques
Always wear safety glasses and gloves before cutting wood. Use a sharp saw for clean cuts. Measure twice, cut once. Keep your fingers away from the blade. Cut slowly and steadily. Use clamps to hold the wood in place. Work in a well-lit area for better control.
Sanding For Smooth Edges
After cutting, sand the edges with fine-grit sandpaper. Sanding removes splinters and rough spots. It helps paint or finish stick better. Move the sandpaper in the direction of the wood grain. Check edges with your hand for smoothness. Repeat until all edges feel smooth.
Pre-drilling Holes
Pre-drill holes to avoid wood splitting. Use a drill bit smaller than your screws. Mark exact spots where you want holes. Drill straight down for a clean hole. Pre-drilling makes screwing easier and stronger. Clean out wood dust from holes before assembly.
Assembling The Stand
Assembling the bookshelf speaker stand is a key step in this project. This process shapes the strength and look of your stand. Proper assembly ensures your speakers sit safely and sound clear. Follow these steps carefully for a solid, neat finish.
Joining Pieces Securely
Start by fitting the wooden parts together. Align edges so they meet without gaps. Hold the pieces tightly before moving to the next step. This keeps the stand strong and balanced. Check the angles with a square tool. A perfect fit prevents wobbling later.
Using Screws And Glue
Apply wood glue along the edges to bond pieces. Use enough glue for good grip but not too much. Press the parts firmly after gluing. Next, drill pilot holes for screws to avoid splitting wood. Insert screws to lock the parts firmly. This combo of glue and screws creates a tough hold.
Ensuring Stability
Check the stand on a flat surface. Make sure it does not rock or lean. Adjust by sanding or tightening screws if needed. Add rubber feet or pads under the base for extra grip. Stability protects your speakers and improves sound quality. A steady stand lasts longer and looks better too.
Finishing Touches
Finishing touches bring your bookshelf speaker stand to life. They protect the wood and give it style. Small details make a big difference in appearance and function.
Painting And Staining Options
Choose paint or stain that matches your room’s style. Paint offers bright, solid colors. Stain shows the wood’s natural grain and texture. Use a primer before painting for better coverage. Apply thin coats and let them dry fully. Sand lightly between coats for smoothness. Stain needs a sealant to protect it from damage. Pick a finish—matte, satin, or glossy—that fits your taste.
Adding Protective Pads
Protect your floor and stand with pads. Felt pads prevent scratches on hardwood or tile floors. Rubber pads stop the stand from slipping on smooth surfaces. Attach pads under each leg or corner. Choose pads that fit well and hold firmly. These small additions keep your speaker stand stable and safe.
Cable Management Tips
Keep cables tidy and out of sight for a clean look. Use cable clips or adhesive holders along the stand’s back. Velcro straps help bundle cables together. Label each cable to find it easily later. Avoid tight bends to protect wires from damage. Good cable management improves safety and appearance.
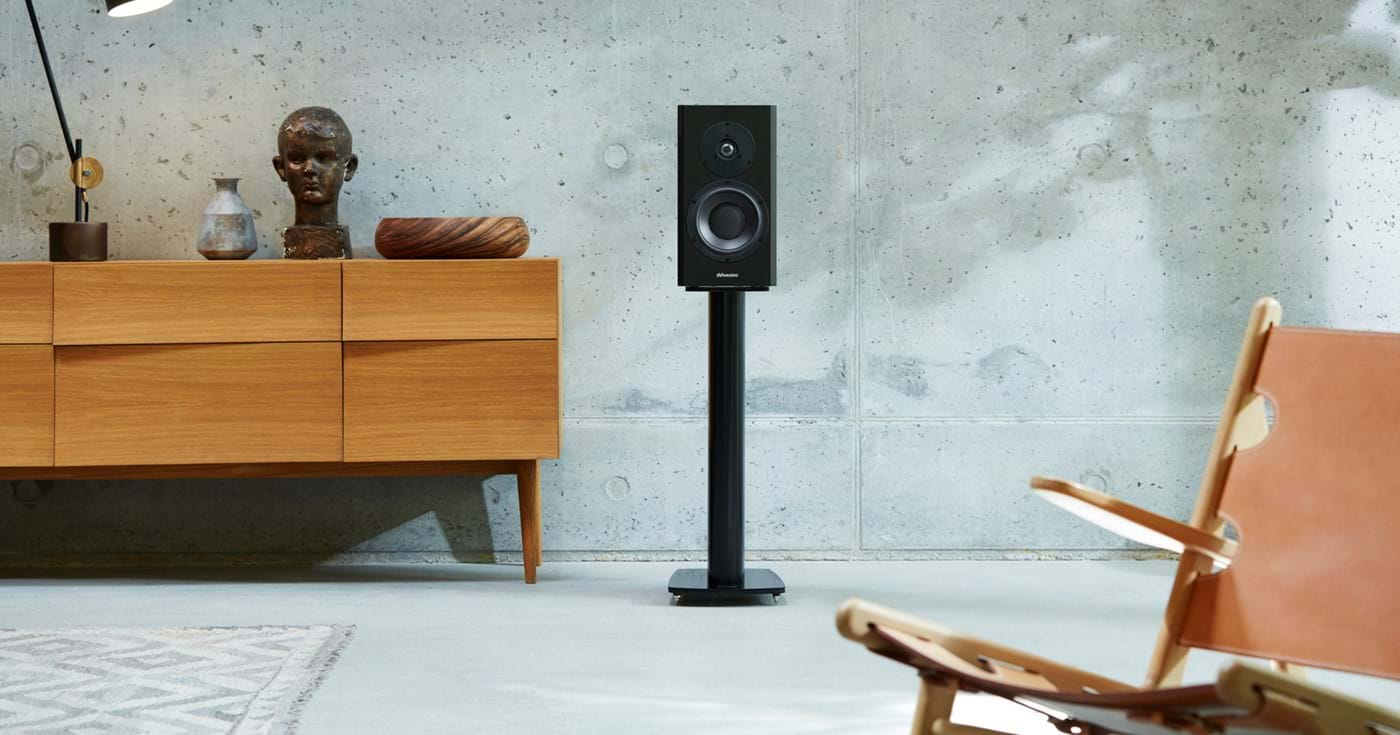
Credit: dynaudio.com
Placement And Testing
Placement and testing are key steps after building your bookshelf speaker stand. Proper placement affects sound clarity and enjoyment. Testing helps find the best sound for your room. Simple adjustments can improve your listening experience.
Optimal Speaker Positioning
Place the speakers at ear level when seated. Keep them about 6 to 12 inches away from walls. Angle the speakers slightly toward your listening spot. Avoid placing them directly against hard surfaces. This reduces sound reflection and distortion.
Testing Sound Quality
Play different types of music or sounds. Listen for clear highs, rich mids, and deep bass. Check if sounds feel balanced and natural. Notice any echo or muffled tones. Move around the room to hear changes in sound quality.
Adjustments For Best Performance
Move the speakers closer or farther from walls. Change the angle slightly toward or away from you. Adjust the height if possible. Use soft pads under the stand to reduce vibrations. Keep testing after each change to find the best sound.
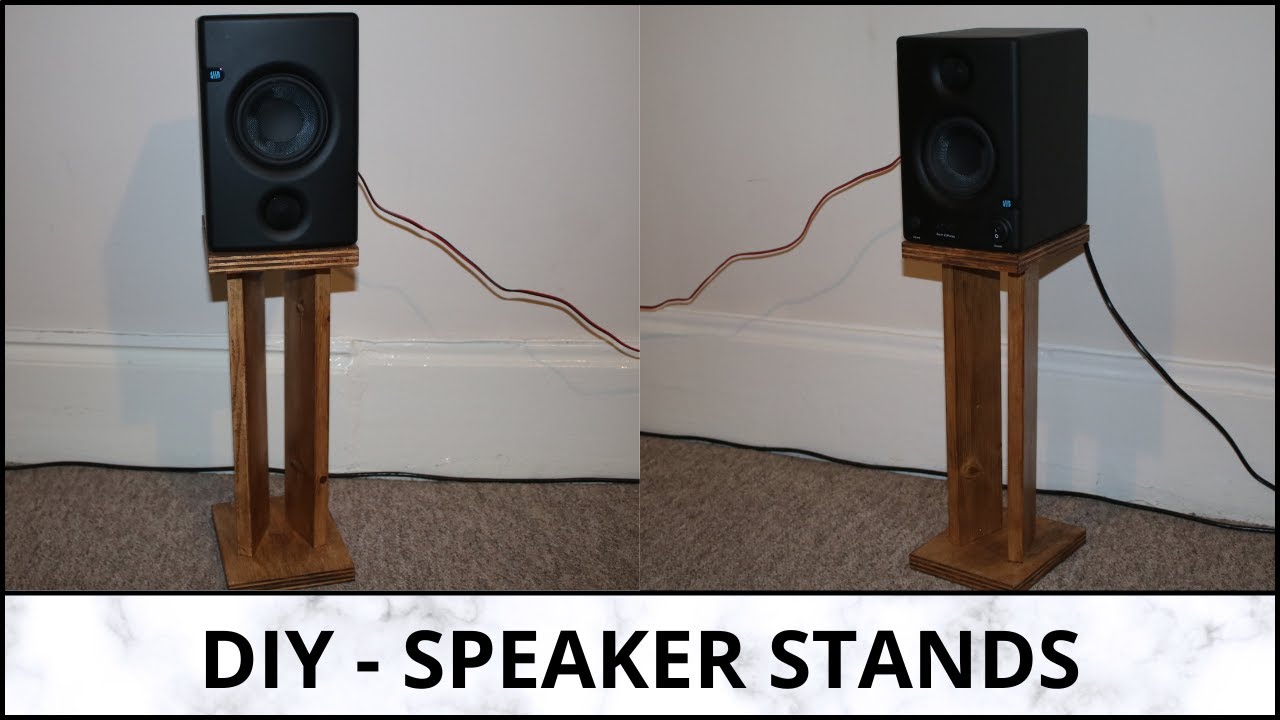
Credit: www.youtube.com
Frequently Asked Questions
What Materials Are Needed To Build A Bookshelf Speaker Stand?
You need wood boards, screws, wood glue, sandpaper, paint or stain, and speaker spikes or pads. These materials ensure durability and stability for your speaker stand.
How Tall Should A Bookshelf Speaker Stand Be?
A good bookshelf speaker stand should place the speaker tweeters at ear level when seated. Typically, this height ranges from 24 to 36 inches for optimal sound quality.
Can I Build A Bookshelf Speaker Stand Without Woodworking Tools?
Yes, basic tools like a screwdriver, drill, and measuring tape are enough. You can also buy pre-cut wood pieces to simplify the process and avoid advanced woodworking.
How Do I Ensure Stability In A Diy Speaker Stand?
Use a wide base, sturdy materials, and proper joinery like screws and glue. Adding speaker spikes or rubber pads reduces vibrations and enhances stability on various floors.
Conclusion
Building your own bookshelf speaker stand can be simple and fun. It helps improve sound quality and keeps speakers stable. Use the right materials and measure carefully for best results. You can customize the stand to fit your space and style.
Taking time to make it right will pay off when you enjoy better music. Try it yourself and see the difference it makes in your room. A sturdy stand supports your speakers and enhances your listening experience.