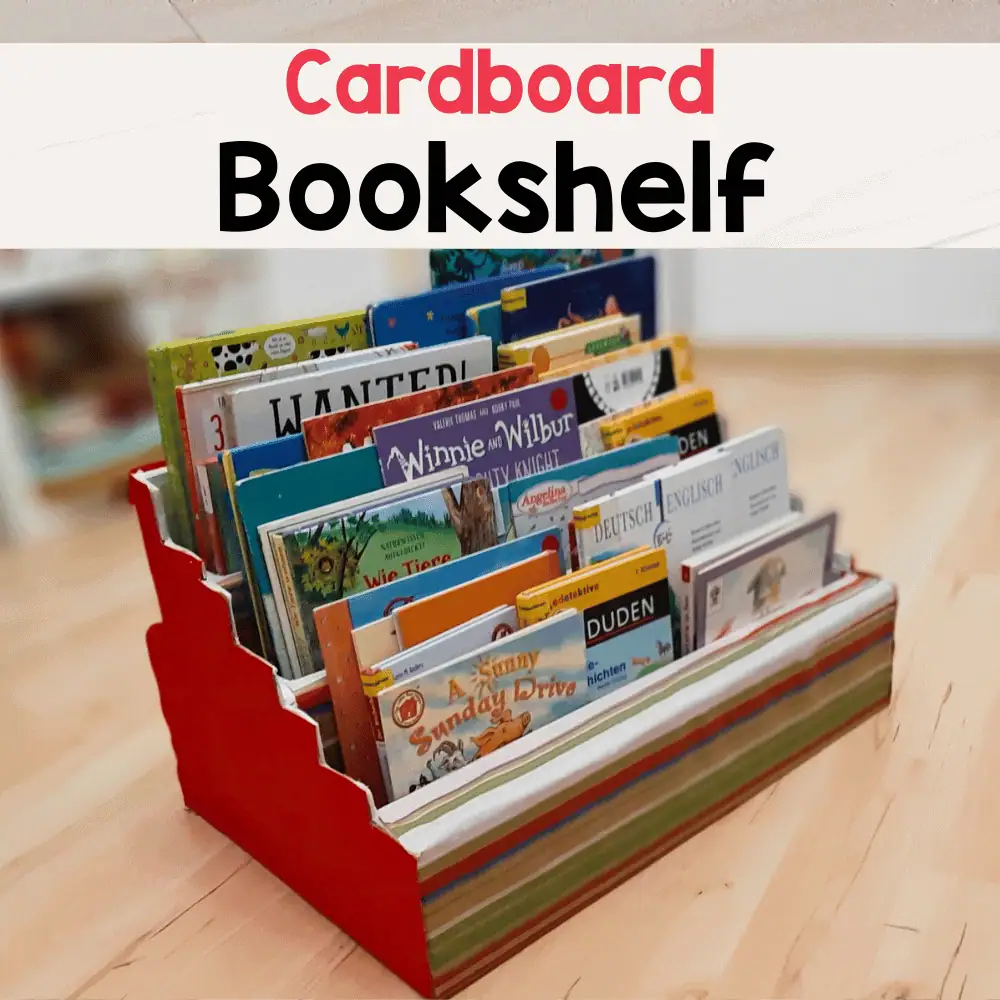
Are you looking for a simple and budget-friendly way to organize your books? Making a bookshelf with cardboard is easier than you think.
You don’t need special tools or skills, just a few materials and some creativity. Imagine having a sturdy, custom bookshelf that fits perfectly in your space—all made by you. Keep reading, and you’ll discover step-by-step tips to build your own cardboard bookshelf quickly and easily.
Your space will thank you!
Credit: www.littleladoo.com
Materials Needed
Building a bookshelf with cardboard is simple and fun. Before starting, gather all needed materials. This saves time and keeps the project smooth. Use strong cardboard and the right tools. Decorations can make your shelf look great.
Choosing The Right Cardboard
Select thick, sturdy cardboard for the best support. Avoid thin or soft cardboard that bends easily. Look for double-wall or triple-wall boxes. These provide extra strength for holding books. Large, flat pieces work best for cutting shelves.
Essential Tools
Use a sharp box cutter or utility knife for clean cuts. A metal ruler helps to measure and cut straight lines. Get strong glue or a hot glue gun to join pieces. A pencil is useful for marking measurements. Cutting mat or old cardboard protects your work surface.
Optional Decorative Items
Paint or markers add color and style to your shelf. Use wrapping paper or fabric for a unique look. Stickers or washi tape decorate edges and surfaces. Clear varnish protects paint and decorations. Sandpaper smooths rough cardboard edges before decorating.

Credit: www.youtube.com
Planning Your Bookshelf
Planning your bookshelf is the first and most important step. It helps you build a strong and useful shelf. Careful planning saves time and materials. It makes the whole process simple and fun.
Start by thinking about what you want. How big should the shelf be? What shape fits your space? A good plan guides your work well.
Determining Size And Shape
Decide how many books you want to store. Count the books or estimate the space they need. Think about the room where the shelf will go. Pick a size that fits well without crowding.
Choose a shape that matches your style. A tall shelf saves floor space. A wide shelf holds more books. Simple shapes are easier to build with cardboard.
Sketching A Design
Draw your bookshelf on paper. Use a pencil and ruler for straight lines. Sketch the front, side, and top views. This helps you see the shelf from all angles.
Include shelves and supports in your drawing. Mark where each part will go. A clear sketch prevents mistakes later. Keep it simple and clear.
Measuring And Marking
Measure twice before cutting any cardboard. Use a tape measure or ruler. Mark the cardboard with a pencil or marker. Draw lines for cutting and folding carefully.
Check your measurements again. Accurate marks make the shelf strong and stable. Take your time with this step. It ensures the pieces fit perfectly.
Cutting Cardboard Pieces
Cutting cardboard pieces is a key step in making your bookshelf. It shapes the parts that will hold your books. Precision and care here make building easier and the shelf stronger.
Use the right tools and methods. This helps avoid mistakes and keeps you safe. Start by measuring and marking the cardboard clearly. Then cut carefully along the lines.
Safe Cutting Techniques
Always cut on a flat, stable surface. Use a sharp utility knife or box cutter. Dull blades cause slips and jagged edges. Cut slowly and steadily. Keep fingers away from the blade path. Use a ruler to guide straight cuts. Replace blades if they become dull. Wear gloves to protect your hands.
Cutting Shelves And Supports
Measure each shelf piece before cutting. Mark the length and width clearly on the cardboard. Cut out shelves first for better stability. Cut supports next, matching the shelf size. Supports should be strong to hold weight. Double-layer the cardboard for extra strength. Keep all pieces flat and even.
Preparing Edges
Trim rough edges after cutting. Smooth edges help pieces fit better. Use sandpaper or the knife’s flat side gently. Remove any loose fibers or bumps. Clean edges make assembly easier. Neat edges also improve the bookshelf’s look. Check all pieces for evenness before building.

Credit: www.youtube.com
Assembling The Bookshelf
Assembling the bookshelf is the step where your cardboard project comes to life. This part needs care to ensure all pieces fit well and the shelf holds up. Take your time to join the parts firmly. Proper assembly makes the shelf strong and usable.
Joining Pieces Securely
Use strong glue or tape to join the cardboard pieces. Apply glue evenly on the edges. Press the pieces together and hold until dry. Avoid gaps or loose corners. This keeps the shelf sturdy and neat. Reinforce joints with extra tape for better hold.
Reinforcing Structure
Add extra layers of cardboard on critical parts. Focus on the back panel and shelves. This prevents bending under the weight of books. Use strips or small blocks inside corners. These act as braces to support the frame. Reinforcement improves durability and lifespan.
Ensuring Stability
Check the shelf on a flat surface. Make sure it does not wobble or lean. Adjust by trimming uneven edges or adding supports underneath. Weight distribution matters. Place heavier books at the bottom shelves. Stability keeps your bookshelf safe and useful.
Finishing Touches
Finishing touches make your cardboard bookshelf look neat and strong. They help your project last longer and feel smooth to touch. These steps bring your bookshelf from simple to stylish.
Sanding And Smoothing
Start by sanding all edges and surfaces gently. Use fine sandpaper for a smooth finish. This removes rough spots and small bumps. Take your time to avoid tearing the cardboard. A smooth surface helps paint stick better.
Painting And Decorating
Choose paint that works well on cardboard, like acrylic. Apply thin, even coats to avoid soaking the cardboard. Let each coat dry fully before the next. Add patterns or colors that match your room style. Stickers or washi tape can add extra charm.
Protecting The Surface
Seal your work with a clear varnish or spray. This protects against dirt and moisture. Use a light coat to keep the cardboard strong. Allow it to dry in a dust-free place. This step helps your bookshelf stay beautiful for longer.
Tips For Durability
Making a cardboard bookshelf is fun and eco-friendly. To keep it strong and lasting, follow simple tips for durability. These tips help your bookshelf hold more weight and stay safe from damage. With a little care, your cardboard shelf can serve well for a long time.
Weight Distribution
Place heavier items on the bottom shelves. This stops the shelf from tipping over. Spread items evenly to avoid pressure on one spot. Use small boxes inside for extra support. Balanced weight keeps the cardboard from bending or breaking.
Avoiding Moisture Damage
Keep the shelf away from wet areas. Moisture makes cardboard weak and soft. Use a waterproof spray to protect the surface. Avoid placing drinks or plants directly on the shelf. Dry spots ensure the cardboard stays firm and strong.
Regular Maintenance
Check your shelf often for signs of wear. Fix any dents or bends quickly. Replace worn-out parts with new cardboard pieces. Clean dust and dirt with a dry cloth. Small care steps help the shelf last longer and look good.
Frequently Asked Questions
How Durable Is A Cardboard Bookshelf?
A cardboard bookshelf can hold light to moderate weight. Proper layering and reinforcement improve its strength and stability. It’s best for lightweight books and decorative items, not heavy loads.
What Materials Are Needed To Make Cardboard Bookshelves?
You need sturdy cardboard sheets, a cutting tool, strong glue, ruler, and pencil. Optional items include paint or decorative paper to enhance appearance.
How Long Does It Take To Build A Cardboard Bookshelf?
Building a simple cardboard bookshelf typically takes 1 to 3 hours. Time varies based on size, design complexity, and drying time for glue.
Can Cardboard Bookshelves Hold Heavy Books Safely?
Cardboard bookshelves are not ideal for heavy books. Reinforcement with extra layers or internal supports can increase capacity but caution is advised.
Conclusion
Making a bookshelf with cardboard is simple and fun. You only need a few materials and some patience. This project saves money and helps the environment. You can customize the size and shape to fit your space. It also gives a great feeling of accomplishment.
Try it yourself and see how easy crafting can be. Enjoy your new, unique bookshelf for books or decorations. Small steps lead to creative and useful results. Keep crafting and exploring new ideas!