
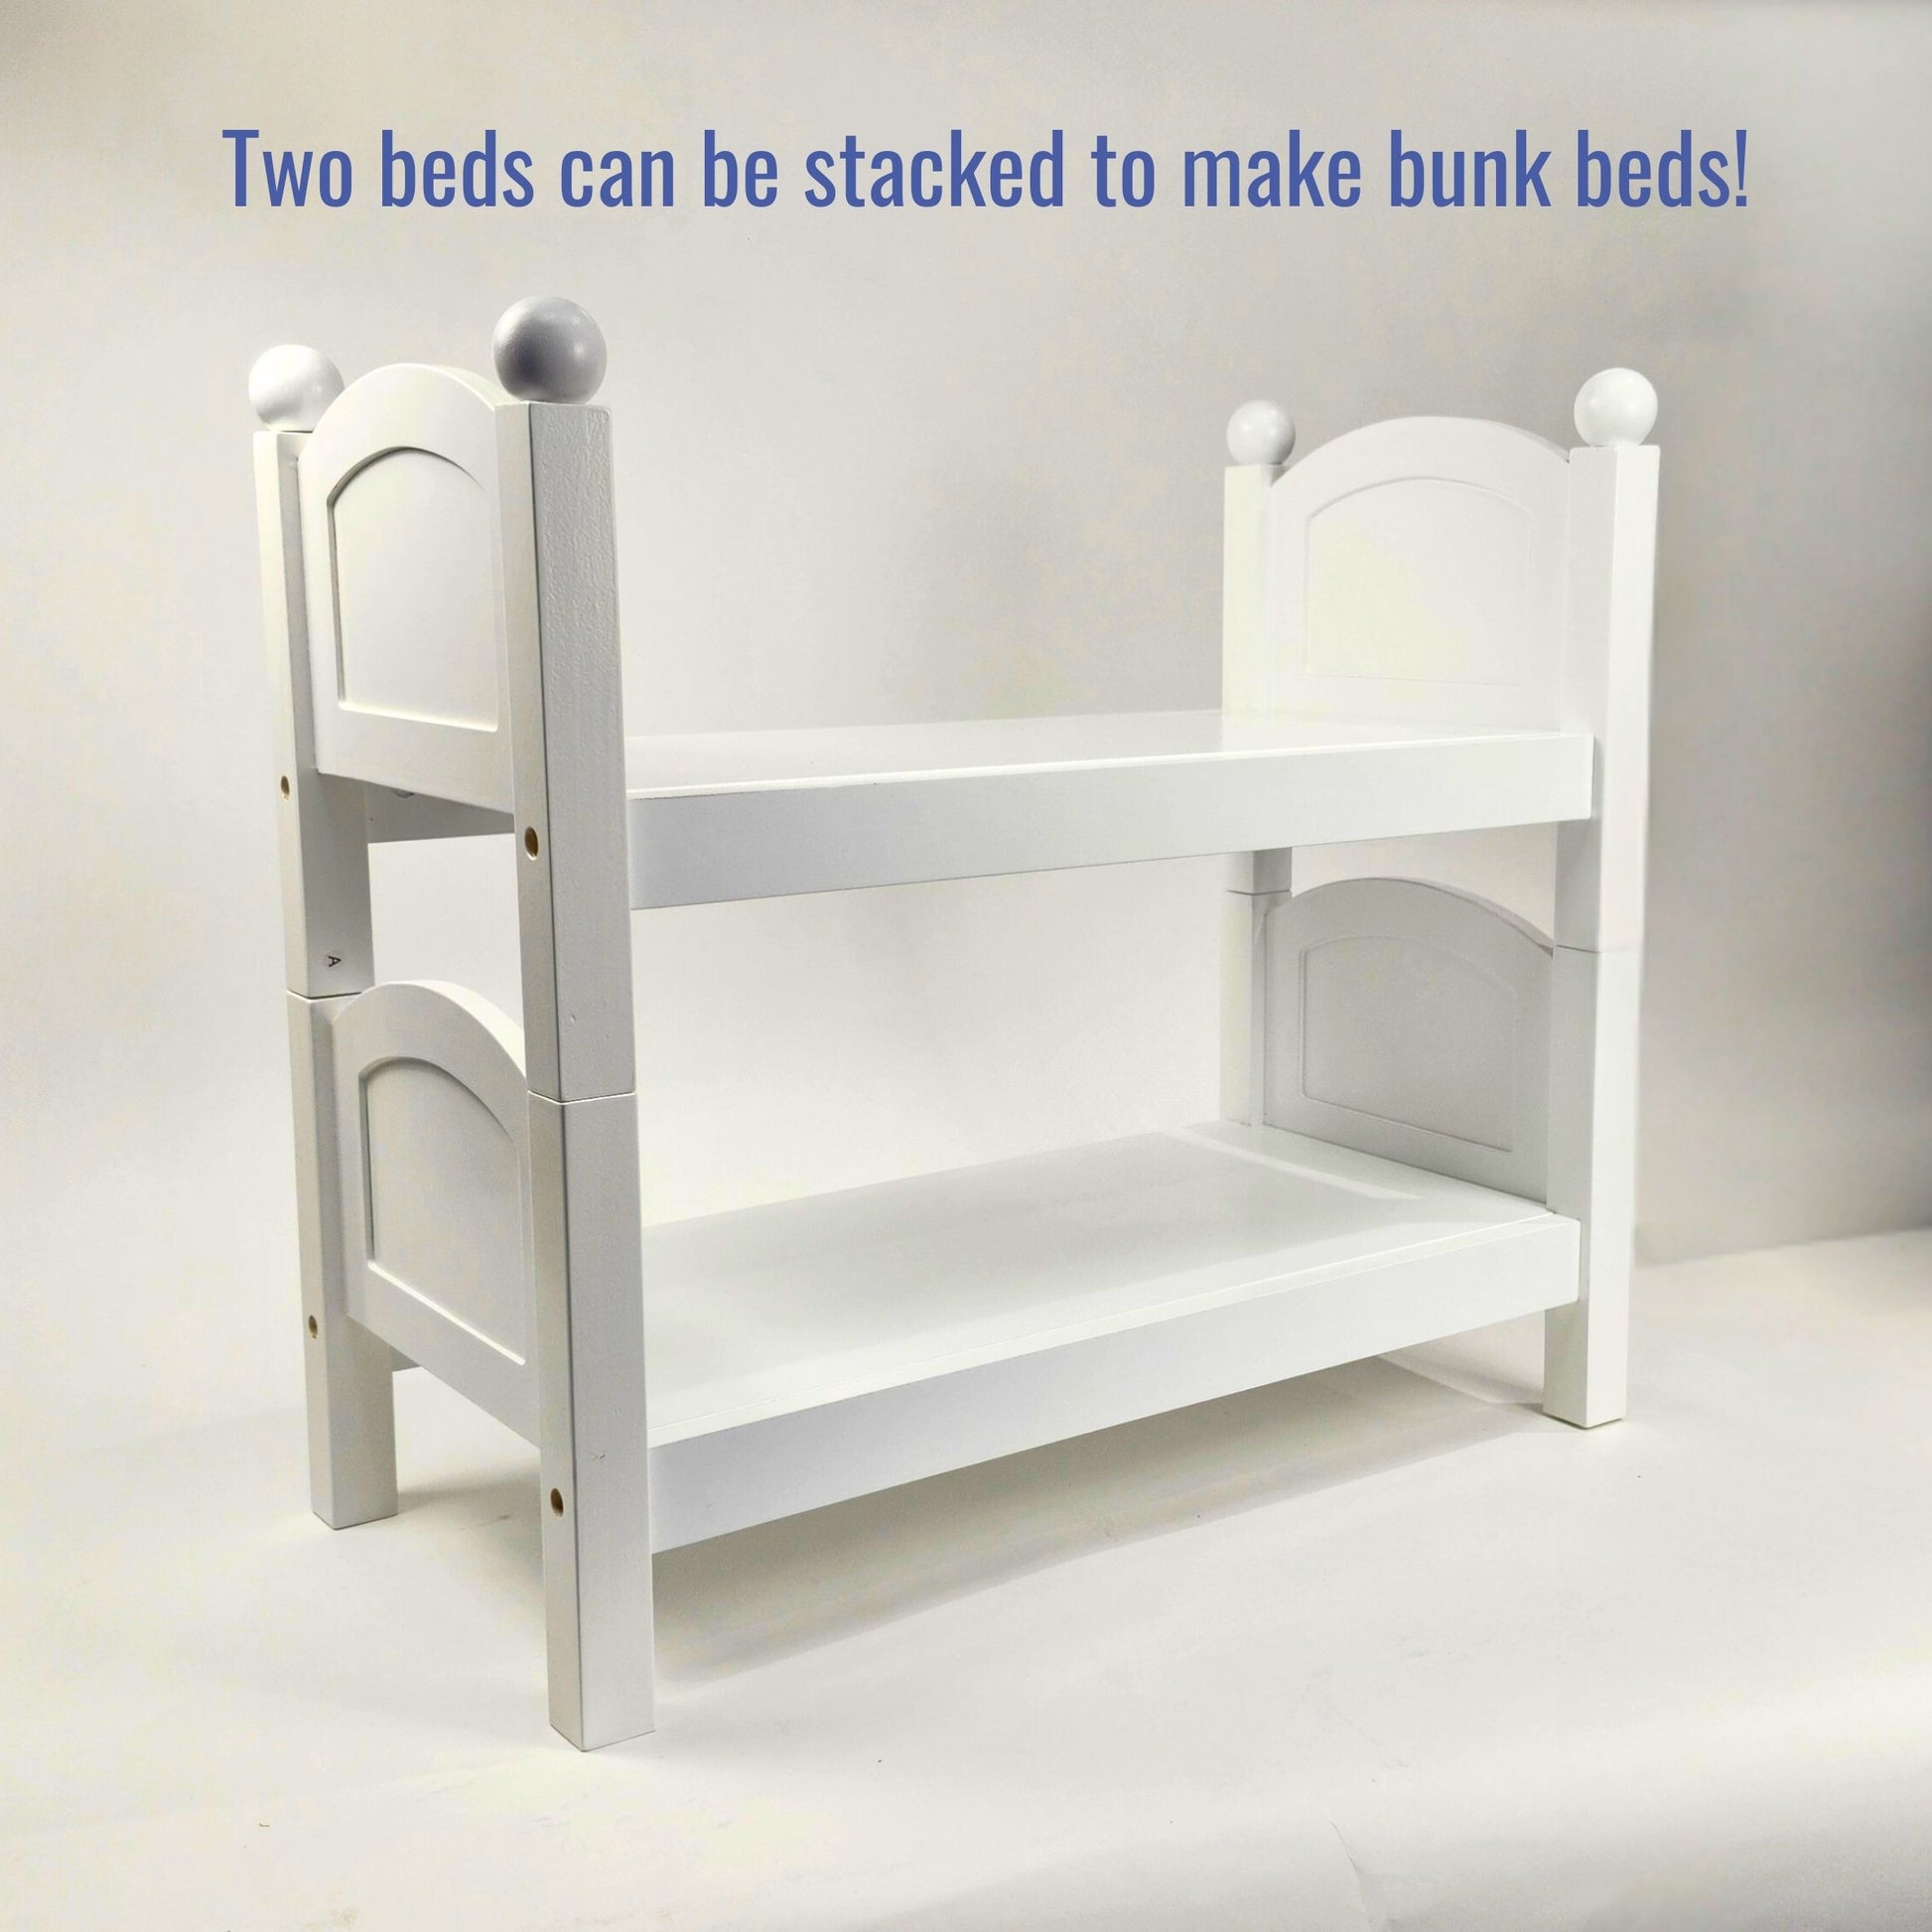
Are you looking for a fun and creative way to give your 18-inch doll a cozy new place to sleep? Making a bunk bed for your doll is easier than you think, and it adds a special touch to your doll’s world.
Imagine how much your doll will love having a cool bunk bed to climb into! In this guide, you’ll discover simple steps and handy tips that anyone can follow. Whether you’re a beginner or just want to try something new, this project will bring you joy and a sense of accomplishment.
Ready to get started and make your doll’s dream bed come true? Keep reading!
Credit: maplelea.com
Materials And Tools Needed
Building a bunk bed for an 18-inch doll is a fun and simple project. The right materials and tools make the process easier. Gather everything before you start. This saves time and keeps the work smooth.
Use safe and easy-to-handle materials. Wood is a great choice. It is sturdy and looks nice. Small nails or screws hold the pieces together. Sandpaper smooths rough edges to prevent splinters.
Wood Pieces
Choose lightweight wood like balsa or pine. Cut pieces to size for the bed frame, ladder, and guard rails. Smooth all edges with sandpaper.
Fasteners
Use small nails or wood screws. These keep the bed strong. Pick the right size for thin wood pieces. Avoid large or heavy fasteners.
Tools
Have a small saw for cutting wood. Use a hammer or screwdriver to fix fasteners. Sandpaper or a sanding block smooths surfaces. A ruler and pencil help measure and mark.
Paint And Brushes
Choose non-toxic, water-based paint. Bright colors make the bed look fun. Use small brushes for neat painting. Let paint dry well before use.
Choosing The Right Wood
Choosing the right wood is a key step in making a bunk bed for an 18-inch doll. The wood must be strong enough to hold the bed frame. It should also be easy to cut and shape. The right wood makes the project easier and safer.
Wood type affects the look and feel of the doll bed. Some woods are smooth and light. Others are heavy and rough. Picking the right wood helps create a beautiful and sturdy bunk bed.
Hardwood Vs. Softwood
Hardwood comes from trees like oak, maple, and cherry. It is strong and lasts long. Hardwood is good for a bed that needs more support. Softwood comes from pine, fir, and cedar. It is lighter and easier to work with. Softwood may be cheaper but can dent easily.
Wood Size And Thickness
Choose wood pieces that are not too thick or thin. Thick wood gives more strength but is harder to cut. Thin wood is easy to shape but less strong. A good size is about half an inch to one inch thick.
Wood Smoothness And Finish
Pick wood with a smooth surface. Rough wood may hurt the doll or scratch the paint. Sand the wood before building. Sanding creates a smooth finish. It also helps paint or stain stick better.
Wood Safety And Non-toxic Options
Use wood that is safe for children’s toys. Avoid wood treated with harmful chemicals. Natural and untreated wood is best. It keeps the doll and the child safe.
Measuring And Cutting Pieces
Measuring and cutting pieces is the first step in making a bunk bed for an 18-inch doll. Accurate measurements ensure the bed fits well and is strong. Use a ruler or tape measure to get exact sizes. Mark the wood clearly before cutting to avoid mistakes.
Cutting pieces carefully makes assembly easier. Take your time and double-check measurements. Safety is important, so use tools properly and wear protective gear.
Cutting Side Rails
Side rails hold the bed frame together. Measure the length needed for the doll bed sides. Mark the wood with a pencil. Use a saw to cut straight lines. Smooth edges with sandpaper to avoid splinters.
Cutting Ladder Steps
The ladder lets the doll climb to the top bunk. Measure short pieces for the steps. Cut each step evenly for balance. Sand the steps to make them smooth and safe.
Cutting Bed Slats
Slats support the doll mattress. Measure the width between side rails. Cut thin, flat pieces for slats. Space slats evenly to hold the mattress well. Sand all slats to prevent rough spots.

Credit: www.amazon.com
Assembling The Frame
Assembling the frame is the first step in making a bunk bed for your 18 inch doll. It sets the base and structure for the entire bed. A strong frame keeps the bed safe and sturdy for playtime. Follow these simple steps to build a solid frame quickly.
Building The Bed Base
Start with the bed base. Cut two long wooden planks for the sides. Use shorter planks for the head and foot ends. Connect the planks to form a rectangle. Make sure the corners are square. Use wood glue and small nails to join the pieces. Let the glue dry well before moving on.
Attaching Side Rails
Next, attach the side rails. These rails keep the mattress in place. Measure and cut two rails for each bunk level. Screw the rails to the inside edges of the bed base. Check that the rails are level and secure. This step adds safety and support to the bed.
Securing The Ladder
The ladder helps your doll climb to the top bunk. Cut two long side pieces and several shorter steps. Attach the steps evenly between the sides. Fix the ladder to the bed frame using small screws. Make sure the ladder is steady and tight. Now the bunk bed is almost ready for your doll’s fun.
Sanding And Finishing
Sanding and finishing are important steps in making a bunk bed for an 18-inch doll. These steps help the bed look nice and feel safe to touch. Sanding removes rough spots and splinters. Finishing protects the wood and adds color or shine.
Taking time to sand and finish the bed gives it a smooth, polished look. It also makes the bed last longer. This part of the project is simple but makes a big difference in the final result.
Sanding Edges Smooth
Use fine-grit sandpaper to smooth all edges and surfaces. Sand corners carefully to avoid sharp points. Check the wood for splinters and sand them down. Sanding helps the paint or stain stick better. It also makes the bed safer for children to play with. Take your time and sand evenly for the best finish.
Applying Paint Or Stain
Choose non-toxic paint or stain that is safe for children’s toys. Apply a thin, even coat with a brush or cloth. Let the first coat dry completely before adding more. Two or three coats work well to protect the wood. Paint adds color, while stain shows the wood grain. Finish with a clear sealant for extra durability and shine.
Adding Mattresses And Bedding
Adding mattresses and bedding makes your 18-inch doll bunk bed cozy and complete. Soft mattresses provide comfort and support for your doll. Bedding adds color and style to the bed. It also makes the bunk bed look more real and inviting.
Choosing The Right Mattress Size
Measure the bed frame carefully before buying or making a mattress. The mattress should fit snugly inside the bunk bed frame. Use foam or cotton for a soft, lightweight mattress. Cut the material to match the bed size perfectly. A well-fitted mattress keeps the bed neat and safe for play.
Making Simple Mattresses At Home
Use foam sheets or old cushions to create mattresses. Cover the foam with fabric for a smooth finish. Sew or glue the fabric tightly around the foam. Use bright or patterned fabric to add fun colors. This homemade mattress is easy to clean and change.
Selecting Bedding For Dolls
Choose small sheets, blankets, and pillows that fit the mattress. Use soft fabric like cotton or fleece for comfort. Pick colors and patterns that match the room or doll’s style. Bedding sets with tiny pillows and blankets look very cute. Make sure the bedding is easy to remove and wash.
Arranging Bedding Neatly
Place the mattress first, then add the sheet or blanket. Fold the edges neatly for a tidy look. Add pillows at the head of the bed. Tuck blankets under the mattress to keep them in place. A neat bed looks inviting and ready for doll play.
Safety Tips For Doll Beds
Making a bunk bed for an 18-inch doll is fun and creative. Safety is very important. Safe doll beds prevent small accidents and make playtime better. Follow these safety tips to build a strong and safe bunk bed.
Use Smooth And Rounded Edges
Sharp edges can hurt little hands. Sand all wood pieces until smooth. Round corners to avoid cuts or scratches.
Choose Non-toxic Paint And Glue
Children may touch or smell the bed. Use paints and glue safe for kids. Check labels for non-toxic and child-safe marks.
Secure All Parts Firmly
Loose pieces can break or fall off. Tighten screws and nails well. Test the bed for stability before play.
Avoid Small Parts That Can Fall Off
Tiny parts can be a choking hazard. Use bigger pieces for decorations. Keep small parts out of reach of young children.
Ensure The Bed Is The Right Size
The bed should fit the doll well. Too big or small can cause tipping. Measure carefully before cutting materials.

Credit: www.bybrittanygoldwyn.com
Frequently Asked Questions
How Do I Start Building A Bunk Bed For An 18-inch Doll?
Begin by gathering materials like wood, screws, and paint. Measure carefully to fit the 18-inch doll. Cut pieces to size and assemble the frame step-by-step, ensuring stability and safety.
What Tools Are Needed To Make A Doll Bunk Bed?
You will need a saw, drill, screwdriver, measuring tape, and sandpaper. These tools help cut, assemble, and smooth the wood for a safe, sturdy bunk bed.
How Can I Make The Bunk Bed Safe For Dolls?
Use smooth wood and sand all edges to avoid splinters. Secure joints tightly with screws. Avoid small parts that can detach and cause hazards.
What Paint Is Best For A Doll Bunk Bed?
Use non-toxic, water-based paint. It is safe, dries quickly, and adheres well to wood surfaces. Choose colors that match your doll’s theme or room.
Conclusion
Making a bunk bed for an 18-inch doll can be fun and simple. You just need basic tools and materials. Follow the steps carefully and take your time. Personalize the bed with paint or fabric for a special touch. This project helps improve your crafting skills.
It also gives your doll a cozy place to rest. Enjoy the process and be proud of your work. Your doll will love the new bunk bed! Keep practicing and trying new ideas for future projects.
