Are you tired of clutter piling up near your door? Imagine having a simple, stylish coat rack and shelves that keep your space neat and organized.
You don’t need to buy expensive furniture or call a professional. In this guide, you’ll learn easy steps to make your own coat rack and shelves that fit perfectly in your home. By the end, you’ll have a practical and attractive solution that saves you time and money.
Ready to transform your entryway? Let’s get started!
Materials And Tools Needed
Before starting your coat rack and shelves project, gather all materials and tools. This step saves time and makes the work smoother. Choose quality wood and the right hardware. Prepare essential tools for cutting, assembling, and finishing.
Wood Types And Sizes
Select wood that is strong and easy to work with. Pine and cedar are good choices for beginners. Choose wood planks that are at least 1 inch thick for durability. For shelves, use wider boards, about 8 to 12 inches. Cut wood to the size that fits your space.
Hardware And Fasteners
Use screws and nails that fit the wood thickness. Wood screws with a length of 1.5 to 2.5 inches work well. Include wall anchors if you plan to mount the rack on drywall. Hooks and brackets add functionality and style. Sandpaper helps smooth rough edges.
Essential Tools
A power drill is necessary for drilling holes and driving screws. A saw, like a handsaw or circular saw, cuts wood to size. A measuring tape ensures precise measurements. A level keeps your shelves straight. Safety gear like gloves and goggles protect you during work.
Designing Your Coat Rack
Designing your coat rack is the first step to create a useful and stylish piece. A good design helps your rack fit the space and serve its purpose well. Think about how you want it to look and work before starting to build.
Focus on style, size, and function. Each choice shapes the final product.
Choosing The Style
Pick a style that matches your room’s decor. A rustic wooden rack suits a cozy home. A sleek metal rack fits modern spaces. Simple or ornate, your style should reflect your taste and needs.
Measuring And Planning
Measure the wall space where you will hang the rack. Note the height and width limits. Plan the rack size so it fits well without crowding. Sketch your design on paper to guide your build.
Incorporating Hooks
Choose strong hooks that hold heavy coats. Space hooks evenly to avoid crowding. Think about hook height for adults and children. Adding a few extra hooks helps with more storage.
Building The Coat Rack Frame
Building the coat rack frame is the first step in creating a sturdy and attractive piece. This frame will hold the hooks and shelves securely. Careful measurements and precise cuts are important. The frame sets the foundation for the entire project.
Cutting The Wood
Start by selecting strong wood like pine or oak. Measure the lengths needed for the sides, top, and bottom. Mark the wood clearly with a pencil. Use a saw to cut along the lines carefully. Smooth edges help the frame fit together well.
Assembling The Frame
Arrange the cut pieces into the shape of the frame. Use wood glue on the ends for extra strength. Join the pieces with screws or nails. Check that the frame is square and all parts align. Tighten all fasteners for a solid structure.
Sanding And Finishing
Sand the frame with medium then fine sandpaper. Remove any splinters and rough spots. Wipe off dust with a clean cloth. Apply paint, stain, or sealant for protection and look. Let it dry completely before adding hooks or shelves.

Credit: www.woodshopdiaries.com
Creating The Shelves
Creating the shelves is a key part of building your coat rack and shelves. The shelves hold items and add style. Careful planning helps make strong, useful shelves. Follow simple steps to get the best results.
Shelf Dimensions And Placement
Choose shelf size based on space and use. A common depth is 10 to 12 inches. Keep shelves wide enough for coats and small items. Space shelves 12 to 18 inches apart for easy access. Think about what you will place on each shelf.
Attaching Shelves Securely
Use strong brackets or wood supports to hold shelves. Drill pilot holes to avoid wood splitting. Attach shelves to wall studs for better strength. Use screws that fit the wood thickness. Check shelves are level before tightening screws.
Adding Decorative Elements
Paint or stain shelves to match your decor. Add trim or molding for a polished look. Use sandpaper to smooth edges and corners. Small hooks under shelves add extra hanging space. Choose simple decorations that keep shelves practical.
Finishing Touches
Finishing touches bring your coat rack and shelves to life. They protect the wood and improve the look. These final steps make your project last longer and look better in any room.
Painting Or Staining Options
Choose paint for bright colors or a smooth finish. Staining shows the wood’s natural grain. Both methods protect wood from damage and moisture. Use light colors for small spaces. Dark stains add warmth and style.
Sealing For Durability
Apply a clear sealant to protect the surface. It stops scratches and water damage. Use polyurethane or varnish for strong protection. Let each coat dry well before adding another. Sealing keeps your rack and shelves looking new.
Mounting The Rack And Shelves
Secure the rack and shelves to the wall firmly. Use wall anchors for heavy coats or items. Check that everything is level before drilling. Proper mounting ensures safety and long-term use. Test the strength by gently pulling on the rack.
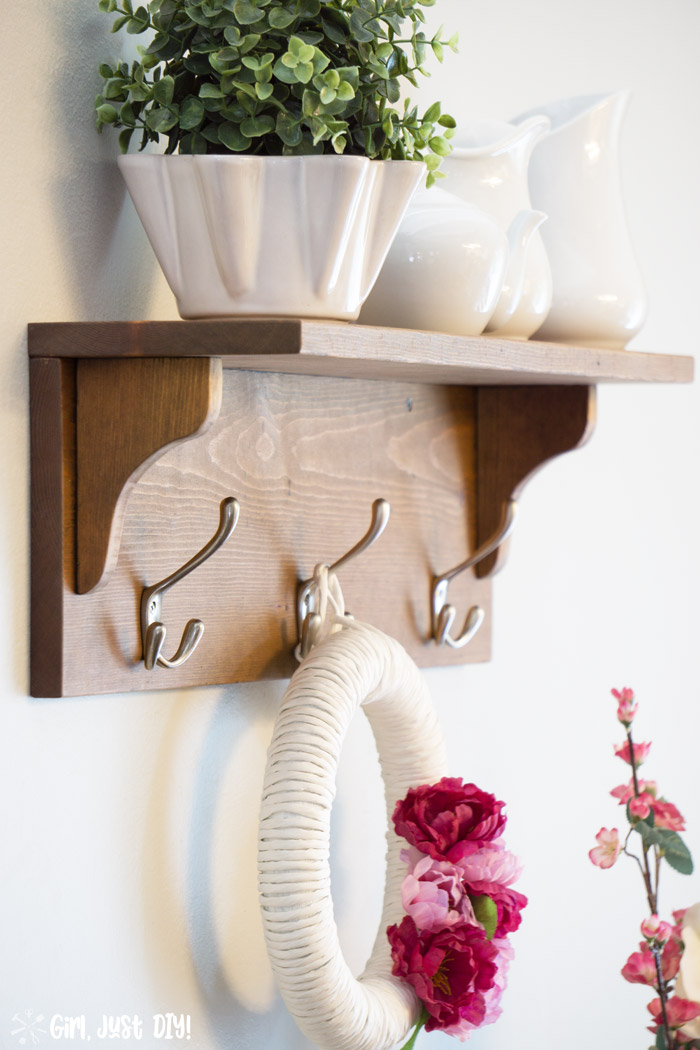
Credit: www.girljustdiy.com
Maintenance And Upkeep
Maintaining your coat rack and shelves keeps them looking fresh and lasting longer. Regular care prevents damage and keeps the wood or metal strong. Simple upkeep steps protect your investment and save money on repairs.
Cleaning Tips
Dust your coat rack and shelves often with a soft cloth. Use a damp cloth for sticky spots but avoid soaking the wood. Mild soap and water work well for most finishes. Dry surfaces immediately to stop water damage. Avoid harsh chemicals that can ruin paint or wood.
Repairing Minor Damages
Small scratches or dents can be fixed easily at home. Use wood filler or putty for holes and cracks on wood surfaces. Sand gently after it dries to smooth the area. Tighten loose screws or hooks with a screwdriver. Replace any broken parts quickly to avoid bigger problems.
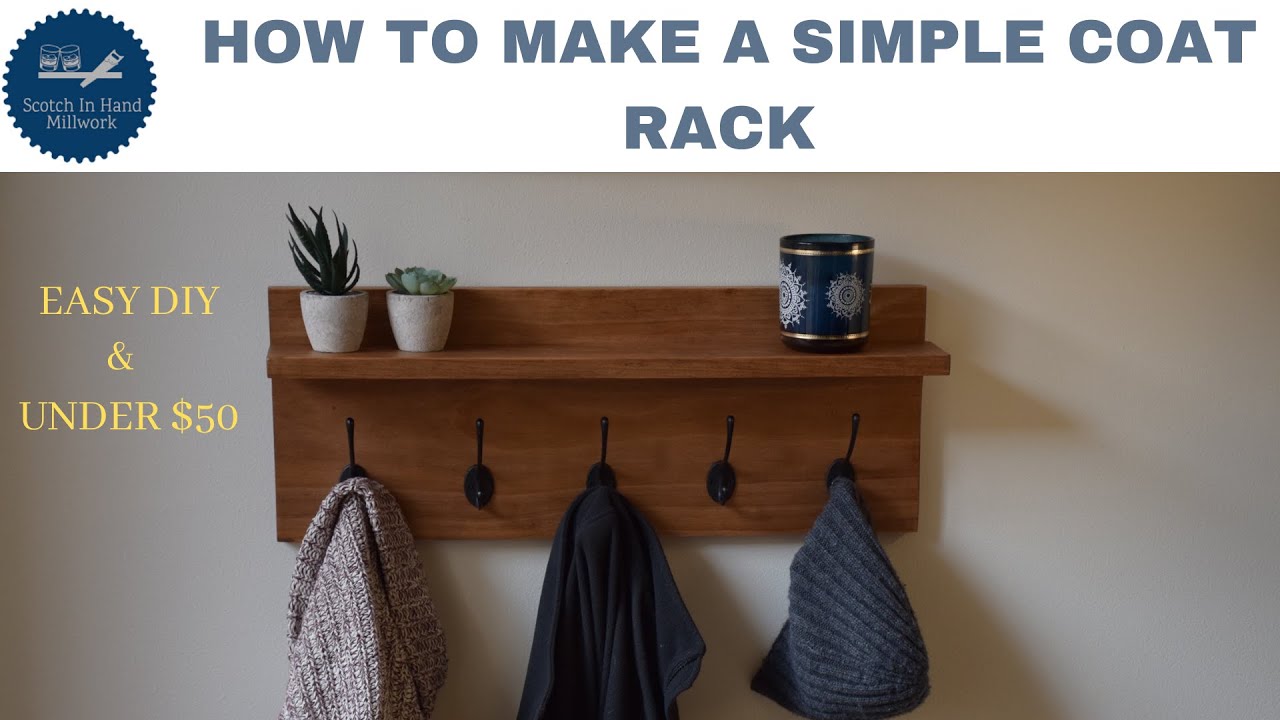
Credit: www.youtube.com
Frequently Asked Questions
How Do I Start Making A Coat Rack?
Begin by choosing sturdy wood and measuring your space. Cut wood pieces to size, then sand and assemble the frame securely.
What Tools Are Needed For Shelves And Coat Rack?
You will need a saw, drill, screws, measuring tape, level, sandpaper, and wood glue for assembly and finishing.
How Can I Attach Shelves To The Coat Rack?
Use brackets or cleats screwed into the coat rack frame. Ensure they are level and securely fastened to hold weight.
What Type Of Wood Is Best For Coat Racks?
Hardwoods like oak, maple, or pine are durable and attractive. They support weight well and resist wear over time.
Conclusion
Creating a coat rack and shelves can be simple and fun. You only need basic tools and some wood. Follow the steps carefully, and you will build something useful. This project saves money and adds style to your space. Enjoy the feeling of making your own furniture.
Try different designs to fit your room. Start small and grow your skills with each project. Crafting brings pride and a sense of accomplishment. Keep practicing, and your work will improve over time.

