Are you tired of searching for the perfect bookshelf that fits your space and style? What if you could create one yourself, exactly how you want it?
Making a custom bookshelf is easier than you think, and it gives you a chance to add a personal touch to your home. In this guide, you’ll discover simple steps to build a sturdy, beautiful bookshelf that matches your needs perfectly.
Keep reading, and by the end, you’ll have the confidence to start your own project and transform your space.
Planning Your Bookshelf
Planning your custom bookshelf is the first and most important step. Careful planning helps create a sturdy and useful piece. It saves time, materials, and effort during building. Taking time to plan ensures the bookshelf fits your space and needs perfectly.
Choosing The Right Size
Measure the space where the bookshelf will go. Note the height, width, and depth available. Think about how many books or items you want to store. Leave extra room for bigger books or decorations. The right size makes your bookshelf both practical and attractive.
Selecting Materials
Pick materials based on your budget and style. Wood is strong and classic. Plywood is affordable and easy to work with. Consider metal or plastic for a modern look. Choose finishes that match your room’s decor. Good materials add durability and beauty.
Designing The Layout
Decide how many shelves you need. Vary shelf heights for different book sizes. Add space for decorations or storage boxes. Think about open shelves or closed cabinets. A well-planned layout keeps everything organized and easy to reach.
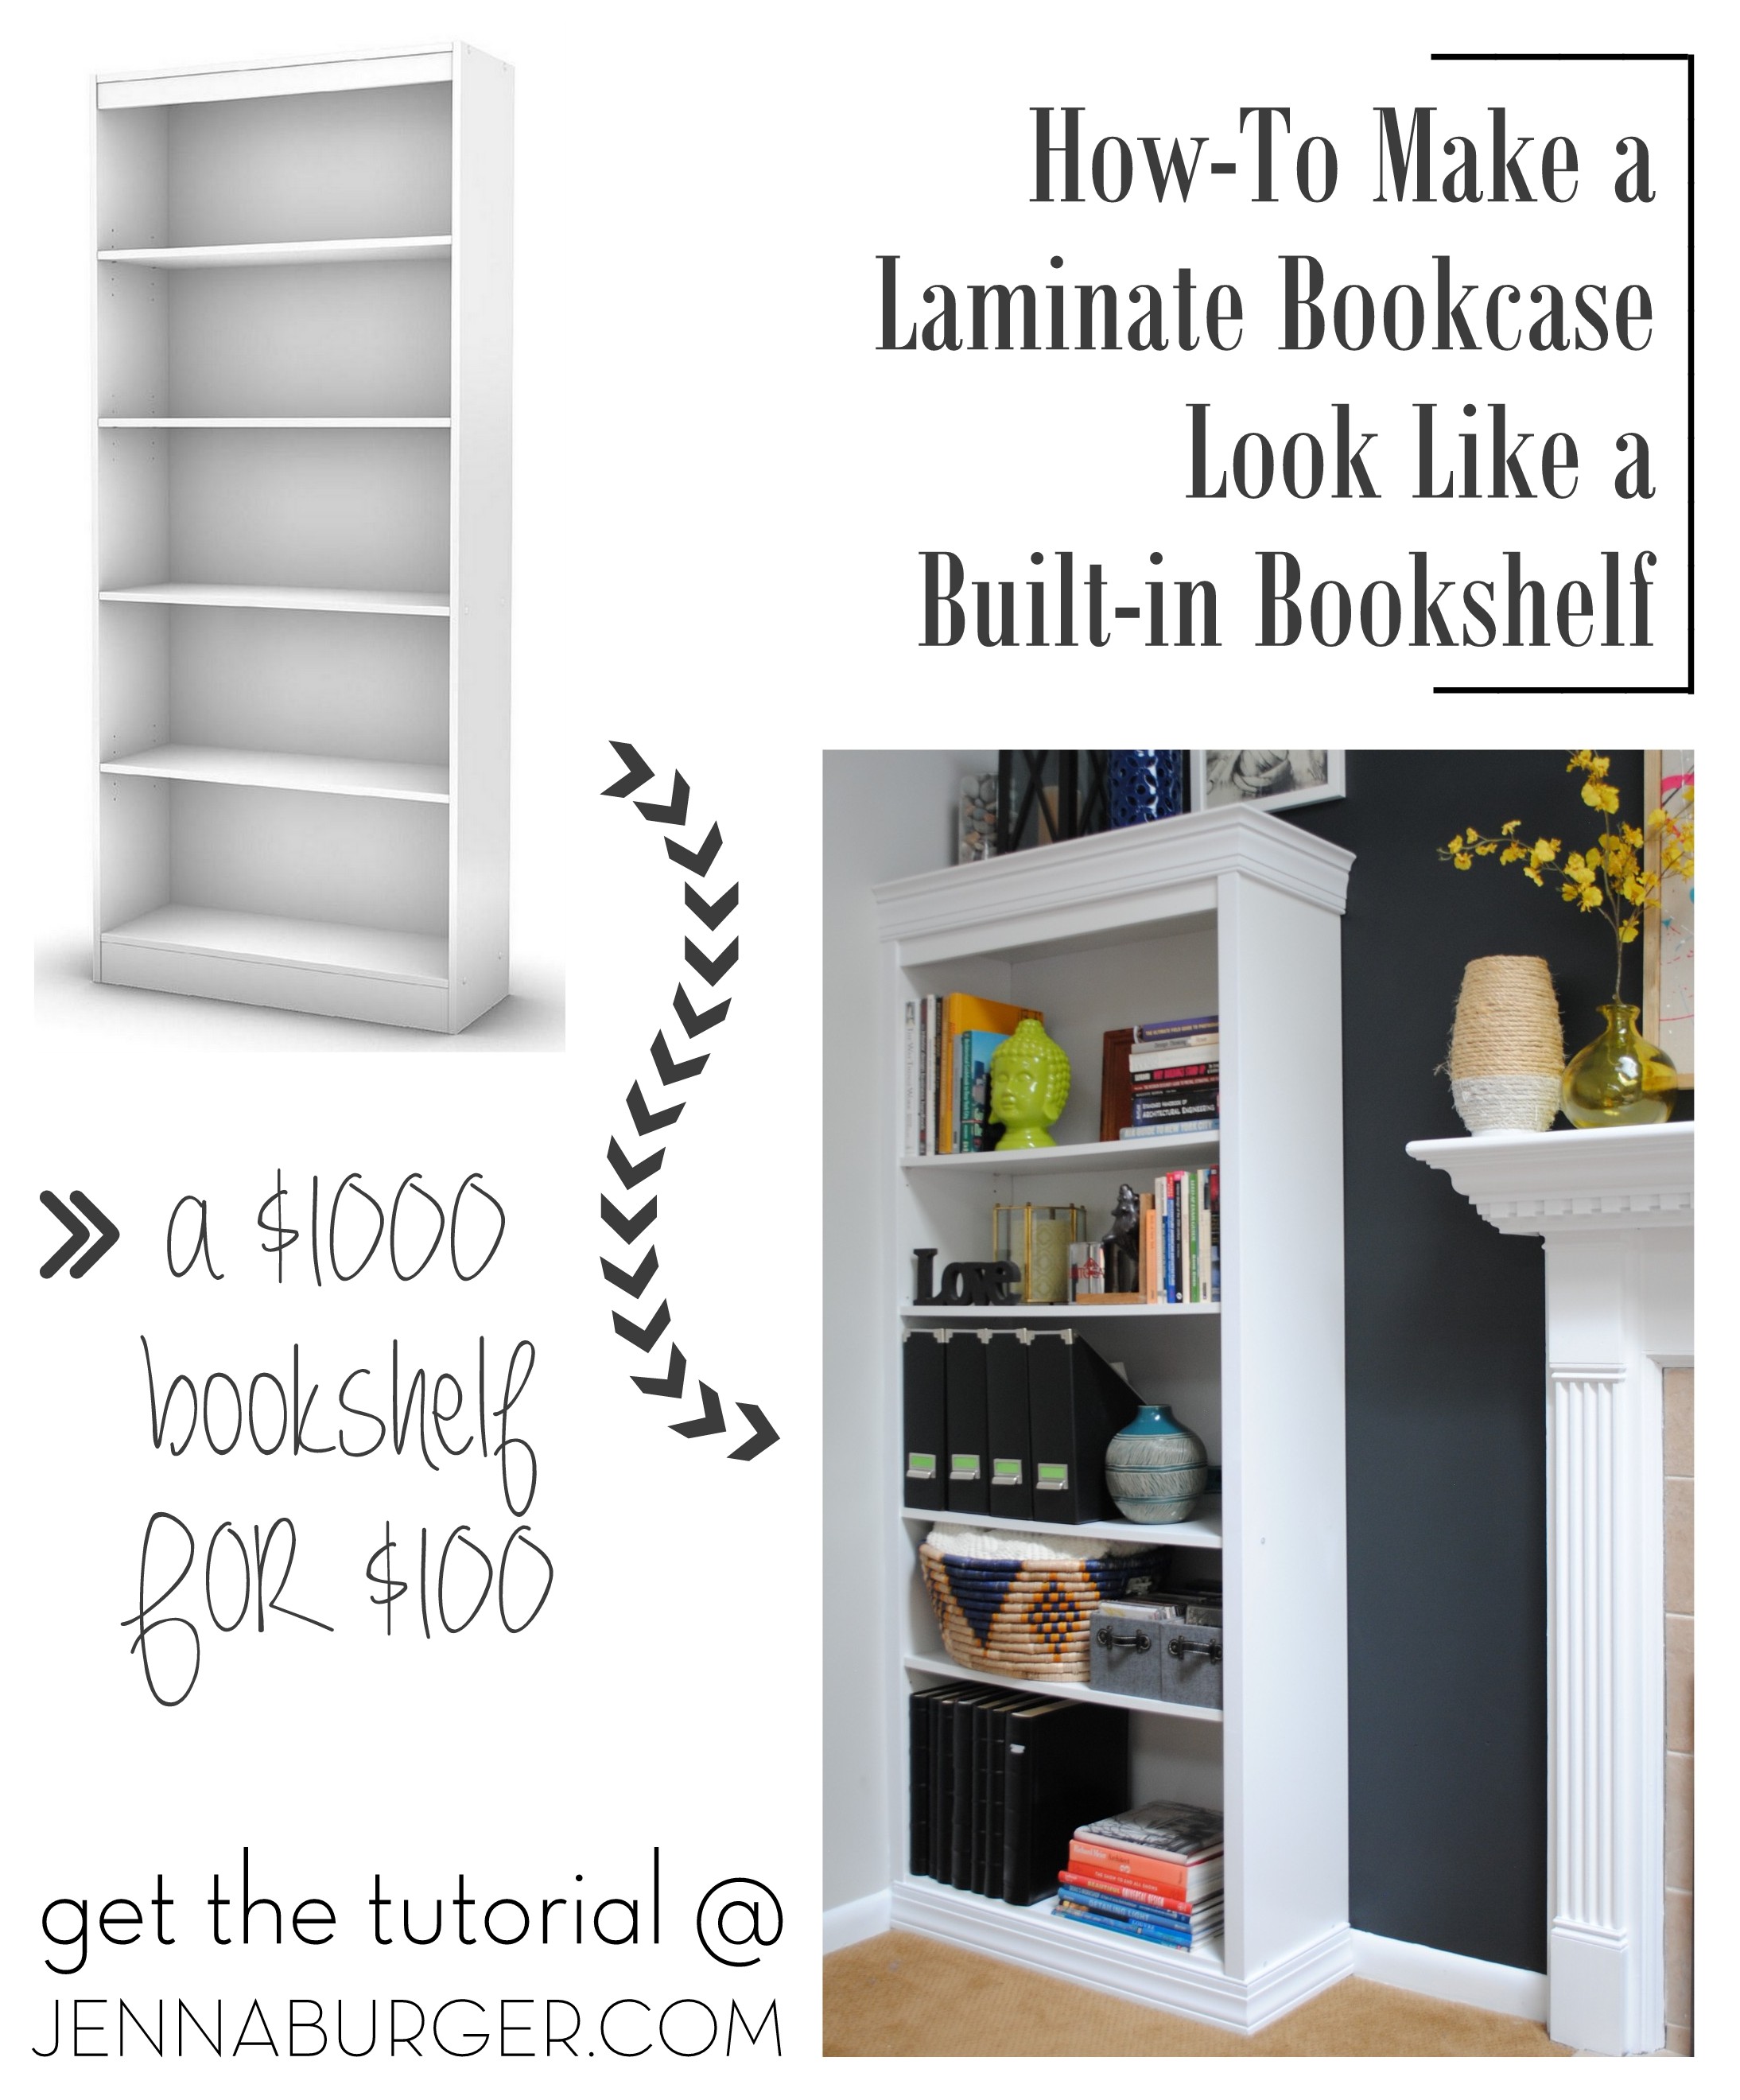
Credit: jennaburger.com
Gathering Tools And Supplies
Gathering the right tools and supplies is the first step to build a custom bookshelf. Having everything ready makes the project easier and faster. It also ensures your bookshelf is strong and looks great.
Use quality tools and materials. They help you work safely and create a shelf that lasts a long time. Check each item carefully before you start.
Essential Tools
Start with basic tools like a measuring tape and pencil for marking. A saw is needed to cut wood to size. Use a drill to make holes and drive screws. A level helps check if your shelf is straight. Sandpaper smooths rough edges. Clamps hold pieces together while you work.
Recommended Hardware
Choose screws that fit your wood thickness. Wood glue adds extra strength. Shelf brackets support the shelves. Use anchors if you fix the shelf to drywall. Pick screws and brackets with rust resistance for durability. These items keep your bookshelf safe and steady.
Safety Equipment
Protect your eyes with safety goggles. Wear gloves to avoid splinters and cuts. Use ear protection if power tools are loud. Work in a clean, well-lit area. Keep a first aid kit nearby. Safety gear prevents accidents and keeps you safe.
Cutting And Preparing Wood
Cutting and preparing wood is the first step to building a custom bookshelf. It ensures the wood pieces fit well and look neat. Careful preparation saves time later and makes the project easier. Follow simple steps to measure, cut, and smooth your wood correctly.
Measuring And Marking
Measure the wood carefully using a tape measure. Mark the cut lines clearly with a pencil. Double-check all measurements before cutting. Use a square tool to make straight lines. Accurate marks help avoid mistakes and wasted wood.
Safe Cutting Techniques
Wear safety goggles and gloves before cutting wood. Use a saw that matches your skill level. Cut slowly and steadily along the marked lines. Keep your hands away from the blade at all times. Secure the wood firmly to prevent slipping during cutting.
Sanding For Smooth Surfaces
Sand the cut edges with medium-grit sandpaper first. Then, use fine-grit sandpaper for a smooth finish. Sand in the direction of the wood grain. Check for rough spots and sand them carefully. Smooth wood looks better and feels safer to touch.
Credit: thediyplaybook.com
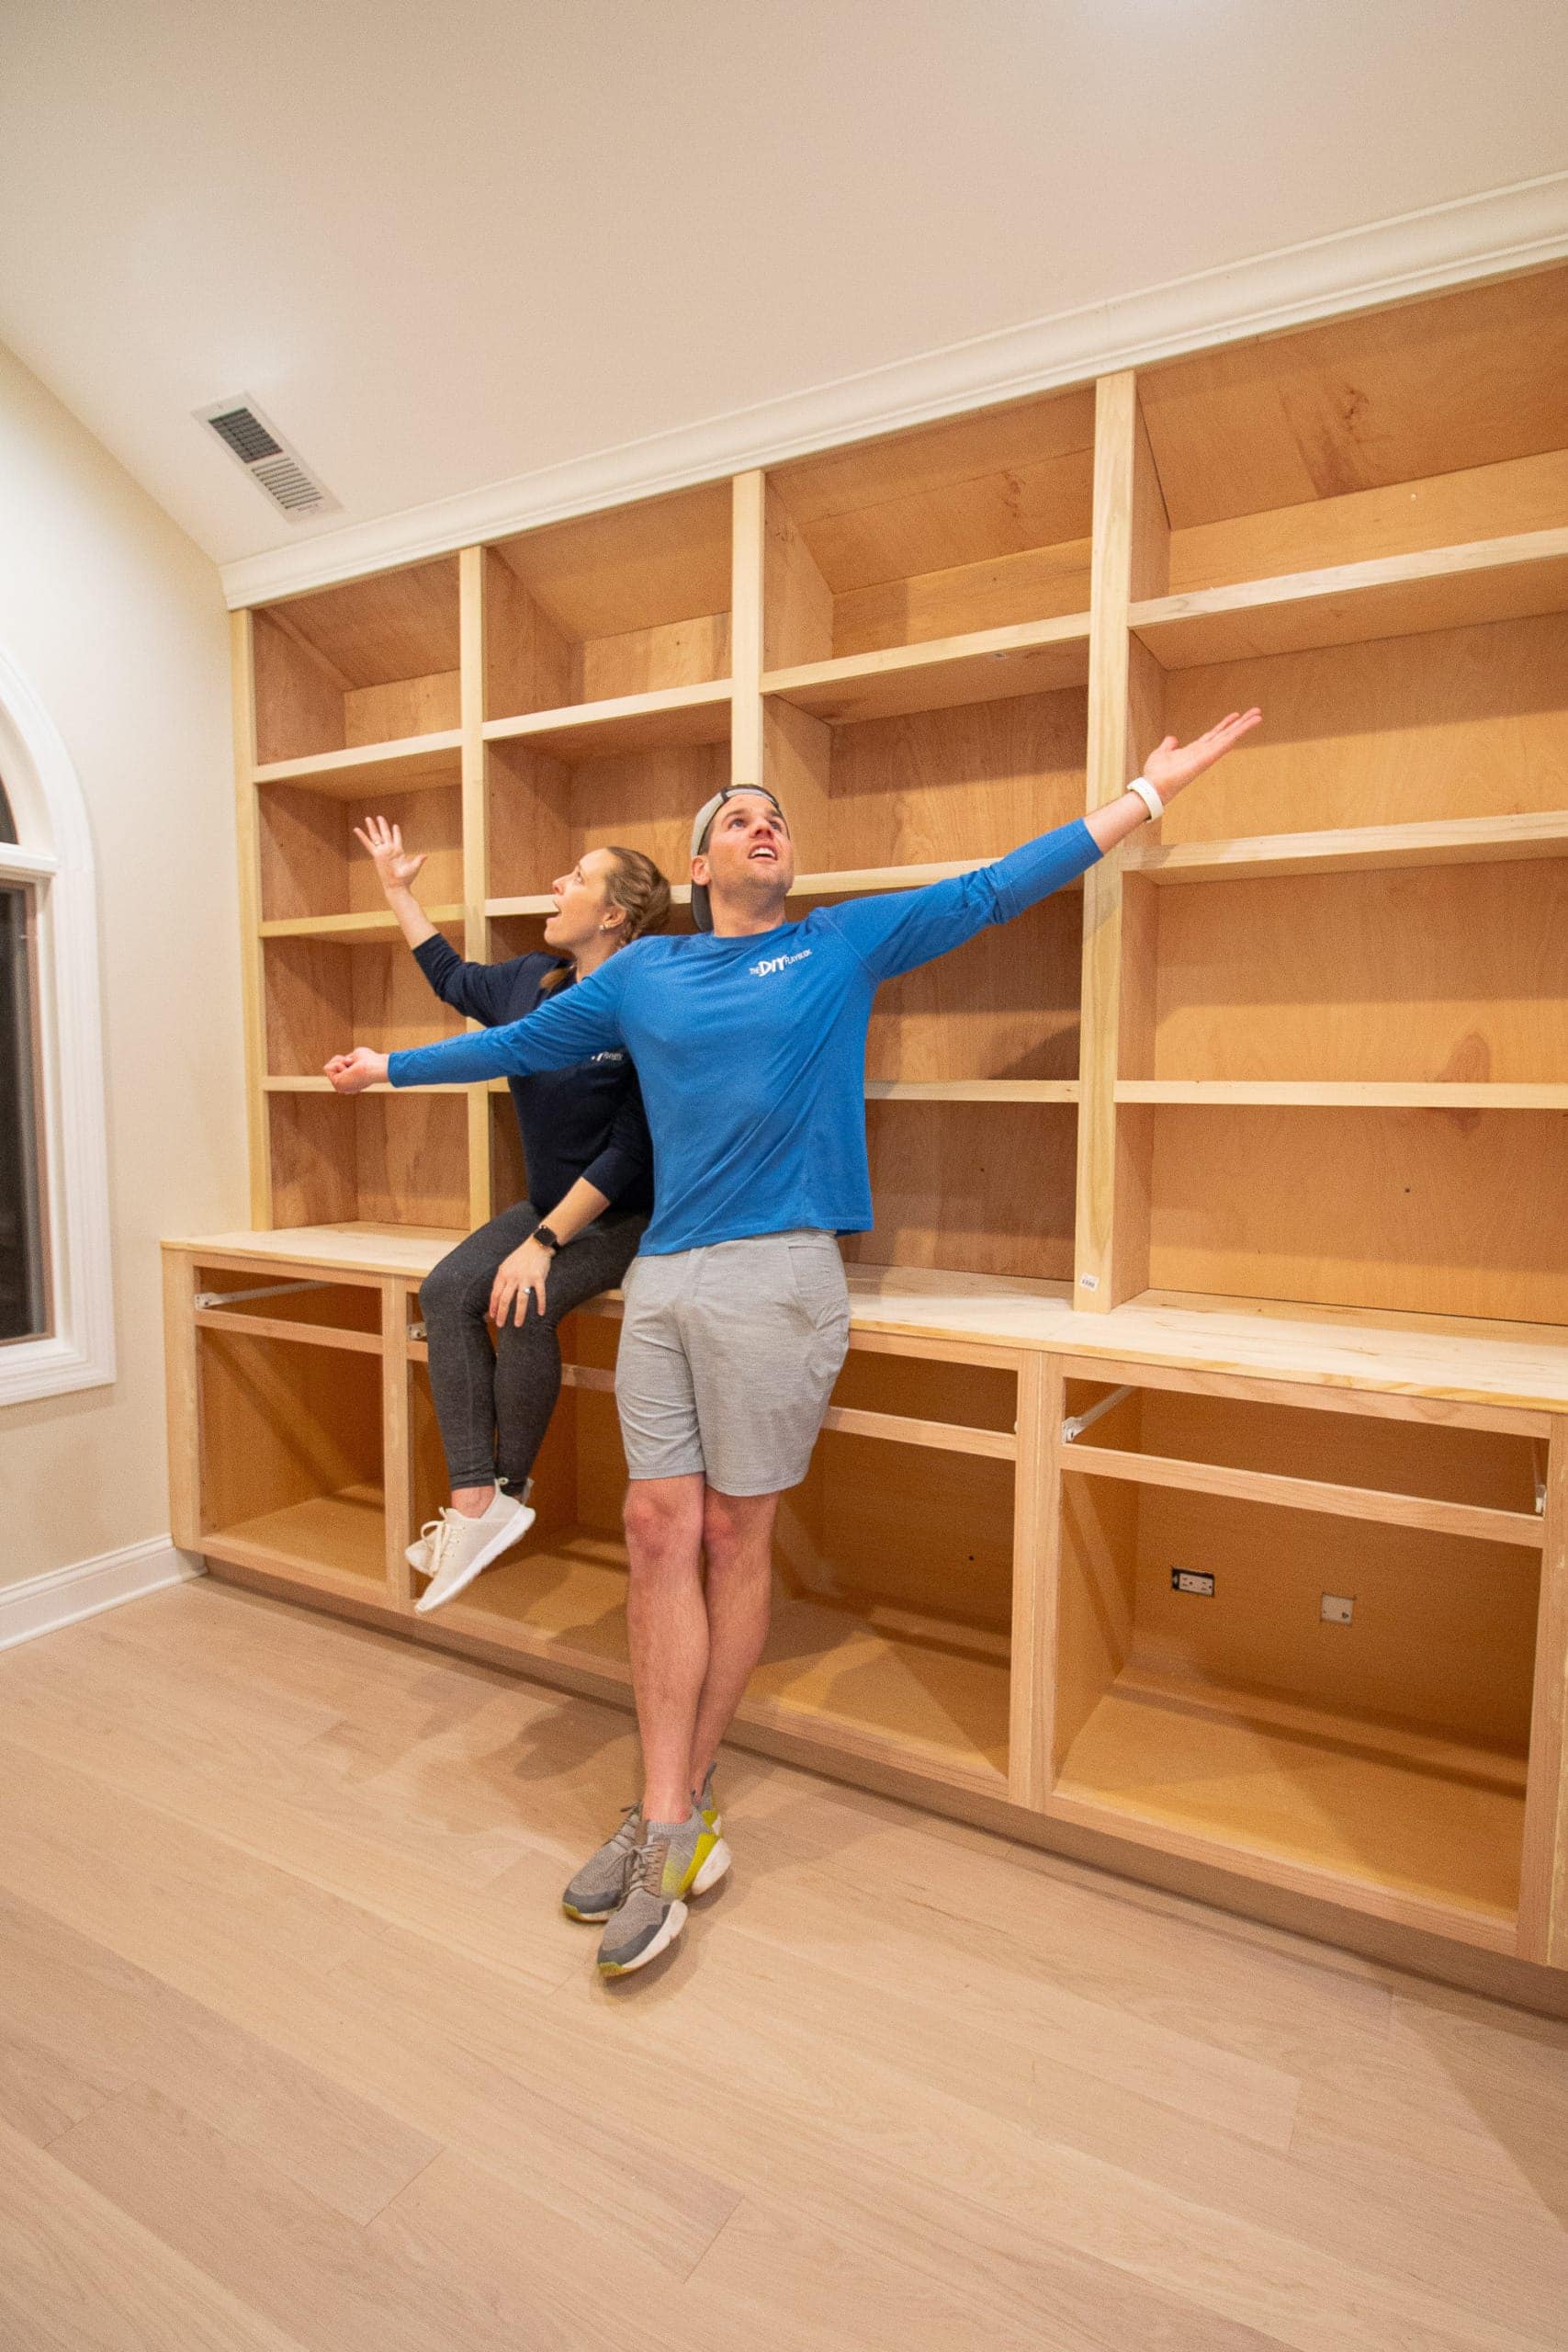
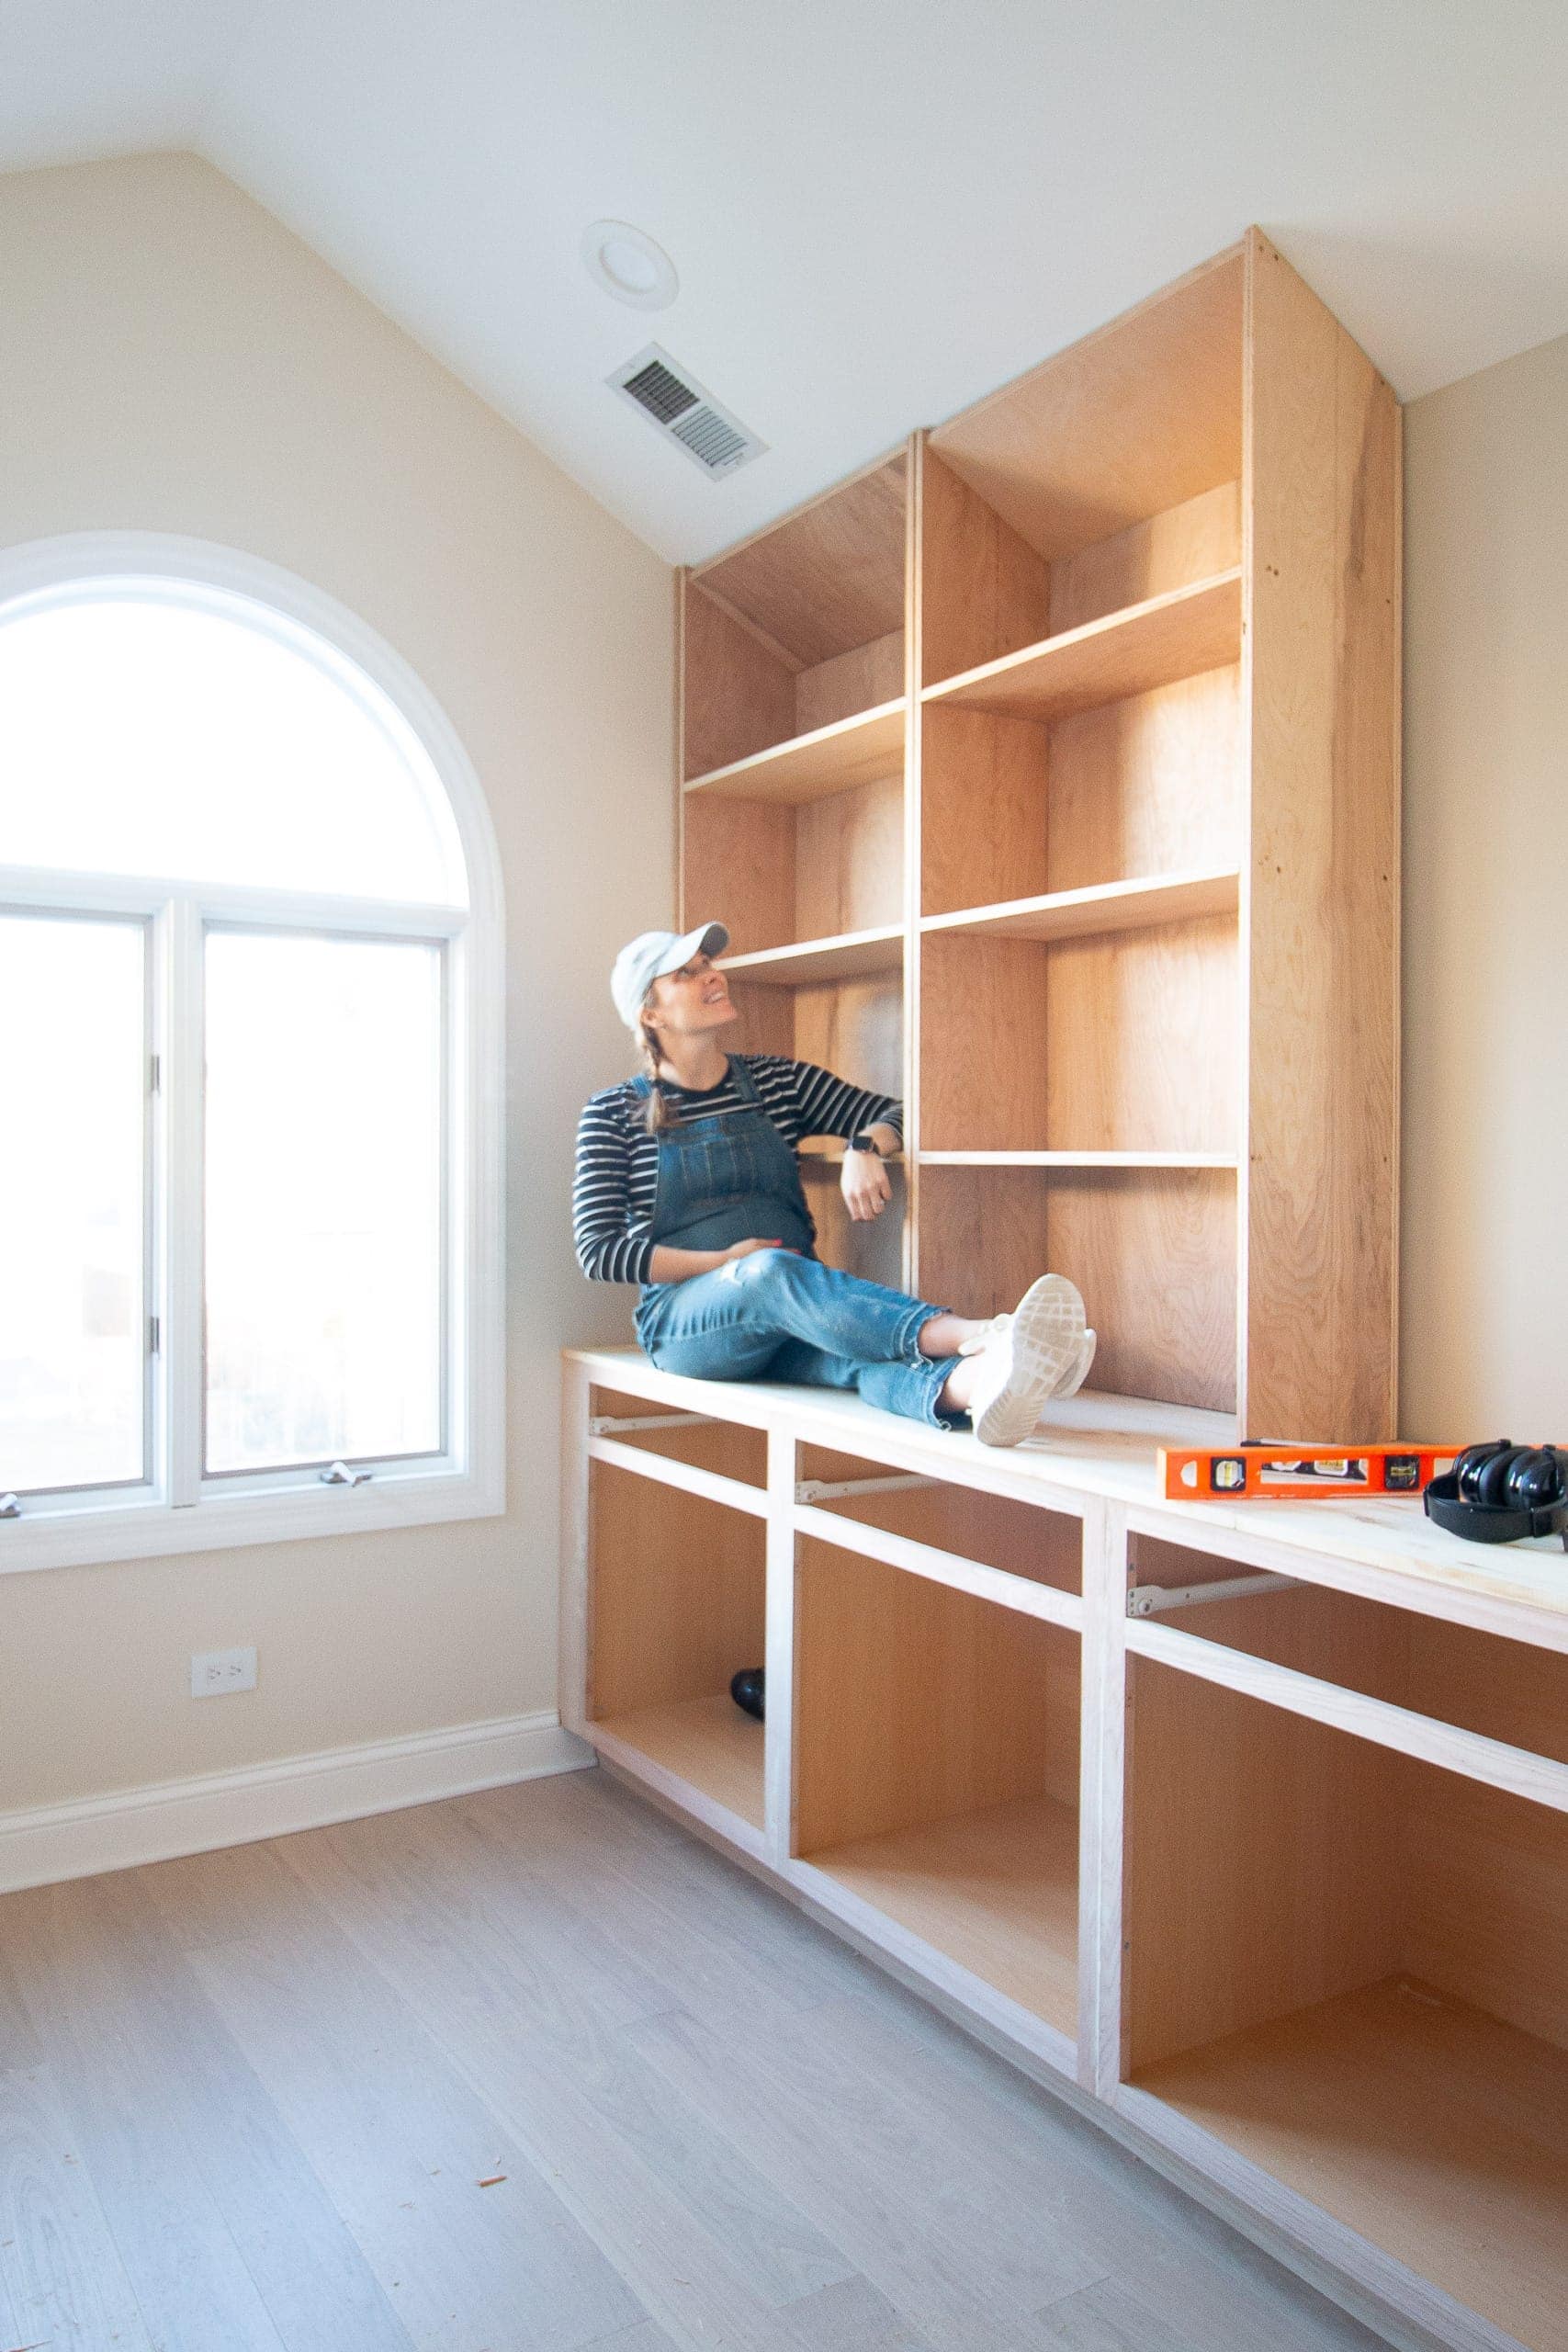
Assembling The Frame
Assembling the frame is the key step in making a custom bookshelf. The frame holds everything together. It shapes the bookshelf and defines its strength. A well-built frame ensures your shelves stay secure and last long.
Start with careful measuring and cutting of wood pieces. Each part must fit perfectly. Take time to check all angles and edges. Precision here makes the assembly easier and the shelf sturdier.
Joining Techniques
Choose the right joining method for strong connections. Common techniques include screws, nails, and wood glue. Screws offer firm hold and can be removed if needed. Nails work well but may loosen over time. Wood glue adds extra strength but requires clamping until dry.
Dovetail and biscuit joints add durability and neatness. These need special tools but improve the shelf’s look. Simple butt joints work for beginners and are quick to do. Use clamps to hold pieces steady while joining.
Securing Shelves
Attach shelves firmly to the frame for safety. Use brackets or cleats under each shelf for support. Screws into the side panels keep shelves from shifting. Pre-drill holes to avoid wood splitting.
Check shelf level before fixing. Uneven shelves can cause items to slide off. Adjust as needed with shims or sanding. Secure all shelves tightly to handle weight without sagging.
Ensuring Stability
Stability prevents the bookshelf from wobbling or tipping. Add a back panel to brace the frame. Use screws or nails to fix it flat against the frame.
Level the bookshelf on the floor using adjustable feet or shims. Reinforce corners with metal brackets for extra strength. Test by gently shaking the frame. Tighten any loose joints immediately.
Finishing Touches
Finishing touches give your custom bookshelf a polished look. They protect the wood and add style. This step makes your project last longer and look great in your space.
Painting And Staining
Choose paint or stain that matches your room’s style. Paint can add color and cover imperfections. Stain shows the wood’s natural beauty. Apply thin, even coats for best results. Let each coat dry fully before the next.
Adding Decorative Elements
Decorative elements add personality to your bookshelf. Use molding, trim, or decals to create unique details. Small touches like metal handles or corner brackets work well. These details make your shelf stand out without being too busy.
Sealing For Durability
Seal your bookshelf to protect it from damage. Use clear varnish, polyurethane, or wax. Sealing prevents scratches, stains, and moisture damage. Apply two or three coats for strong protection. Let each layer dry before adding the next.
Credit: thediyplaybook.com
Installing And Styling
Installing and styling your custom bookshelf can turn it into a beautiful and useful part of your home. Proper installation keeps it safe and strong. Thoughtful styling makes your space look inviting and neat.
Mounting Options
Choose the right mounting for your shelf. Wall-mounted shelves save floor space. Use strong brackets or hidden supports for stability. Freestanding shelves are easy to move and adjust. Secure heavy shelves to the wall to prevent tipping.
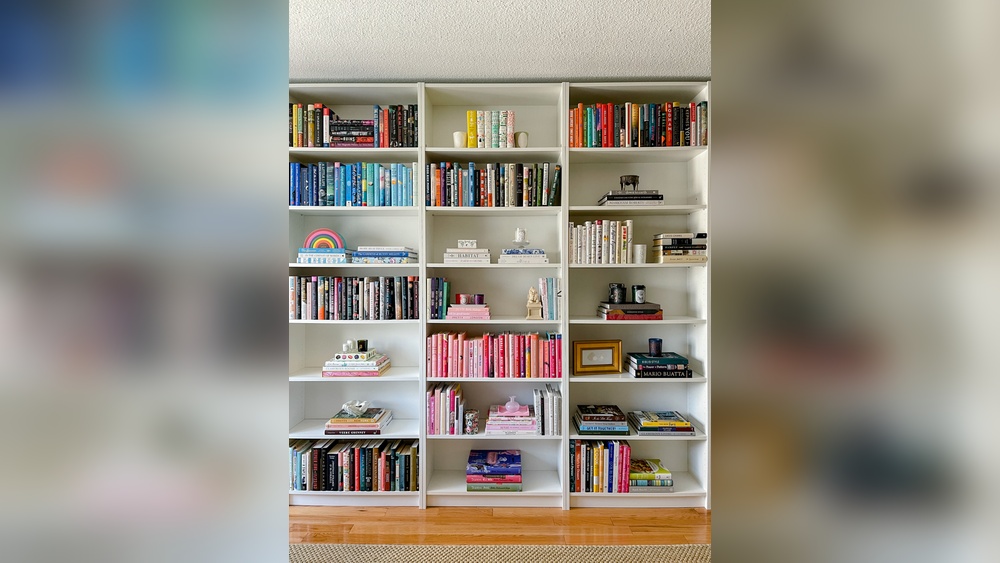
Arranging Books And Decor
Place books vertically for easy access. Mix horizontal stacks to add variety. Balance colors and sizes for a tidy look. Add small plants or art pieces for charm. Leave some empty space to avoid clutter.
Maintaining Your Bookshelf
Dust your shelf often to keep it clean. Check brackets and screws regularly. Tighten any loose parts for safety. Avoid placing heavy items on weak spots. Use a soft cloth and mild cleaner for wood surfaces.
Frequently Asked Questions
What Materials Are Best For Building A Custom Bookshelf?
Wood like pine, oak, or plywood are ideal for custom bookshelves. They are sturdy, easy to work with, and provide a classic look. Choose materials based on your budget, style, and durability needs. Quality wood ensures your bookshelf lasts for years and holds heavy books safely.
How Do I Measure Space For A Custom Bookshelf?
Measure the width, height, and depth of the intended space. Allow extra room for ease of installation and ventilation. Accurate measurements help create a bookshelf that fits perfectly and maximizes storage. Use a tape measure and record dimensions carefully before starting the build.
What Tools Are Needed To Make A Custom Bookshelf?
Basic tools include a saw, drill, measuring tape, level, and screwdriver. Sandpaper and clamps help with finishing and assembly. Having the right tools ensures precise cuts and a sturdy construction. Invest in quality tools to achieve professional results and safety.
How Can I Customize Bookshelf Design For My Needs?
Adjust shelf height, width, and number to fit your books and decor. Add features like adjustable shelves, drawers, or lighting for functionality. Customization allows your bookshelf to reflect personal style and storage requirements. Plan your design before building for the best outcome.
Conclusion
Building a custom bookshelf can be simple and fun. You choose the size, shape, and color yourself. This way, it fits perfectly in your space. Using basic tools and materials makes the project easy. Step by step, you see your idea come alive.
A custom bookshelf adds style and storage to any room. It also gives a sense of pride and joy. Try this project to create something useful and personal. Enjoy the process and the final result.