Are you looking for a fun and creative way to make a doll bunk bed that stands out? Imagine building a stylish mini bunk bed using just paper—easy, affordable, and perfect for your dolls!
In this guide, you’ll discover simple steps that anyone can follow, even if you’re new to crafting. By the end, you’ll have a unique doll bunk bed that adds charm to your doll’s room and shows off your creativity. Ready to turn plain paper into a cool piece of doll furniture?
Let’s get started!
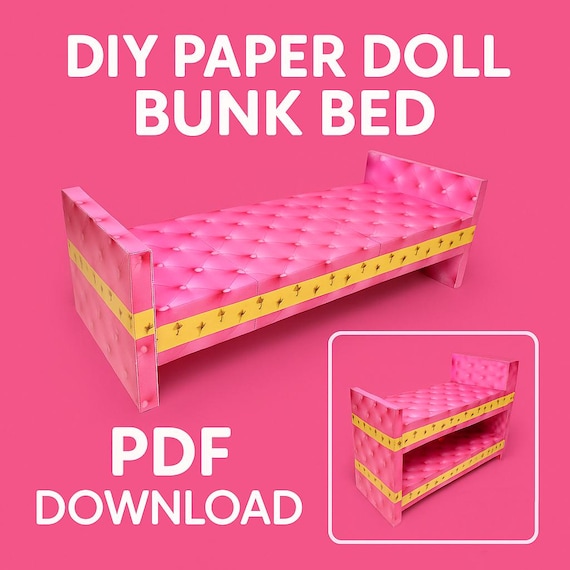
Credit: www.etsy.com
Materials Needed
Gathering the right materials is the first step to build a doll bunk bed from paper. Using simple supplies makes the project easy and fun. The materials are common and cost little.
Each item helps shape the bed and makes it strong. Having everything ready speeds up the work. Here is what you need.
Paper Types
Use thick paper or light cardboard for the bed’s frame. Regular printer paper is good for small details. Colored paper adds style and fun to the design.
Cutting Tools
Scissors work well for basic shapes. A craft knife gives clean, sharp edges for detailed cuts. Use a cutting mat to protect surfaces.
Adhesive Options
White glue sticks parts firmly. Double-sided tape is neat and quick. Avoid too much glue to keep paper flat.
Measuring Tools
A ruler helps keep lines straight. A pencil marks where to cut or fold. These tools improve accuracy and neatness.
Decorative Supplies
Markers and colored pencils add color and patterns. Stickers or small fabric pieces can decorate mattresses or pillows. Personal touches make the bed unique.
Choosing The Right Paper
Choosing the right paper is the first step to make a sturdy doll bunk bed. The paper type affects how strong and neat your bed will look. Picking the wrong paper can make your bed weak or hard to fold. Use the best paper for easy cutting and folding. This helps your project last longer and look better.
Types Of Paper Suitable For Doll Bunk Beds
Cardstock is thick and holds shape well. It is easy to fold but stays strong. Construction paper is colorful but may tear easily. Printer paper is thin and not very strong. Choose paper that can hold weight without bending.
Paper Thickness And Strength
Paper thickness is measured in grams per square meter (gsm). A higher gsm means thicker paper. Pick paper with 160-200 gsm for balance of strength and foldability. Thin paper might rip when folded or glued. Thick paper is harder to cut but lasts longer.
Surface Texture And Finish
Smooth paper allows neat folds and clean cuts. Rough paper can cause tearing or uneven edges. Matte finish paper reduces glare and looks natural. Glossy paper looks shiny but can be slippery to work with. Choose surface type based on your design preference.
Color And Pattern Choices
Solid colors create a simple and clean look. Patterns add fun and style to your bunk bed. Match colors to your doll’s room or style. Avoid very dark colors; they hide details. Light colors show folds and cuts clearly.
Cutting The Paper Pieces
Cutting the paper pieces is a key step in building a doll bunk bed. It shapes the parts that will come together to make the bed. Careful cutting ensures the bed looks neat and fits well.
Use clean, straight cuts for a smooth finish. Take your time and be precise. Messy edges can make the bed unstable or less attractive.
Measuring Dimensions
Start by measuring the paper carefully. Use a ruler to get exact sizes. Each piece must match the bed’s design. Write down the measurements to avoid mistakes.
Measure the length, width, and height of each part. Measure twice before cutting. Accurate sizes help all parts fit perfectly.
Marking And Cutting
Mark the paper using a pencil or light pen. Draw clear lines on the paper. These lines guide your cutting and keep shapes correct.
Cut along the marked lines with sharp scissors or a craft knife. Cut slowly and steadily. Avoid jagged edges by following the lines closely.
Keep the cut pieces organized. Label them if needed. This makes assembly easier and faster.
Folding Techniques
Folding techniques are key to making a sturdy paper doll bunk bed. Good folds give the bed shape and strength. You must fold carefully and precisely. Paper can tear or bend if folded wrong. Practice the right folds to build a lasting bed.
Creating Strong Folds
Start by scoring the paper lightly. Use a blunt tool or the back of a knife. This helps the paper fold cleanly. Fold along the scored lines slowly and gently. Press firmly to make sharp creases. Avoid folding too fast to stop cracks or rips. Strong folds keep the bed parts together well.
Shaping The Bed Frame
Fold the paper to form the bed’s sides and base. Use mountain and valley folds to shape corners. Make sure the frame is even and balanced. Fold edges inward for a neat look. Shape the headboard and footboard with small, precise folds. This gives the bed a clear structure. Proper shaping makes the bunk bed look real and solid.
Assembling The Bunk Bed
Assembling the doll bunk bed is a fun step. It brings the project to life. Follow each part carefully for a strong and neat bed. Take your time and enjoy the process.
Building The Base
Start with the base of the bunk bed. Lay the paper pieces flat on your workspace. Glue the sides and bottom together to form a sturdy frame. Make sure the edges meet well. Press firmly and hold until dry. This base will support the whole bed.
Adding The Upper Bunk
Next, prepare the upper bunk. Use similar steps as the base. Fold and glue the paper to create the top bed frame. Let it dry before placing it on the base. Check that the size fits well. This step adds the second sleeping space for your dolls.
Securing The Structure
Attach the upper bunk to the base carefully. Use extra glue on the joining edges for strength. Hold the pieces together until the glue sets. Add small paper strips as supports between bunks. These keep the bed stable and safe for play. Double-check all parts are tight and dry.
Decorating Your Doll Bunk Bed
Decorating your paper doll bunk bed brings it to life. It makes the bed look fun and unique. You can use simple tools and ideas to make it special. Small touches can create a cozy space for your dolls. Let’s explore easy ways to decorate your doll bunk bed.
Painting And Coloring
Use bright colors to paint your doll bunk bed. Choose watercolors or markers for smooth coverage. Paint the frame in your favorite colors. Add patterns like stripes or polka dots for style. Let the paint dry completely before moving on. This step adds personality to your paper bed.
Adding Accessories
Accessories make your bed more realistic and fun. Cut small paper pillows and blankets to fit the beds. Use fabric scraps for a soft touch. Glue tiny paper books or toys near the bed. Create small curtains from tissue paper for extra charm. These details make your doll bunk bed cozy and inviting.
Tips For Durability
Making a doll bunk bed out of paper is fun, but durability matters. A strong bed lasts longer and holds better during play. Small changes in how you build can make a big difference. Focus on key tips to keep the bed sturdy and safe for dolls.
Use Thick Paper Or Cardstock
Choose thicker paper or cardstock for building the bed. Thin paper bends easily and tears fast. Cardstock gives solid support. It helps the bed hold its shape well.
Reinforce Joints With Glue
Apply glue carefully at all joints and corners. Extra glue makes connections stronger. Wait for glue to dry fully before moving the bed. This prevents pieces from falling apart.
Double Layers For Key Parts
Glue two layers of paper together for important parts. Use this for the bed frame and ladder. Double layers increase strength and reduce bending. It also adds weight for stability.
Use Small Paper Tabs For Support
Create small tabs on paper edges and fold them inside. Glue these tabs to add support to joints. Tabs help parts stay in place and resist stress. They make the structure tougher.
Protect With Clear Tape Or Sealant
Cover paper surfaces with clear tape or a light sealant. This protects from moisture and wear. Tape edges prevent tearing. A sealant adds a small layer of durability without changing look.

Credit: www.youtube.com
Common Mistakes To Avoid
Building a doll bunk bed out of paper is fun and creative. Yet, some common mistakes can make the process hard or the bed weak. Avoiding these errors helps you get a sturdy and beautiful doll bunk bed.
Using The Wrong Type Of Paper
Thin paper tears easily and cannot hold weight. Thick paper or cardstock works best. It offers strength and lasts longer. Avoid using regular printer paper for the main structure.
Skipping Precise Measurements
Not measuring pieces carefully causes poor fitting parts. This leads to a crooked or unstable bed. Always measure twice and cut once for neat results.
Ignoring Folding Techniques
Folding paper incorrectly can cause weak joints. Crease folds sharply with a ruler or bone folder. Soft folds may make the bed collapse quickly.
Using Too Much Glue
Glue puddles make paper soggy and weak. Apply glue sparingly and evenly. Excess glue can warp the paper and slow drying time.
Not Allowing Enough Drying Time
Rushing to assemble before glue dries leads to parts falling apart. Wait at least 30 minutes after gluing before handling the bed. Patience ensures strong bonds.
Forgetting To Reinforce Joints
Weak joints cause the bed to break easily. Add extra strips of paper or tape at connection points. Reinforcement improves durability and stability.
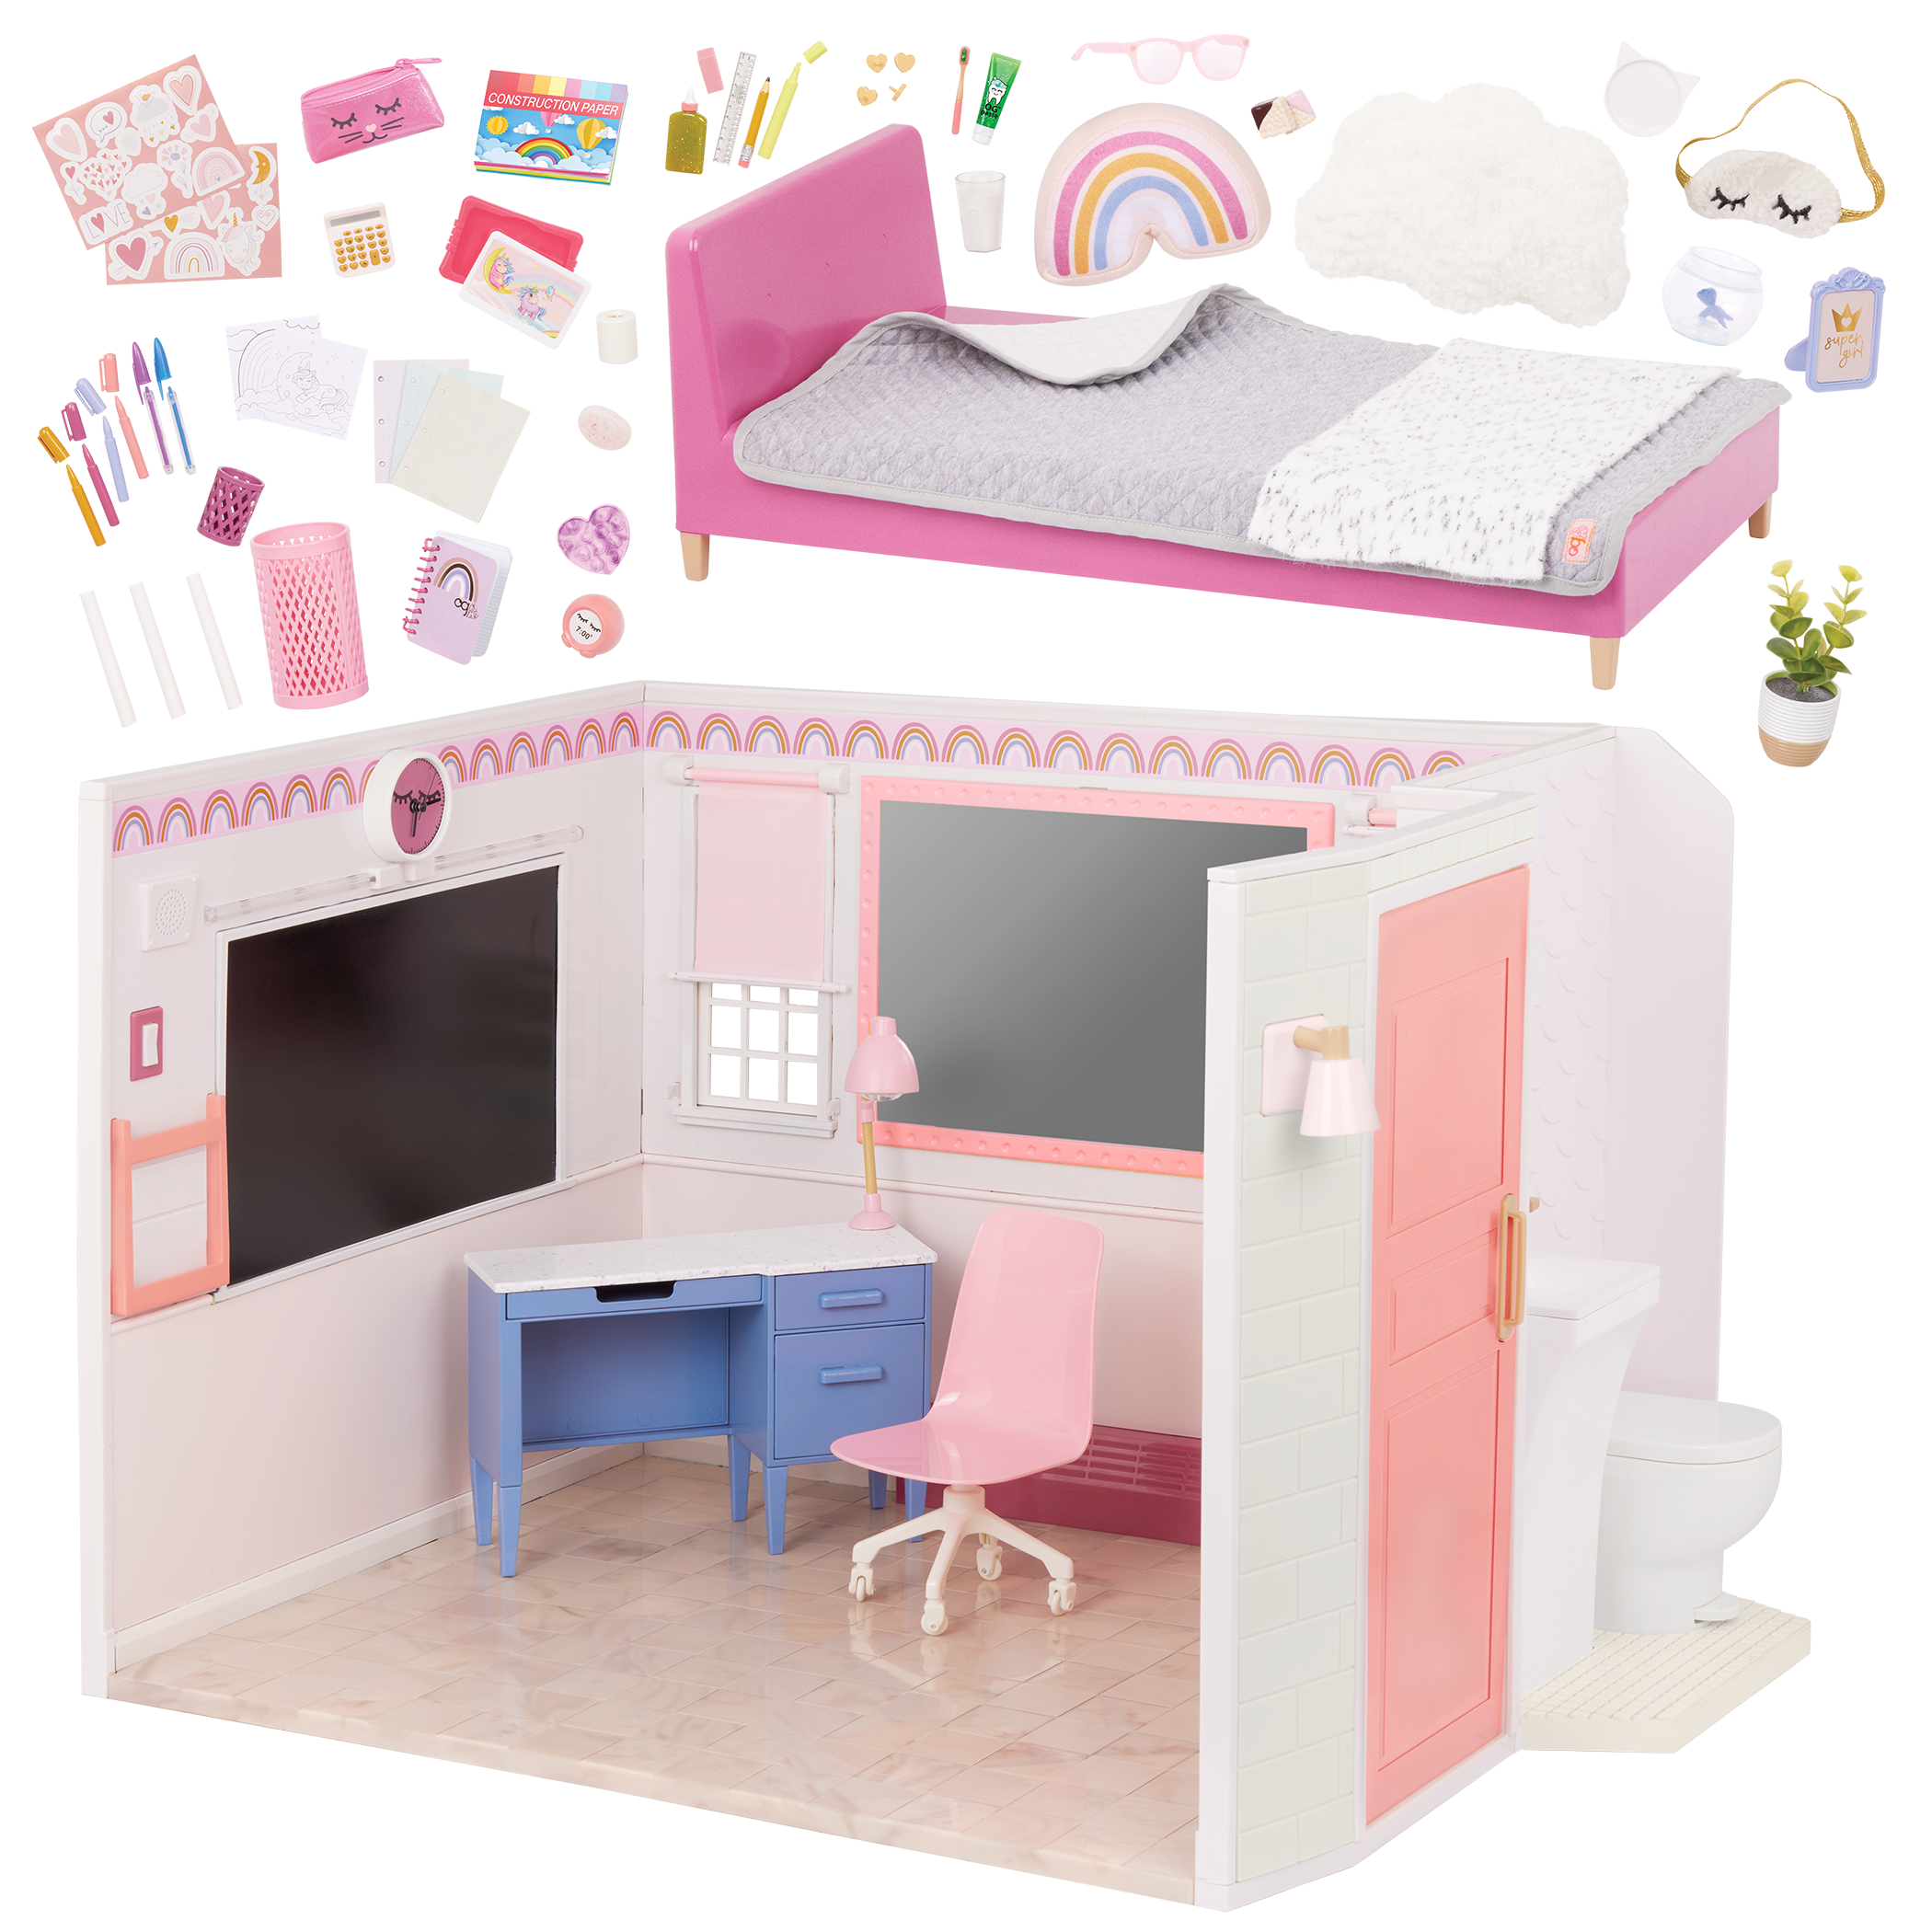
Credit: ourgeneration.com
Frequently Asked Questions
What Materials Are Needed To Make A Paper Doll Bunk Bed?
You need sturdy paper or cardstock, scissors, glue, ruler, and pencil. These materials ensure a strong, precise, and neat doll bunk bed structure.
How Long Does It Take To Make A Paper Doll Bunk Bed?
It typically takes about 30 to 45 minutes. The time depends on your crafting speed and paper cutting skills.
Can Kids Safely Make A Paper Doll Bunk Bed?
Yes, with adult supervision for using scissors and glue. It’s a fun, safe craft that encourages creativity and fine motor skills.
How Do I Make The Paper Bunk Bed Stable?
Use thick cardstock and apply glue carefully on joints. Allow enough drying time for a sturdy and stable paper bunk bed.
Conclusion
Making a doll bunk bed from paper is fun and simple. You only need a few materials and some patience. Kids and adults can enjoy crafting this together. It helps build creativity and fine motor skills. Plus, it saves money compared to buying toys.
Try different colors and designs to make it unique. Keep practicing to improve your folding and cutting. This project brings joy and a sense of pride. Give it a go and see how great your paper bunk bed turns out.
Simple crafts like this brighten any playtime.