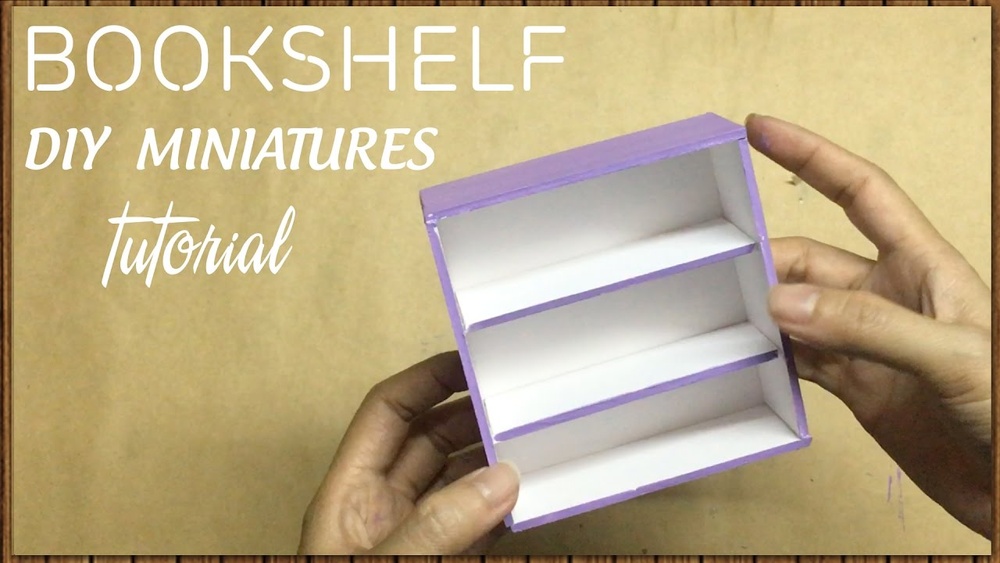
Do you love books but don’t have enough space to store them? Imagine having a tiny bookshelf made entirely out of paper, right on your desk or shelf.
It’s not only a fun project but also a clever way to organize your favorite mini books or notes. You’ll discover simple steps to create your own mini bookshelf using just paper. By the end, you’ll have a unique, handmade piece that’s perfect for your space—and a great conversation starter.
Ready to turn paper into something amazing? Let’s get started!
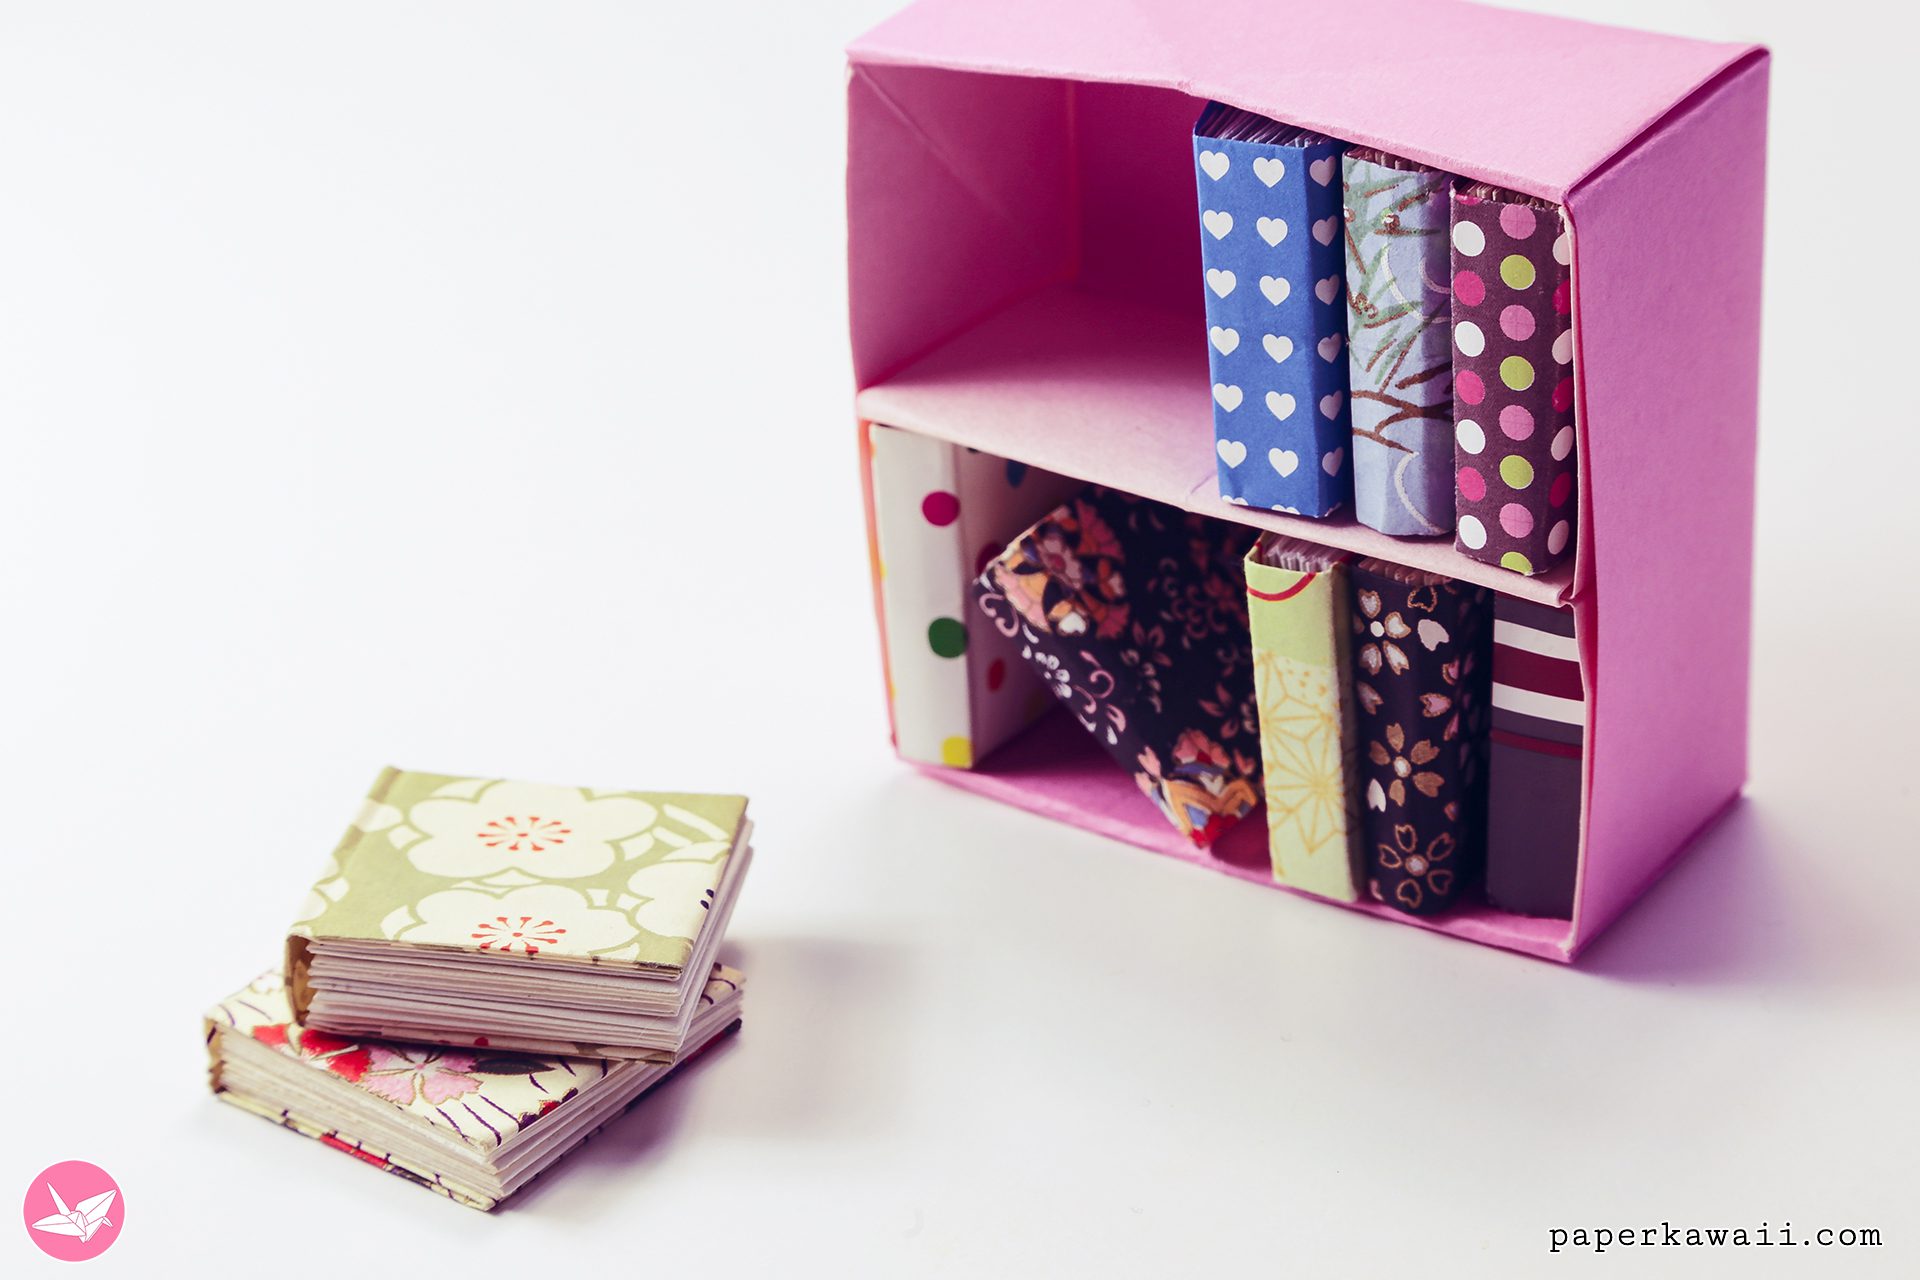
Credit: www.paperkawaii.com
Materials Needed
Gathering the right materials is the first step to making a mini bookshelf out of paper. Choose good quality supplies for a sturdy and neat result. This section explains the key materials you will need.
Types Of Paper
Pick paper that is thick and strong. Cardstock works well. It holds shape and does not tear easily. Scrapbook paper adds color and design. Avoid thin paper like regular printer sheets. Heavy paper gives your bookshelf stability. Choose colors or patterns that match your style.
Additional Supplies
You need glue to hold the paper parts together. Use white craft glue or a glue stick. Scissors or a craft knife will help cut paper precisely. A ruler and pencil are useful for measuring and marking. Tape can add extra support at corners. Optional items include paint or markers to decorate your shelf.
Preparing The Paper
Preparing the paper is the first step in making a mini bookshelf out of paper. It sets the foundation for a neat and sturdy project. Taking time here helps the bookshelf look clean and last longer.
Use good quality paper. Thicker paper works best for support. Plain or colored sheets both work well. Make sure the paper is smooth and free of tears or wrinkles. This makes folding easier and results in sharp edges.
Cutting To Size
Cut the paper into exact sizes needed for your bookshelf parts. Use a ruler and pencil to mark the paper clearly. Straight lines make the cuts precise.
Use scissors or a paper cutter. A cutter gives cleaner edges. Cut slowly to avoid mistakes. Each piece should match your design measurements.
Folding Techniques
Fold the paper carefully along marked lines. Sharp folds give the bookshelf strength and shape. Use a bone folder or the back of a spoon to press folds flat.
Fold slowly and evenly. Crease well to avoid weak spots. Try folding one piece as practice before the final ones.
Constructing The Shelf Frame
The frame is the heart of your mini bookshelf. It gives shape and strength to the entire project. Building a sturdy frame helps the shelf hold small books or items. Use thick paper or light cardstock for durability. Take your time to make clean, straight folds and cuts. This step-by-step guide helps you create a strong base and side panels.
Building The Base
Start with a rectangular piece of paper. The base should be slightly larger than the books you plan to place. Fold the edges up to form a shallow tray. Reinforce the folds by pressing firmly or adding a thin strip of tape. This base will support the weight and keep the shelf stable. Make sure the corners are sharp and well-defined.
Creating Side Panels
Cut two identical rectangles for the side panels. The height should match the base’s folded edges. Fold small tabs on the edges to attach panels to the base. Use glue or double-sided tape to secure the tabs firmly. Hold the panels in place until the glue dries. Strong side panels help the shelf keep its shape and stand upright.
Assembling The Shelves
Assembling the shelves is the most important step in making your mini bookshelf out of paper. This process gives shape and strength to the bookshelf. Careful work here ensures your shelves hold small books or decorations well.
Each shelf layer must fit perfectly to create a neat stack. Take your time to align each piece correctly. Using the right glue and pressing the layers firmly helps the shelves last longer.
Attaching Shelf Layers
Start by applying a thin line of glue along the edge of the paper layer. Place the next layer carefully on top. Press down gently but firmly to avoid air bubbles and gaps.
Repeat this step for all shelf layers. Make sure each layer is straight and matches the shape of the base. Use a ruler or straight edge for better alignment.
Ensuring Stability
Let the glued layers dry completely before moving on. Check the shelves for any loose parts and add more glue if needed. Stability comes from well-bonded layers and even pressure during drying.
Place a small weight on top while drying to keep the shelves flat. Avoid bending or twisting the paper during this time. A stable shelf will hold items better and last longer.
Decorating Your Bookshelf
Decorating your mini bookshelf makes it unique and personal. It changes plain paper into a fun, colorful project. You can use simple tools and materials to add style and charm. This step lets your creativity shine. Let’s explore easy ways to decorate your paper bookshelf.
Painting And Coloring
Paint adds bright colors and patterns to your bookshelf. Use watercolors or acrylic paints for the best results. Let each layer dry before applying the next. Colored markers or crayons work well for small details. You can create stripes, dots, or even tiny drawings. Keep your brush strokes smooth and light. These colors will protect the paper and make your shelf stand out.
Adding Embellishments
Embellishments give your bookshelf a special touch. Use small stickers, washi tape, or paper cutouts to decorate edges. Glue tiny buttons, beads, or ribbons for texture and fun. Try using glitter for a bit of sparkle. Be careful not to add too much weight. Embellishments make your bookshelf look lively and creative. They also show off your personal style.
Tips For Durability
Making a mini bookshelf out of paper is fun and creative. To keep it strong and lasting, follow these simple tips. They help your paper bookshelf hold books without bending or tearing. Small steps can make a big difference in durability.
Reinforcing With Glue
Use glue to join paper pieces tightly. A strong glue bond stops parts from falling apart. Apply glue evenly on edges and corners. Press pieces firmly for a few seconds. Let glue dry completely before using the shelf.
Choose white glue or craft glue for best results. Avoid too much glue; it can wrinkle the paper. A thin layer gives strong support without damage.
Protective Coatings
Cover your mini bookshelf with a protective coating. It helps keep paper safe from moisture and dirt. Use clear varnish or spray sealant made for paper crafts. Apply a light coat and let it dry well.
This step adds shine and extra strength. It also makes cleaning easier. Avoid thick layers; they can warp the paper.
Uses For Your Mini Bookshelf
A mini bookshelf made of paper is not just a fun craft project. It also has many uses around your home or office. This small, lightweight shelf helps organize tiny items and adds charm to any space. It fits well on desks, shelves, or windowsills. Let’s explore practical ways to use your mini paper bookshelf.
Displaying Small Items
Your mini bookshelf is perfect for showing off small treasures. Use it to hold tiny toys, miniature plants, or figurines. It keeps these items neat and easy to see. It also works well for displaying small stationery like erasers or paper clips. This shelf makes your desk look tidy and lively.
Gift Ideas
A mini paper bookshelf makes a thoughtful, handmade gift. Personalize it by painting or decorating before giving. Fill the shelves with small gifts like notes, candies, or charms. It shows care and creativity in your present. This unique gift suits birthdays, holidays, or special moments.

Credit: www.youtube.com

Credit: www.reddit.com
Frequently Asked Questions
What Materials Are Needed To Make A Paper Mini Bookshelf?
You need sturdy paper or cardstock, scissors, glue, ruler, and pencil. Optional items include decorative paper and paint for customization. These materials are easy to find and affordable for crafting a mini bookshelf.
How Long Does It Take To Create A Mini Paper Bookshelf?
It typically takes 30 to 60 minutes to complete. The time depends on your crafting skills and design complexity. Following step-by-step instructions speeds up the process.
Can A Paper Bookshelf Hold Real Books?
A mini paper bookshelf can hold only lightweight items like small notebooks or postcards. It’s not designed to support heavy books due to paper’s limited strength.
Is Making A Paper Bookshelf Suitable For Beginners?
Yes, it is beginner-friendly. The project uses simple folding and gluing techniques. Clear instructions make it easy for anyone to create a mini bookshelf.
Conclusion
Making a mini bookshelf out of paper is simple and fun. You only need a few materials and some patience. This project helps improve your crafting skills step by step. It also creates a useful and decorative item for your space.
Try different paper colors and sizes to make it unique. Enjoy the process and show off your creation to friends. Keep practicing to make even better designs next time. Crafting like this brings joy and a sense of achievement.