Imagine turning a simple sheet of paper into a stylish bookshelf that holds your favorite books or small treasures. You might think it’s complicated, but it’s easier than you expect.
In this guide, you’ll learn how to make a paper origami bookshelf step-by-step. Not only will you create a unique piece for your room, but you’ll also enjoy the satisfying feeling of crafting something with your own hands. Ready to surprise yourself with this fun and creative project?
Let’s get started!
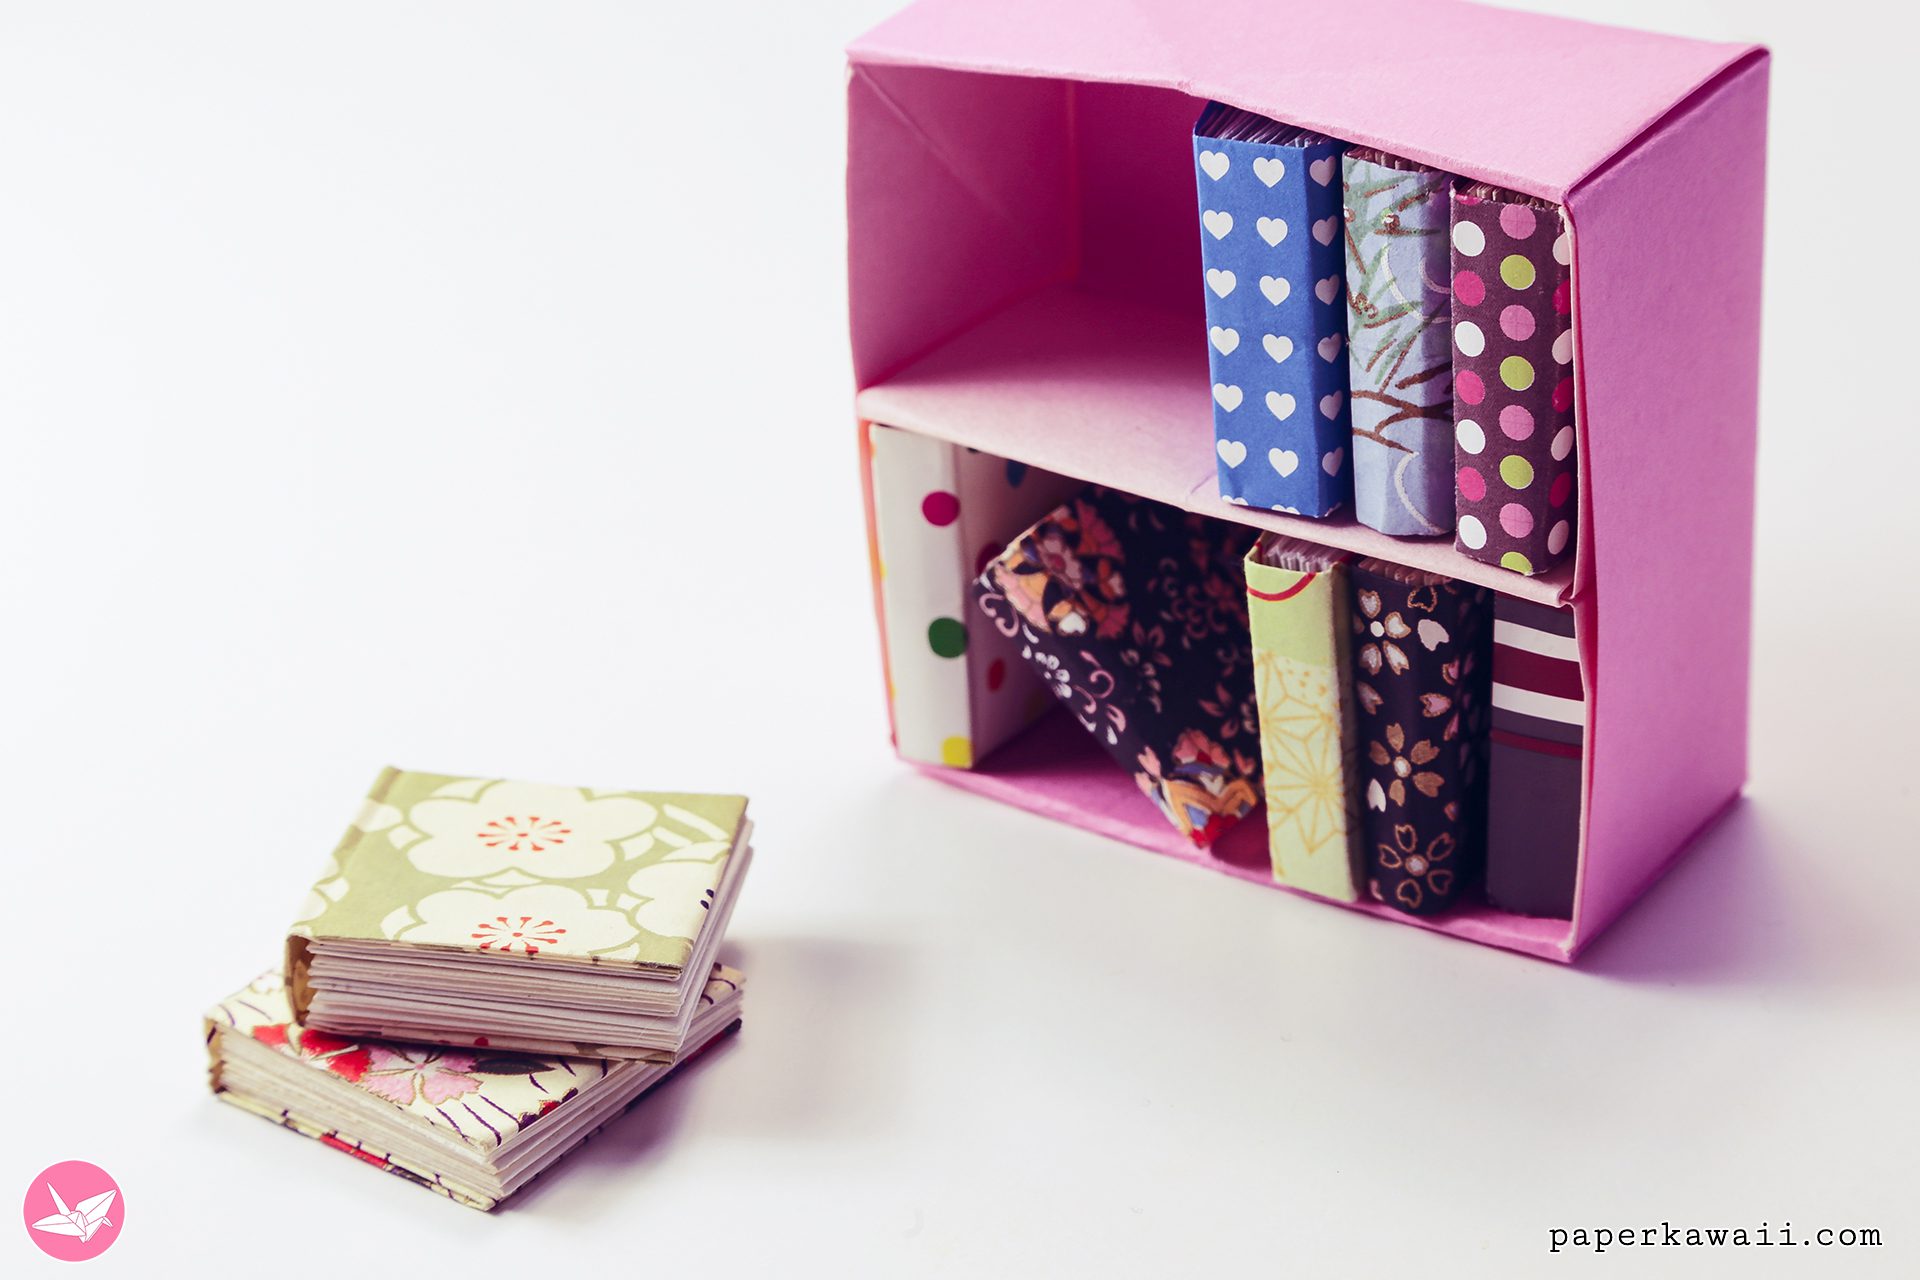
Credit: www.paperkawaii.com
Materials Needed
To make a paper origami bookshelf, gather square paper sheets and glue. Scissors and a ruler help with precise folding. Clear space to work comfortably.
Creating a paper origami bookshelf is simple and fun. You only need a few basic materials to start. These items are easy to find and affordable.
Having the right materials helps your bookshelf look neat and last longer. Prepare everything before starting to fold. This keeps your workspace organized and your work smooth.
Origami Paper
Choose square origami paper for best results. The paper should be sturdy but easy to fold. Colored or patterned paper adds a nice touch.
Ruler
A ruler helps measure and make precise folds. It keeps your lines straight and even. Use a ruler with clear markings for accuracy.
Bone Folder
This tool sharpens folds and creases. It makes your origami look clean and professional. You can also use the edge of a credit card.
Glue
Use glue to secure parts of the bookshelf. White craft glue works well. Apply a small amount to avoid mess and warping.
Scissors
Scissors help cut paper to the right size. Make sure they are sharp for clean edges. Always cut carefully to avoid mistakes.
Cutting Mat
A cutting mat protects your table while cutting paper. It also helps keep your cuts straight. Use it under your paper for safety.

Credit: www.youtube.com
Choosing The Right Paper
Choosing the right paper is important for making a sturdy origami bookshelf. The paper must be strong enough to hold the shape and support small items. Thin or weak paper can tear or bend easily. Thick, quality paper provides better durability and a neat finish.
Paper type affects folding ease and the final look. Some papers fold sharply, while others are soft and smooth. The color and pattern also add personality to your bookshelf. Pick paper that matches your style and the room’s decor.
Types Of Paper Suitable For Origami Bookshelves
Cardstock is a popular choice. It is thicker and holds folds well. Construction paper works but may tear under stress. Origami paper is thin but strong and comes in many colors. Kraft paper gives a natural, rustic look and is quite sturdy.
Choosing Paper Weight For Stability
Paper weight is key for stability. Choose paper with a weight between 120-200 gsm. Lighter paper folds easily but lacks strength. Heavier paper supports weight but can be hard to fold. Balance weight and flexibility for best results.
Color And Pattern Considerations
Solid colors show folds clearly and look clean. Patterns add charm but can hide creases. Bright colors brighten the room. Neutral tones blend well with most furniture. Match paper color to your space for a beautiful shelf.
Basic Origami Folds
Understanding basic origami folds is key to making a paper origami bookshelf. These simple folds form the foundation of every origami model. Learning them helps you create strong, clean shapes. The paper will hold better, and your bookshelf will look neat. Here are the essential folds you need to know.
Valley And Mountain Folds
Valley and mountain folds are the most common origami folds. A valley fold bends the paper inward, creating a “V” shape. It looks like a valley or a dip. A mountain fold bends the paper outward, making a peak. It looks like a mountain ridge. These folds help shape your paper by folding it up or down.
Squash Fold
The squash fold is a little more advanced but very useful. It opens part of the paper and flattens it down. This creates a new shape that adds details. Use the squash fold to make corners or edges flat. It helps to form shelves and compartments in your origami bookshelf.
Reverse Fold
The reverse fold changes the direction of a flap or edge. You fold the paper inside or outside along a crease. This fold helps make sharp turns or angled parts. Use reverse folds to tuck parts of the paper inside or outside. This gives your bookshelf a clean, finished look.
Step-by-step Folding Instructions
Folding a paper origami bookshelf is simple with clear steps. Follow this guide to create a neat, functional piece. Each part builds on the last, so take your time. Ready your paper and let’s start folding.
Creating The Base
Start with a square piece of paper. Fold it in half diagonally to form a triangle. Unfold the paper to see a crease. Fold the bottom edge to the center crease. Repeat with the other side. Press firmly along all folds. This base will support the whole bookshelf.
Forming The Shelves
Take another square paper for each shelf. Fold it in half horizontally. Fold the edges to the center line. Unfold these edges to create creases. Fold corners inward along these creases. This shapes the shelf compartments. Make two or three shelves depending on size.
Assembling The Bookshelf
Place the base flat on your table. Align the bottom shelf on the base crease. Tuck the shelf folds into the base folds carefully. Add the next shelf above, repeating the same steps. Ensure all shelves fit snugly. Press gently to secure the structure. Your origami bookshelf is ready to hold light items.
Tips For Stability
Stability is key when making a paper origami bookshelf. Without it, the shelf may wobble or collapse. These tips help your bookshelf stand firm and hold books safely.
Choose Thick Paper
Thick paper supports more weight and resists bending. Cardstock or construction paper works well. Thin paper folds easily but lacks strength.
Make Precise Folds
Sharp, clean folds create strong edges. Use a ruler or bone folder for accuracy. Crisp folds improve the shelf’s overall firmness.
Reinforce With Tape
Clear tape on key joints adds extra support. Tape inside folds to keep the look neat. It prevents parts from loosening over time.
Use A Flat Base
A flat, sturdy base keeps the shelf balanced. Avoid uneven surfaces that cause tilting. Place the shelf on a table or shelf for stability.
Limit Weight
Paper shelves hold light items best. Avoid heavy books or objects that may cause sagging. Distribute weight evenly across the shelf.
Decorating Your Bookshelf
Decorating your paper origami bookshelf gives it personality and charm. It also helps the shelf fit your room’s style. Small touches can make a big difference. You can use colors, patterns, and small objects to brighten it up.
Think about the theme or mood you want. Soft pastel colors create calmness. Bright colors bring energy and fun. Patterns like stripes or dots add interest without clutter.
Choosing Colors And Patterns
Select colors that match your room or books. Use colored paper or paint the shelf after folding. Simple patterns like polka dots or stripes work well. Avoid too many colors to keep it neat.
Adding Decorative Items
Place small plants or figurines on the shelves. These add life and texture. Use light items to avoid bending the paper. Keep decorations balanced on each shelf for a tidy look.
Using Stickers And Washi Tape
Stickers and washi tape personalize your bookshelf easily. Pick designs that fit your style or favorite themes. Apply them carefully to avoid tearing the paper. They add color and detail without bulk.
Protecting Your Design
Use a clear spray or glue to protect colors and decorations. This keeps your shelf safe from dust and damage. Let the protective layer dry completely before use. It helps your bookshelf last longer and stay beautiful.
Common Mistakes To Avoid
Building a paper origami bookshelf is fun but tricky. Mistakes can make the shelf weak or look messy. Avoiding common errors helps your project succeed. Focus on careful folding and the right materials.
Use Thick Paper For Stability
Thin paper tears easily and cannot hold weight. Choose thick paper or cardstock for better strength. This prevents your bookshelf from collapsing or bending.
Make Precise Folds
Uneven or sloppy folds cause imbalance. Take your time to fold straight and sharp lines. Use a flat surface to improve accuracy.
Follow Steps In Order
Skipping or mixing steps causes confusion and mistakes. Follow instructions step-by-step without rushing. This helps to build the bookshelf correctly.
Apply Glue Sparingly
Too much glue causes wrinkles and mess. Use small amounts and spread evenly. Let the glue dry completely before moving on.
Allow Enough Drying Time
Not waiting for glue to dry weakens the structure. Be patient and wait fully before adding weight. This ensures a strong, stable bookshelf.

Credit: www.amazon.com
Ideas For Display And Use
Ideas for display and use of your paper origami bookshelf can make it more than just storage. This small craft can brighten up any space and serve many purposes beyond holding books. You can choose how to place it and what to keep on it.
Think about your room and what fits best. Use your paper bookshelf to show your style and keep things neat. Here are some simple ideas to inspire your setup.
Display Small Books And Notebooks
Use the origami bookshelf to hold small books or notebooks. This keeps your reading material visible and easy to reach. It works well on desks or near your bed. Choose colorful books to make the shelf look lively.
Showcase Decorative Items
Place small plants, candles, or figurines on the shelves. These items add personality and charm to the space. Paper shelves make a gentle frame for your favorite things. Keep the decorations light to avoid bending the shelf.
Organize Office Supplies
Use the shelf to store pens, sticky notes, or paper clips. It helps keep your desk tidy and your tools handy. This use makes your workspace look neat and creative. The origami shelf adds a unique touch to office storage.
Display Art And Photos
Place small photo frames or art pieces on the shelf. It creates a mini gallery that is easy to update. This idea brings personal memories into your daily view. Use lightweight frames to keep the shelf stable.
Store Craft Materials
Keep craft supplies like scissors, threads, or beads organized. The shelf helps separate items and keeps them in one place. This makes crafting easier and faster. The paper bookshelf is a perfect spot for small, light materials.
Frequently Asked Questions
What Materials Are Needed For A Paper Origami Bookshelf?
You need sturdy paper or cardstock, a ruler, scissors, and glue. These materials ensure your bookshelf is strong and durable. Using thick paper helps support books without collapsing.
How Long Does It Take To Make An Origami Bookshelf?
Making a paper origami bookshelf usually takes 30 to 60 minutes. The time depends on your folding skills and the bookshelf size. Beginners may take longer to perfect each fold.
Can The Paper Bookshelf Hold Real Books?
Yes, but only lightweight or small books. Use thick, reinforced paper for better support. Avoid heavy books, as they may cause the shelf to bend or collapse.
Is This Origami Bookshelf Suitable For Beginners?
Yes, it is beginner-friendly with clear folding steps. Practice precise folds and take your time for best results. Watching tutorial videos can also help beginners.
Conclusion
Creating a paper origami bookshelf is fun and simple. You can use it to hold small books or decorations. This craft helps improve your folding skills and patience. Try different paper colors to make it unique. It’s a great way to add a personal touch to your room.
Keep practicing to make stronger and bigger shelves. Enjoy your new, handmade bookshelf every day. Start folding and see what you create!
