Are you tired of cluttered entryways and coats tossed over chairs? Imagine having a neat, stylish coat rack that fits perfectly in your space—one you made yourself.
Making a simple coat rack is easier than you think, and it can transform your home instantly. In this guide, you’ll discover easy steps and handy tips to create a practical rack that suits your style and needs. Keep reading, and by the end, you’ll have the confidence to build a coat rack that keeps your space organized and welcoming.

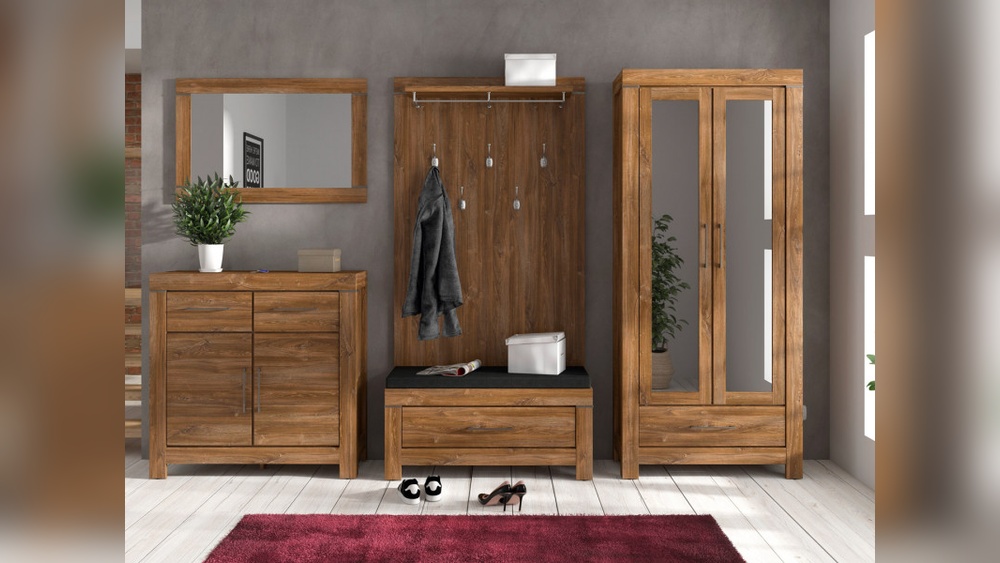
Credit: www.sisterswhat.com
Materials Needed
Gathering the right materials makes building a simple coat rack easier. This section lists everything needed. It covers tools, wood, hardware, and finishing items. Having all materials ready saves time and avoids interruptions.
Basic Tools
Start with a few basic tools. A saw helps cut wood to size. A drill makes holes for screws. Sandpaper smooths rough edges. A screwdriver tightens screws securely. A measuring tape ensures accurate cuts.
Wood And Hardware
Choose wood that suits your style. Pine or oak works well for coat racks. Select wooden boards about 1 inch thick. Hooks hold coats and bags. Buy strong metal hooks with screws. Use wood screws to join pieces firmly.
Finishing Supplies
Finishing protects and beautifies the wood. Pick a wood stain for color and shine. Use clear varnish for a smooth finish. A paintbrush helps apply stains and varnishes evenly. Clean cloths wipe off excess stain easily.
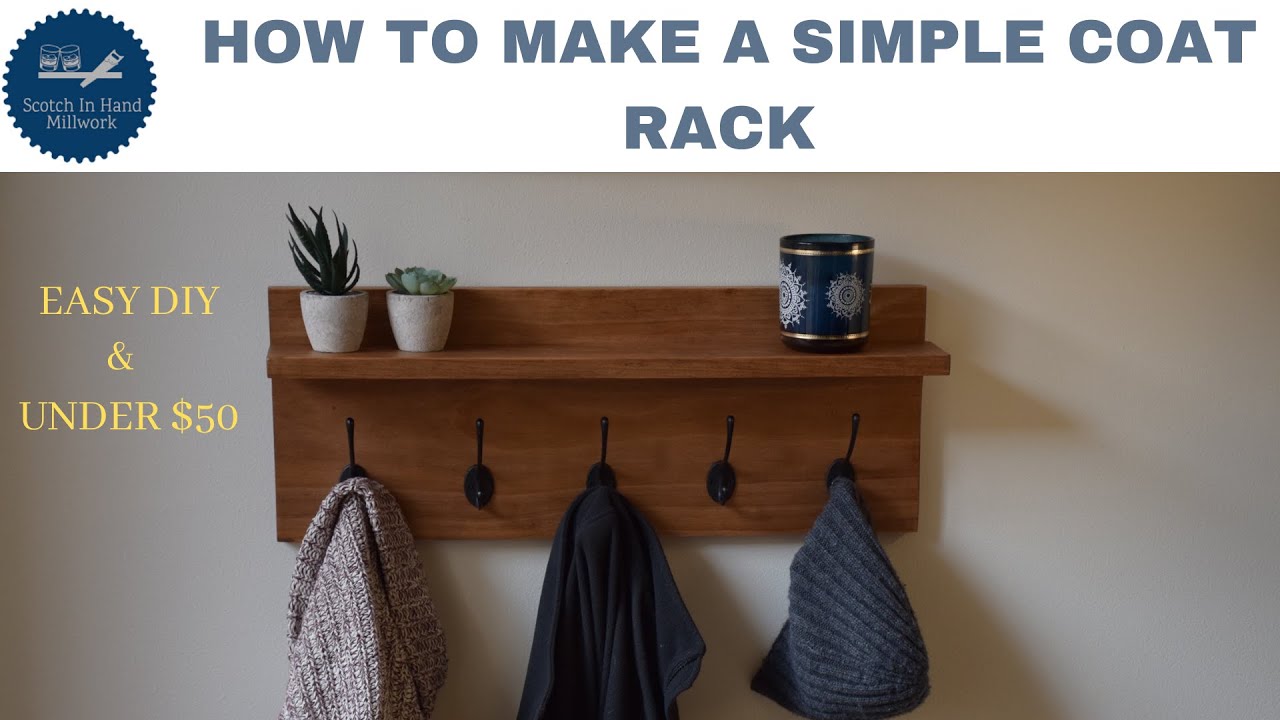
Credit: www.youtube.com
Choosing The Design
Choosing the design for your coat rack sets the tone for your space. It affects how much room you use and how easy it is to hang coats. Pick a design that fits your needs and style.
Think about where the coat rack will go. Consider how many coats it should hold. Decide if you want it fixed or movable. These choices help narrow down your options.
Wall-mounted Options
Wall-mounted coat racks save floor space. They are perfect for small rooms or tight hallways. You can choose simple hooks or a shelf with hooks below. Mounting it at the right height makes it easy to use.
These racks are stable and hold many coats. Installation needs some tools and wall anchors. Once set, they keep your coats organized and off the floor.
Freestanding Styles
Freestanding coat racks stand on their own. They fit well in open spaces or near doors. You can move them around as needed. These racks often have multiple arms or tiers.
They hold many coats and other items like hats or bags. Choose a sturdy base to prevent tipping. Freestanding racks add style and function without wall damage.
Creative Customizations
Personalize your coat rack to match your taste. Paint it in your favorite color or add decorative knobs. Use reclaimed wood for a rustic look. Attach small baskets for gloves and scarves.
Creative touches make your coat rack unique and useful. They turn a simple project into a charming piece. Customizations can fit your storage needs and room style perfectly.
Preparing The Wood
Preparing the wood is an important step to make a simple coat rack. Good preparation makes the wood safe and smooth. It helps the coat rack last a long time. Follow two main steps: measuring and cutting, then sanding and smoothing.
Measuring And Cutting
Start by measuring the wood pieces carefully. Use a tape measure for accuracy. Mark the wood with a pencil. Cut the wood along the marks with a saw. Cut slowly to keep edges straight. Check each piece after cutting. Make sure all pieces match your plan.
Sanding And Smoothing
Sand the wood to remove rough spots and splinters. Use medium-grit sandpaper first. Move the sandpaper in small circles. Sand all surfaces and edges. Then use fine-grit sandpaper to smooth the wood further. Wipe the wood with a clean cloth. Now the wood feels safe and ready.

Credit: www.youtube.com
Assembling The Rack
Assembling the coat rack is the step where your project starts to take shape. This part needs focus and patience. Follow each instruction carefully for a sturdy and functional rack. A strong assembly means your coat rack will last longer and hold more weight. Let’s break down the key steps for a smooth build.
Attaching Hooks
Choose hooks that match your rack’s style and size. Use a pencil to mark where each hook will go. Space them evenly to keep the rack balanced. Drill small pilot holes to avoid splitting the wood. Screw the hooks firmly into place. Check each hook’s stability by giving it a gentle pull.
Securing The Structure
Ensure all parts of the rack fit tightly together. Use wood glue on joints for extra strength. Clamp the pieces while the glue dries to keep them steady. Reinforce corners with screws or brackets if needed. Test the rack’s stability by pressing lightly on it. Adjust any loose parts before the glue sets.
Finishing Touches
Finishing touches make your coat rack look complete and last longer. These final steps protect the wood and add beauty. A good finish also makes the rack easier to clean. Let’s explore simple ways to finish your project.
Painting And Staining
Painting adds color and hides imperfections. Choose a paint that works on wood. Use a brush or small roller for smooth coverage. Let the paint dry fully before adding more coats.
Staining shows the wood’s natural grain and deepens its color. Apply stain with a cloth or brush. Wipe off extra stain quickly to avoid blotches. Let the stain dry completely before the next step.
Protective Coating
A protective coat guards your rack against moisture and dirt. Polyurethane is a common choice. Use a clear, water-based polyurethane for a natural look. Brush it on in thin, even layers.
Let each layer dry well before adding the next. Sand lightly between coats with fine sandpaper. This helps the finish stick better and feel smooth. Two to three coats are enough for good protection.
Mounting The Rack
Mounting the coat rack correctly makes a big difference in its use and durability. A well-mounted rack holds coats safely and looks neat. This step needs care and attention to get the best result.
Finding The Right Spot
Choose a place near the door for easy access. Check the wall space to ensure it fits well. Avoid spots where the rack blocks walking paths or windows. Look for a height suitable for all users. The rack should be easy to reach but not too low. Pick a wall that can hold weight safely. Drywall alone may not support heavy coats. Find a stud or use wall anchors for better hold.
Installation Tips
Use a level to keep the rack straight. Mark drill points with a pencil before drilling. Drill pilot holes to prevent the wood from splitting. Use screws that match the rack’s hardware for a tight fit. Tighten screws fully but avoid over-tightening. Check the rack’s firmness by gently pulling it. Adjust if it feels loose or wobbly. Keep tools and materials ready for a smooth process.
Maintenance Tips
Keeping your simple coat rack in good shape is easy with a few basic steps. Regular care helps it last longer and look better. Simple cleaning and quick repairs keep it working well every day.
Cleaning
Dust the coat rack often to stop dirt build-up. Use a soft cloth or a feather duster. For sticky spots, wipe gently with a damp cloth. Avoid harsh cleaners that may damage the finish. Dry it fully after cleaning to prevent water marks.
Repairing Minor Damages
Check the coat rack for small cracks or loose hooks. Tighten screws with a screwdriver to keep hooks firm. Fill tiny cracks with wood filler or glue. Sand the area smooth once dry. Touch up paint or stain if needed to match the original color.
Frequently Asked Questions
What Materials Do I Need To Make A Simple Coat Rack?
You need wood planks, hooks, screws, a drill, sandpaper, and paint or stain. These basic materials are affordable and easy to find.
How Long Does It Take To Build A Coat Rack?
Making a simple coat rack typically takes 1 to 2 hours. This includes measuring, cutting, assembling, and finishing.
Can I Customize The Coat Rack Design?
Yes, you can customize size, color, and number of hooks. Personalizing makes your coat rack unique and fits your space.
What Tools Are Required For Building A Coat Rack?
Essential tools include a saw, drill, screwdriver, measuring tape, and level. These help ensure accurate cuts and secure assembly.
Conclusion
Making a simple coat rack is easy and fun. You only need a few tools and materials. This project saves money and adds style to your home. You can customize it to fit your space and taste. A handmade coat rack keeps your entryway neat and organized.
Try this simple DIY and enjoy your new rack every day. Small efforts bring big changes. Start your project now and see the difference.