Are you ready to build a wooden bookshelf that perfectly fits your space and style? Making your own bookshelf is easier than you might think, and it gives you the satisfaction of creating something useful with your own hands.
Imagine having a sturdy, beautiful bookshelf where you can proudly display your favorite books and treasures. In this guide, you’ll find clear, step-by-step instructions that anyone can follow, even if you’re new to woodworking. Stick with me, and by the end, you’ll have the skills and confidence to build a bookshelf you’ll love for years to come.
Let’s get started!

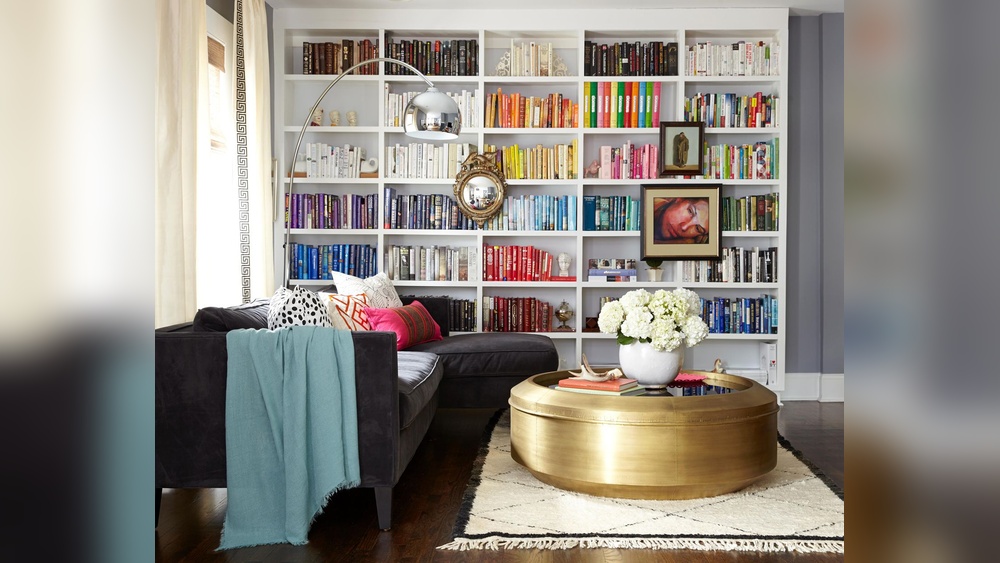
Credit: www.spryinterior.com
Materials And Tools Needed
Building a wooden bookshelf starts with gathering the right materials and tools. This step is key to a smooth project and a sturdy final product. Knowing what wood to choose and having the correct tools ready saves time and frustration.
Below are the details of the types of wood, essential tools, and extra supplies needed for your bookshelf project.
Types Of Wood
Choose wood that fits your budget and style. Pine is soft, easy to work with, and affordable. Oak offers strength and a classic look. Birch is smooth and great for painting. Plywood is stable and less likely to warp. Pick wood that suits the room and your design.
Essential Tools
Basic tools include a saw to cut wood pieces to size. A drill helps make holes and drive screws. A measuring tape ensures accurate dimensions. Sandpaper smooths rough edges. A level keeps shelves straight. Clamps hold wood parts together during assembly.
Additional Supplies
Wood screws fasten parts securely. Wood glue adds extra strength. Wood filler hides nail holes and cracks. Paint or stain finishes the shelf and protects wood. Brushes or rags apply the finish evenly. Safety gear like goggles and gloves protect you.
Planning Your Bookshelf
Planning your wooden bookshelf is the first step to a successful build. Proper planning saves time and avoids mistakes. It helps you know exactly what you need before starting. This section covers how to choose dimensions, design your shelf, and create a sketch.
Choosing Dimensions
Decide how tall and wide your bookshelf will be. Think about the space where it will go. Measure the wall or corner carefully. Consider the height of the items you want to store. Allow extra space for bigger books or decorations. Keep standard shelf heights between 10 to 12 inches apart. This fits most books and objects comfortably.
Design Considerations
Think about the style you want. Simple or decorative? Open shelves or with a back panel? Decide how many shelves you need. Balance between enough storage and sturdy construction. Choose wood type based on your budget and look. Lighter woods suit modern rooms. Darker woods add a classic feel. Plan for easy access and stability.
Creating A Sketch
Draw your bookshelf on paper before cutting wood. Sketch the front view with measurements. Add side views if needed. Label each part clearly. Use a ruler for straight lines. This helps avoid errors and guides your building. Keep the sketch simple and clear. It makes the building process smoother and faster.
Preparing The Wood
Preparing the wood is the first step in building a sturdy wooden bookshelf. This stage sets the foundation for the entire project. Taking time to measure, cut, and smooth the wood makes the assembly easier. It also ensures the bookshelf looks neat and lasts longer.
Measuring And Marking
Start by measuring the wood pieces carefully. Use a tape measure for accuracy. Mark the lengths with a pencil on the wood. Mark all pieces before cutting. Double-check the measurements to avoid mistakes. Clear, straight lines help guide your cuts. Precise measuring saves time and material.
Cutting Wood Pieces
Cut the wood along the marked lines using a saw. Choose a saw that fits your skill level. A handsaw works well for beginners. Cut slowly and steadily for clean edges. Keep your hands safe and wear goggles. Cut all pieces needed for the shelves and sides. Accurate cuts make assembly faster and easier.
Sanding Surfaces
Smooth the wood surfaces with sandpaper or a sanding block. Start with coarse grit to remove rough spots. Then use fine grit for a smooth finish. Sand edges and corners carefully to avoid splinters. Clean the dust off the wood after sanding. Smooth wood looks better and feels safe to touch.
Assembling The Frame
Assembling the frame is the key step to build your wooden bookshelf. This part creates the basic shape and structure. A strong frame keeps your bookshelf steady and holds the shelves well. Follow the steps carefully to make a solid frame.
Joining Side Panels
Start by placing the two side panels upright and parallel. Use wood glue on the edges for a tight bond. Align the panels at the exact height you want. Secure them with screws or nails for extra strength. Check that the panels are straight and square before tightening.
Attaching Shelves
Measure the space between the side panels to fit the shelves. Apply wood glue on the ends of each shelf. Slide the shelves into place between the side panels. Use clamps to hold shelves steady while you fix them. Drive screws through the side panels into the shelves carefully.
Securing The Back Panel
The back panel adds stability to the frame. Cut a plywood sheet to the size of the frame. Place the back panel flat against the rear edges. Nail or screw it along the sides and bottom. Check the frame for any wobbling and fix it if needed.
Finishing Touches
Finishing touches bring your wooden bookshelf to life. They make it look smooth, neat, and ready to use. These steps protect the wood and improve its beauty. Follow these simple tips to give your bookshelf a clean, polished look.
Filling Holes And Gaps
Start by filling any holes or gaps in the wood. Use wood filler or putty for this task. Apply it with a small putty knife. Press the filler firmly into the holes. Let it dry completely before sanding. Sand the area smooth with fine-grit sandpaper. This step hides nails, screws, or small cracks. Your surface will look even and flawless.
Applying Paint Or Stain
Choose paint or stain to match your style. Paint gives a solid color and hides wood grain. Stain enhances the natural wood look. Use a brush or cloth to apply evenly. Follow the wood grain for best results. Apply thin coats to avoid drips and runs. Let each coat dry before adding another. This step adds color and character to your bookshelf.
Adding Protective Coating
Protect your finish with a clear topcoat. Use polyurethane, varnish, or lacquer. These coatings guard against scratches and water damage. Apply with a clean brush in thin layers. Let each layer dry and sand lightly between coats. This makes the surface smooth and durable. Your bookshelf will stay beautiful for years.
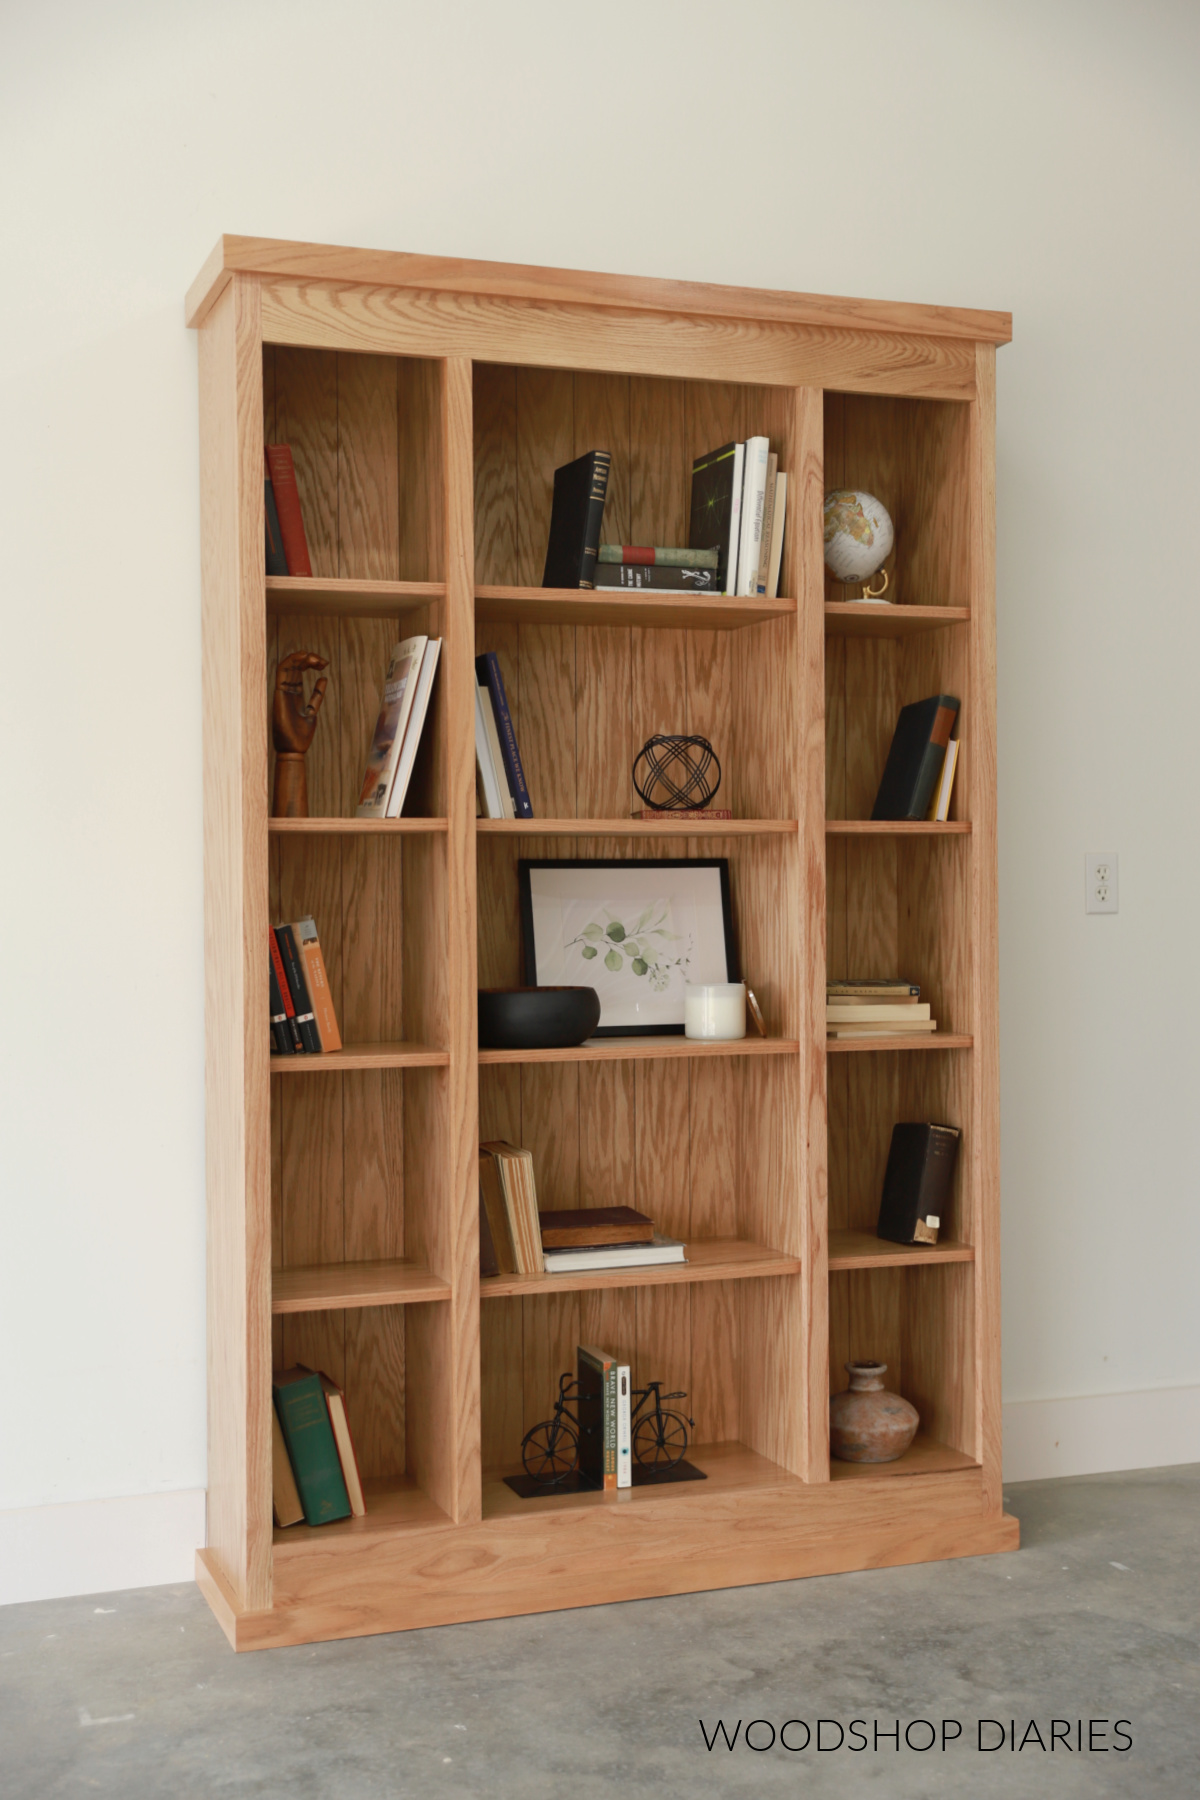
Credit: www.woodshopdiaries.com
Tips For Stability And Safety
Building a wooden bookshelf is rewarding. Safety and stability must come first. A strong bookshelf holds books well and protects your home. Follow these tips to keep your shelf steady and safe. Simple steps can prevent accidents and extend your shelf’s life.
Anchoring To The Wall
Secure the bookshelf to the wall to stop tipping. Use sturdy brackets or straps for anchoring. Find wall studs with a stud finder. Attach the brackets firmly into the studs. This holds the shelf tight and safe. It prevents falls, especially in homes with kids or pets.
Weight Distribution
Place heavy books on the bottom shelves. Lighter items go on top shelves. This lowers the center of gravity and adds balance. Avoid overloading any single shelf. Spread weight evenly across the shelf. This keeps the bookshelf from leaning or collapsing.
Maintenance Advice
Check the bookshelf regularly for loose screws or joints. Tighten any hardware that feels weak. Clean dust and dirt from shelves to keep wood healthy. Avoid exposing the wood to moisture or direct sunlight. Treat wood with oil or polish to protect it. Regular care helps the shelf stay strong and last longer.
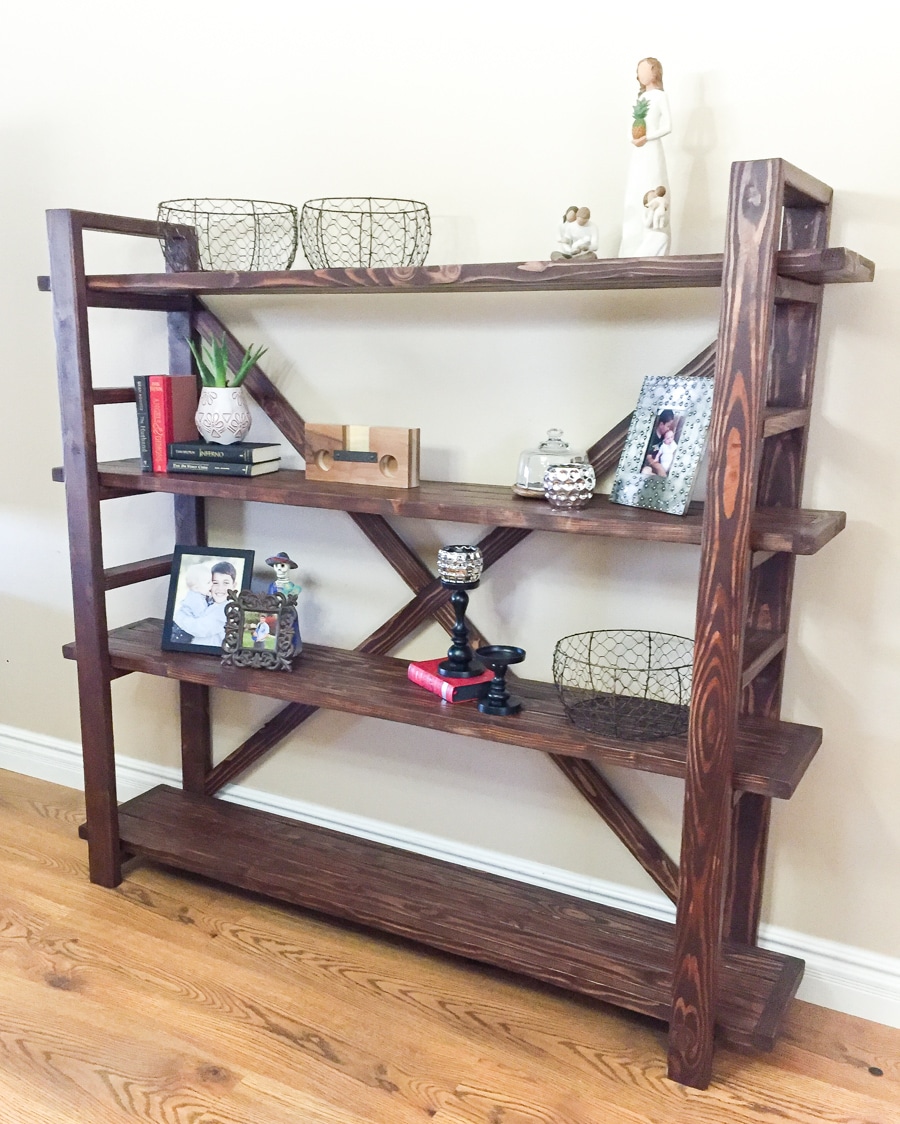
Credit: jenwoodhouse.com
Frequently Asked Questions
What Materials Are Needed For A Wooden Bookshelf?
You need wood boards, screws, wood glue, sandpaper, paint or stain, and brackets. Choose quality wood for durability. Gather basic tools like a saw, drill, measuring tape, and screwdriver for assembly.
How Do I Measure Wood For A Bookshelf?
Measure the height, width, and depth of the bookshelf. Mark wood pieces accurately using a pencil and measuring tape. Precise measurements ensure all parts fit perfectly and the bookshelf is stable.
What Is The Best Wood Type For Bookshelves?
Pine, oak, and plywood are popular choices. Pine is affordable and easy to work with. Oak is durable and has a beautiful grain. Plywood offers strength and affordability for larger shelves.
How Can I Make My Bookshelf Sturdy?
Use wood glue and screws to join parts securely. Reinforce shelves with brackets or support beams. Sand edges and ensure even weight distribution to prevent wobbling or sagging.
Conclusion
Building a wooden bookshelf can be simple and fun. Follow the steps carefully to get good results. Take your time with each part. Use the right tools and wood for strength. You will enjoy having a shelf made by yourself.
It adds a personal touch to your space. Keep practicing to improve your skills. Soon, you can build more furniture with confidence. Start your project today and see the difference!