Are you tired of cluttered spaces and piles of books everywhere? Imagine having a sturdy, stylish bookshelf that fits perfectly in your room and holds all your favorite reads.
Making your own bookshelf is easier than you think, and it gives you full control over the design and size. In this guide, you’ll discover simple, step-by-step instructions to build a bookshelf you’ll be proud of. Ready to create something useful and beautiful with your own hands?
Let’s get started!
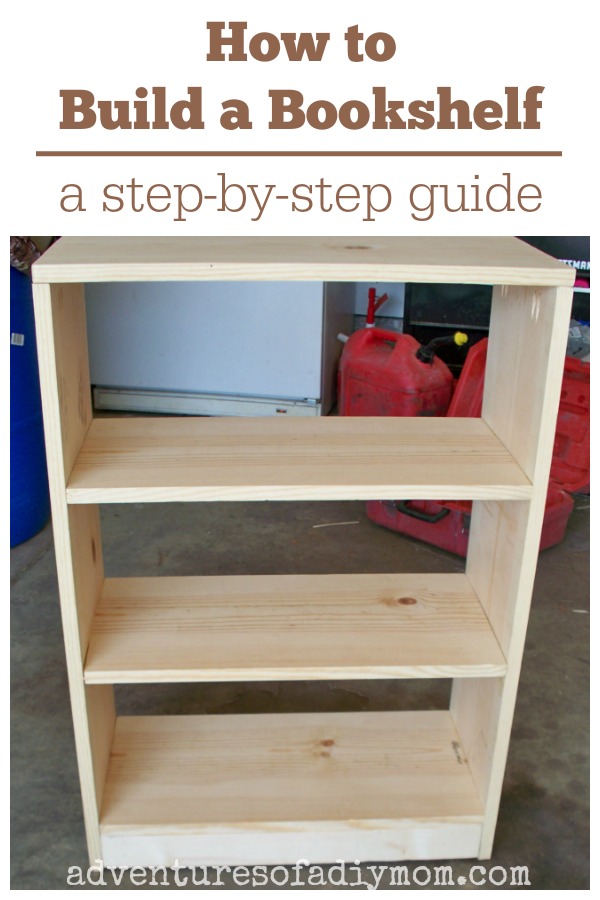
Credit: www.adventuresofadiymom.com
Choosing The Right Materials
Choosing the right materials is key to building a sturdy and attractive bookshelf. The materials affect the look, strength, and cost of your project. Picking quality supplies can save time and effort later.
Focus on wood types, tools, and safety gear. These basics ensure you work smoothly and safely. Good preparation leads to better results.
Types Of Wood
Wood choice shapes your bookshelf’s style and durability. Pine is soft, easy to cut, and affordable. Oak offers great strength and a classic look. Plywood is a budget-friendly option, stable and less prone to warping. Choose wood that fits your budget and design.
Tools You’ll Need
Prepare essential tools before starting. A saw cuts the wood pieces to size. A drill helps create holes for screws. Sandpaper smooths rough edges. A screwdriver or drill driver will fasten parts together. Having the right tools makes the work faster and cleaner.
Safety Gear Essentials
Safety gear protects you during woodworking. Wear safety glasses to shield eyes from dust and debris. Use ear protection to guard against loud noises from power tools. Gloves protect hands from splinters and sharp edges. A dust mask helps avoid breathing sawdust. Safety first ensures no accidents happen.
Planning Your Bookshelf
Planning your bookshelf is the first step to a great project. It helps avoid mistakes and saves time. Careful planning ensures your shelf fits perfectly and looks good. Take time to think about size, style, and materials before starting.
Measuring Your Space
Measure the wall or corner where you want the bookshelf. Use a tape measure for accuracy. Write down the height, width, and depth available. Check for obstacles like windows or power outlets. These details help you design the right size shelf.
Design Ideas
Decide what style fits your room. Simple shelves suit modern rooms. More detailed designs work well in classic spaces. Think about how many books or items you want to store. Choose open shelves or closed cabinets based on your needs. Pick materials like wood or metal to match your decor.
Sketching Your Blueprint
Draw a simple plan on paper or use a computer. Include all measurements clearly. Mark the positions of shelves and supports. This blueprint guides your building process step by step. It also helps buy the right amount of materials.
Cutting And Preparing Wood
Cutting and preparing wood is a key step in building a sturdy bookshelf. It shapes the wood pieces to the right sizes. Proper preparation helps the parts fit together well. It also makes the final product look neat and professional.
Taking time to measure and prepare wood carefully saves effort later. It prevents mistakes that can waste materials. Using the right tools and techniques keeps the process safe and smooth.
Marking Your Cuts
Start by measuring each piece of wood precisely. Use a pencil and a ruler or tape measure. Draw clear lines where you will cut. Double-check your measurements before marking. Mark both edges of the wood for accuracy. This helps guide your saw during cutting.
Using A Saw Safely
Choose the right saw for the wood type and size. Keep your hands away from the blade path. Wear safety glasses to protect your eyes. Secure the wood firmly with clamps or a vise. Cut slowly and steadily along the marked lines. Let the saw do the work without forcing it.
Sanding For Smoothness
After cutting, sand the wood edges to smooth rough spots. Use sandpaper with medium grit first. Then switch to fine grit for a polished finish. Sand along the wood grain, not against it. This prevents scratches and makes the surface clean. Smooth edges help pieces fit better and feel safe to touch.

Credit: www.wikihow.com
Assembling The Bookshelf
Assembling the bookshelf is the step where your project starts to take shape. This part requires attention to detail and patience. Proper assembly ensures your bookshelf is strong and looks good.
Follow the right steps to join parts correctly. Use the right tools and materials. Safety matters, so work carefully.
Joining Techniques
Joining the bookshelf parts well is key to strength. Use wood glue to bond edges tightly. Clamps help hold pieces in place while drying. Dowel joints add extra support and keep shelves aligned. Pocket holes also create strong hidden joints.
Using Nails And Screws
Nails and screws hold the bookshelf parts firmly. Use screws for better grip and durability. Pre-drill holes to avoid wood splitting. Countersink screws for a smooth surface. Nails work well for quick fixes but may loosen over time.
Ensuring Stability
Stability keeps your bookshelf safe and balanced. Check for wobbling after assembly. Add corner braces if needed for extra support. Use a level to ensure shelves are even. Secure the bookshelf to the wall to prevent tipping.
Finishing Touches
Finishing touches make your bookshelf look complete and polished. They protect the wood and add style. These final steps give your project a personal touch. A good finish improves durability and beauty.
Painting And Staining
Choose paint or stain based on the look you want. Paint covers the wood and adds color. Stain lets the wood grain show through. Apply thin, even coats for a smooth finish. Let each coat dry fully before adding another.
Adding Protective Coats
Protective coats guard your bookshelf from scratches and spills. Use clear varnish, polyurethane, or lacquer. They create a hard surface that lasts long. Apply with a brush or spray in thin layers. Sand lightly between coats for best results.
Decorative Details
Decorative details add character and charm to your shelf. Consider adding trim, molding, or decals. Small knobs or metal corners can enhance the look. Use simple designs that match your room style. These touches make your bookshelf unique.
Maintaining Your Bookshelf
Maintaining your bookshelf keeps it looking good and lasting longer. Simple care helps avoid big problems later. Regular cleaning and quick fixes make a big difference. Protecting your shelf from harm keeps your books safe and neat.
Cleaning Tips
Dust your bookshelf often to stop dirt buildup. Use a soft cloth or duster for gentle cleaning. Avoid wet cloths that can damage wood or finish. For tough spots, use a mild soap with water. Dry the shelf right after cleaning to prevent water marks.
Preventing Damage
Keep the shelf away from direct sunlight to avoid fading. Place it in a dry spot to stop warping or mold. Use coasters under plants or drinks to protect surfaces. Don’t overload shelves with too many heavy books. Spread weight evenly to avoid bending or breaking.
Repairing Minor Issues
Fix small scratches with a wood marker or crayon close to the shelf color. Tighten loose screws or nails to keep the shelf sturdy. Fill tiny holes or dents with wood filler, then sand smooth. Replace damaged parts early to stop issues from growing. Regular checks help catch problems early.
:max_bytes(150000):strip_icc()/4-513107d89a4a4071b0659d4d24152746.png)
Credit: www.lifewire.com
Frequently Asked Questions
How Long Does It Take To Make A Bookshelf?
Making a bookshelf typically takes 3 to 6 hours. Time varies based on design complexity and skill level. Simple shelves require less time, while intricate designs need more precision and effort.
What Materials Are Best For Building A Bookshelf?
Wood like pine, oak, or plywood works best for bookshelves. These materials are sturdy, durable, and easy to work with. Choose based on budget and desired finish.
Do I Need Special Tools To Build A Bookshelf?
Basic tools like a saw, drill, screwdriver, and measuring tape are essential. Power tools can speed up the process but aren’t mandatory for beginners.
How Do I Ensure My Bookshelf Is Sturdy?
Use strong wood and secure joints with screws or brackets. Proper measurements and balanced weight distribution also improve stability and durability.
Conclusion
Building a bookshelf can be simple and fun. Follow the steps carefully to get good results. Use the right tools and take your time. You will have a strong, useful shelf in no time. Enjoy organizing your books and items neatly.
This project helps you learn new skills too. Try different designs to fit your space well. Making a bookshelf is a great way to add style and order to your room. Give it a try today!