Looking to add a stylish and functional touch to your home? Making your own copper coat rack is easier than you think.
Imagine having a unique piece that not only organizes your space but also impresses your guests with its sleek, shiny look. In this guide, you’ll discover simple steps to create a copper coat rack that fits perfectly in your entryway or hallway.
Ready to transform your cluttered coats into a neat, eye-catching display? Keep reading—you’re about to learn a craft that combines beauty and practicality in one easy project.

Credit: www.hgtv.com
Materials Needed
Gather copper pipes, a wooden board, screws, wall anchors, and a drill. Basic tools like a measuring tape and a pencil help with accuracy. These items create a sturdy and stylish coat rack.
Choosing The Right Copper Pipes
Start with good quality copper pipes for your coat rack. Choose pipes that are sturdy and rust-resistant. Pipes with a diameter of ½ to ¾ inch work best. They are strong enough to hold coats without bending. Cut lengths depend on your rack design. Smooth pipes ensure easy handling and a neat look. Avoid pipes with dents or scratches.
Essential Tools
Gather tools to cut and join copper pipes easily. A pipe cutter makes clean, straight cuts. A measuring tape helps get exact pipe lengths. Use a metal file to smooth pipe edges after cutting. A pipe wrench or pliers help tighten joints securely. You may need a drill to fix the rack to the wall. Safety gloves protect your hands during work.
Additional Supplies
Besides pipes and tools, prepare extra supplies for a solid coat rack. Use copper fittings like elbows and tees to shape the rack. Thread seal tape helps prevent leaks if you use threaded joints. Sandpaper cleans pipe surfaces before joining. Wall anchors and screws keep the rack stable on drywall. Paint or sealant can protect the copper and add style.
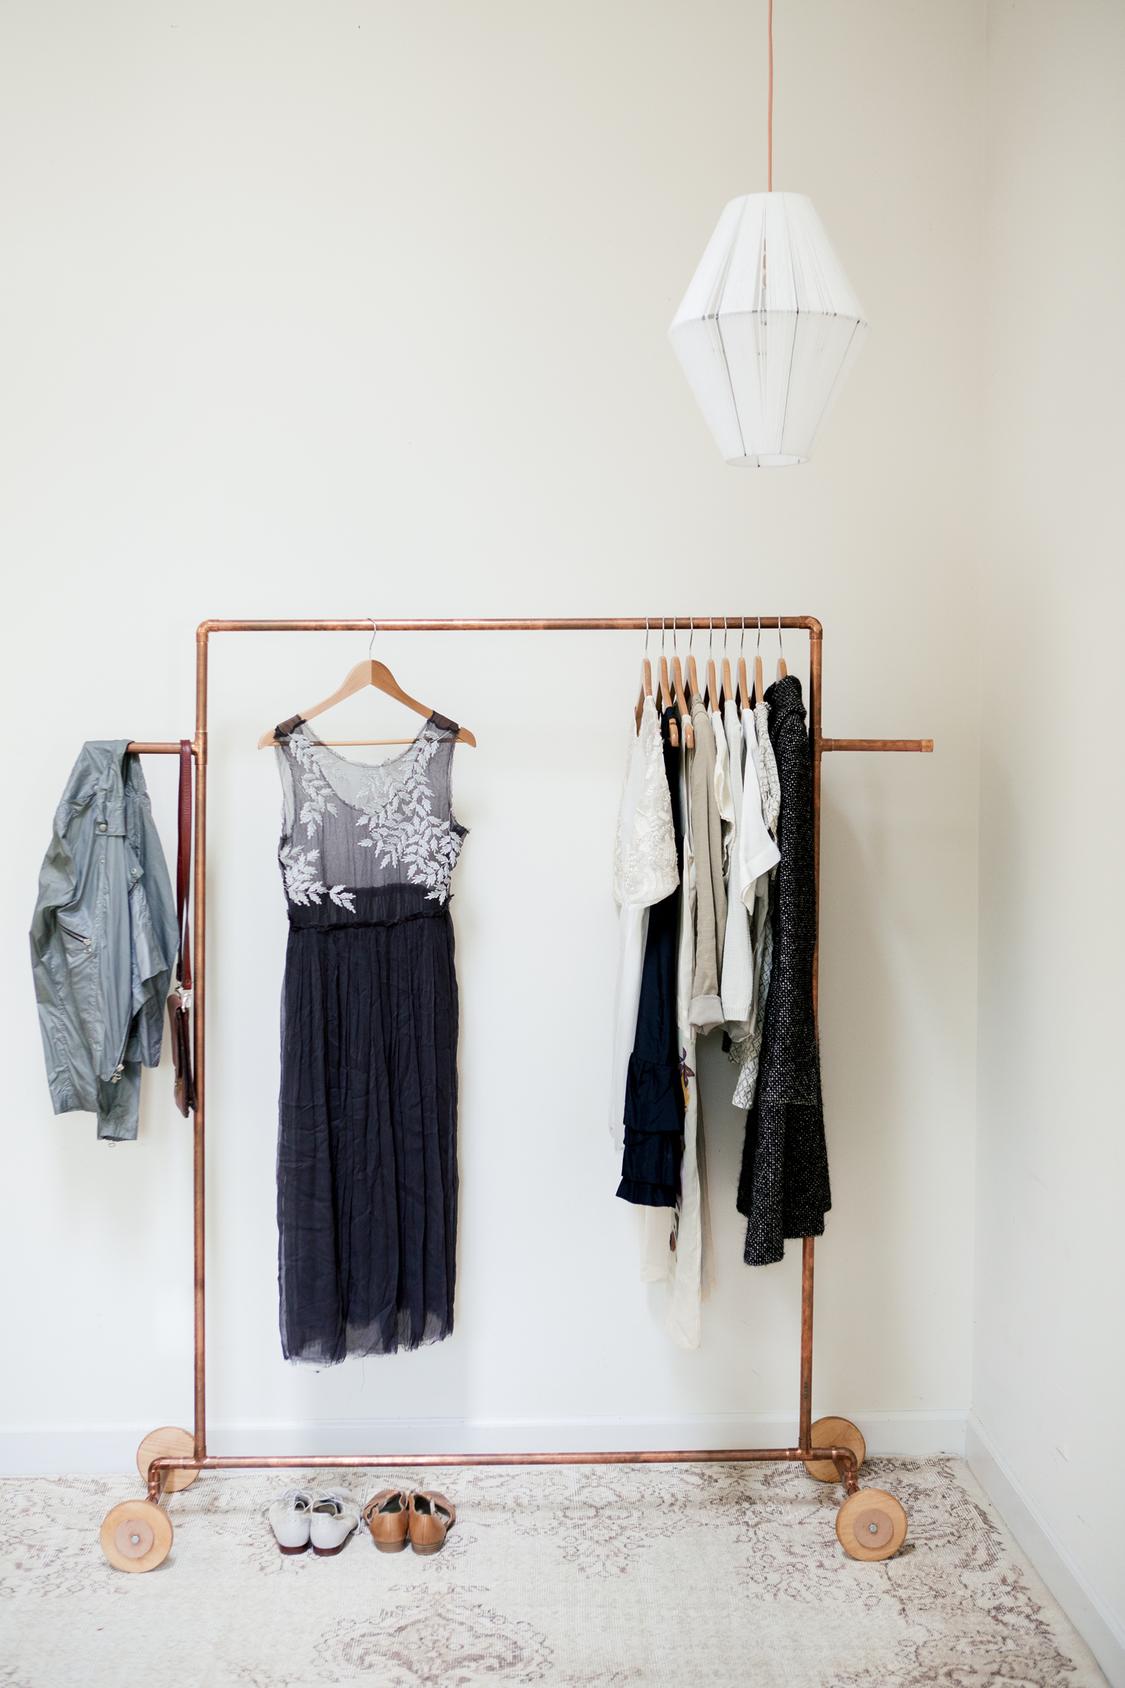
Credit: www.stylemepretty.com
Designing Your Rack
Designing your copper coat rack is the first step in creating a useful and stylish piece. This phase sets the foundation for a rack that fits your space and needs. Think about how the rack will look and work in your home.
Careful planning helps avoid mistakes later. Focus on style, size, and where hooks go. This way, your rack will be both beautiful and practical.
Selecting The Style
Choose a style that matches your room’s decor. Simple and modern looks work well in many spaces. Rustic or vintage styles add charm and character. Copper shines in both classic and bold designs. Pick a style that you enjoy seeing every day.
Measuring Dimensions
Measure the wall space where you want the rack. Note the width and height carefully. Leave space around the rack for easy access. Check the size of coats and bags it will hold. Make sure the rack is not too big or too small.
Planning Hook Placement
Decide how many hooks you need for your items. Space hooks evenly for a neat look. Place hooks high enough for long coats. Leave room between hooks to avoid crowding. Think about using different hook sizes for variety.
Cutting Copper Pipes
Cutting copper pipes is a key step in making a copper coat rack. Accurate cuts help the pieces fit well together. Clean cuts make the rack look neat and professional. Use the right tools and follow safety steps for the best results.
Marking Cut Lines
Start by measuring the length needed for each pipe. Use a marker or pencil to draw clear lines. Mark both sides of the pipe to guide your cut. Double-check measurements before marking. Straight, visible lines help make precise cuts.
Safe Cutting Techniques
Wear safety glasses to protect your eyes from metal shards. Use a pipe cutter or hacksaw designed for copper pipes. Keep the pipe steady using a clamp or vise. Cut slowly and evenly along the marked line. Avoid rushing to prevent uneven or jagged edges.
Smoothing Pipe Edges
After cutting, the pipe edges may be sharp or rough. Use a metal file or sandpaper to smooth the edges. Remove any burrs to avoid injury. Smooth edges also help the pieces fit together easily. Take your time for a clean, safe finish.
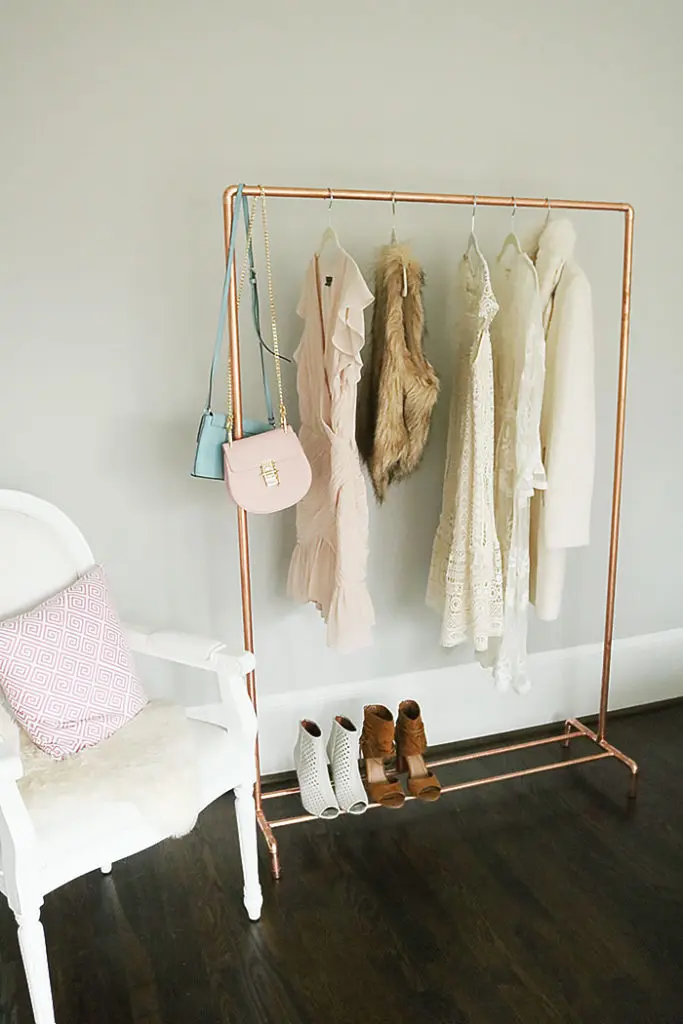
Credit: darlingdarleen.com
Assembling The Frame
Assembling the frame is an important step in making your copper coat rack. This step shapes the rack and gives it strength. It involves joining copper pipes and fittings to create a sturdy structure. Follow these simple steps carefully for a perfect frame.
Connecting Pipes
Start by cutting copper pipes to the needed lengths. Use a pipe cutter for clean edges. Align the pipes according to your design. Push the pipes firmly into each other to connect. Make sure each pipe fits tightly. Straight connections keep the frame stable and neat.
Using Copper Fittings
Copper fittings join pipes at corners and bends. Choose elbows, tees, or crosses based on your design. Slide the pipe ends into the fittings fully. Check the fit before moving to the next step. Fittings keep the frame strong and hold pipes in place. Use enough fittings for a balanced frame.
Securing Joints
Secure joints with solder or epoxy for lasting strength. Clean pipe ends and fittings before securing. Apply flux if soldering, then heat the joint gently. Add solder to fill gaps and bond pipes. For epoxy, spread it evenly inside fittings. Allow enough time to dry or cool. Tight joints prevent wobbling and make the rack durable.
Adding Hooks And Finishing Touches
Adding hooks and finishing touches is the final step in creating your copper coat rack. This part brings both function and style to your project. Properly placed hooks make your rack practical. A polished surface enhances the copper’s natural beauty. Finally, secure mounting ensures your rack stays in place.
Attaching Hooks
Select hooks that match your rack’s size and style. Mark spots evenly along the copper base. Use a drill to create small holes for screws. Attach each hook firmly with screws or bolts. Check that hooks are stable and can hold weight.
Polishing The Copper
Clean the copper surface with a soft cloth. Apply a copper polish or a natural mixture like lemon and salt. Rub gently to remove tarnish and bring out shine. Wipe off any residue with a clean cloth. Polishing protects copper and makes it look bright.
Mounting The Rack
Choose a wall spot that suits your space. Use a level to ensure the rack will hang straight. Mark holes on the wall through the rack’s mounting points. Drill holes and insert wall anchors if needed. Screw the rack securely to the wall. Test the rack by hanging items gently.
Maintenance Tips
Keeping your copper coat rack looking great takes regular care. Copper can lose its shine and develop spots over time. Simple maintenance helps keep it bright and durable. Follow these tips to protect and restore your copper coat rack easily.
Cleaning Copper Surfaces
Use a soft cloth to wipe dust and dirt. Mix mild soap with warm water for gentle cleaning. Avoid harsh chemicals that can damage copper. Rinse with clean water and dry thoroughly. Regular cleaning stops buildup and keeps copper shiny.
Preventing Tarnish
Tarnish forms when copper reacts with air and moisture. Apply a thin coat of clear wax or lacquer to protect the surface. Keep the rack in a dry place to reduce moisture exposure. Wipe the rack often to remove sweat and oils from hands.
Repairing Damages
Small scratches can be polished with a copper cleaner or a paste of lemon and salt. For dents, gently tap with a soft hammer and a cloth. Deep damage might need professional help. Quick repairs stop further wear and keep your rack looking good.
Frequently Asked Questions
What Materials Do I Need For A Copper Coat Rack?
You need copper pipes, fittings, a wooden base, screws, and wall anchors. Tools include a drill, saw, and measuring tape for precise assembly.
How Do I Assemble A Copper Coat Rack?
Cut copper pipes to size, connect with fittings, and secure to the wooden base. Attach hooks and mount on the wall using screws and anchors.
Can I Customize The Design Of My Copper Coat Rack?
Yes, you can customize the height, number of hooks, and pipe arrangement to fit your space and style preferences.
Is Copper Durable For Coat Racks?
Copper is highly durable, corrosion-resistant, and supports heavy coats well. It also adds a stylish, rustic look to your decor.
Conclusion
Creating a copper coat rack is a fun and simple project. It adds style and function to any space. You only need a few materials and basic tools. Follow the steps carefully and take your time. This project lets you personalize your home decor.
Enjoy the satisfaction of making something useful by hand. Try different designs to match your taste. Your copper coat rack will last for years. Start your project today and see the results yourself.
