Are you looking to add a warm, charming touch to your home? A rustic console table might be just what you need.
Imagine a piece that not only holds your keys and decor but also tells a story with its natural wood and simple design. You don’t have to spend a fortune or hire a pro to get that look. In this guide, you’ll discover easy steps to make your own rustic console table.
By the end, you’ll have a unique piece that fits perfectly in your space—and you’ll feel proud knowing you built it yourself. Ready to get started? Let’s dive in!

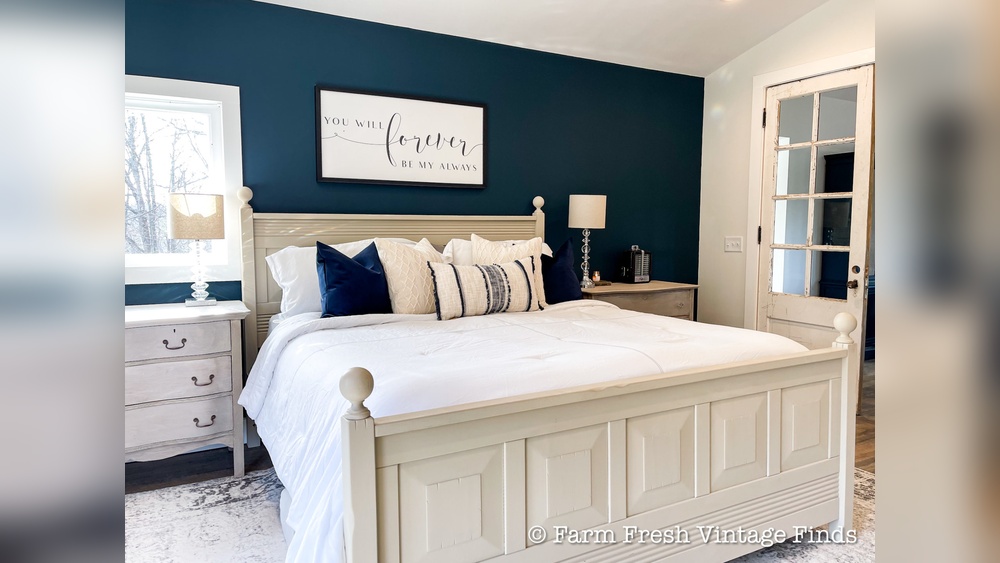
Credit: stonehavenlife.com
Materials And Tools Needed
Designing your rustic console table is the first step in creating a charming piece. It helps you plan the size and style that fits your space. A good design also guides your building process.
Start by thinking about where you will place the table and what you want it to hold. This helps decide the best size and shape. Then, add rustic style details for a cozy look.
Choosing Dimensions
Measure the area for your console table carefully. A narrow table fits well in tight spaces. The height should match nearby furniture for balance. Keep enough space for walking around it. Common dimensions are about 30 inches tall and 48 inches wide. Adjust the size to match your room and needs.
Rustic Style Elements
Rustic style uses natural wood and simple shapes. Look for rough or weathered wood finishes. Use visible knots and grain for character. Add details like sturdy legs and thick tabletops. Avoid glossy or smooth surfaces. Think about metal accents like iron handles or brackets. These details make the table feel warm and inviting.
Sketching Your Plan
Draw a simple sketch of your table design. Include top, side, and front views. Mark the dimensions clearly. Plan where each part will go. This helps avoid mistakes during building. You can also write notes about materials and finishes. A clear plan saves time and effort later.
Designing Your Console Table
Preparing the wood is the first step to create a rustic console table. This step shapes the wood and gives it the right texture. Proper preparation ensures the table looks strong and natural. It helps the wood last longer and look beautiful in your home.
Measuring And Cutting
Start by measuring the wood pieces carefully. Use a tape measure for exact lengths. Mark the wood with a pencil to guide your cuts. Cut the wood with a saw, following the marks closely. Keep the cuts straight to fit all parts perfectly.
Sanding Techniques
Sand the wood to remove rough spots and splinters. Use medium-grit sandpaper first to smooth the surface. Then, use fine-grit sandpaper for a soft finish. Sand along the wood grain to avoid scratches. Clean the dust off with a cloth before the next step.
Creating A Distressed Look
Give the wood a worn, rustic look by adding small dents and scratches. Use tools like a hammer or chains to create marks. Sand some edges more for a weathered feel. This technique adds character and charm to your table. The distressed look makes each piece unique and vintage.
Preparing The Wood
Assembling the rustic console table brings all the parts together. It shapes the look and feel of your project. Careful steps make your table strong and beautiful. Follow simple guides to join pieces, secure the frame, and add support.
Joining The Pieces
Start by aligning the wooden parts on a flat surface. Match edges carefully for a tight fit. Use wood glue on the joints for extra hold. Clamp the pieces gently to keep them still. Let the glue dry completely before moving on.
Securing The Frame
Use screws to fasten the frame parts together. Pre-drill holes to avoid splitting the wood. Drive screws slowly to keep wood intact. Check corners with a square tool for right angles. This ensures the frame stays even and strong.
Adding Support And Stability
Add braces or crossbars between legs and frame. Attach them with screws or nails for extra strength. Make sure all supports fit tightly and evenly. Test the table for wobbling and adjust if needed. Strong support keeps your table steady for years.
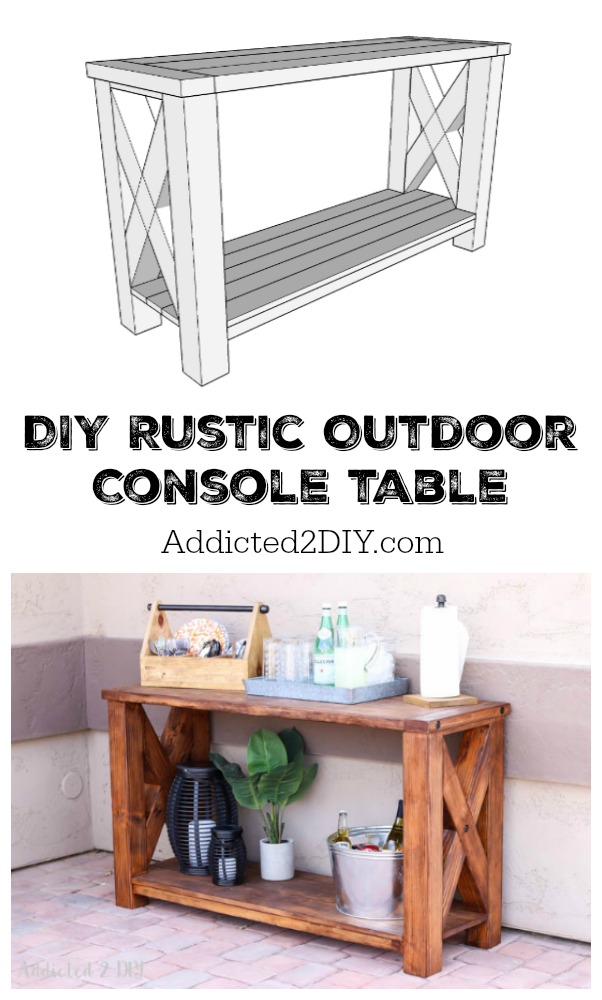
Credit: addicted2diy.com
Assembling The Table
Finishing touches make your rustic console table look complete and polished. They protect the wood and enhance its natural beauty. Choosing the right finish helps your table last longer and stay attractive. Small details can add charm and personality to your project.
Applying Stain Or Paint
Choose a stain or paint that fits your room style. Stain shows the wood grain and adds warmth. Paint gives a solid color and a smooth look. Use a brush or cloth to apply evenly. Let the first coat dry fully before adding another. Light sanding between coats helps smooth the surface.
Sealing For Durability
Sealing protects the wood from spills and scratches. Use a clear polyurethane or wax finish. Apply thin layers with a brush or cloth. Allow each layer to dry before the next. This step keeps your table strong and easy to clean. A good seal also enhances the wood’s natural color.
Decorative Accents
Decorative accents add character and style to your table. Consider metal handles, rustic knobs, or iron brackets. Adding a small shelf or hooks creates extra function. Use natural elements like twine or burlap for a rustic feel. Keep decorations simple to maintain the table’s charm.
Finishing Touches
Building a rustic console table can be fun and rewarding. Beginners may face challenges but following simple tips helps. These tips make the process easier and the final product strong and beautiful. Focus on key points to avoid common problems and keep your workspace safe. Caring for the table after building it keeps it looking great for years.
Common Mistakes To Avoid
Starting without a clear plan leads to errors. Measure twice, cut once. Using the wrong wood can weaken your table. Avoid nails or screws that are too short. Skipping sanding can leave rough edges. Not checking for level surfaces causes instability. Take your time and follow steps carefully.
Safety Precautions
Wear safety goggles and gloves while working. Keep your workspace clean and free from clutter. Use tools properly and follow instructions. Never rush while cutting or drilling wood. Make sure your tools are sharp and in good condition. Work in a well-lit area to see clearly. Always unplug power tools when not in use.
Maintaining Your Console Table
Dust your table regularly with a soft cloth. Avoid placing wet items directly on the wood. Use coasters or mats to protect the surface. Reapply wood finish or sealant every year. Fix small scratches with touch-up markers. Keep the table away from direct sunlight. This prevents fading and keeps the wood strong.
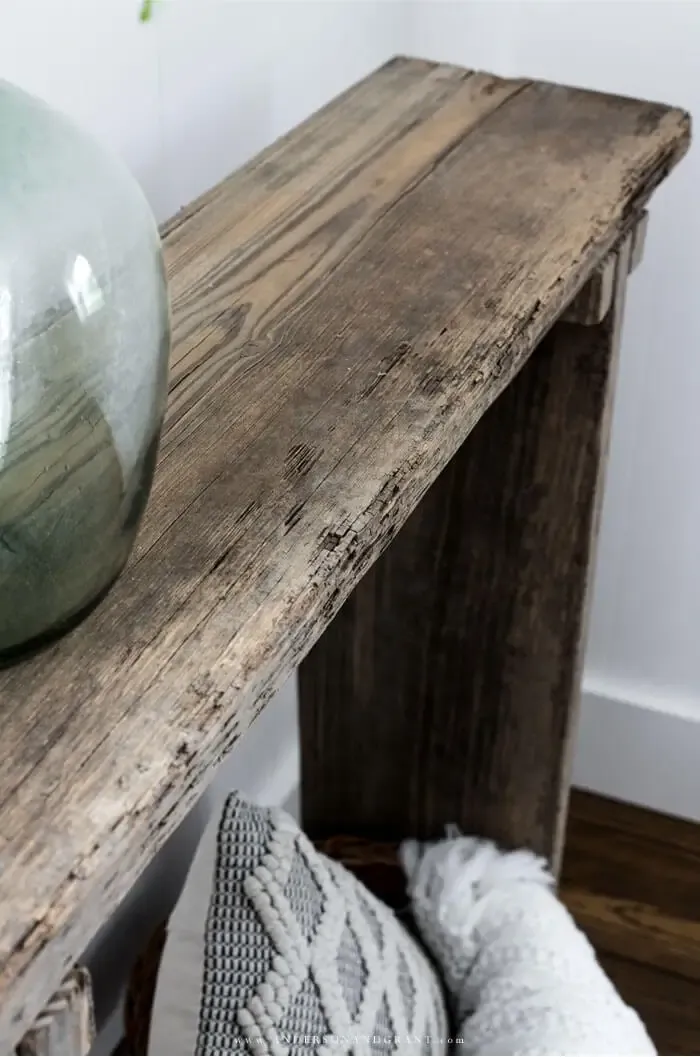
Credit: www.andersonandgrant.com
Frequently Asked Questions
What Materials Are Needed To Make A Rustic Console Table?
You need wood planks, screws, wood glue, sandpaper, wood stain, and a drill. Choose reclaimed wood for a true rustic look. Optional items include brackets and a finish coat to protect the wood.
How Long Does Building A Rustic Console Table Take?
Building a rustic console table typically takes 4 to 6 hours. This depends on your skill level and drying time for stain or paint. Planning and preparation can reduce overall time.
Can Beginners Build A Rustic Console Table Easily?
Yes, beginners can build a rustic console table with basic woodworking skills. Follow clear instructions and use simple tools. Starting with a simple design helps build confidence and skills.
How To Protect The Rustic Finish On The Table?
Apply a clear polyurethane or wax finish to protect the wood. This prevents scratches and water damage while enhancing the rustic look. Reapply as needed for long-term durability.
Conclusion
Building a rustic console table can be a fun and rewarding project. You only need a few tools and some basic wood skills. Each step brings you closer to a unique piece for your home. This table adds charm and warmth to any space.
Try different finishes to match your style. Enjoy the pride of creating furniture with your own hands. Start your project today and see how simple it can be!