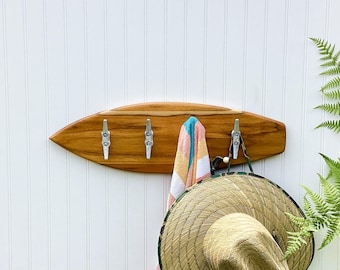
Looking for a unique way to organize your space? Imagine turning a surfboard into a stylish coat rack that not only saves space but also adds a cool, beachy vibe to your home.
You don’t need to be a woodworking expert to create this eye-catching piece. In this guide, you’ll discover simple steps to transform a surfboard into a functional and trendy coat rack that will impress your guests and keep your coats tidy.
Ready to bring a touch of the ocean into your home? Let’s dive in!

Credit: www.completely-coastal.com
Materials Needed
Gathering the right materials is key to a successful surfboard coat rack project. Each item plays an important role in creating a sturdy and stylish rack. Prepare everything before you start for a smooth building process.
Choosing good materials also saves time and prevents frustration. Focus on quality and ease of use. This helps you make a rack that lasts and looks great in your space.
Choosing The Right Surfboard
Select a surfboard that fits your space and style. Old or damaged boards work well and add character. Check the size; a medium to large board holds more coats.
Lightweight boards are easier to mount and handle. Avoid boards with major cracks or weak spots. These may not support weight safely.
Essential Tools And Supplies
Prepare basic tools for cutting, drilling, and mounting. A power drill, screwdriver, and measuring tape are must-haves. Sandpaper helps smooth edges for safety.
Get strong hooks or pegs to hang coats securely. Use wall anchors or studs for reliable mounting. Choose screws that fit your board and wall type.
Preparing The Surfboard
Preparing the surfboard is the first step in making a surfboard coat rack. You need to clean and shape the board well. A clean surfboard looks better and lasts longer as a rack. Shaping the board helps fit it to your space and style.
Cleaning And Sanding
Start by washing the surfboard with soap and water. Remove any dirt, salt, or stickers. Use a soft cloth to avoid scratches. After cleaning, let the board dry completely.
Next, sand the surface with fine-grit sandpaper. Sanding removes old paint and smooths the surface. This step helps paint or varnish stick better. Sand edges gently to avoid sharp corners. Wipe away dust with a damp cloth after sanding.
Cutting And Shaping Options
Decide if you want to keep the surfboard whole or cut it. Cutting lets you create smaller racks or unique shapes. Use a jigsaw or handsaw for clean cuts. Mark your cutting lines clearly before cutting.
Shape the edges by sanding or trimming. Rounded edges are safer and look nicer. You can also add design elements by carving simple patterns. Take your time shaping to get the look you want.
Designing The Coat Rack
Designing the coat rack is a fun step in this project. It lets you add style and function. The design should fit your space and needs. Think about the look and how many items it will hold. A well-designed rack blends with your room and feels balanced.
Focus on two main parts: the hooks and their arrangement. These details shape the rack’s usefulness and appearance. Choose hooks that hold coats well and look good. Plan spacing carefully to avoid crowding or empty spots.
Selecting Hook Styles
Choose hooks that match the surfboard’s style and your room. Metal hooks offer a modern, strong look. Wooden hooks add warmth and a natural feel. Consider double hooks for more hanging space. Rounded hooks protect clothes from snags. Pick hooks that hold heavy coats firmly.
Layout And Spacing Tips
Space hooks evenly for a clean, organized look. Leave enough room so coats do not overlap. Measure the surfboard length to plan hook placement. Start with hooks near the ends for balance. Place hooks at different heights for variety and easy access. Test spacing by hanging items before fixing hooks.
Credit: www.etsy.com
Attaching Hooks
Attaching hooks is a key step in making your surfboard coat rack both useful and stylish. Hooks hold coats, hats, and bags, so placing them right is important. This part needs care to ensure the hooks are strong and stable. Follow simple steps to mark, drill, and secure hooks safely on your surfboard.
Marking Hook Positions
Start by deciding how many hooks you want. Space them evenly along the surfboard. Use a pencil to mark each spot clearly. Check the height so everyone can reach the hooks easily. Make sure marks are straight by using a ruler or level. This helps keep the coat rack neat and balanced.
Drilling And Securing Hooks
Choose a drill bit that fits the hook screws. Drill holes carefully on each marked spot. Go slow to avoid cracking the surfboard. Insert anchors if needed for extra strength. Screw the hooks firmly into the holes. Tighten each hook but avoid over-tightening. Test the hooks by hanging something light first.
Adding Finishing Touches
Adding finishing touches to your surfboard coat rack is the last step that brings everything together. It makes your project look complete and polished. These final details not only improve appearance but also protect your rack for a long time.
Painting And Sealing
Start by choosing the right paint color for your surfboard coat rack. Pick colors that match your room or style. Use paint that works well on wood and dries fast. Apply thin coats and let each dry before the next.
After painting, seal the surface with a clear varnish or sealant. This step protects the paint and wood from damage. It also gives a nice shine and makes cleaning easier. Use a brush or spray for an even coat.
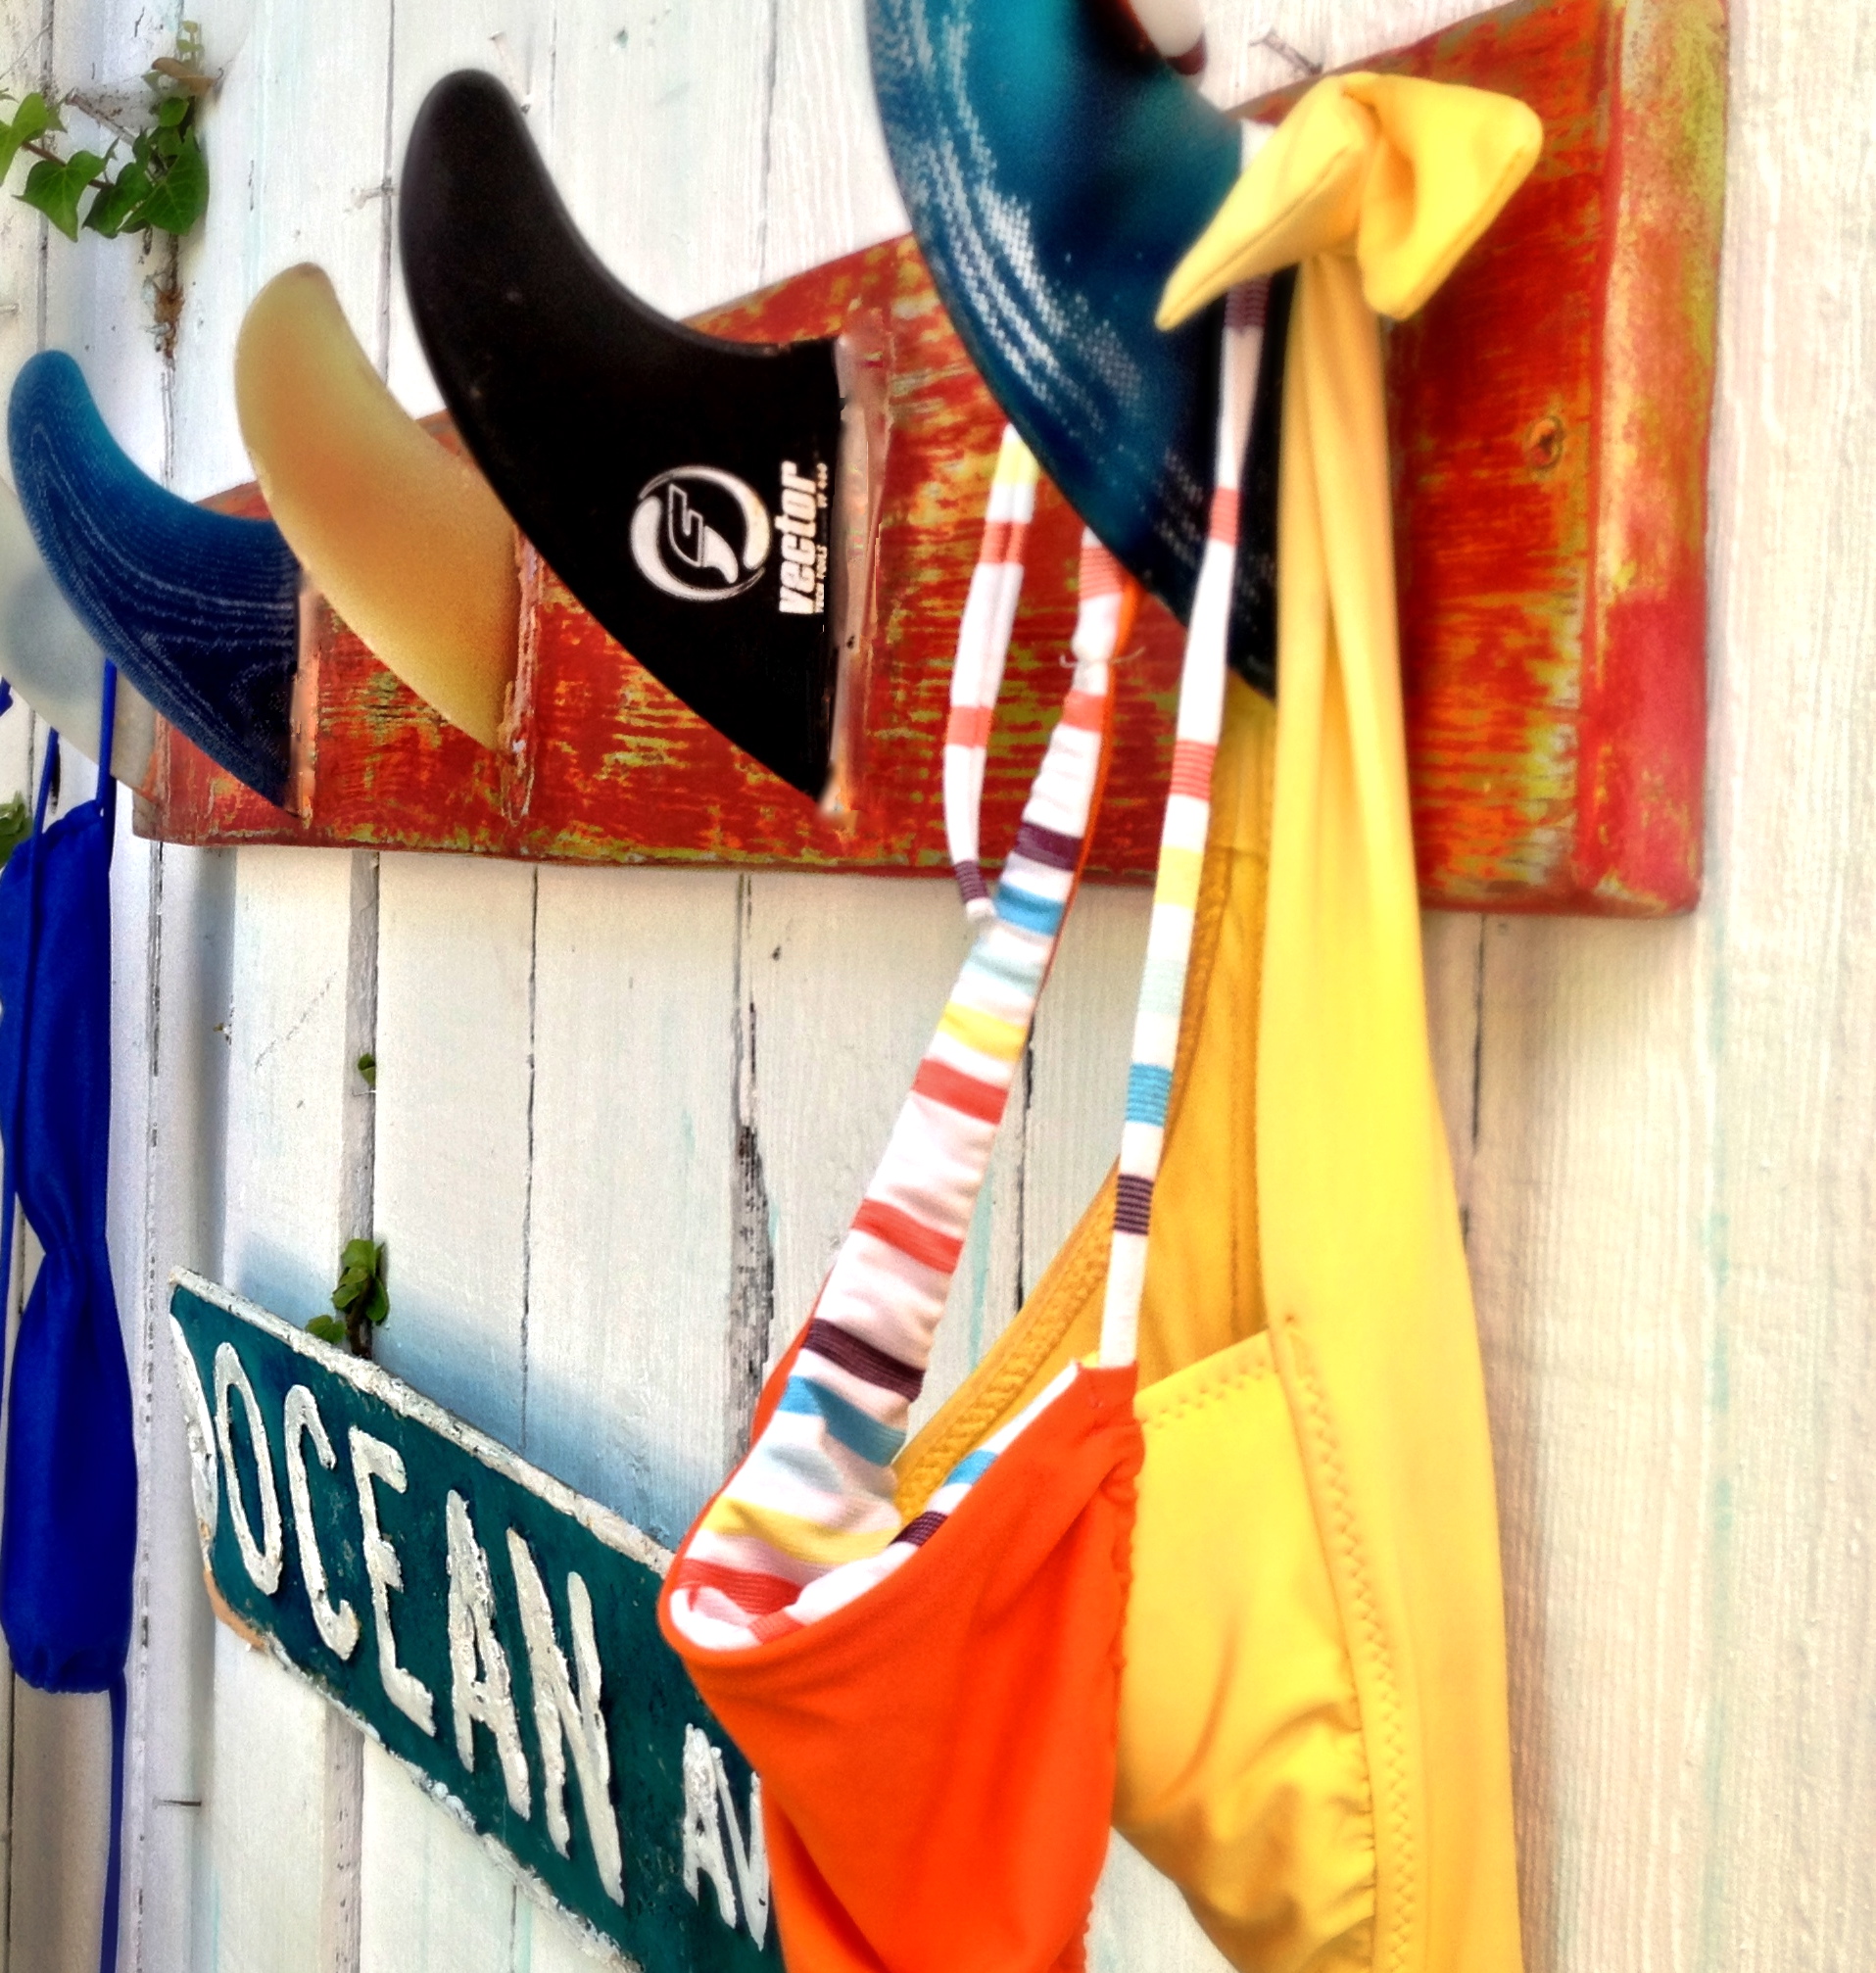
Adding Decorative Elements
Decorative elements add personality to your coat rack. Consider attaching small hooks shaped like surf fins or shells. These can hold keys or hats and add charm.
Use stickers or decals with beach themes for a fun look. You can also write or paint words like “Welcome” or “Surf’s Up” for extra style. Keep decorations simple to avoid clutter.
Credit: debisdesigndiary.com
Mounting The Coat Rack
Mounting the surfboard coat rack is an important step. It ensures your rack holds coats securely. A well-mounted rack looks good and lasts long. Pay attention to the wall type and weight of the rack. Use the right tools and materials for a strong hold.
Choosing Wall Anchors
Pick wall anchors based on your wall type. Drywall needs different anchors than brick or concrete. Plastic anchors work well for light loads on drywall. For heavier racks, metal anchors or toggle bolts are better. Check the weight limit on the anchor package. Match the anchor size to the screws you use. Proper anchors stop the rack from pulling out.
Safe Installation Methods
Start by marking where you want the rack. Use a level to keep it straight. Drill pilot holes to avoid cracking the wall. Insert the wall anchors gently into the holes. Screw the rack into the anchors firmly. Do not overtighten screws to avoid damage. Test the rack by hanging a coat. Make sure it feels secure and stable.
Styling Ideas
Styling your surfboard coat rack can elevate any room’s look. It adds both function and charm. Simple touches can make it stand out and blend well with your space. Use ideas that reflect your style and the room’s theme.
Incorporating Coastal Themes
Bring the beach indoors by adding coastal elements. Use shells, driftwood, or sea glass nearby. Soft blues and sandy tones work well with the surfboard rack. Hang light, airy curtains to mimic ocean breezes. Add nautical accents like ropes or anchors to enhance the vibe.
Pairing With Other Decor
Balance the surfboard rack with matching furniture. Wooden benches or wicker chairs complement its natural look. Keep colors neutral or earthy to maintain harmony. Use simple wall art that echoes outdoor or ocean scenes. Place plants around to add freshness and life to the space.
Frequently Asked Questions
What Materials Are Needed For A Surfboard Coat Rack?
You need a surfboard or wood plank, coat hooks, screws, a drill, and wall anchors. Sandpaper and paint are optional for finishing touches.
How Do I Mount A Surfboard Coat Rack On The Wall?
Locate wall studs, mark drill points on the surfboard, drill holes, and secure with screws and anchors. Use a level for alignment.
Can I Customize The Surfboard Coat Rack Design?
Yes, you can paint, stain, or add decorative hooks. Personalize it to match your room’s style and color scheme.
How Much Time Does It Take To Make A Surfboard Coat Rack?
It typically takes 1 to 3 hours, depending on preparation, painting, and drying time. Simple designs are quicker to complete.
Conclusion
Creating a surfboard coat rack adds style and function to your space. It uses simple tools and materials anyone can find. You get a unique piece that shows your love for the ocean. Hang coats, hats, or bags easily on your new rack.
This project saves money and gives your room a fresh look. Try making one yourself and enjoy the process. A surfboard coat rack fits well in any home or beach house. It brings a bit of the sea inside, every day.