Are you tired of cluttered spaces and coats piled on chairs? Imagine having a simple, stylish coat rack with hooks that you made yourself.
Creating your own coat rack hooks is easier than you think, and it can add a personal touch to your home. In this guide, you’ll discover step-by-step how to craft strong, attractive hooks that fit your style perfectly. Keep reading, and you’ll soon turn your entryway into a neat, organized space that welcomes you every day.
Credit: jessicawellinginteriors.com
Materials Needed
Starting a coat rack hook project needs the right materials. Choosing good materials helps build a strong, useful rack. This section lists the key items for making coat rack hooks. Understand what wood and metal to pick. Know the tools needed to shape and fix your rack. See the extra supplies that make your work easier and cleaner.
Types Of Wood And Metal
Wood options include pine, oak, or cedar. Pine is soft and easy to cut. Oak is hard and lasts longer. Cedar smells nice and resists bugs. For metal hooks, steel and brass are popular. Steel is strong and holds weight well. Brass looks classic and resists rust. Choose wood and metal based on style and use.
Tools For The Project
You need a saw to cut wood pieces. A drill helps make holes for screws. Screwdrivers or a drill driver fix hooks in place. Sandpaper smooths wood edges and surfaces. A measuring tape ensures precise dimensions. Clamps hold wood steady while working. These tools make the building process easier and safer.
Additional Supplies
Grab screws and wall anchors for mounting. Wood glue adds extra strength to joints. Paint or wood stain improves the look. Clear sealant protects wood from moisture. A pencil helps mark measurements clearly. A level ensures your rack hangs straight. These supplies finish your project with care and style.
Choosing A Design
Choosing a design for your coat rack hooks sets the tone for your space. It defines style and function. The right design makes your coat rack both useful and beautiful. Consider the room’s decor and your personal taste. This section explores three popular styles to inspire your project.
Modern Minimalist Styles
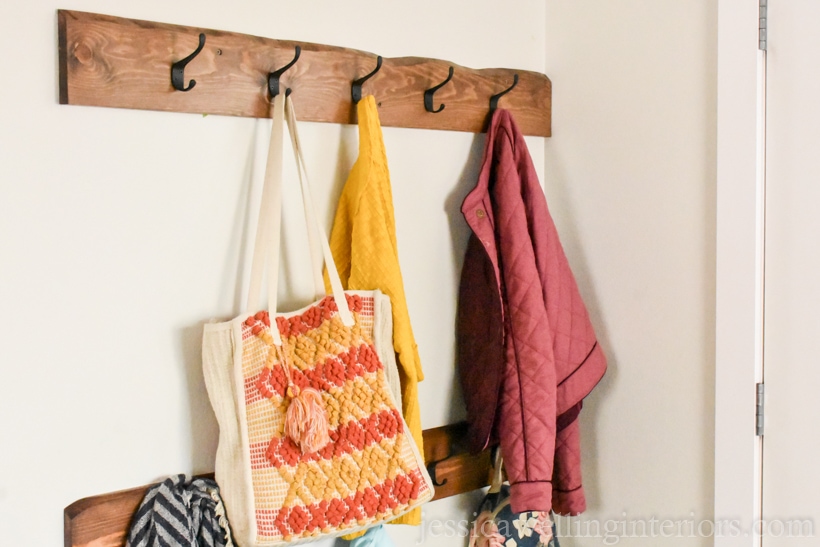
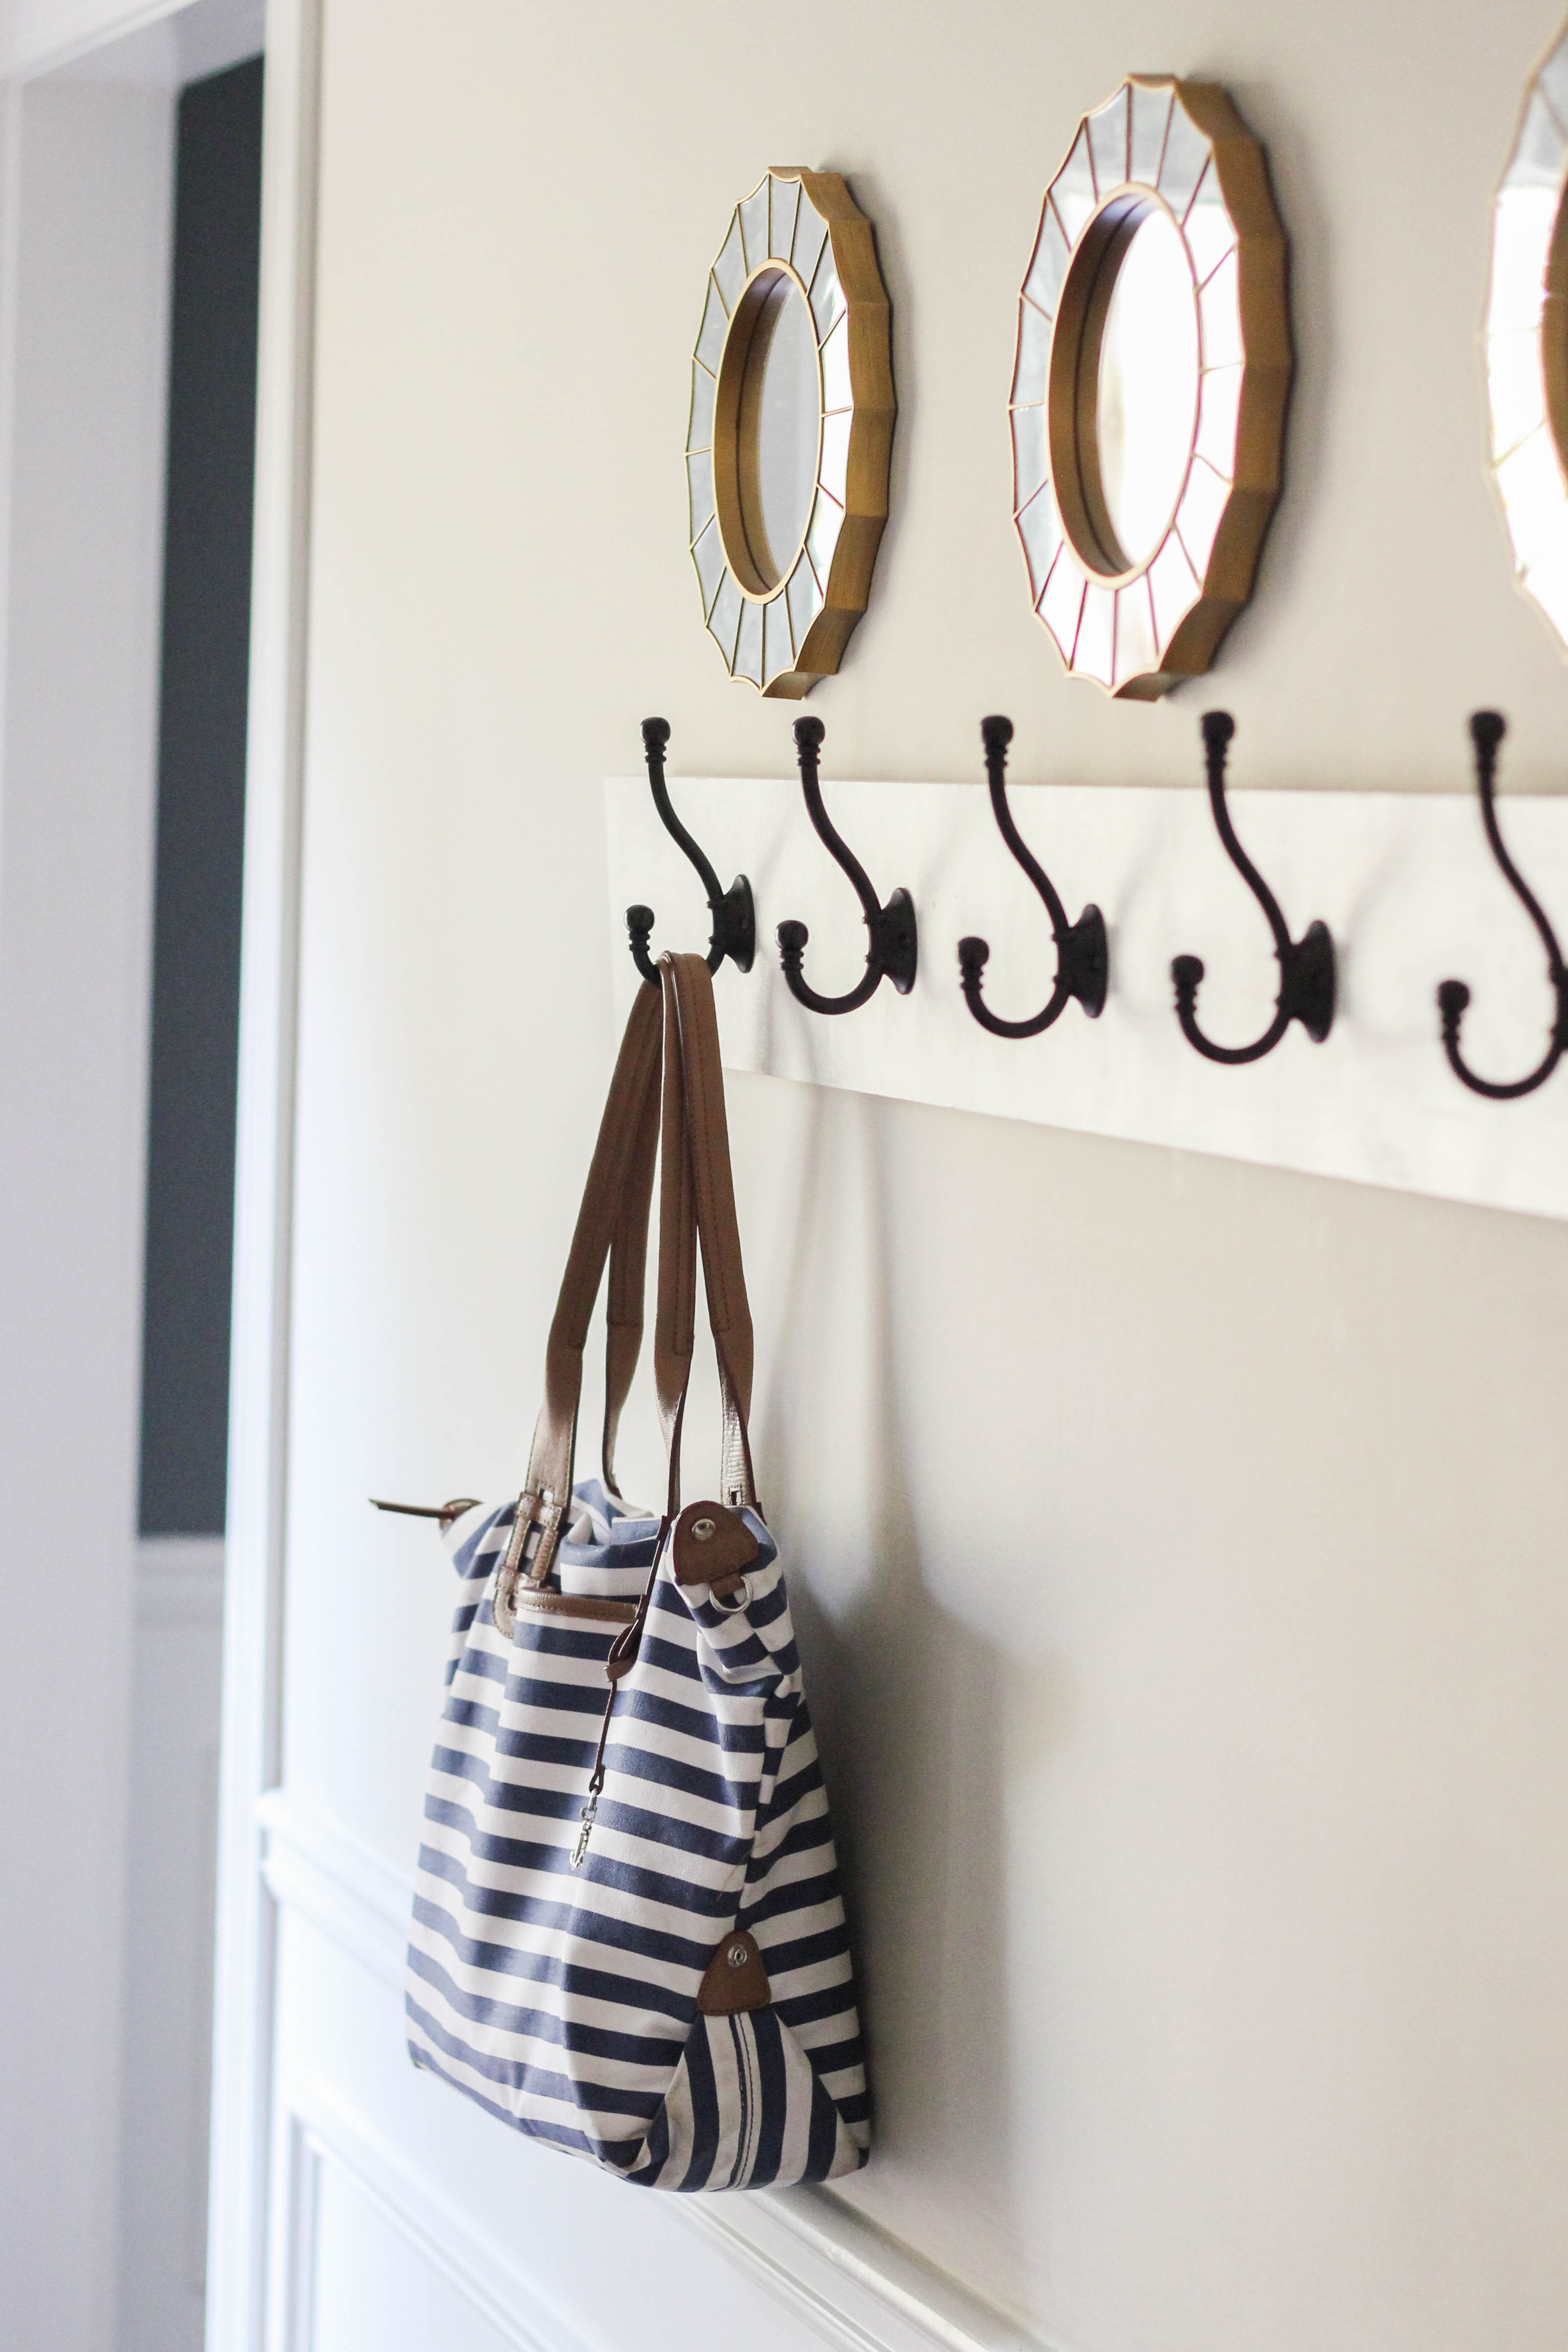
Modern minimalist hooks are simple and clean. They use straight lines and smooth shapes. Colors like black, white, or metal work well. These hooks suit small spaces and neat homes. They blend easily with most wall colors. Minimalist hooks keep the focus on function and form.
Rustic And Vintage Looks
Rustic hooks bring warmth and charm. Wood and wrought iron are common materials. These hooks show natural textures and aged finishes. Perfect for cozy cabins or farmhouse decor. They add a touch of history and character. Rustic hooks often look handmade or worn.
Creative And Unique Shapes
Creative hooks add fun and personality. Think shapes like animals, branches, or geometric forms. They turn coat racks into art pieces. These hooks fit playful or eclectic spaces. Unique designs can be conversation starters. They let your style stand out boldly.
Step-by-step Assembly
Building your own coat rack hooks can be simple and satisfying. Follow these clear steps to create a sturdy and stylish rack. Each part of the process is important for a strong final product.
Preparing The Base
Start with choosing a wooden board for the base. Sand the board to make it smooth and safe to touch. Measure and mark where each hook will go. Space the marks evenly for a balanced look.
Attaching The Hooks
Select hooks that match the style you want. Position each hook on the marks you made. Use screws or nails to fix the hooks firmly in place. Make sure each hook is straight and tight.
Finishing Touches
Check all hooks to confirm they are secure. Wipe the base to remove dust and dirt. Apply a coat of paint or varnish for protection and style. Let it dry completely before use.
Painting And Finishing
Painting and finishing coat rack hooks is a key step to make them look great and last longer. The right paint or stain adds color and style. A smooth finish feels nice to touch and shows quality. Protective coatings keep the hooks safe from scratches and moisture. Each part of this process helps create a strong, beautiful coat rack.
Selecting Paint And Stains
Choose paint or stain based on the wood type. Stains show natural wood grain. Paint covers the surface with solid color. Use water-based paints for easy cleaning and less odor. Oil-based paints last longer but take more time to dry. Pick colors that match your room style or personal taste. Test a small spot before full painting.
Techniques For A Smooth Finish
Sand the hooks with fine-grit sandpaper before painting. This removes rough spots and opens wood pores. Apply paint or stain in thin, even layers. Use a soft brush or foam applicator for less streaks. Let each coat dry fully before adding the next. Lightly sand between coats for smoothness. Avoid thick layers to prevent drips and bubbles.
Protective Coatings
Apply a clear protective coat after paint or stain dries. Polyurethane or varnish works well to protect wood. Choose satin or matte finish for a subtle look. Glossy finish adds shine but shows scratches easily. Use a brush or spray for even coverage. Let the coat dry completely to ensure durability. Protective coatings extend life and keep hooks looking new.
Mounting Tips
Mounting coat rack hooks properly is key for a sturdy and long-lasting setup. A well-mounted hook holds weight without damage or falling off. Follow these simple tips for the best results.
Wall Preparation
Start by cleaning the wall surface. Remove dust and grease for better grip. Use a level to mark hook positions evenly. Check for studs using a stud finder. Mounting on studs offers stronger support. For drywall, use wall anchors to prevent holes from enlarging.
Secure Installation Methods
Choose screws that match the hook size. Drill pilot holes to avoid splitting the wall. Use anchors designed for your wall type. Tighten screws firmly but avoid over-tightening. Over-tightening can crack the wall or damage the hook.
Placement Ideas
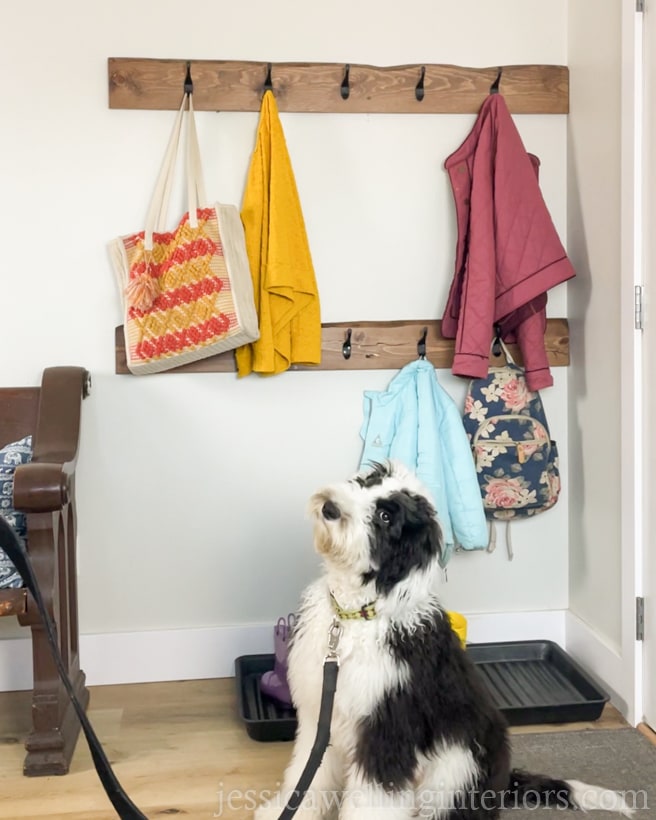
Place hooks at a comfortable height for easy reach. Space hooks evenly for a neat look. Group hooks in clusters for coats, hats, and bags. Avoid placing hooks too close to corners or doors. Leave enough space so items hang freely without overlapping.
Creative Variations
Creative variations make coat rack hooks more unique and useful. They allow you to fit hooks into your home style. These ideas help you create hooks that are both practical and beautiful. Below are some creative ways to design your coat rack hooks.
Upcycling Old Materials
Use old items to make new coat hooks. Wood scraps, old keys, or metal pieces work well. This saves money and helps the environment. You can sand wood for a smooth finish or paint metal for color. Each piece gets a new life and adds charm.
Incorporating Decorative Elements
Add small decorations to make hooks stand out. Use ceramic knobs, shells, or vintage buttons as hook ends. These details bring personality and style. Choose colors and shapes that match your room. Simple decorations turn plain hooks into art.
Multi-functional Designs
Create hooks that do more than hold coats. Add small shelves or baskets above hooks for keys and mail. Hooks with built-in lights help at night. Combining functions saves space and keeps things organized. Smart designs make your coat rack a useful home feature.
Maintenance And Care
Taking care of your coat rack hooks keeps them strong and looking good. Simple maintenance helps avoid damage and saves money. Regular care makes the hooks last longer. Follow easy steps to keep your hooks clean and sturdy.
Cleaning Tips
Dust your coat rack hooks often using a soft cloth. Use mild soap with water for deeper cleaning. Avoid harsh chemicals that can ruin the finish. Dry hooks well after cleaning to stop rust or damage. Clean hooks help maintain their shine and function.
Repairing Damages
Check hooks for loose screws and tighten them carefully. Fill small scratches with matching paint or wood filler. Replace any broken hooks to keep the rack useful. Fix problems early to avoid bigger repairs later. Regular checks keep your rack safe and reliable.
Extending Longevity
Place your coat rack in a dry spot to prevent rust. Avoid hanging very heavy items to protect the hooks. Use protective pads under hooks if needed. Treat wooden racks with polish or oil to keep wood strong. Small efforts extend the life of your coat rack hooks.
Credit: jessicawellinginteriors.com
Credit: www.erinspain.com
Frequently Asked Questions
What Materials Do I Need To Make Coat Rack Hooks?
You need wood, metal hooks, screws, a drill, sandpaper, and paint or stain. Choose sturdy materials for durability and style.
How Do I Attach Hooks Securely To The Rack?
Use screws and a drill to attach hooks firmly. Pre-drill holes to avoid wood splitting and ensure stability.
Can I Customize Coat Rack Hooks Design?
Yes, you can paint, stain, or decorate hooks to match your decor. Personalize hooks with unique shapes or colors.
How Do I Install A Coat Rack On The Wall?
Find wall studs, mark the mounting points, and use appropriate anchors or screws. Ensure the rack is level and securely fastened.
Conclusion
Making coat rack hooks is simple and fun. You only need a few tools and materials. Follow the steps carefully and take your time. You will end up with a useful and stylish rack. It helps keep your space clean and organized.
Plus, you can customize it to fit your style. Try making one today and enjoy the results. Small projects like this bring big satisfaction. Give it a try!