Looking for a simple way to add style and organization to your home? You’re in the right place.
Making your own wall mounted coat rack is easier than you think. Imagine having a custom piece that fits perfectly in your space, holds all your coats, and looks great. In this guide, you’ll discover step-by-step instructions that anyone can follow.
By the end, you’ll have a unique coat rack that saves you money and brings a fresh look to your walls. Ready to get started? Let’s dive in!
Materials And Tools Needed
Building a wall mounted coat rack needs some basic materials and tools. Choosing the right items makes the project easier and better. This section explains what you need to start.
Choosing The Right Wood
Pick wood that is strong and smooth. Pine and oak are great choices. Pine is soft and easy to cut. Oak is hard and lasts longer. Check for no cracks or knots. The size depends on your wall space. A board about 24 inches long works well.
Essential Tools For The Project
Have these tools ready before you begin. A saw for cutting wood to size. Sandpaper or a sanding block to smooth edges. A drill to make holes for screws. A screwdriver or drill bit to fix hooks. A measuring tape to get exact lengths. A pencil to mark where to cut or drill.
Selecting Hooks And Hardware
Choose hooks that hold coats securely. Metal hooks are strong and stylish. Pick the size based on your needs. Small hooks for keys, big ones for coats. Use screws and wall anchors for support. Anchors prevent the rack from falling off the wall. Match the hardware finish to your room decor.
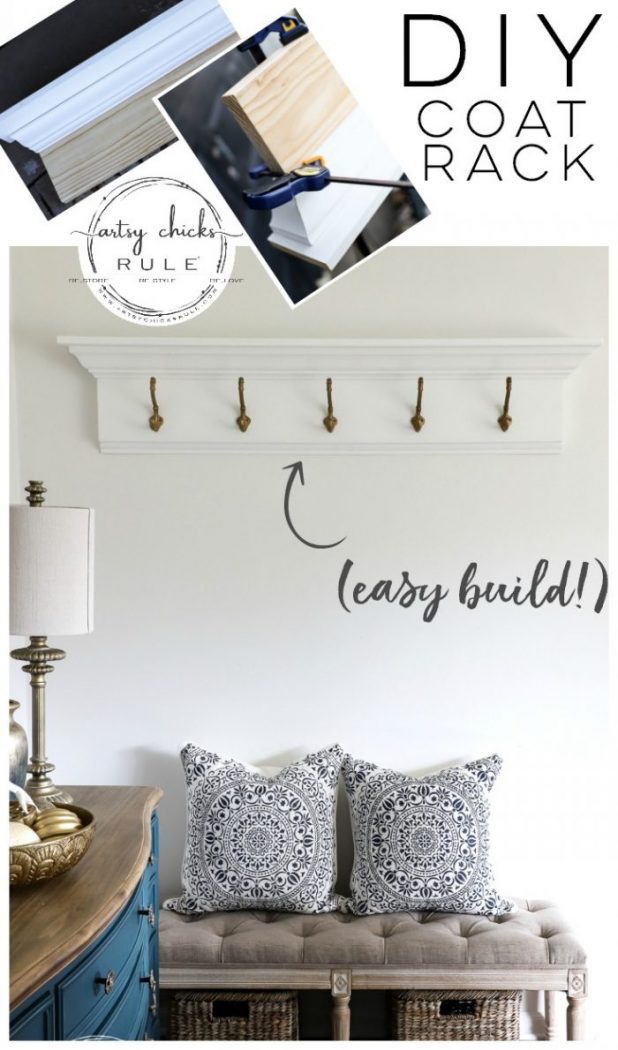
Credit: www.artsychicksrule.com
Designing Your Coat Rack
Designing your own wall mounted coat rack is the first step in creating a useful and stylish piece. It needs to fit your space and meet your needs. Thoughtful design makes the rack both practical and attractive.
Measuring Space And Size
Start by measuring the wall space where you want to place the rack. Measure width and height carefully. The coat rack should fit well without crowding the area. Leave extra space for coats and bags. Think about how many items you want to hang. This helps decide the rack’s length and height.
Deciding On Hook Placement
Plan where to put the hooks on your rack. Hooks need enough space between them to avoid crowding. Place hooks at a height comfortable for all users. Consider if children will use the rack. Use a straight line for a clean look or stagger hooks for a creative style. Good spacing keeps coats neat and easy to grab.
Adding Decorative Elements
Decorations make your coat rack unique. Choose colors that match your room’s style. Add patterns, paint, or wood stains for extra charm. You can use small shelves or labels above hooks. Decorations should not block coat hanging space. Simple details can make the rack stand out beautifully.
Cutting And Preparing Wood
Cutting and preparing wood is a key step in making a wall mounted coat rack. This step sets the base for a sturdy and neat rack. Proper preparation ensures the wood fits perfectly and looks good on your wall. Follow these simple steps to get your wood ready.
Marking Measurements
Measure the wood carefully before cutting. Use a ruler or tape measure to get exact lengths. Mark the cutting lines with a pencil. Double-check measurements to avoid mistakes. Clear marks guide your saw and keep cuts straight.
Cutting Techniques
Use a saw that fits your skill level and wood type. A handsaw works well for small projects. For straight cuts, clamp the wood securely. Cut slowly and follow the pencil lines. Keep your hands safe and steady during cutting.
Sanding And Smoothing
Sand the edges after cutting to remove splinters. Start with rough sandpaper, then use finer paper. Smooth surfaces prevent scratches and give a nice finish. Wipe off dust with a cloth before assembling your rack.

Credit: www.esseg.eu
Assembling The Rack
Assembling the wall mounted coat rack is an important step. It brings all the pieces together. This part needs careful work to ensure the rack holds weight and looks good.
Attaching Hooks Securely
Start by marking where each hook will go. Use a ruler for even spacing. Drill small pilot holes to avoid splitting the wood. Screw the hooks firmly into place. Check that each hook feels strong and steady.
Reinforcing The Structure
Add extra support to make the rack sturdy. Use wood glue along joints before screwing parts together. Attach small brackets or corner braces under the rack. These help the rack hold heavy coats and bags. Tighten all screws to prevent wobbling.
Finishing Touches
Sand the rack to smooth rough edges. Wipe away dust with a clean cloth. Apply a coat of paint or wood finish. This protects the wood and improves the look. Let it dry completely before hanging coats.
Mounting The Rack On The Wall
Mounting your wall coat rack is a key step. It keeps the rack secure and strong. A well-mounted rack holds coats, bags, and hats without falling. Take time to do this right. Follow these steps for a safe and neat mount.
Finding Studs And Marking Spots
Studs are the wooden beams behind the wall. They hold screws firmly in place. Use a stud finder tool to locate them. Move the tool slowly across the wall. Mark the spots with a pencil. These marks will guide you where to drill holes.
Using Proper Anchors
Wall anchors add extra support when studs are not available. Choose anchors based on wall type and rack weight. Plastic anchors work for light racks on drywall. Metal anchors are better for heavier loads. Insert anchors into drilled holes before screws. This stops the rack from loosening over time.
Leveling And Securing
Use a level tool to keep the rack straight. Place the rack against the wall and check alignment. Adjust marks if needed. Drill pilot holes on marked spots. Screw the rack tightly into the wall or anchors. Check the rack again with the level. Make sure it does not wobble or tilt.
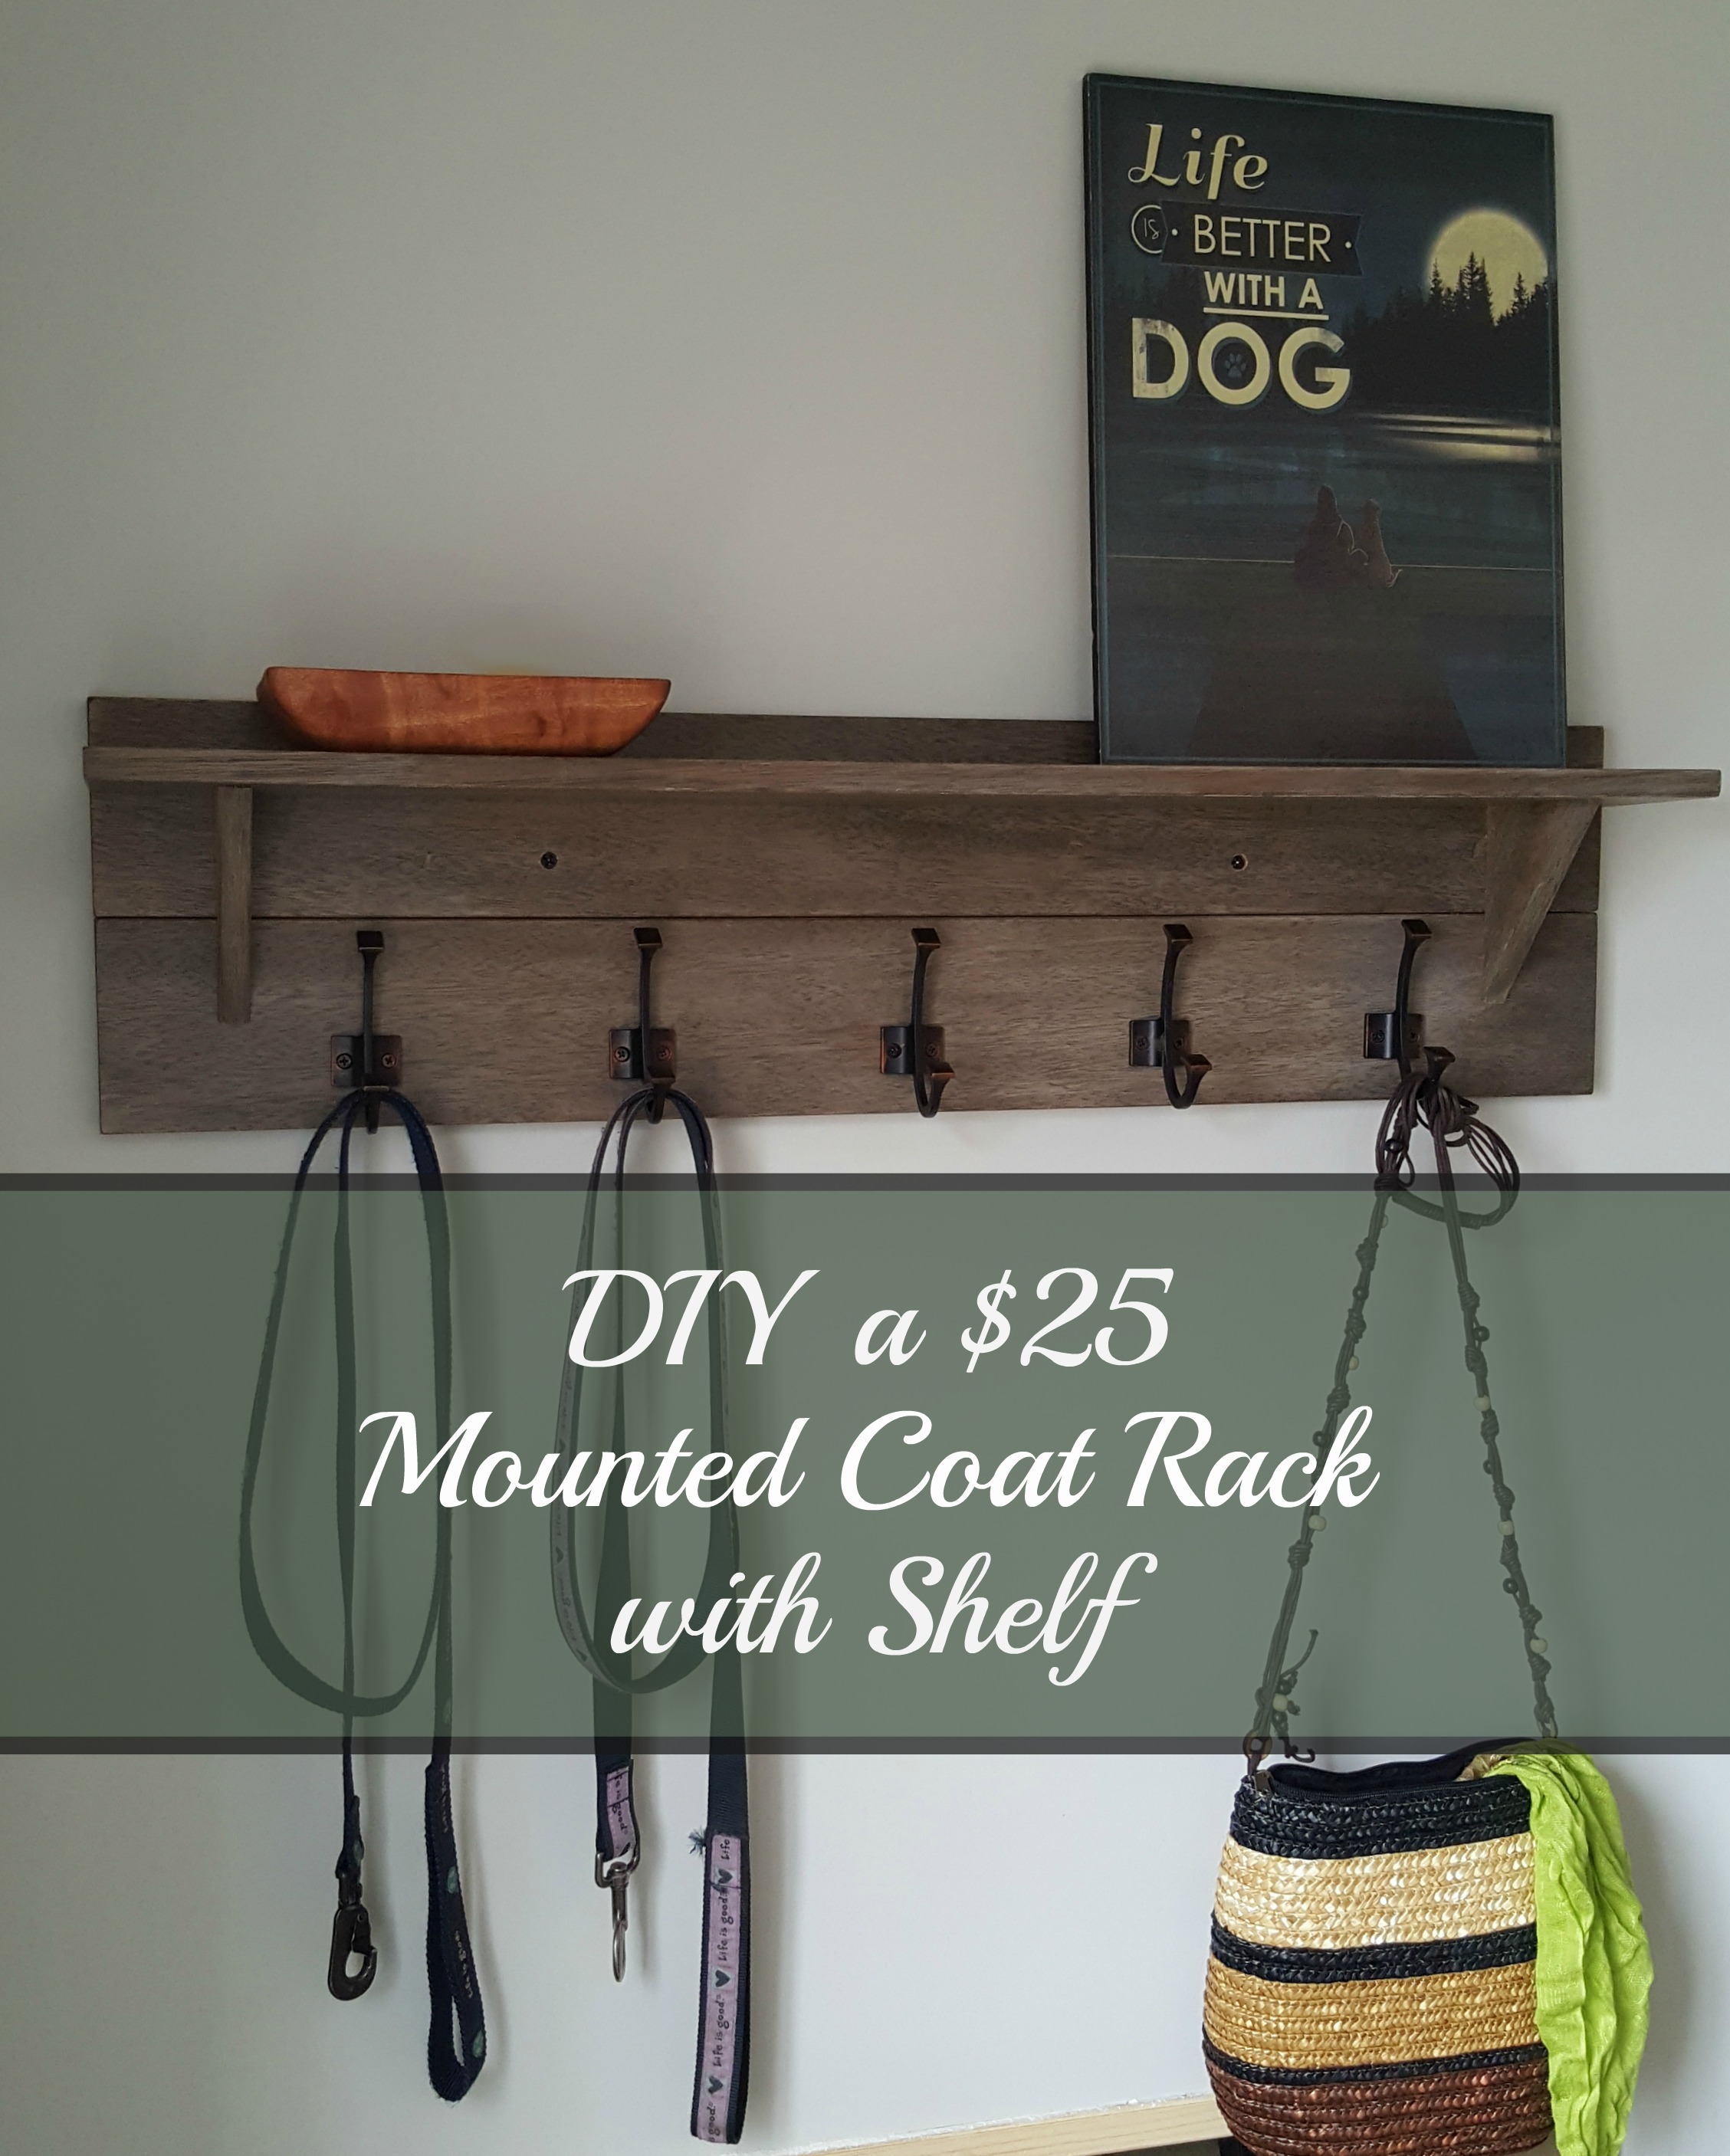
Credit: turtlesandtails.blogspot.com
Maintenance And Styling Tips
Maintaining and styling your wall mounted coat rack keeps it useful and attractive. Simple care routines help the rack last longer. Styling changes make your space feel fresh and inviting. Here are some tips to keep your rack in top shape and looking great.
Cleaning And Care
Dust your coat rack often to avoid buildup. Use a soft cloth or duster for gentle cleaning. For wood racks, apply a mild wood cleaner once a month. Avoid harsh chemicals that can damage the finish. Check screws and hooks regularly to keep them tight. Fix loose parts quickly to prevent damage.
Seasonal Decoration Ideas
Change your rack’s look with the seasons. Hang light scarves and hats in spring and summer. Add warm gloves and cozy hats in fall and winter. Use small wreaths or ribbons for a festive touch. Swap colors and textures to match the season’s mood. Simple swaps make your rack a stylish part of your home.
Maximizing Rack Functionality
Use all hooks to keep items organized and easy to find. Add small baskets or trays under the rack for keys and gloves. Label hooks for family members to avoid mix-ups. Place the rack near the door for quick access. Keep heavy coats on the strongest hooks. Organize regularly to keep clutter away and the rack working well.
Frequently Asked Questions
What Materials Do I Need For A Wall Mounted Coat Rack?
You need wooden planks, hooks, screws, a drill, wall anchors, sandpaper, and paint or stain. Choose sturdy wood for durability and hooks that match your style.
How Do I Install A Wall Mounted Coat Rack Securely?
Locate wall studs using a stud finder. Drill pilot holes, use screws and anchors for extra support. Ensure the rack is level before tightening screws completely.
Can I Customize The Design Of My Coat Rack?
Yes, you can customize size, shape, color, and hook style. Personalize it to fit your space and decor. Adding shelves or multiple rows is also possible.
How Much Time Does It Take To Build A Coat Rack?
It usually takes 1-3 hours depending on design complexity and your DIY skills. Preparation and drying time for paint or stain may add extra hours.
Conclusion
Creating your own wall-mounted coat rack is easier than it seems. With a few tools and materials, you can build one that fits your style. It saves space and keeps your home tidy. Plus, it adds a personal touch to your decor.
Try different designs and colors to match your room. Enjoy the satisfaction of a simple, useful project done by you. Start small, and see how rewarding DIY can be!