Looking to give your bunk bed a fresh, clean look? Painting it white can brighten up your room and make the space feel bigger and more inviting.
But maybe you’re worried about making mistakes or dealing with messy paint. Don’t worry—you can do this yourself, even if you’ve never painted furniture before. In this guide, you’ll learn simple, step-by-step tips to transform your bunk bed with a smooth, lasting white finish.
Ready to see your bunk bed in a whole new light? Keep reading, and let’s get started!
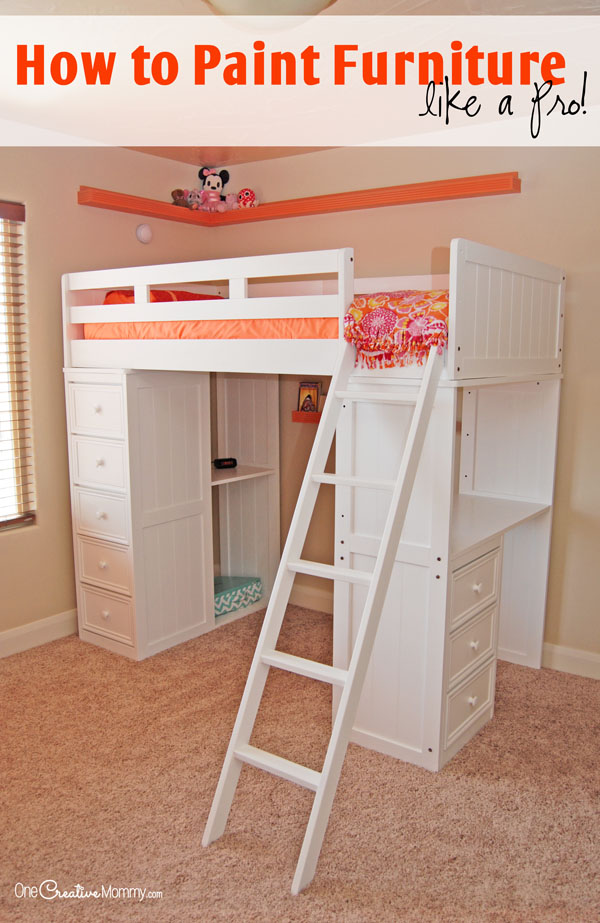
Credit: onecreativemommy.com
Choose The Right Paint
Choosing the right paint for your bunk bed is very important. It makes the bed look good and last longer. The paint you pick must stick well to wood. It should also resist scratches and stains. This helps keep the bed clean and fresh. You want a paint that is safe for kids too. Let’s explore the types of paint and finishes that work best.
Types Of Paint For Wood
Latex paint is a popular choice for wood furniture. It dries fast and cleans up easily with water. It does not smell strong, so it is safe to use indoors. Oil-based paint is very durable. It gives a smooth, hard finish. But it takes longer to dry and has a strong odor. Chalk paint has a matte finish and sticks well to wood. It needs a clear sealant on top to protect it. Choose paint made for wood surfaces to get the best results.
Matte Vs. Glossy Finish
Matte paint has a flat look. It hides scratches and dirt well. It feels soft to the touch. Matte paint can make a bunk bed look cozy and calm. Glossy paint shines and reflects light. It shows marks and scratches more easily. But it is easy to clean with a wet cloth. Glossy finish can make a bunk bed look bright and new. Pick the finish that fits your style and needs.

Credit: www.maisondepax.com
Gather Necessary Tools
Before you start painting your bunk bed white, gather all the tools you need. Having the right tools makes the job easier and the result better. Prepare everything first to avoid interruptions during painting.
Brushes And Rollers
Choose brushes and rollers suited for smooth furniture surfaces. Use a small brush for tight corners and edges. A foam roller gives a clean, even coat on flat surfaces. Quality tools help you apply paint smoothly and reduce streaks.
Sandpaper And Primer
Sandpaper smooths the wood and removes old paint or rough spots. Use fine-grit sandpaper for the best finish. Primer helps the white paint stick well and last longer. Apply primer evenly after sanding for a perfect base coat.
Protective Gear
Wear gloves to keep paint off your hands. Use a mask to avoid breathing in dust and fumes. Old clothes or a paint apron protect your skin and clothes. Safety first helps you work comfortably and clean up easily.
Prepare The Bunk Bed Surface
Preparing the bunk bed surface is a key step before painting it white. This process helps the paint stick better and last longer. Taking time to prepare will give the bed a smooth and clean finish.
Clean The Bed Thoroughly
Start by wiping the bunk bed with a damp cloth. Remove all dust, dirt, and grime. Use a mild soap and water mix for sticky spots. Dry the bed completely with a clean towel. A clean surface helps the paint to stick well.
Sand The Surface
Use fine-grit sandpaper to roughen the bed’s surface. Sand all areas evenly, including corners and edges. This step removes old paint chips and smooths rough spots. Wipe away dust with a dry cloth after sanding. Sanding creates a better surface for the primer.
Apply Primer
Choose a primer made for wood or metal, based on the bed material. Apply a thin, even coat with a brush or roller. Let the primer dry fully before painting. Primer seals the surface and helps the paint cover better. It also prevents peeling and stains.
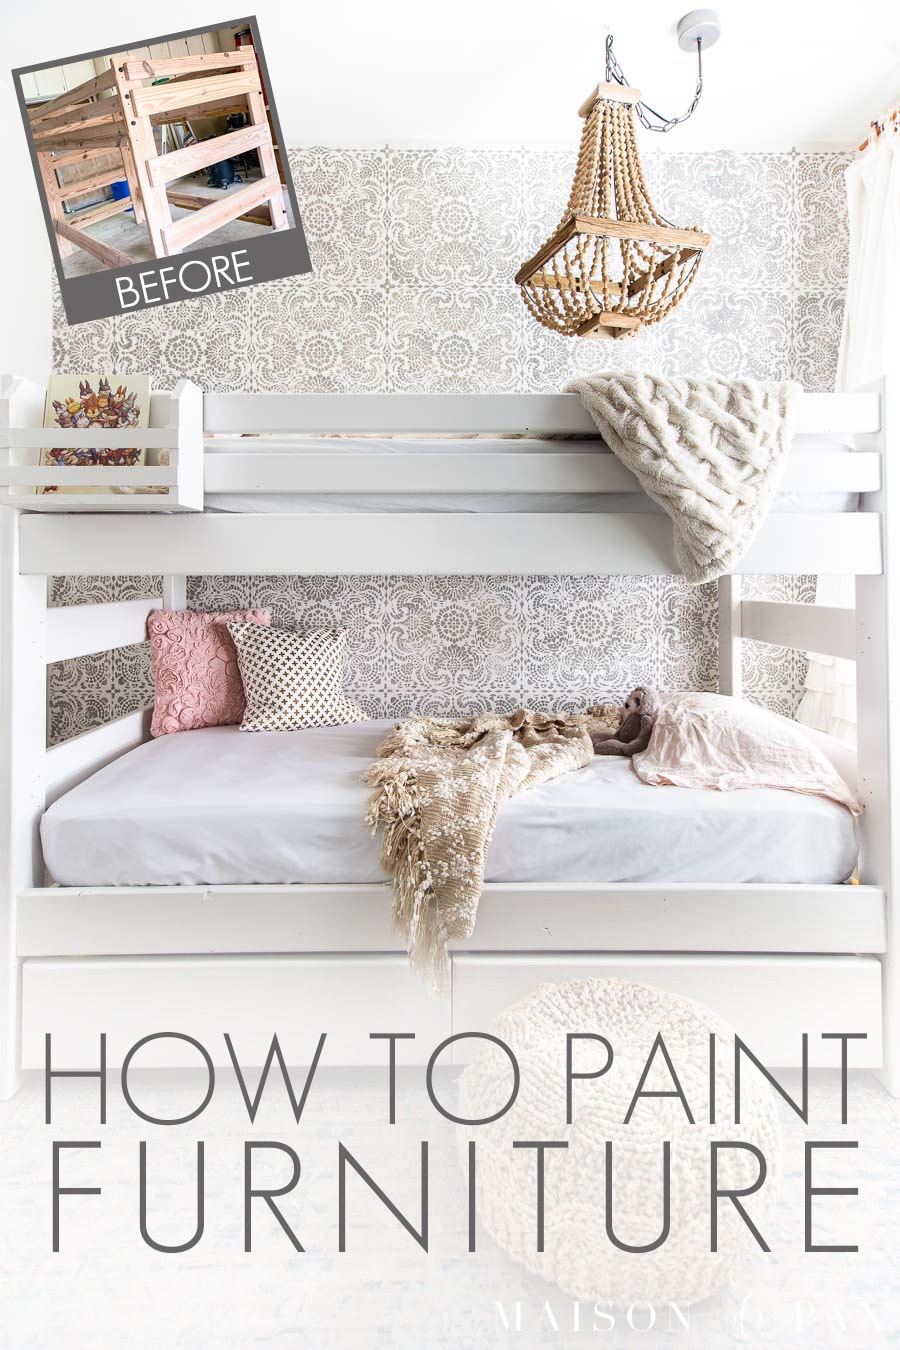
Credit: www.maisondepax.com
Painting Techniques
Painting a bunk bed white requires careful technique to get a smooth, lasting finish. Good painting methods help the paint stick well and look neat. Taking your time with each step makes a big difference.
Follow these painting techniques to achieve a clean, bright white coat on your bunk bed.
Apply The First Coat
Start with a thin layer of paint. Use a good brush or a small roller for even coverage. Paint in long, smooth strokes along the wood grain. Avoid heavy layers to prevent drips and lumps. This first coat sets the base for a strong finish.
Drying Time Between Coats
Wait at least 2 to 4 hours for the first coat to dry. Drying time may vary by paint brand and room temperature. Touch the surface lightly to check if it feels dry. Proper drying stops paint from peeling or cracking later.
Apply Additional Coats
Apply a second thin coat after the first dries fully. Add more coats if needed for full white coverage. Each layer should be smooth and thin. Let each coat dry completely before applying the next. This builds a strong and even white surface.
Finishing Touches
Finishing touches make your bunk bed look complete and last longer. This final step ensures the paint job is smooth and protected. Taking time here improves the bed’s durability and appearance.
Inspect For Missed Spots
Check the entire bed carefully for any missed spots. Look closely at corners, edges, and under rails. Use a bright light to see areas you may have overlooked. Touch up any thin or bare spots with the same white paint. Let these small fixes dry well before moving on.
Add Protective Sealant
Apply a clear protective sealant over the paint. This shield guards against scratches and stains. Choose a sealant made for wood and painted surfaces. Use a clean brush or roller to spread it evenly. Two thin coats work better than one thick coat. Allow the sealant to dry fully between coats.
Let The Bed Cure
Let the bed cure for several days before use. Curing means the paint and sealant fully harden and set. Avoid placing mattresses or heavy items on it too soon. A well-cured finish lasts longer and resists damage. Patience here pays off with a beautiful, lasting white bunk bed.
Maintenance Tips
Painting a bunk bed white gives it a fresh, clean look. Keeping that bright finish takes a little care. Simple maintenance helps the paint last longer and look great.
Regular cleaning and quick touch-ups protect the surface. These steps keep the bunk bed looking new for years. Follow these tips to maintain your painted furniture easily.
Cleaning Painted Surfaces
Use a soft cloth to clean the painted bed. Avoid rough scrubbing to prevent scratches. Mild soap mixed with water works well for dirt. Gently wipe the surface and dry with a clean cloth. Do not use harsh chemicals or abrasive cleaners.
Clean spills right away to avoid stains. Dust the bed regularly to keep it fresh. This simple routine protects the white paint and keeps it bright.
Touching Up Chips And Scratches
Small chips and scratches happen over time. Fix them quickly to stop damage from spreading. Lightly sand the damaged spot with fine sandpaper. Wipe away dust before applying paint. Use the same white paint for touch-ups.
Apply paint in thin layers and let it dry. Repeat if needed for full coverage. This keeps the bunk bed looking smooth and clean. Regular touch-ups save time and money later.
Frequently Asked Questions
How Do I Prepare A Bunk Bed For White Paint?
Clean the bunk bed thoroughly. Sand the surface to remove old paint and smooth rough spots. Wipe off dust before painting. This ensures better paint adhesion and a smooth finish.
What Type Of Paint Is Best For Bunk Beds?
Use a durable, non-toxic, water-based latex paint. It’s safe for children and provides a smooth, long-lasting finish. Choose semi-gloss or satin for easy cleaning and durability.
How Many Coats Of White Paint Should I Apply?
Apply two to three thin coats of paint. Allow each coat to dry fully before adding the next. Multiple coats ensure even coverage and a bright, clean white finish.
Can I Paint A Bunk Bed Without Sanding?
Sanding is recommended for best results. It helps paint adhere better and prevents peeling. If skipping sanding, use a high-quality primer designed for glossy or smooth surfaces.
Conclusion
Painting a bunk bed white can brighten any room quickly. Use the right tools and take your time for best results. Sanding, priming, and painting each part carefully matters a lot. White paint gives a fresh, clean look that fits many styles.
Your bunk bed will look new and inviting after this simple project. Enjoy the new look and the pride of doing it yourself. Painting is easy with patience and the right steps. Give your space a fresh touch today.