Are you ready to give your metal outdoor furniture a fresh, stunning look? Before you grab that paintbrush, there’s an important step you can’t skip: proper preparation.
How you prepare your furniture will determine how long the paint lasts and how great it looks. You’ll discover simple, effective ways to get your metal pieces ready for painting. Follow these tips, and your outdoor furniture will shine like new for seasons to come.
Keep reading—you’re just moments away from transforming your space!
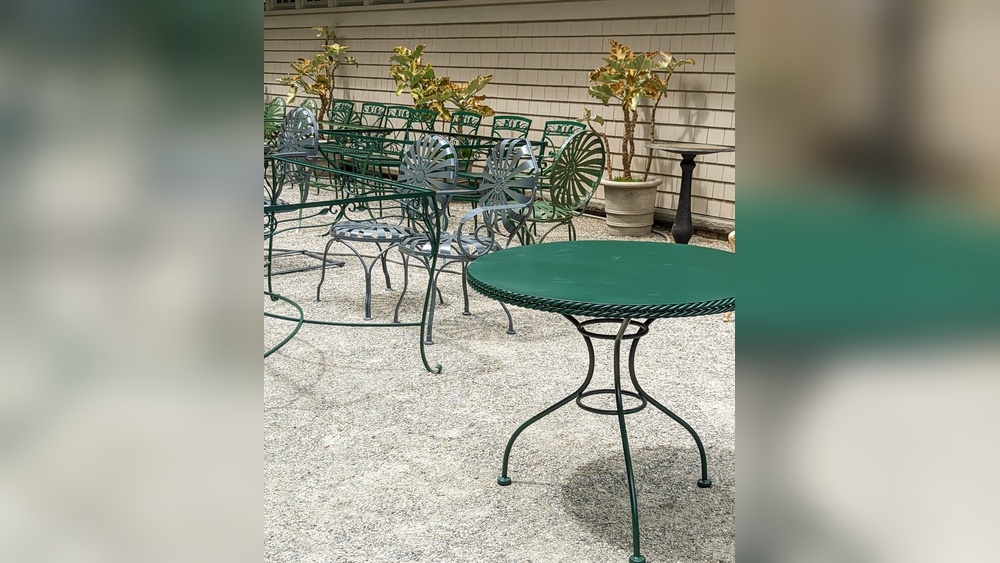
Credit: www.themarthablog.com
Choosing The Right Tools
Choosing the right tools makes painting metal outdoor furniture easier. It helps the paint stick better and last longer. Good tools save time and give a smooth finish. Preparing the furniture well is key to a fresh look.
Essential Supplies For Painting Metal
Gather these supplies before starting your project. Sandpaper or a wire brush removes rust and old paint. A clean cloth wipes away dust and dirt. Primer helps the paint stick and prevents rust. Use a paintbrush or spray paint for even coverage. Gloves protect your hands from chemicals. Masking tape covers areas you do not want painted.
Selecting The Best Paint Types
Choose paint made for metal surfaces. Oil-based paint is strong and lasts long outdoors. Rust-resistant paint stops metal from corroding. Spray paint offers a smooth, even coat and reaches small spaces. Look for paint with UV protection to avoid fading. Select colors that suit your outdoor space style.
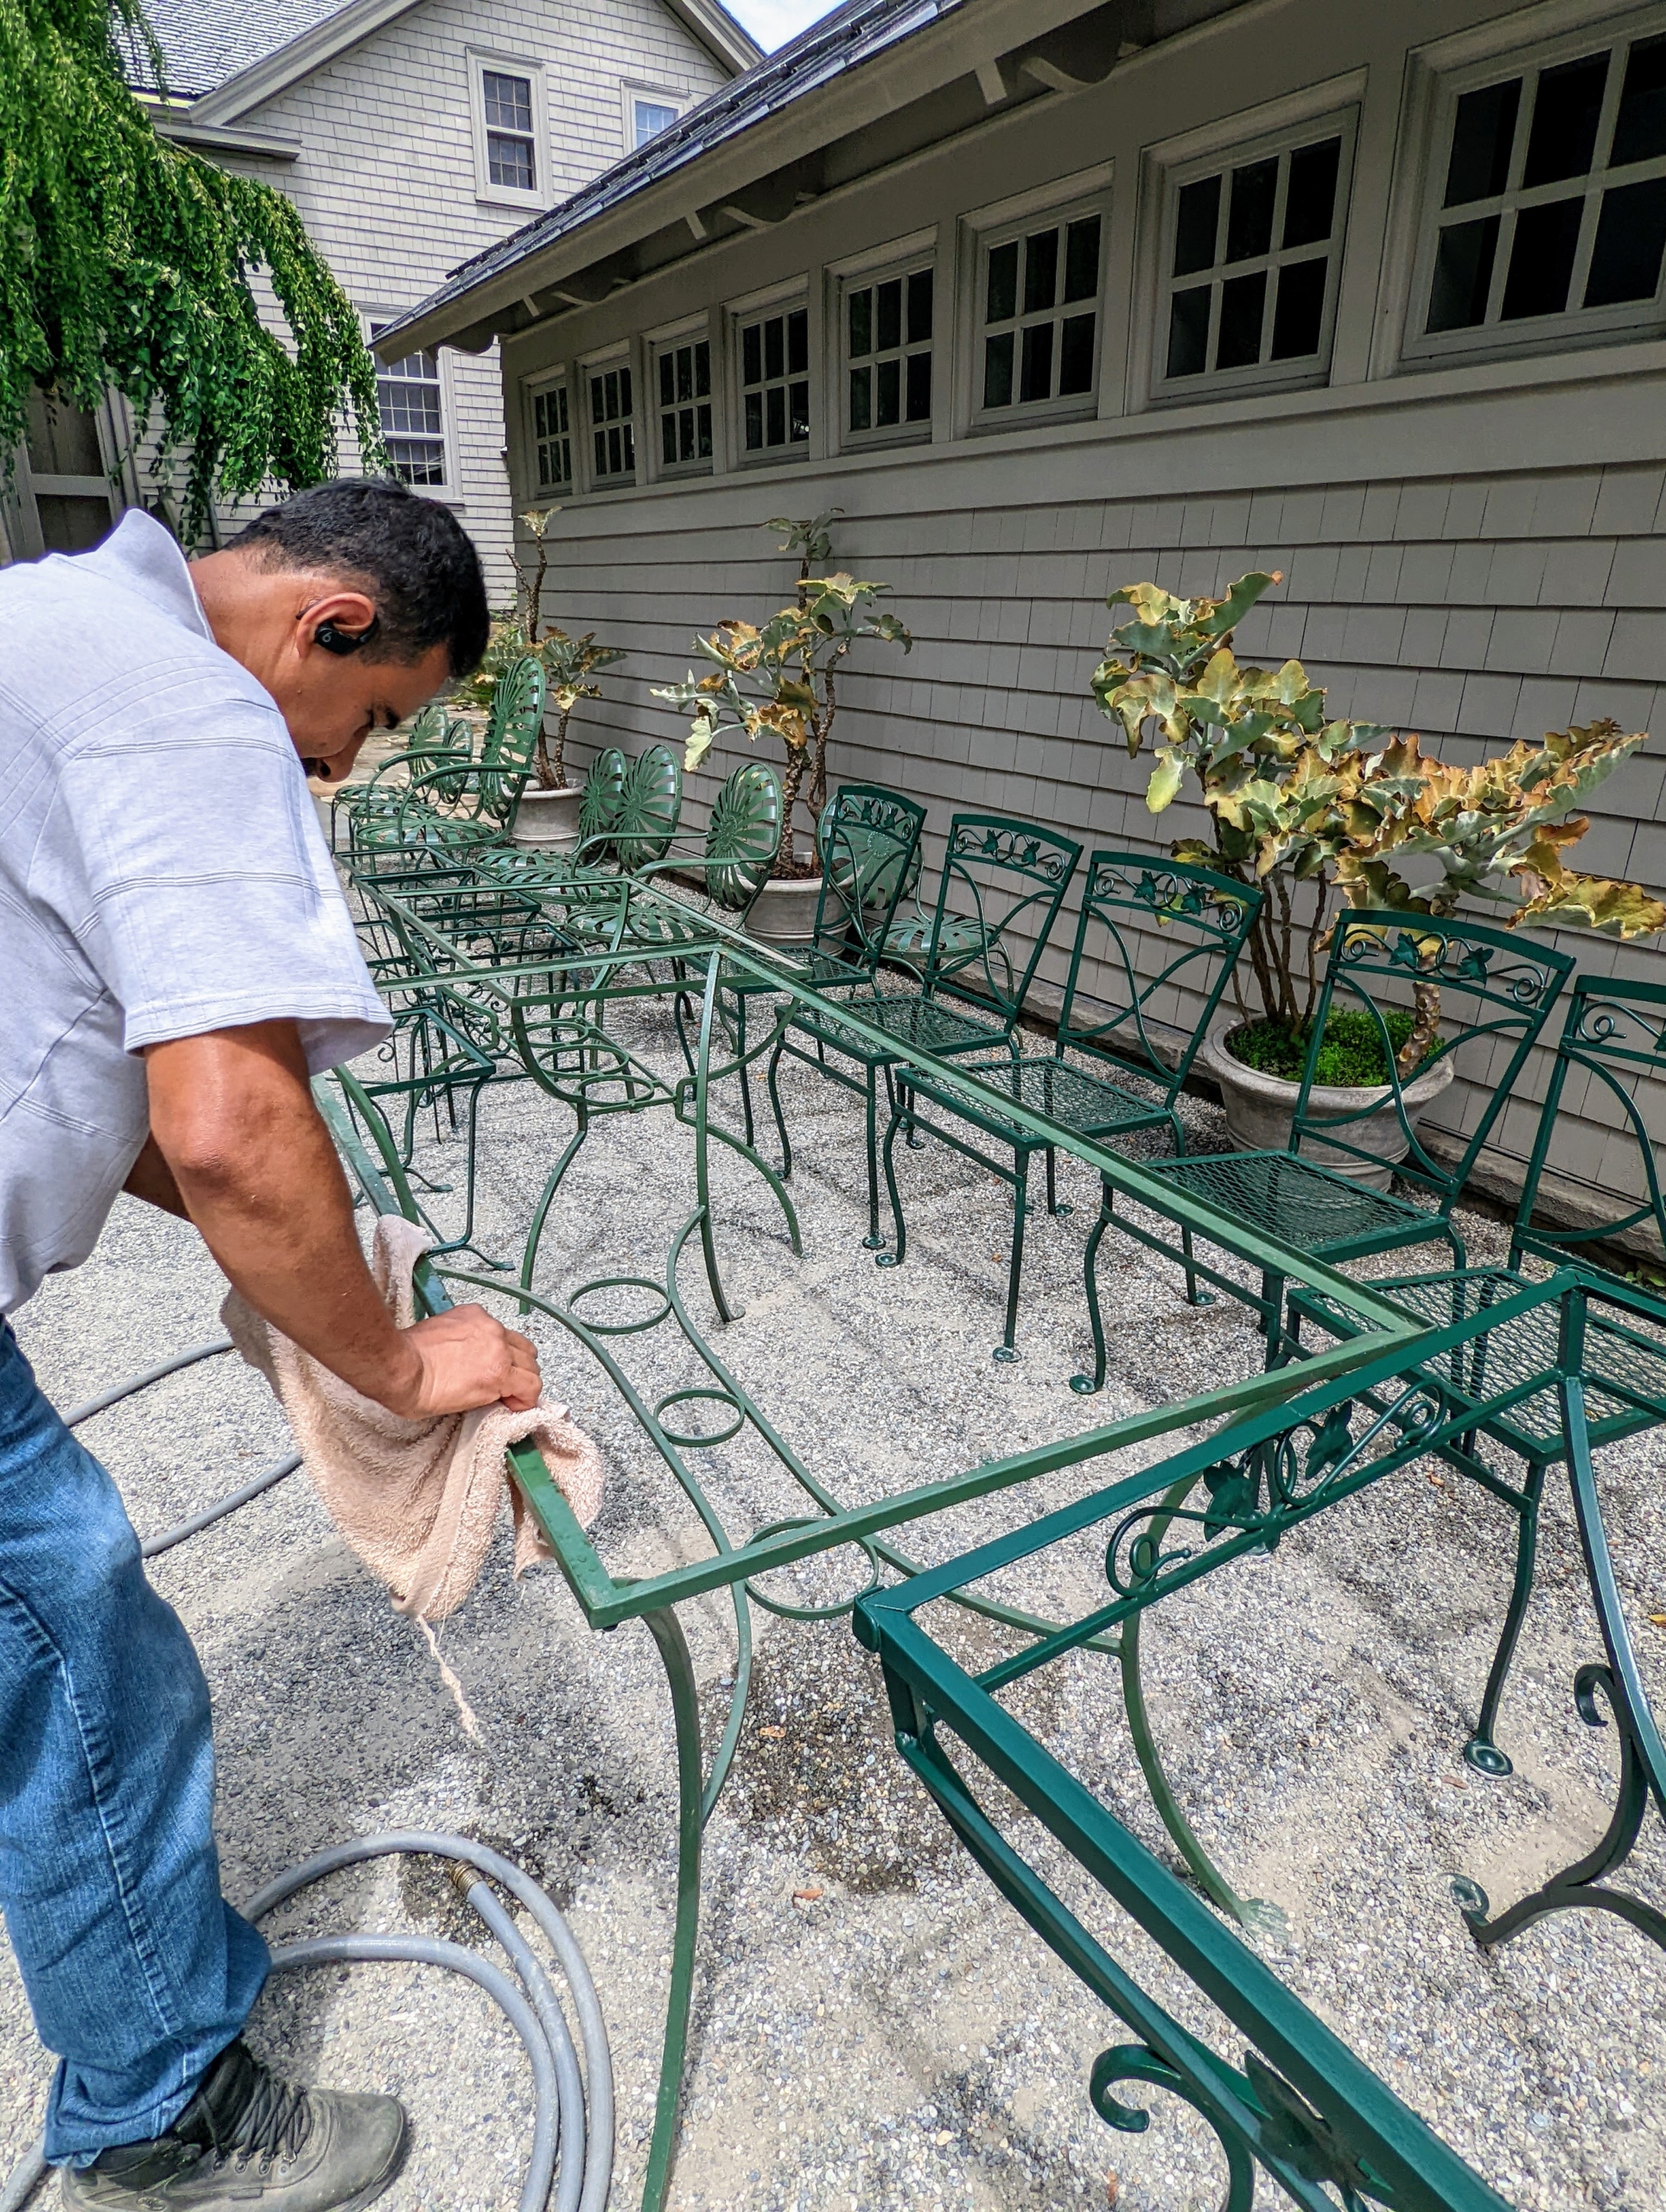
Cleaning The Furniture
Cleaning metal outdoor furniture before painting is very important. Dirt, dust, and rust can stop paint from sticking well. Clean furniture helps paint last longer and look better. Follow these steps to prepare your furniture right.
Removing Dirt And Debris
Start by removing loose dirt and debris. Use a soft brush or cloth to wipe off dust and leaves. For stubborn dirt, mix warm water with mild soap. Scrub the furniture gently with a sponge. Rinse with clean water and let it dry completely. Avoid using strong chemicals that can damage the metal.
Dealing With Rust And Corrosion
Rust weakens metal and ruins paint. Use a wire brush or sandpaper to scrape off rust spots. Sand the area until you see clean metal. For small rust patches, a rust remover can help. Apply it carefully and follow the instructions. After removing rust, wipe the surface clean. Make sure it is dry before painting. This step protects the metal and improves paint adhesion.
Sanding And Smoothing
Sanding and smoothing metal outdoor furniture is key for a perfect paint finish. It removes rust, old paint, and rough spots. A smooth surface helps paint stick better and last longer. This step takes time but improves the final look greatly.
Follow the right steps and use proper tools to prepare your furniture well. It will make your painting job easier and more successful.
Preparing The Surface For Paint
Start by cleaning the furniture with soap and water. Remove dirt, dust, and grease. Let it dry completely before sanding. Check for rust spots and flaky paint. Use a wire brush or scraper to remove loose paint and rust. This clears the surface for sanding. Sand all metal parts evenly to avoid rough patches.
Tools And Techniques For Sanding
Use sandpaper with medium grit, about 120 to 150. This grit removes rust and old paint well. For tight corners, use a sanding sponge or small files. For larger flat areas, try an electric sander. Sand in circular motions for smoothness. Wear gloves and a mask to protect yourself. After sanding, wipe the furniture with a damp cloth. This removes dust and prepares the surface for primer and paint.
Priming The Metal
Priming metal outdoor furniture is a key step before painting. It helps paint stick better and lasts longer. Primer protects metal from rust and weather damage. Skipping primer can cause paint to peel or chip quickly. Proper priming ensures a smooth, even finish and strong protection.
Choosing The Right Primer
Select a primer made for metal surfaces. Rust-inhibiting primers are best for outdoor furniture. They stop corrosion and provide a good base for paint. Look for primers labeled “rust-resistant” or “metal primer.” Avoid general-purpose primers; they may not protect well outdoors.
Consider the type of paint you will use. Some primers work best with oil-based paints, others with latex paints. Match the primer to your paint type for best results.
Applying Primer Correctly
Clean the metal surface thoroughly before priming. Remove dirt, grease, and old paint flakes. Use a wire brush or sandpaper for rough spots. Wipe down with a damp cloth and let dry completely.
Apply primer in thin, even coats. Use a brush or spray for best coverage. Avoid thick layers to prevent drips and uneven drying. Let the primer dry fully according to the label instructions.
Lightly sand the primed surface with fine sandpaper for smoothness. Wipe off dust before painting. This step improves paint adhesion and finish quality.
Painting Tips
Painting metal outdoor furniture needs care and good technique. Proper painting helps protect the metal from rust and weather. It also makes the furniture look fresh and new. These tips help achieve a smooth and lasting finish.
Techniques For Even Coverage
Use a clean brush or spray paint for best results. Move the brush or spray in long, steady strokes. Keep the paint layer thin. Thick paint can drip and create uneven surfaces. Turn the furniture to paint all sides evenly. Avoid painting in very hot or windy weather. This helps the paint dry properly and prevents dust from sticking.
Multiple Coats And Drying Time
Apply several thin coats of paint instead of one thick coat. Each coat needs to dry fully before the next. This can take between 30 minutes to several hours. Follow the paint can instructions for drying time. Multiple coats build a stronger, smoother finish. They also improve the color and protect the metal better.

Credit: www.youtube.com
Finishing Touches
Finishing touches give your painted metal furniture a strong, lasting look. These steps protect the paint and keep the furniture looking fresh. Taking time with finishing helps avoid rust and fading from weather. It also makes cleaning easier and keeps colors bright.
Sealing For Durability
Apply a clear sealant after the paint dries. Choose a sealant made for metal and outdoor use. Use a brush or spray to cover all surfaces evenly. Sealants stop moisture and sun damage from harming paint. Let the sealant dry fully before using the furniture. This step extends the life of your paint job.
Maintaining Painted Furniture
Clean your furniture regularly with mild soap and water. Avoid harsh chemicals that can strip paint or sealant. Check for chips or scratches and fix them quickly. Touch up paint spots to prevent rust forming. Store furniture in shade or cover it during bad weather. These actions keep your furniture looking new longer.

Credit: flowyline.com
Frequently Asked Questions
How Do I Clean Metal Outdoor Furniture Before Painting?
Clean metal furniture with mild soap and water. Remove dirt, rust, and old paint using a wire brush. Rinse thoroughly and let it dry completely before painting for better adhesion.
What Materials Are Needed To Prepare Metal Furniture For Painting?
You need soap, water, a wire brush, sandpaper, rust remover, primer, and paint. These materials ensure a smooth, clean surface for long-lasting paint.
Should I Sand Metal Furniture Before Painting?
Yes, sanding removes rust and old paint. It creates a rough surface for better primer and paint adhesion. Use medium-grit sandpaper for best results.
Is Priming Necessary For Metal Outdoor Furniture?
Priming is essential. It prevents rust and improves paint durability. Use a rust-inhibiting primer specifically made for metal surfaces for optimal protection.
Conclusion
Preparing metal outdoor furniture for painting takes time and care. Clean the surface well to remove dirt and rust. Sand the metal to help paint stick better. Use a good primer to protect against weather damage. Allow each layer to dry fully before applying the next.
These steps ensure your furniture looks great and lasts longer. A little effort now saves repair work later. Enjoy your refreshed outdoor space with confidence and style.