Are you ready to create a cozy and fun sleeping space for your kids? Putting together a twin wooden bunk bed might seem tricky, but with the right steps, you can build it quickly and safely.
Imagine your children enjoying their new bunk bed, with plenty of room to play and sleep comfortably. In this guide, you’ll find simple, clear instructions that make the whole process easy to follow. Keep reading, and you’ll have your kids’ new favorite spot ready in no time!
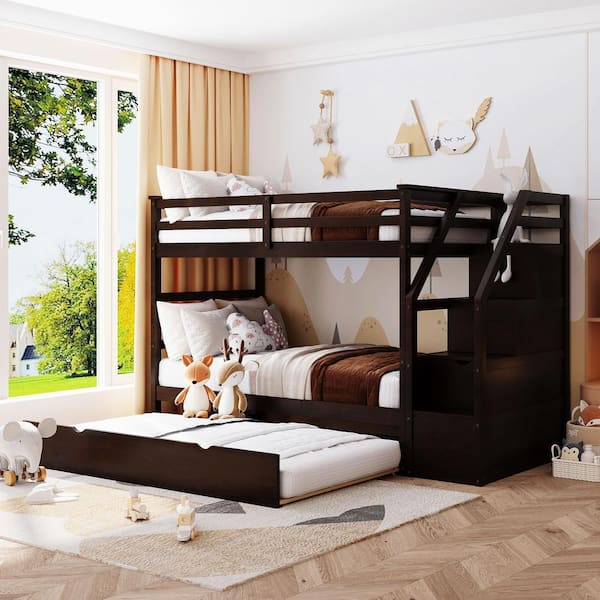
Credit: www.homedepot.com
Choosing The Right Bunk Bed
Choosing the right bunk bed for your kids is important for safety and comfort. A good bunk bed fits well in the room and matches your child’s needs. Think about the bed’s material, size, and design before buying. This helps create a cozy and safe sleep space.
Selecting Safe Materials
Wood is a popular choice for bunk beds. It is strong and lasts a long time. Look for wood that is smooth and free from sharp edges. Avoid beds with toxic paint or finishes. Choose non-toxic, child-safe materials to keep your kids safe.
Measuring Your Space
Measure the room before buying a bunk bed. Note the height, width, and length carefully. Make sure there is enough space for the bed and room to move around. Check the ceiling height too. This prevents the bed from feeling too tight or cramped.
Considering Design And Style
Pick a design that fits your child’s taste and the room’s look. Simple styles work well in most rooms. Some bunk beds have extra features like storage or desks. Choose a style that adds function without crowding the space.
Tools And Materials Needed
Gathering the right tools and materials makes building a kids twin wooden bunk bed easier. Having everything ready saves time and avoids frustration. Use tools that fit well in your hands. Choose hardware made for sturdy wood furniture. This section lists the essentials you will need for a smooth assembly process.
Essential Tools List
- Screwdriver (Phillips and flathead)
- Power drill with drill bits
- Measuring tape
- Level tool
- Rubber mallet
- Allen wrench (usually included with bed kit)
- Clamps (optional but helpful)
- Safety goggles
- Work gloves
Required Hardware And Accessories
- Wood screws of various sizes
- Bolts and nuts
- Wooden dowels
- Corner brackets for extra support
- Ladder pieces (usually pre-cut)
- Guard rails for top bunk
- Slats or plywood for mattress support
Preparing The Workspace
Preparing the workspace is the first step in building a kids twin wooden bunk bed. A clean and safe area helps the assembly process go smoothly. It reduces mistakes and keeps tools and parts within easy reach.
Setting up the right space makes the work faster and more enjoyable. It also helps protect the floor and walls from damage. Let’s start by clearing and organizing the area.
Clearing And Organizing The Area
Remove all furniture and objects from the room or workspace. This creates enough space for the bunk bed parts and tools. Make sure the floor is clean and dry to avoid slipping.
Lay a soft blanket or mat on the floor. It protects the wood from scratches during assembly. Sort all the parts and hardware by size and type. Use small containers or trays to keep screws and bolts organized.
Ensuring Safety Measures
Wear protective gloves to avoid splinters or cuts from the wood. Use safety goggles to protect your eyes from dust or wood chips. Keep children and pets away from the workspace during assembly.
Have a first aid kit nearby in case of minor injuries. Make sure tools are in good condition and use them as instructed. Follow all safety guidelines provided in the bunk bed manual.
Assembling The Bed Frame
Assembling the bed frame is the first big step in building your kids twin wooden bunk bed. This part sets the base and support for the entire bed. A strong frame keeps the bed safe and steady for years. Take time to follow each step carefully. Use the right tools and parts included in the package. Clear space helps avoid mistakes and makes the process smooth.
Building The Side Rails
Start by identifying the side rails. These long wooden pieces connect the headboards and footboards. Lay them flat on the floor. Attach the metal brackets or pre-drilled connectors on each end. Check that the rails are facing the correct side, usually with the finished side outward. Use screws or bolts to fix the brackets tightly. Make sure the rails are straight and level. This step ensures the mattress will sit evenly and not slide around.
Attaching The Headboards And Footboards
Place the headboard upright at one end of the side rails. Align the brackets or holes on the rails with those on the headboard. Insert screws or bolts and tighten them securely. Repeat this process with the footboard at the other end. Double-check all connections to avoid loose parts. The bed frame should feel solid and not wobble. This sturdy setup supports the weight and keeps the bunk bed safe for kids to climb and sleep on.
Installing The Guardrails And Ladder
Installing the guardrails and ladder is a key step in building a kids twin wooden bunk bed. These parts keep the bed safe and easy to use. Proper installation protects your children from falls and helps them climb up and down comfortably.
Take your time with this step. Check that all parts fit well and are strong. Safety is the top priority.
Securing Safety Rails
Start by placing the guardrails on the top bunk edges. Align them carefully with the bed frame holes. Use the screws and bolts provided in the kit.
Tighten each screw firmly to avoid loose parts. Loose rails can cause accidents. Make sure the rails cover the entire side of the bed. This prevents kids from rolling off while sleeping.
Double-check the rails after fixing them. Give a gentle shake to see if they move. If yes, tighten the screws again until the rails are stable.
Mounting The Ladder Correctly
Place the ladder on the side of the bunk bed. Match the ladder’s hooks or brackets with the bed frame slots. Secure the ladder with screws or bolts as instructed.
The ladder should feel solid and not wobble. Test it by applying light pressure before use. Check the steps for even spacing to avoid tripping.
Ensure the ladder angle is comfortable for climbing. Too steep or too flat can be dangerous. Adjust as needed to fit the bed height safely.
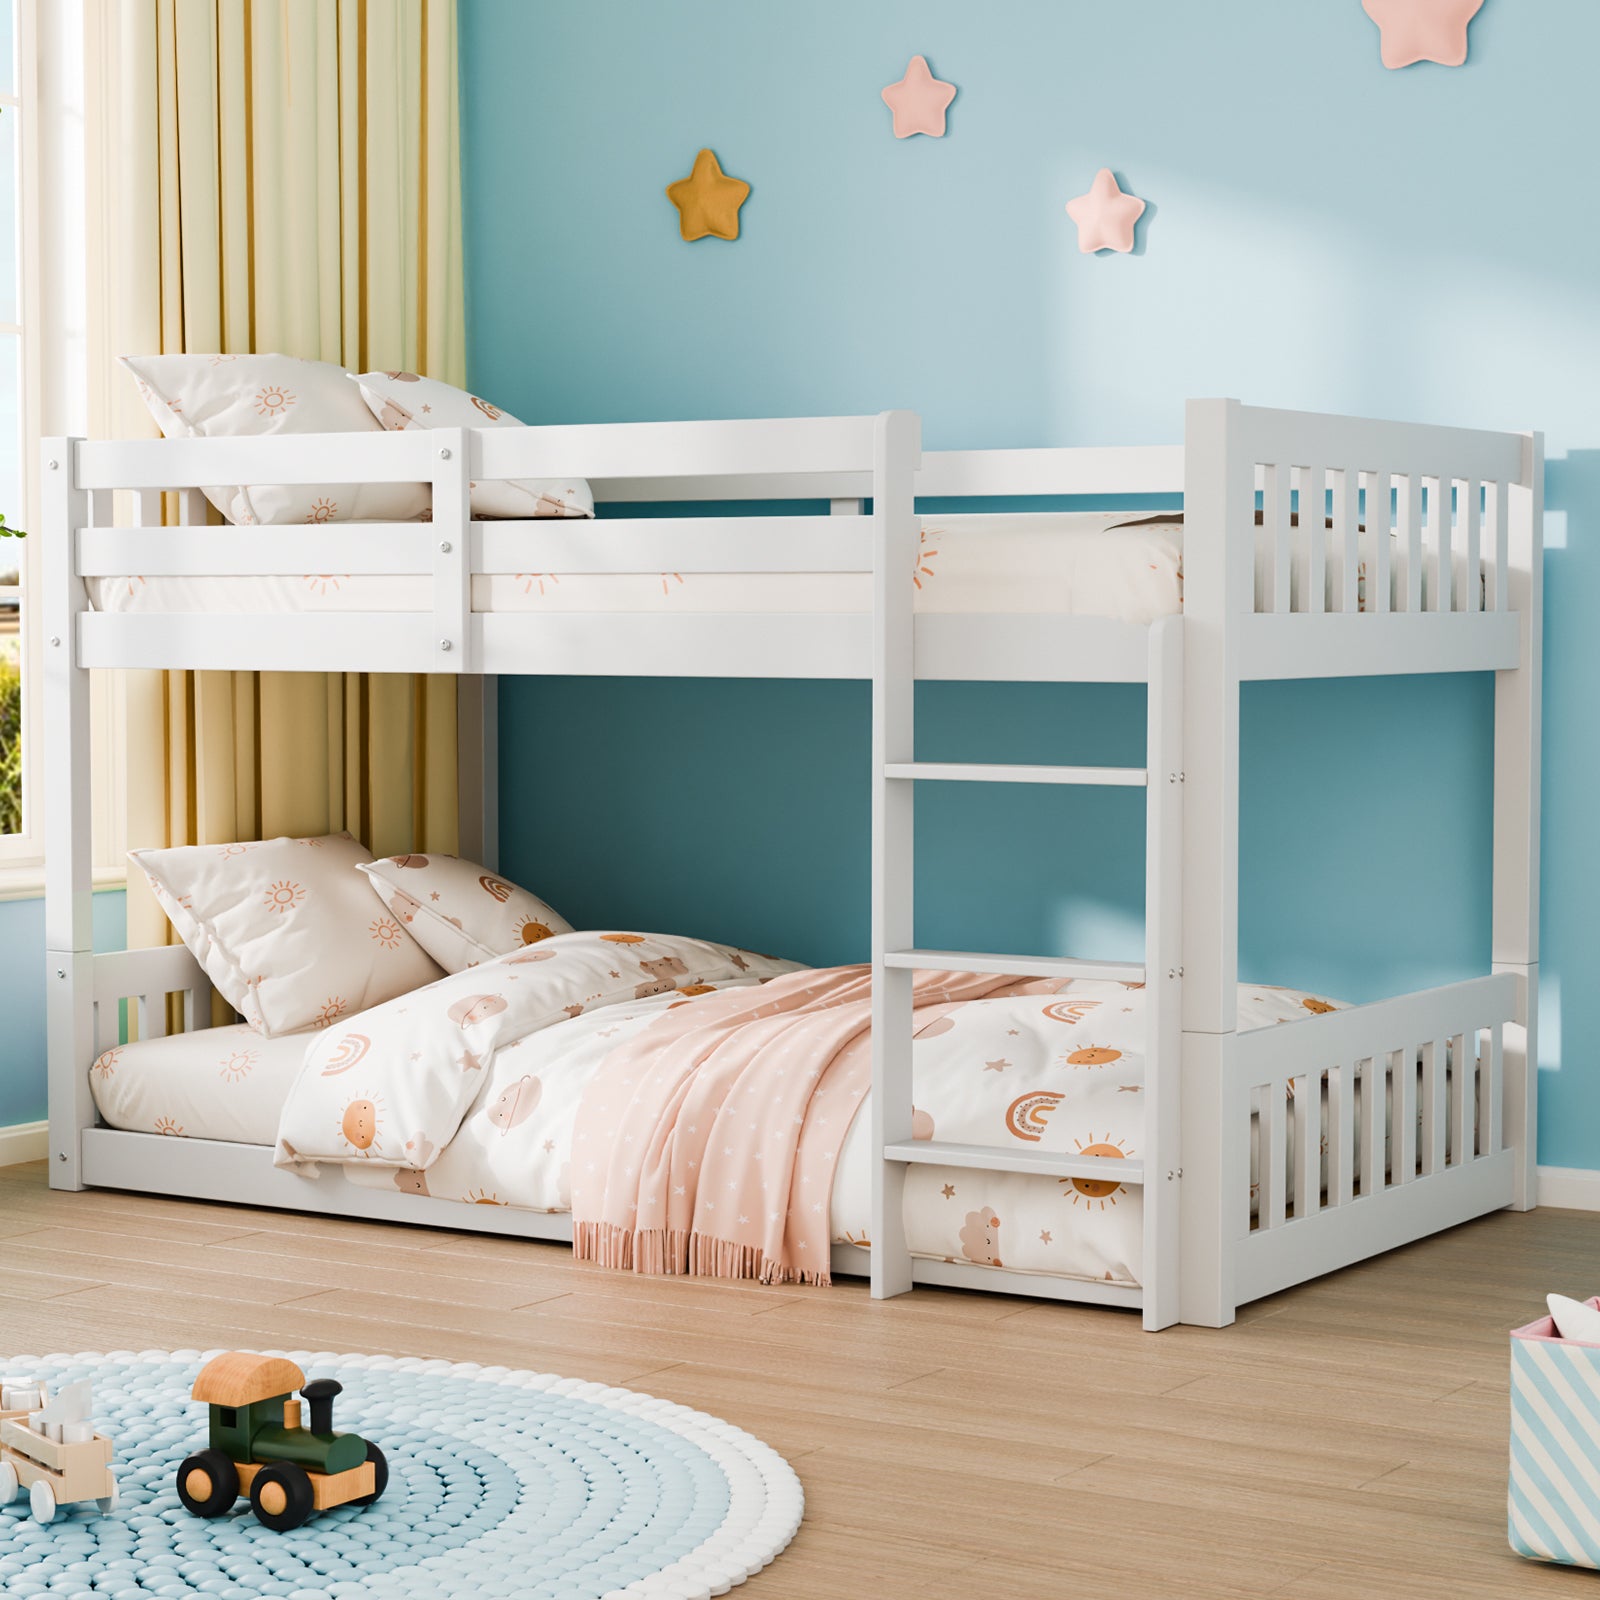
Credit: www.joymor.com
Adding The Slats And Mattresses
Adding the slats and mattresses is a key step in building a kids twin wooden bunk bed. The slats support the mattress and keep it stable. The mattress gives comfort and safety for a good night’s sleep. Both parts need care and attention to fit well and last long.
Positioning The Slats
Place the slats evenly across the bed frame. They should rest securely on the side rails. Space the slats about 2 to 3 inches apart. This spacing provides strong support and good air flow. Avoid gaps that are too wide. Check that the slats do not move or slide out of place. Tighten any loose screws or fittings. Proper slat positioning prevents mattress sagging and increases bed durability.
Choosing Suitable Mattresses
Select mattresses designed for twin bunk beds. They must fit the frame size exactly. Choose medium-firm mattresses for kids’ comfort and support. Avoid very soft mattresses that can cause sinking. Lightweight mattresses make climbing easier for children. Check mattress thickness does not exceed bunk bed safety limits. Choose materials that are breathable and easy to clean. Proper mattress choice ensures safe and restful sleep for kids.
Final Safety Checks
Final safety checks are the last step in building a kids twin wooden bunk bed. This step ensures the bed is secure and safe for children. Skipping this may cause accidents or injuries. Take your time to review every part carefully.
Tightening All Screws
Start by tightening every screw and bolt on the bunk bed. Loose screws can make the bed unstable. Use a screwdriver or wrench to check each joint. Turn screws firmly but avoid over-tightening. Over-tightening can strip the wood or damage the hardware.
Testing Stability And Safety
After tightening, test the bed’s stability. Gently shake the frame to see if it moves or wobbles. Check the ladder and guardrails for firmness. Push and pull different parts to confirm they stay in place. Ensure there are no sharp edges or splinters. A stable bunk bed keeps kids safe during use.
Maintaining Your Bunk Bed
Maintaining your kids’ twin wooden bunk bed keeps it safe and sturdy. Regular care extends its life and keeps it looking good. A well-maintained bed means your children can sleep safely every night. Let’s explore simple ways to care for your bunk bed.
Regular Inspections
Check the bunk bed every few weeks. Look for loose screws or bolts. Tighten any that feel weak or wobbly. Inspect the wood for cracks or splinters. Make sure the ladder and guardrails are secure. Fix problems right away to avoid accidents.
Cleaning Tips
Dust the wooden surfaces with a soft cloth. Use a mild soap and water mix for sticky spots. Avoid harsh chemicals that can damage the wood finish. Dry the bed well after cleaning. Keep the bed free from dirt and dust to maintain its look and safety.

Credit: maxandlily.com
Frequently Asked Questions
How Do I Assemble A Kids Twin Wooden Bunk Bed Safely?
Start by reading the instruction manual thoroughly. Use proper tools and work on a flat surface. Tighten all screws securely and check stability before use.
What Tools Are Needed For Bunk Bed Assembly?
Common tools include a screwdriver, Allen wrench, and a hammer. These usually come with the bed kit. Having a drill can speed up the process.
How Long Does It Take To Put Together A Twin Bunk Bed?
Assembly typically takes 1 to 3 hours depending on experience. Working with a partner can reduce the time significantly.
Can I Customize The Finish Of A Wooden Bunk Bed?
Yes, you can paint or stain the wood before assembly. Sand the surfaces lightly for better paint adhesion and a smooth finish.
Conclusion
Building a kids twin wooden bunk bed takes time and care. Follow each step carefully for safety and strength. Double-check all screws and parts before finishing. A sturdy bed means better sleep and happy kids. Enjoy the process and the final result.
Your children will love their new space. Keep tools handy for future adjustments or repairs. Simple steps lead to a great, lasting bunk bed.