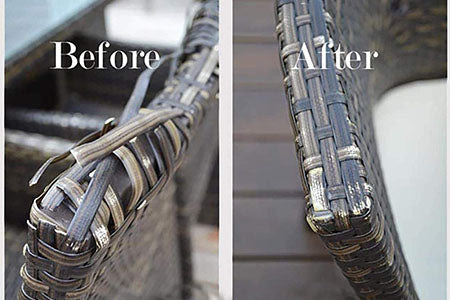
Is your wicker outdoor furniture looking tired and worn out? Don’t rush to replace it just yet.
You can bring new life to your favorite pieces with some simple refurbishing steps. Imagine relaxing on beautifully restored wicker that looks fresh and inviting—without spending a fortune. In this guide, you’ll discover easy tips and tricks to clean, repair, and refresh your wicker furniture.
Keep reading to learn how to make your outdoor space feel cozy and stylish again. Your perfect summer afternoons start here.
Preparing Your Wicker Furniture
Preparing your wicker furniture is the first step to a successful refurbishment. It sets the base for all the work that follows. Taking time to prepare helps the new finish last longer. It also brings back the furniture’s natural beauty. This stage involves cleaning, removing old finishes, and fixing any damage. Each task is important to make the furniture look fresh and strong again.
Cleaning Dirt And Debris
Start by removing loose dirt and dust with a soft brush or vacuum. Use a mild soap mixed with water to gently wash the wicker. Avoid harsh chemicals that can harm the fibers. Use a soft cloth or sponge to wipe all surfaces carefully. Rinse with clean water and let the furniture dry completely. Drying is key to prevent mold and mildew growth.
Removing Old Finish
Old paint or varnish can peel and ruin the new finish. Use fine sandpaper or a soft brush to gently remove it. Work slowly to avoid damaging the wicker strands. For stubborn areas, a gentle stripper designed for wicker can help. Always follow the product instructions and wear gloves. After removal, wipe the surface with a damp cloth to clear residue. Let the furniture dry fully before moving on.
Repairing Damaged Areas
Check for broken or loose wicker strands. Use wood glue to fix small breaks and clamp them if needed. For missing pieces, use replacement wicker or rattan strips. Soak new strips in water to make them flexible. Weave them into the damaged area carefully and let them dry. Tighten any loose joints with screws or glue. Repairing ensures the furniture stays sturdy and looks neat.

Credit: rattanyard.com
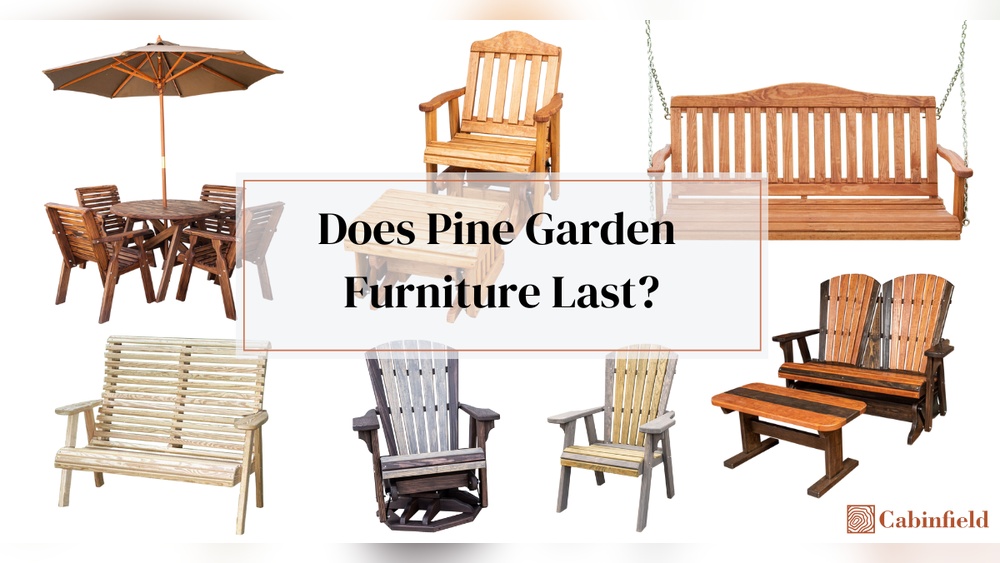
Choosing The Right Materials
Choosing the right materials is key to a successful wicker outdoor furniture refurbishment. Good materials protect the furniture and keep it looking fresh for longer. They also make the process easier and more effective. Use products made for outdoor use. These withstand sun, rain, and wind better.
Selecting Paints And Stains
Pick paints or stains made for outdoor wicker. These products resist cracking and peeling. Choose water-based paints for easy cleanup and less odor. Stains add color but keep the natural texture. Test a small area first. Make sure the color matches your style. Use light colors to reduce heat absorption.
Picking Suitable Sealants
Sealants protect wicker from moisture and dirt. Use clear, waterproof sealants designed for outdoor furniture. They keep paint or stain from fading. Choose sealants that dry fast and resist UV rays. Apply several thin coats for best protection. Let each coat dry fully before adding the next.
Gathering Necessary Tools
Have the right tools ready before starting. You will need brushes with soft bristles for paint or stain. Use a small roller for smooth coverage on flat parts. Sandpaper helps remove old paint and smooth rough spots. Use a vacuum or brush to clean dust. Gloves and masks protect your skin and lungs.
Refinishing Techniques
Refinishing techniques bring old wicker furniture back to life. These steps protect the material and improve its look. Careful refinishing helps the furniture last longer outdoors. Follow these simple steps for great results.
Sanding And Smoothing
Start by sanding the wicker gently. Use fine-grit sandpaper to avoid damage. Sanding removes old paint and smooths rough spots. Clean dust with a soft brush or cloth. This step prepares the surface for better paint or stain adhesion.
Applying Primer
Apply a primer made for outdoor wicker. Primer helps paint stick and last longer. Use a small brush to reach tight areas. Let the primer dry completely before the next step. This layer protects the wicker from moisture and sun damage.
Painting Or Staining
Choose paint or stain designed for outdoor use. Use thin, even coats with a soft brush. Allow each coat to dry before adding another. Paint gives a bright, fresh look. Stain enhances natural wicker tones and texture. Finish with a clear sealant for extra protection.
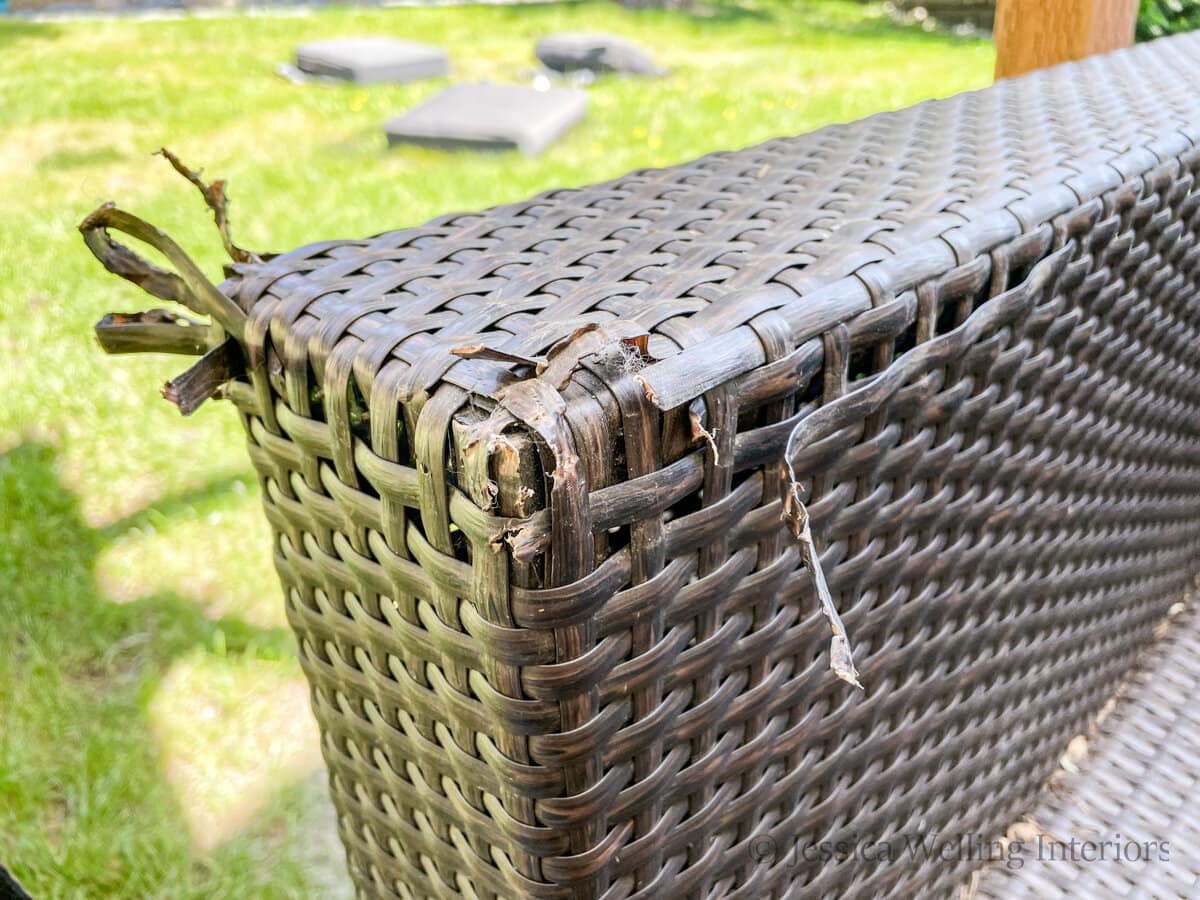
Credit: jessicawellinginteriors.com
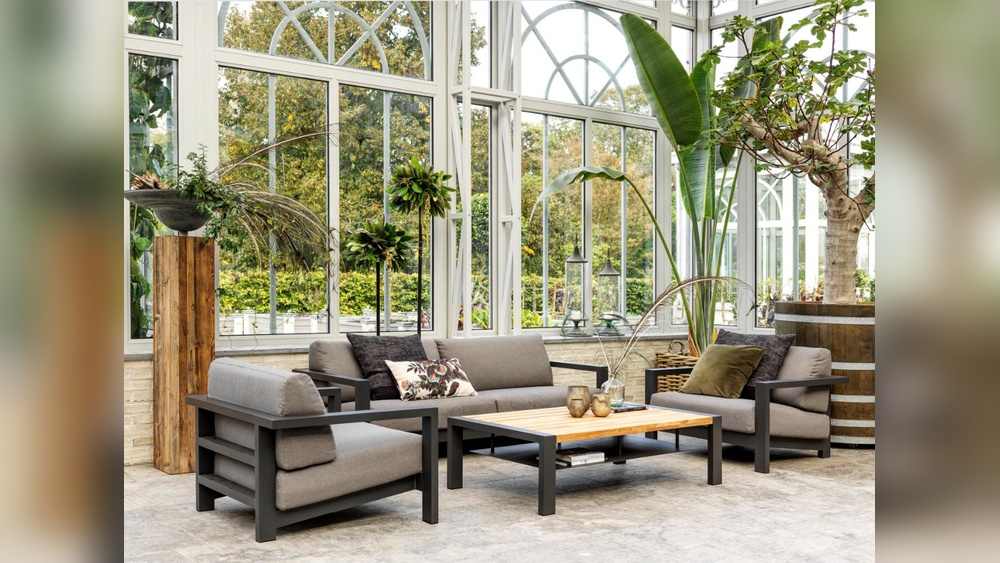
Protecting Your Refurbished Furniture
Protecting your refurbished wicker outdoor furniture is key to keeping it beautiful and strong. Exposure to sun, rain, and dirt can damage the wicker over time. A good protective layer helps your furniture last longer and look fresh. Taking time to protect it properly saves money and effort in the future.
Applying A Protective Sealant
Choose a sealant made for outdoor wicker or wood. Use a brush to apply a thin, even coat. Cover all surfaces carefully, including edges and crevices. Let the first coat dry before adding a second one. Sealants block moisture and prevent fading from sunlight.
Drying And Curing Time
Allow the sealant to dry fully in a warm, dry place. This may take several hours or a full day. Avoid using or moving the furniture during this time. Proper curing ensures the sealant bonds well and forms a strong protective layer. Rushing this step can cause peeling or weak spots.
Maintenance Tips For Longevity
Wipe your furniture regularly with a damp cloth. Remove dirt and dust to prevent wear. Store furniture under cover during heavy rain or winter months. Reapply the sealant every year or as needed. Small cracks or chips should be fixed quickly to stop damage from spreading.
Enhancing With Accessories
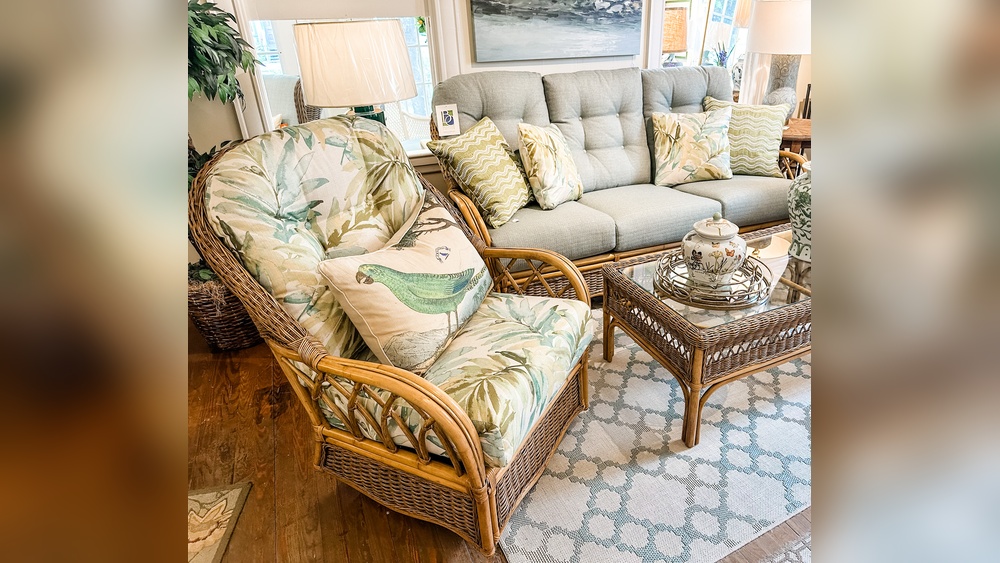
Accessories bring new life to old wicker outdoor furniture. They add comfort, color, and style. Accessories make your space cozy and inviting. They also protect your furniture from sun and dirt.
Adding Cushions And Pillows
Cushions soften hard wicker surfaces. Choose cushions with bright colors or fun patterns. They make sitting more comfortable. Pillows add extra support and style. Use weather-resistant fabrics to avoid damage.
Incorporating Outdoor Rugs
Outdoor rugs define your seating area. They add warmth and texture underfoot. Pick rugs that match your cushions or pillows. Rugs protect your deck or patio from scratches. Choose easy-to-clean materials for long-lasting use.
Using Decorative Throws
Throws offer warmth on cool evenings. They add layers of color and texture. Use lightweight, outdoor-friendly fabrics for durability. Draped over chairs or sofas, throws look stylish. They also protect cushions from dirt and sun.
Credit: rattanyard.com
Frequently Asked Questions
How Do I Clean Wicker Outdoor Furniture Before Refurbishing?
Use a soft brush and mild soap with water to clean wicker. Rinse gently and allow it to dry fully before starting refurbishment.
What Materials Are Best For Refurbishing Wicker Furniture?
Use outdoor-grade paint, clear sealant, and wood glue for repairs. These protect wicker from weather and enhance durability.
How Can I Fix Broken Wicker Strands Effectively?
Apply wood glue carefully to broken strands and clamp until dry. Replace severely damaged strands with matching wicker material.
How Often Should I Refurbish Wicker Outdoor Furniture?
Refurbish wicker furniture every 2-3 years or when signs of wear appear. Regular maintenance extends the furniture’s lifespan.
Conclusion
Refurbishing wicker outdoor furniture brings new life to your space. Clean it gently and repair broken parts carefully. Use suitable paint or sealant for better protection. Regular care keeps your furniture looking fresh longer. Enjoy your cozy, refreshed outdoor area with pride.
Small efforts make big differences in furniture care. Start your project today and see the results.