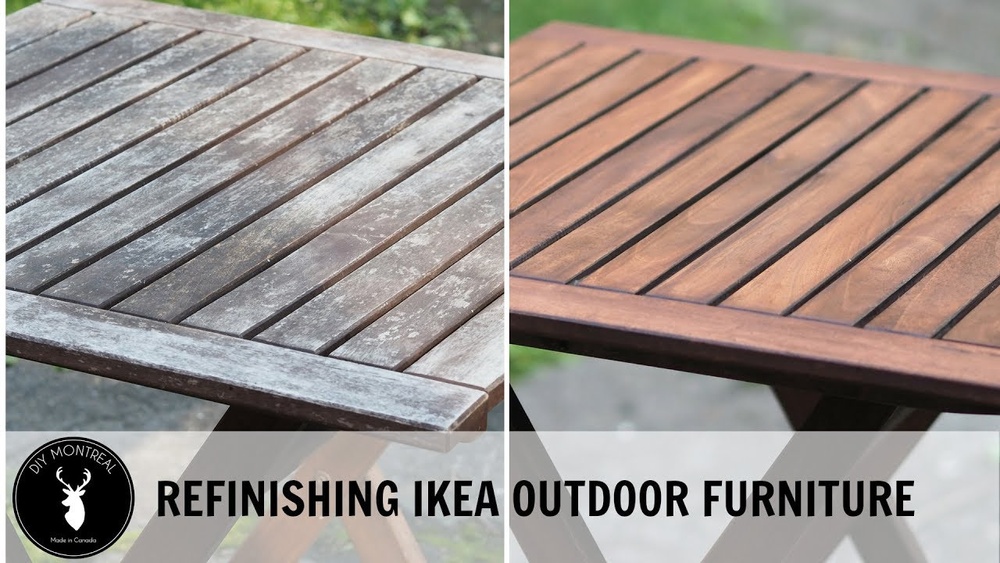
Your outdoor furniture deserves to look its best, but over time, sun, rain, and wear can leave it dull and rough. If you want to bring back that fresh, inviting look without spending a fortune, sanding and staining is the way to go.
Imagine your furniture with a smooth finish and rich color that makes your outdoor space feel cozy and welcoming. In this guide, you’ll discover simple steps to transform your worn-out pieces into beautiful, long-lasting favorites. Ready to give your outdoor furniture a stunning makeover?
Let’s dive in.
Choosing The Right Materials
Choosing the right materials is key to a great sanding and staining job on outdoor furniture. The materials affect how long your furniture lasts and how it looks. Picking good wood, sandpaper, and stain protects your pieces from weather and wear. This section helps you find the best options for your project.
Selecting Outdoor Wood Types
Choose wood that handles weather well. Teak, cedar, and redwood resist water and insects. Pine is cheaper but needs more care. Hardwoods last longer and look better outdoors. Always pick wood labeled for outdoor use. This saves time and keeps furniture strong.
Picking The Best Sandpaper Grit
Start sanding with rough grit like 80 or 100. It removes old finish and smooths rough spots. Then use finer grit, such as 150 or 180, to smooth the wood. Fine grit prepares wood for staining. Avoid skipping grits. It helps stain stick better and look even.
Choosing Stain For Weather Protection
Pick a stain made for outdoor furniture. Look for water-resistant and UV-protective stains. Oil-based stains soak deep and last longer. Water-based stains dry faster and clean up easily. Choose a color that matches your style. Proper stain keeps wood safe from sun and rain.

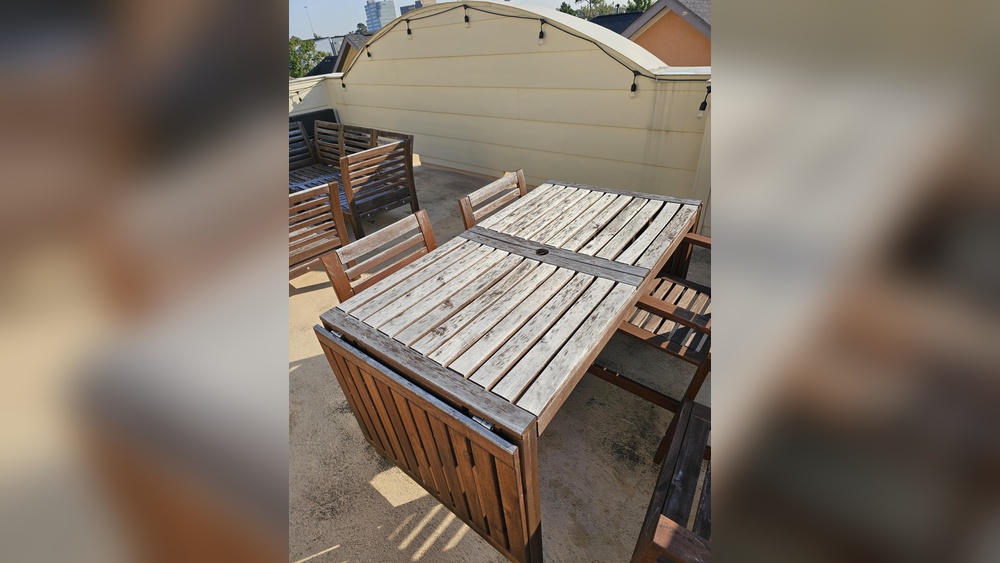
Credit: www.reddit.com
Preparing The Furniture
Preparing outdoor furniture before sanding and staining is a key step. It ensures the finish lasts longer and looks better. Start with cleaning, then remove the old finish. Fix any damages for a smooth surface. Taking time to prepare saves effort later.
Cleaning The Surface
Remove dirt, dust, and grime from the furniture. Use a mild soap and water mix with a soft brush. Scrub gently to avoid damaging the wood. Rinse well and let it dry completely. Clean wood allows stain to soak in evenly.
Removing Old Finish
Strip away old paint or varnish for a fresh start. Use a chemical stripper or sandpaper for this job. Apply stripper carefully, following safety instructions. Sand rough areas with medium-grit sandpaper until smooth. Remove all residue before moving on.
Repairing Damages And Imperfections
Check for cracks, holes, or loose joints. Use wood filler to patch holes and cracks. Let the filler dry fully, then sand it smooth. Tighten or glue any loose parts. A solid, even surface helps stain last longer.
Sanding Techniques
Sanding is an important step before staining outdoor furniture. It helps create a smooth surface that holds the stain well. Proper sanding removes old paint, rough spots, and dirt. Good sanding techniques make your furniture look fresh and last longer outside.
Hand Sanding Tips
Use fine-grit sandpaper for a smooth finish. Wrap the sandpaper around a sanding block. Move the block in the direction of the wood grain. Avoid sanding too hard to prevent scratches. Change sandpaper when it gets worn out. Take your time to sand evenly across the surface.
Using Power Sanders Safely
Power sanders save time on large surfaces. Choose a sander with adjustable speed settings. Hold the sander firmly but gently. Keep the sander moving to avoid gouges or uneven spots. Wear safety goggles and a dust mask. Unplug the sander when changing sandpaper sheets.
Sanding Corners And Crevices
Use small sanding sponges or folded sandpaper for tight spots. Sand gently to avoid breaking delicate parts. A detail sander can help reach narrow areas. Clean dust from corners before staining. Careful sanding in these areas ensures even stain coverage.
Applying The Stain
Applying the stain is a key step in finishing your outdoor furniture. It protects the wood and brings out its natural beauty. Taking time to do this properly ensures a lasting and attractive result. Use the right tools and follow simple steps for the best effect.
Testing Stain Color
Test the stain color on a small, hidden area first. This shows how the wood will look after staining. Different woods absorb stain differently. Testing helps avoid surprises and lets you choose the perfect shade. Use a scrap piece or a hidden spot on the furniture.
Stain Application Methods
Apply stain with a brush, cloth, or sponge. Brushes work well for detailed areas. Cloths give a smooth finish on flat surfaces. Use long, even strokes along the wood grain. Avoid puddles by wiping off extra stain after a few minutes. Work in small sections for better control.
Drying Times And Conditions
Let the stain dry fully before using the furniture. Drying time depends on temperature and humidity. Warm, dry weather speeds up drying. Avoid staining on cold or wet days. Check the stain’s label for exact drying times. Proper drying prevents sticky surfaces and ensures a strong finish.
Sealing And Protecting
Sealing and protecting outdoor furniture keeps it looking fresh and strong. Wood faces sun, rain, and dirt. Without proper protection, wood fades, cracks, or rots. Sealing locks in the stain and guards against damage. This step extends the life of your furniture and saves money on repairs or replacements.
Choosing The Right Sealant
Pick a sealant made for outdoor use. Look for water resistance and UV protection. Oil-based sealants soak into wood and last longer. Water-based sealants dry faster and have less odor. Clear sealants keep the natural wood color. Tinted sealants add extra color and block sunlight.
Applying Sealant Correctly
Apply sealant on dry, clean wood. Use a brush or cloth for even coverage. Work along the wood grain to avoid streaks. Don’t apply too thick or it will peel. Let the first coat dry fully before adding a second. Follow the product instructions for best results.
Maintaining The Finish Over Time
Check your furniture every few months. Clean dirt and dust gently with a soft cloth. Reapply sealant once the finish looks dull or worn. Sand lightly before resealing for better adhesion. Proper care keeps furniture beautiful and protects wood well.

Credit: www.youtube.com
Safety And Cleanup
Safety and cleanup are key parts of sanding and staining outdoor furniture. Protecting yourself and the environment keeps the project smooth and safe. Proper cleaning helps tools last longer and prevents accidents.
Protective Gear Recommendations
Wear safety glasses to protect your eyes from dust and debris. Use a dust mask or respirator to avoid breathing in fine particles. Gloves protect your hands from splinters and chemicals. Long sleeves and pants help shield your skin. Work in a well-ventilated area to reduce fumes.
Disposing Of Materials Safely
Collect sanding dust and leftover stain carefully. Do not pour stain down drains or on the ground. Use sealed containers for leftover stain and oily rags. Check local rules for hazardous waste disposal. Proper disposal prevents fire risks and pollution.
Cleaning Tools After Use
Clean brushes and rags with the right solvent, like mineral spirits. Remove all stain residue to keep brushes soft and usable. Wipe sandpaper clean or replace it if clogged. Dry tools completely before storing. Proper tool care saves money and effort.
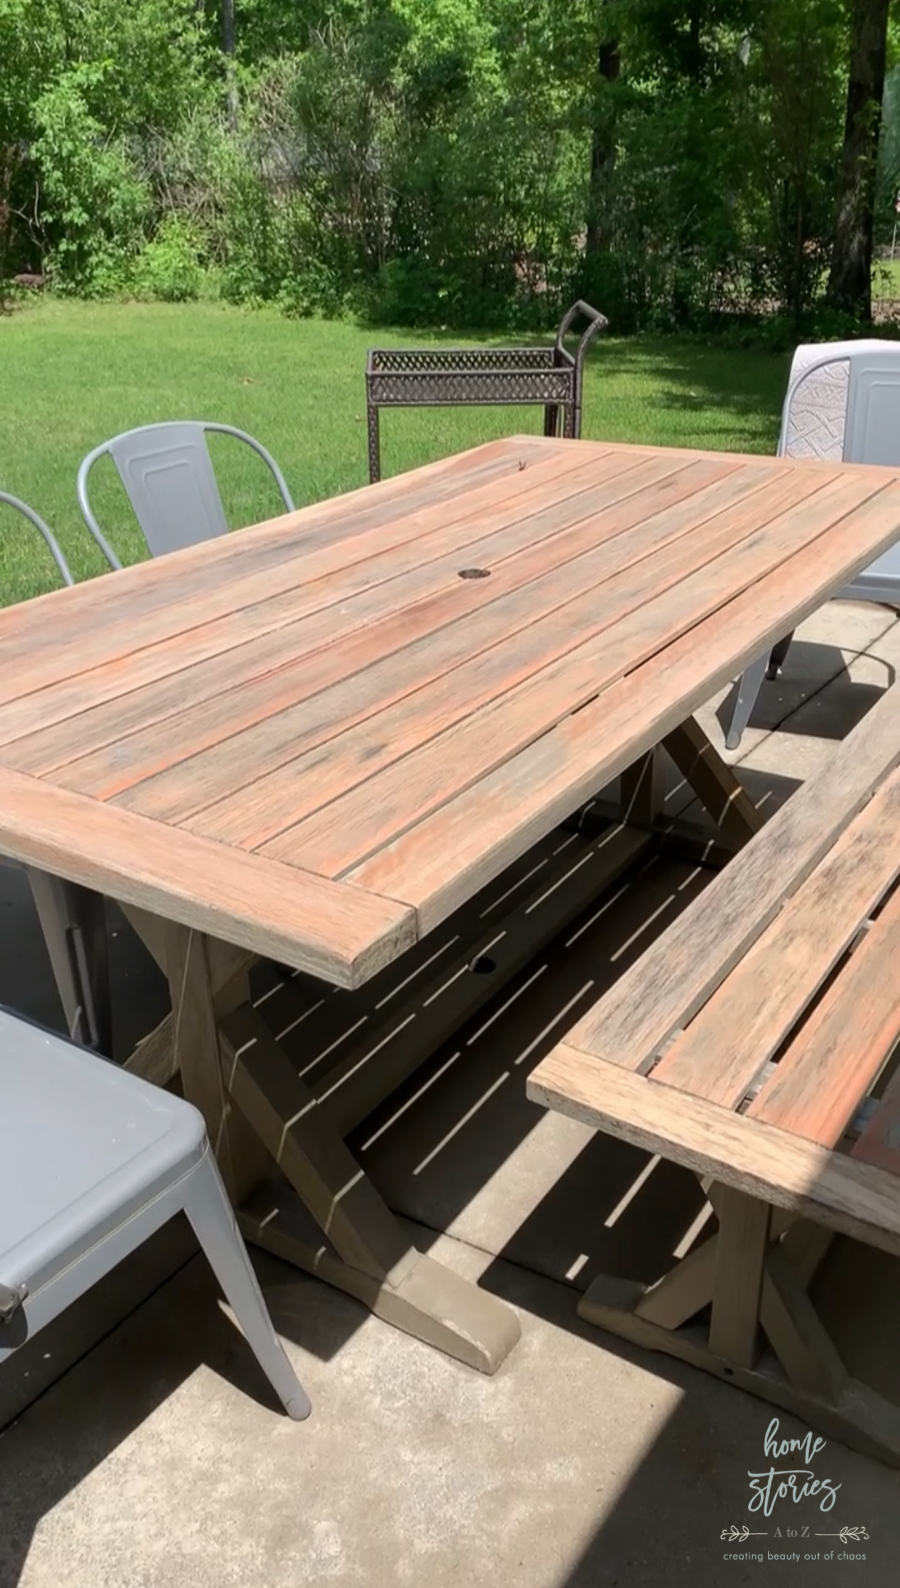
Credit: www.homestoriesatoz.com
Frequently Asked Questions
How Do I Prepare Outdoor Furniture For Sanding?
Start by cleaning the furniture with mild soap and water. Remove dirt, dust, and old finishes. Let it dry completely before sanding.
What Grit Sandpaper Is Best For Outdoor Furniture?
Begin with 80-120 grit for rough sanding. Finish with 180-220 grit for a smooth surface before staining.
How Long Should Stain Dry On Outdoor Furniture?
Typically, stain dries in 24-48 hours. Dry time varies by stain type and weather conditions. Avoid using furniture until fully dry.
Can I Stain Outdoor Furniture Without Sanding?
Sanding is recommended for better stain adhesion. Skipping sanding may cause uneven finish and poor durability.
Conclusion
Sanding and staining outdoor furniture keeps it looking fresh and new. Clean surfaces well and sand evenly for best results. Apply stain carefully, following wood grain direction. Let each coat dry fully before adding another. This process protects wood from weather damage.
Enjoy your beautiful, long-lasting outdoor furniture all year. Small effort brings big improvements to your space. Try these steps to keep your furniture strong and stylish.