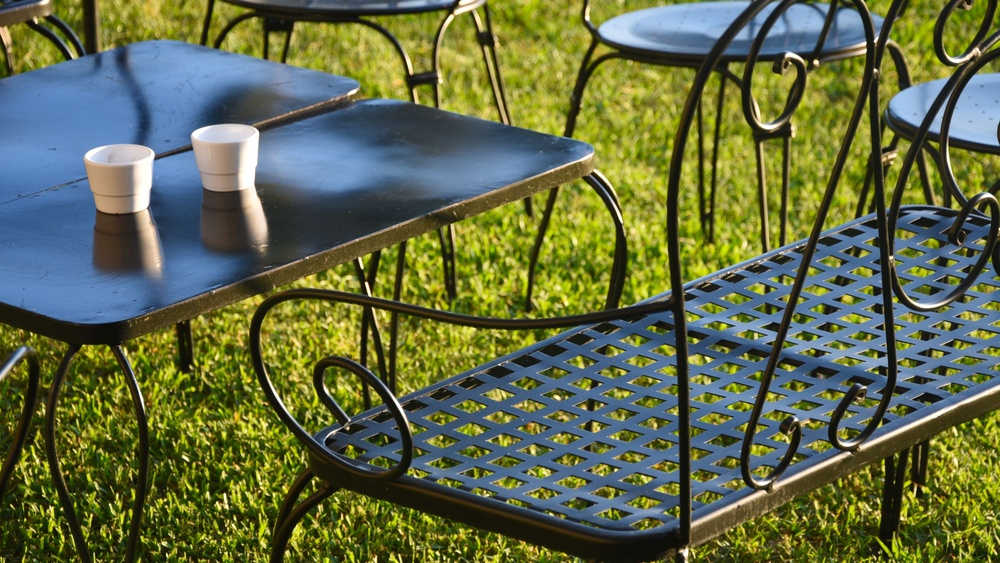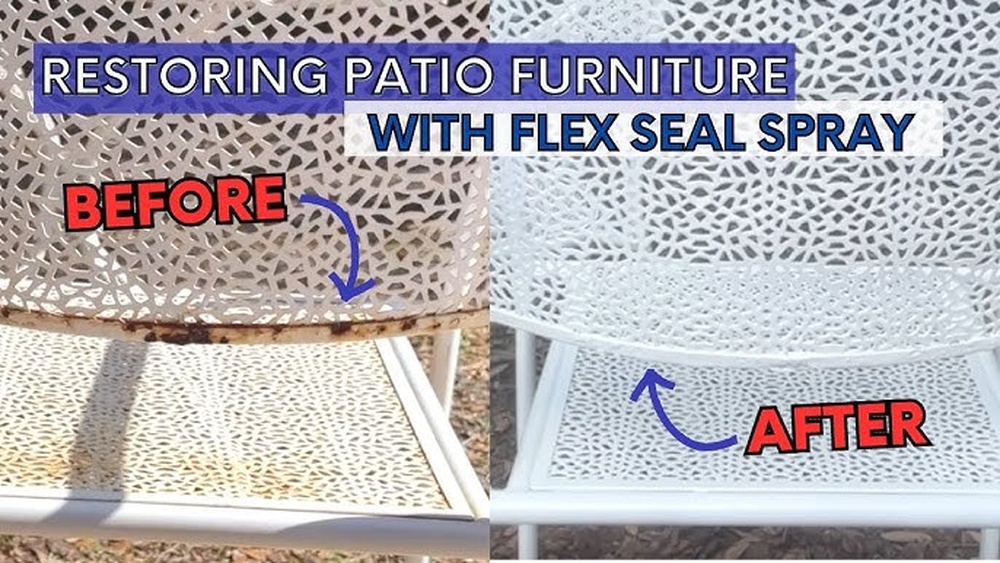
Your metal outdoor furniture adds style and comfort to your space. But have you noticed it starting to rust or lose its shine?
If you want to keep your furniture looking new and protect it from harsh weather, sealing it is the key. In this guide, you’ll learn simple, effective steps to seal your metal outdoor furniture. By the end, you’ll have the confidence to protect your investment and enjoy your outdoor space for years to come.
Ready to make your furniture last? Let’s dive in.
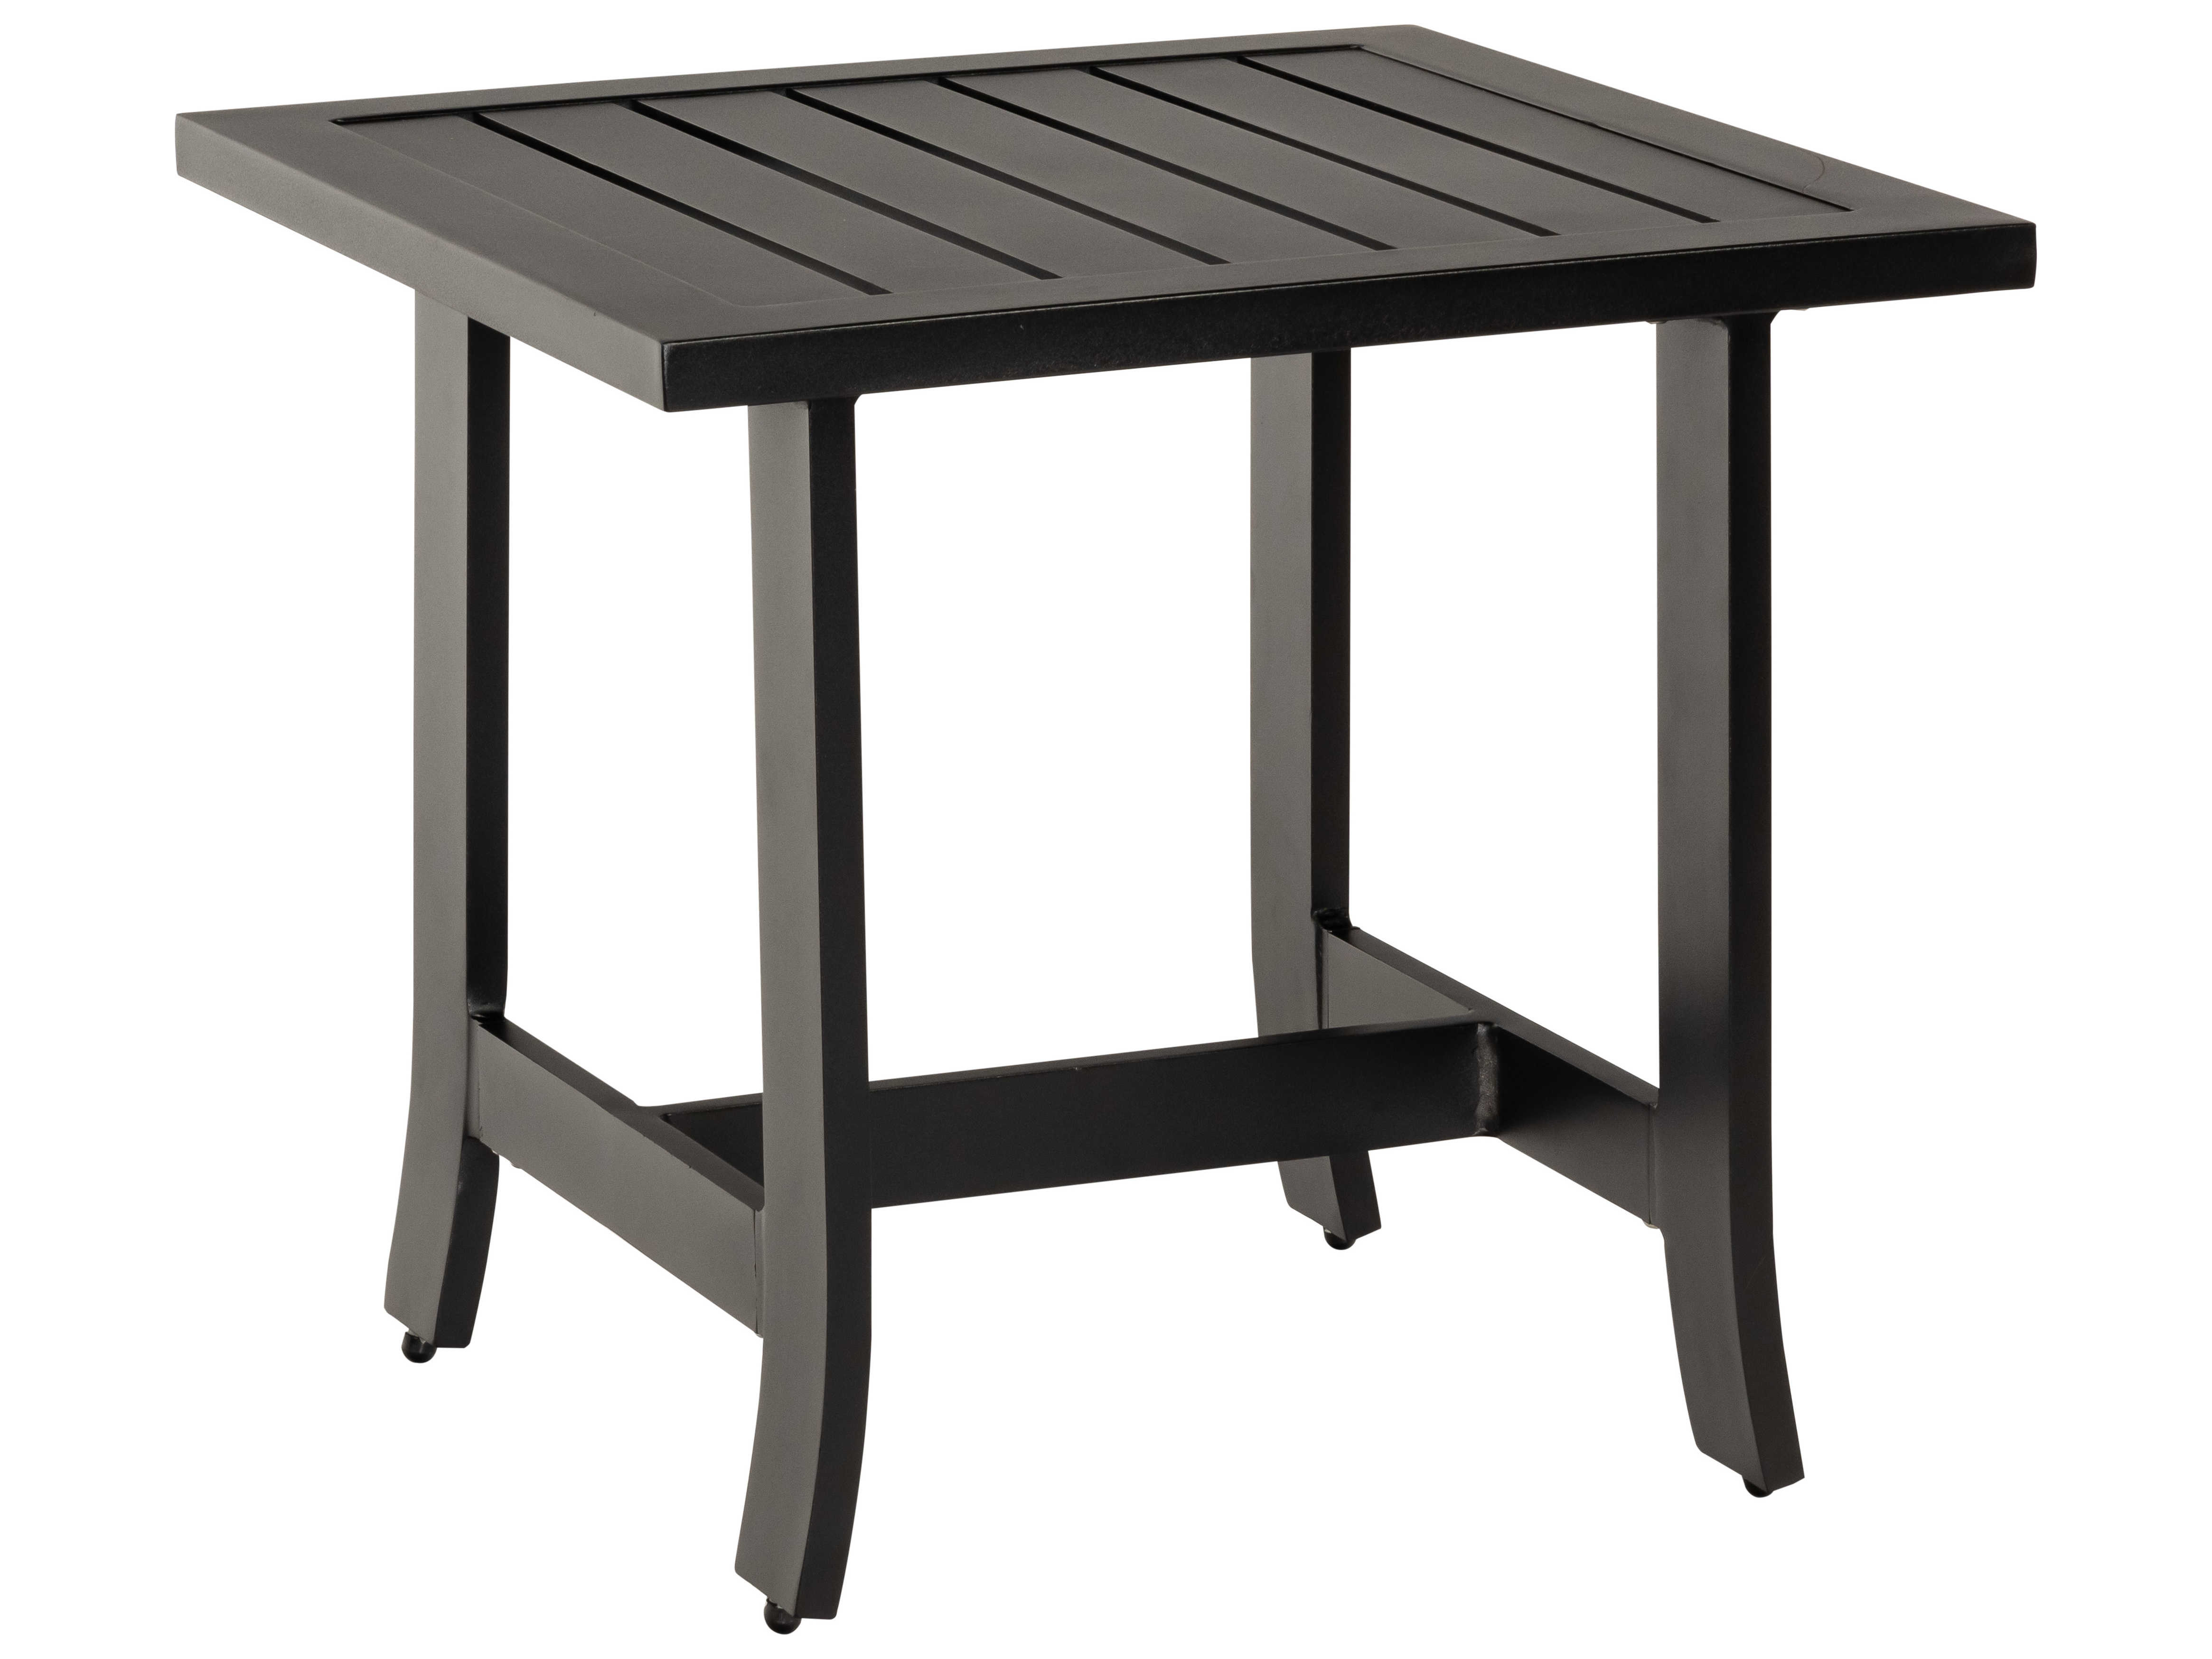
Credit: www.patioliving.com
Choosing The Right Sealant
Choosing the right sealant is key to protecting metal outdoor furniture. A good sealant stops rust, water damage, and fading. It also keeps your furniture looking new for longer.
Selecting the right product depends on the type of metal and the environment. Some sealants work better on certain metals or weather conditions. Picking the right one saves time and money.
Types Of Sealants For Metal
There are different sealants for metal furniture. Clear acrylic sealants provide a shiny finish. They protect against water and UV rays.
Polyurethane sealants create a hard, durable coat. This works well for heavy-use furniture. Rust-inhibiting primers help stop rust under the sealant. They are ideal for iron and steel pieces.
Epoxy sealants offer strong protection. They resist chemicals and scratches. These sealants are thicker and last longer in harsh conditions.
Factors To Consider When Selecting Sealant
Think about the metal type before choosing a sealant. Aluminum needs a different product than steel. Check if the sealant works on your furniture’s metal.
Consider the weather where you live. Some sealants handle rain and snow better. Others protect well from sun damage and heat.
Look at the finish you want. Matte sealants give a soft look. Glossy ones add shine. Choose based on your style preference.
Check how easy the sealant is to apply. Some sealants need more coats or longer drying times. Pick one that fits your schedule and skill level.
Preparing Metal Furniture
Preparing metal furniture is the first step to protect it from weather damage. Proper preparation helps the sealant stick better and last longer. It also prevents rust and keeps the metal looking good.
Start by cleaning and removing any rust. After that, sanding smooths the surface. Both steps make sealing easier and more effective.
Cleaning And Removing Rust
Begin by wiping off dirt and dust with a damp cloth. Use soapy water for stubborn grime. Rinse well and let the furniture dry.
Rust can cause serious damage. Use a wire brush or rust remover to get rid of rust spots. Scrub gently to avoid scratching the metal.
Remove all rust. Any left can spread under the sealant and ruin the furniture.
Sanding And Smoothing Surfaces
Use sandpaper to smooth rough or chipped areas. Start with medium grit and finish with fine grit.
Sanding helps the sealant grip the metal better. It also removes leftover paint flakes or rust bits.
Wipe the furniture with a clean cloth after sanding. Make sure no dust or debris remains. A smooth surface is ready for sealing.
Applying The Sealant
Applying sealant to metal outdoor furniture protects it from rust, water, and sun damage. This step keeps your furniture looking new longer. Proper sealing also prevents peeling and fading. Taking time to apply sealant carefully makes a big difference.
Tools And Materials Needed
- Clean cloth or rag
- Sandpaper (fine grit)
- Metal primer (optional)
- Sealant suitable for metal (clear or tinted)
- Paintbrush or foam brush
- Gloves
- Mask for fumes
Step-by-step Application Process
- Start by cleaning the furniture with a cloth to remove dust and dirt.
- Lightly sand the metal surface to help the sealant stick better.
- Wipe off any sanding dust with a clean cloth.
- Apply a metal primer if the furniture is bare metal or rusty.
- Let the primer dry completely before sealing.
- Use a brush to apply a thin, even coat of sealant.
- Cover all areas, including corners and joints.
- Allow the first coat to dry as per product instructions.
- Apply a second coat for extra protection.
- Let the furniture dry fully before using or moving it.
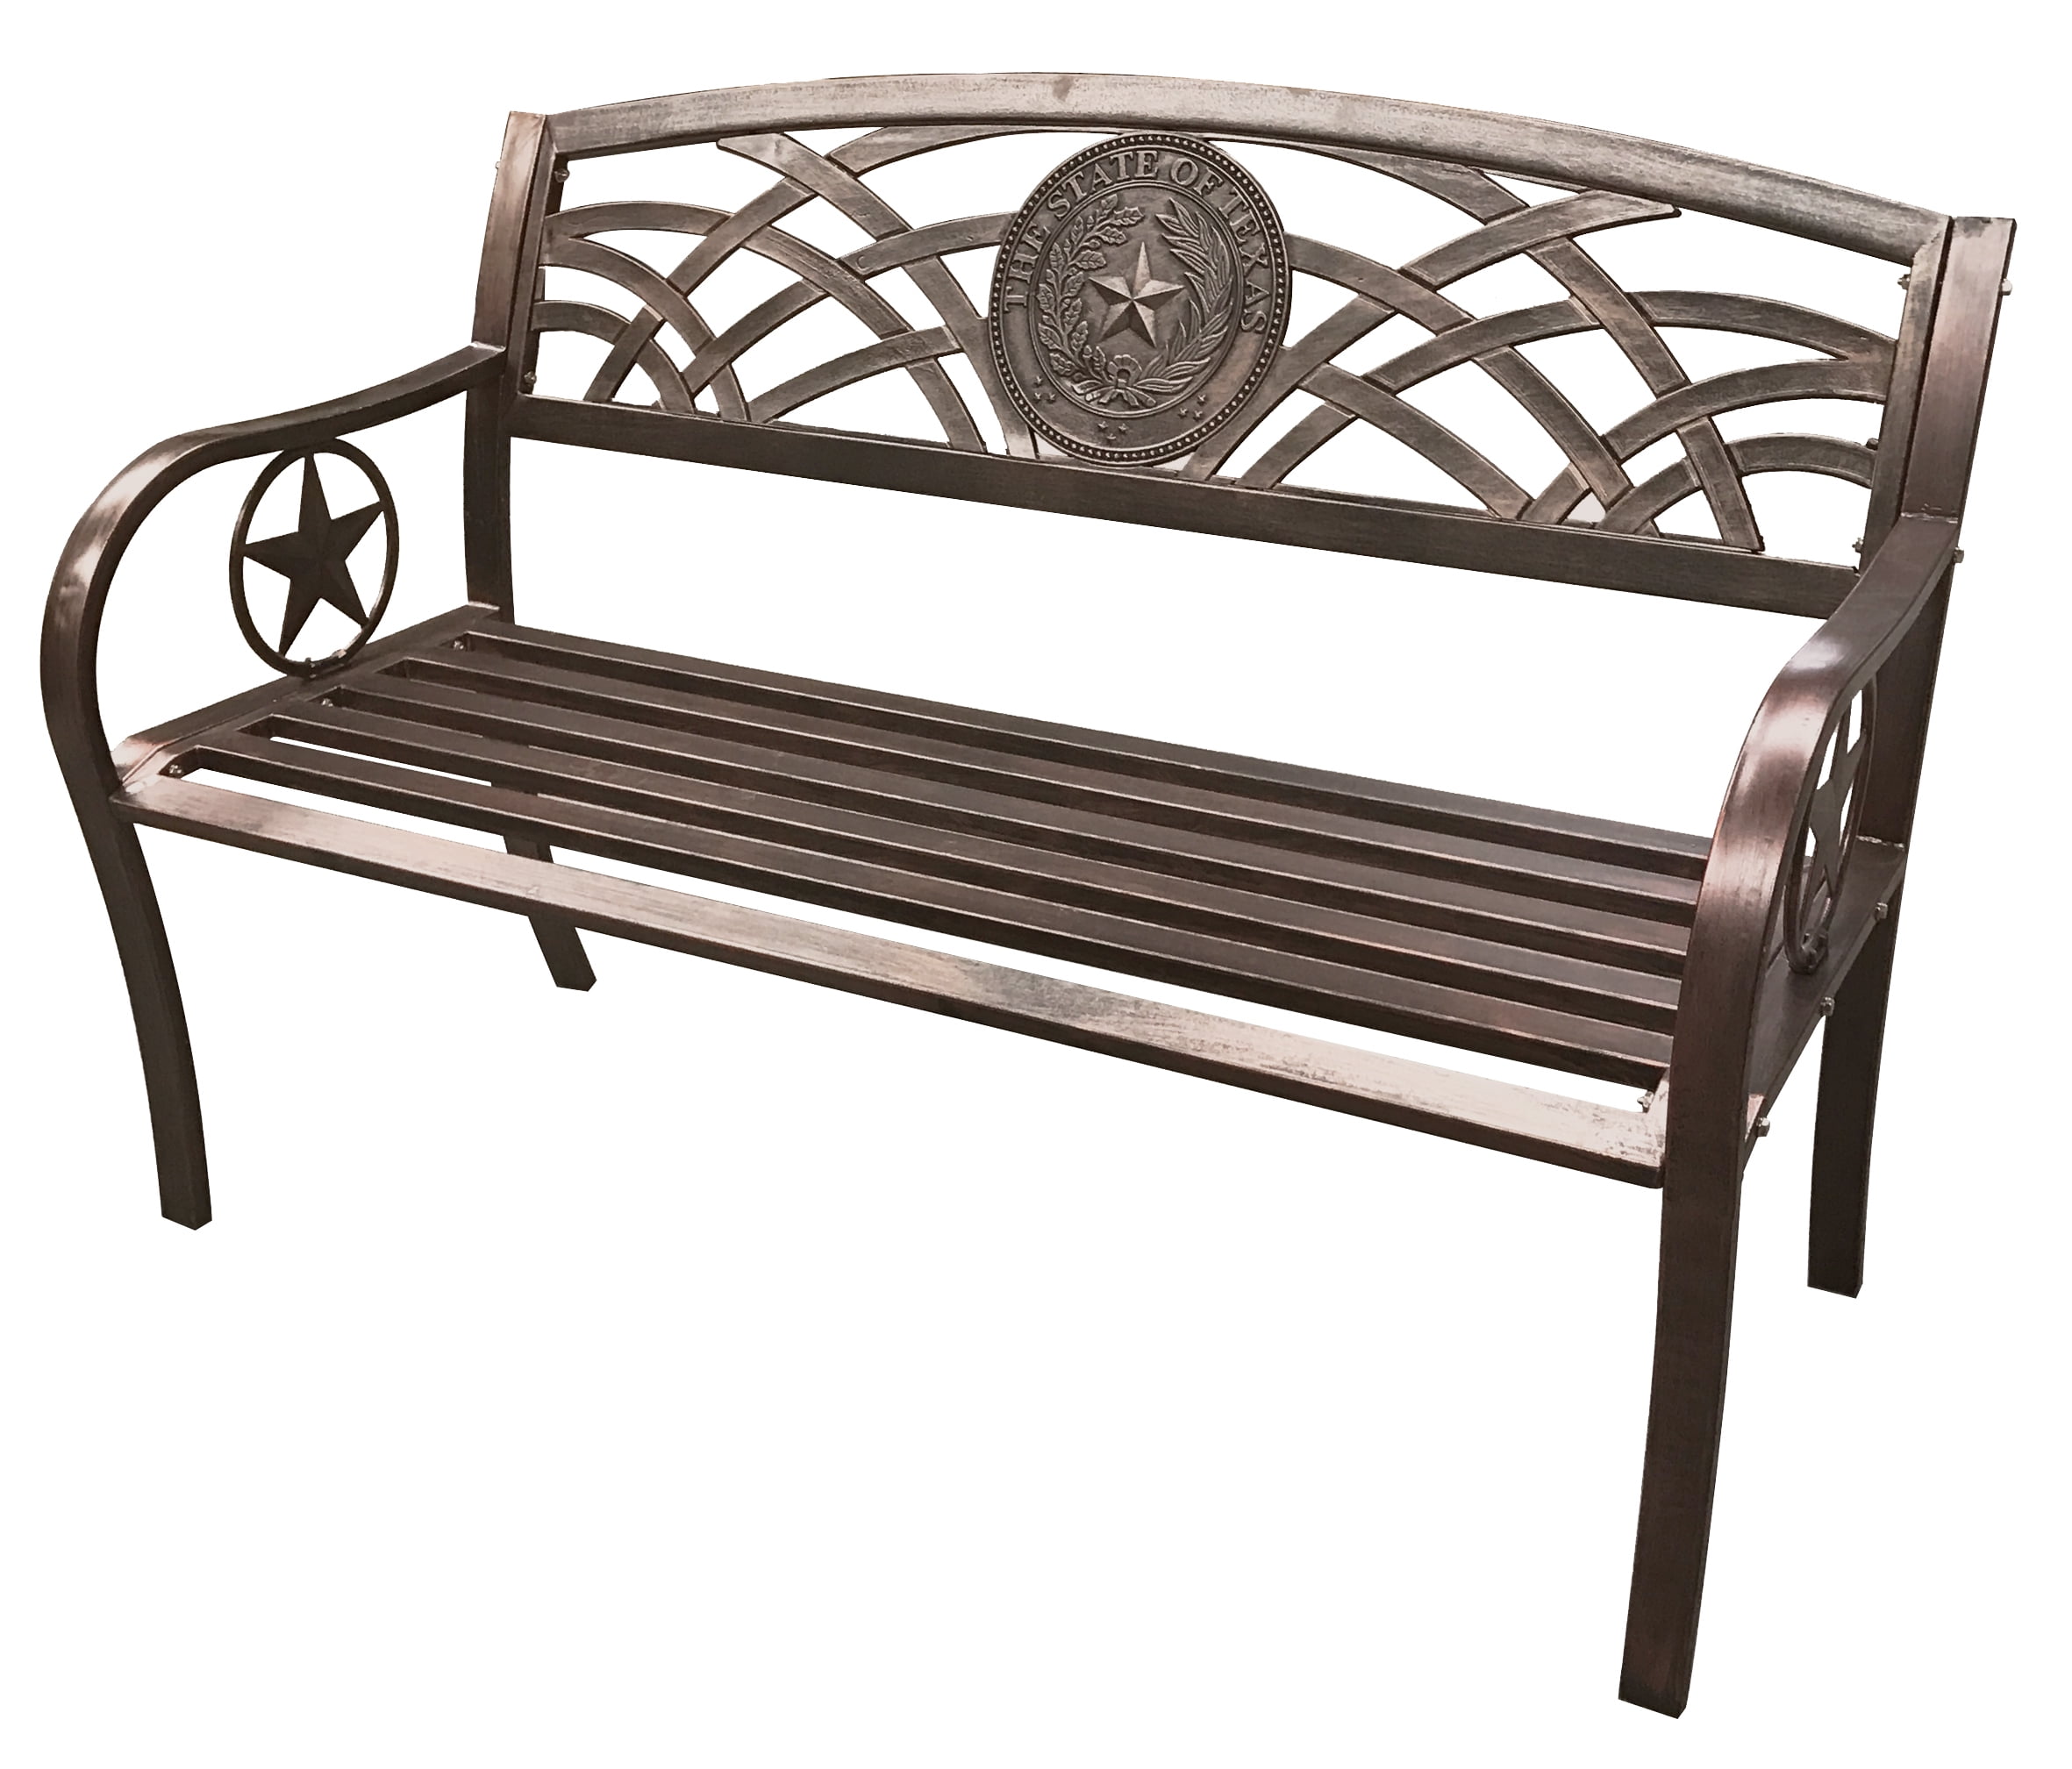
Credit: www.walmart.com
Drying And Curing Tips
Drying and curing are key steps after sealing metal outdoor furniture. Proper drying ensures the sealant sticks well and lasts longer. Curing strengthens the protective layer, making your furniture more durable against weather.
Skipping these steps or rushing can cause peeling and damage. Follow these tips for the best results.
Optimal Conditions For Drying
Choose a dry, warm place for drying your furniture. Avoid direct sunlight, which can cause the sealant to dry too fast and crack. Ideal temperatures are between 60°F and 80°F (15°C to 27°C).
Good air flow helps the sealant dry evenly. Keep the furniture in a shaded, ventilated area. Avoid high humidity because moisture slows drying and weakens the seal.
How Long To Wait Before Use
Wait at least 24 hours before touching or moving the furniture. This time lets the sealant dry on the surface.
For full curing, wait 72 hours or more. Curing time depends on the sealant type and weather conditions. Longer curing means better protection and longer life for your furniture.
Maintenance For Longevity
Maintaining metal outdoor furniture is key to keeping it strong and looking good. Proper care protects the metal from rust and weather damage. Small efforts regularly can extend the furniture’s life by years. This section covers simple steps to maintain your furniture for lasting use.
Regular Cleaning Techniques
Clean your metal furniture often to remove dirt and dust. Use a soft cloth or brush with mild soap and water. Rinse well to avoid soap residue. Dry the furniture completely to stop moisture from causing rust. Avoid harsh chemicals that can damage the metal finish. Regular cleaning keeps the surface smooth and ready for sealing.
Touch-up And Re-sealing Advice
Inspect the furniture for scratches or chips in the finish. These spots allow rust to form quickly. Lightly sand damaged areas to remove rust and rough edges. Apply a matching metal primer and paint if needed. After repairs, apply a clear sealant to protect the surface. Re-seal every year or after heavy use for best protection.
Common Mistakes To Avoid
Sealing metal outdoor furniture protects it from rust and weather damage. Many people make common mistakes that reduce the sealant’s effectiveness. Avoiding these errors helps your furniture last longer and look better.
Improper Surface Preparation
Cleaning the metal surface is essential before sealing. Dirt, rust, and old paint can stop the sealant from sticking well. Use a wire brush or sandpaper to remove rust and loose paint. Wash the furniture with soap and water. Let it dry fully before applying any sealant. Skipping these steps leads to peeling and weak protection.
Using Incompatible Sealants
Not all sealants work on metal. Some sealants suit wood or plastic but fail on metal surfaces. Choose a sealant made specifically for metal outdoor furniture. Check the product label and instructions carefully. Using the wrong sealant causes cracking and poor coverage. This mistake wastes time and money.
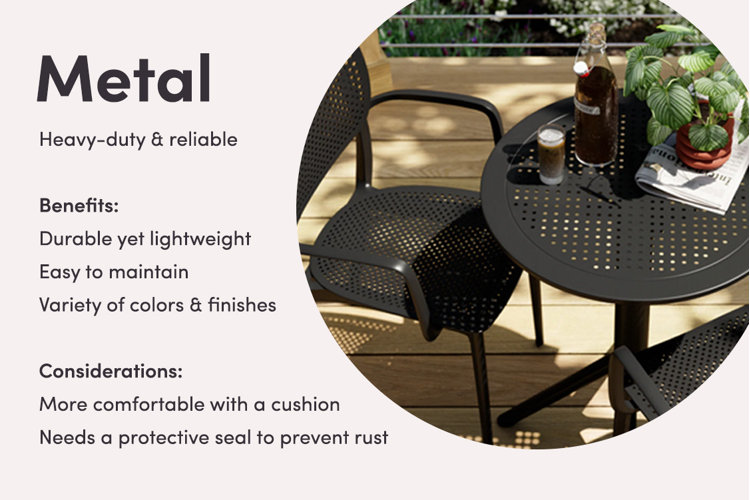
Credit: www.wayfair.com
Frequently Asked Questions
How Do I Prepare Metal Furniture Before Sealing?
Clean the metal surface thoroughly to remove dirt and rust. Sand down rough spots for better sealant adherence. Ensure the furniture is completely dry before applying any sealant to achieve a smooth finish.
What Type Of Sealant Is Best For Metal Outdoor Furniture?
Use a rust-resistant, waterproof sealant designed for metal surfaces. Clear acrylic or polyurethane sealants offer strong protection against weather. Choose a sealant that provides UV protection to prevent fading and corrosion.
How Often Should I Reseal Metal Outdoor Furniture?
Reseal your metal furniture every 1-2 years for optimal protection. Inspect the furniture regularly for signs of wear or rust. Timely resealing prevents damage and extends the furniture’s lifespan significantly.
Can I Seal Metal Furniture Myself Or Need A Professional?
Sealing metal furniture is a simple DIY task with basic tools. Follow instructions carefully for surface prep and sealant application. Professionals are only needed for large or complex restoration projects.
Conclusion
Sealing metal outdoor furniture protects it from rust and weather damage. It keeps your furniture looking good for years. A simple sealant can stop moisture and dirt from causing harm. Regular sealing saves money by preventing costly repairs. Remember to clean the furniture before applying the sealant.
Let it dry fully for the best protection. Your outdoor space will stay neat and inviting. Small steps make a big difference in care. Seal your metal furniture and enjoy it longer.