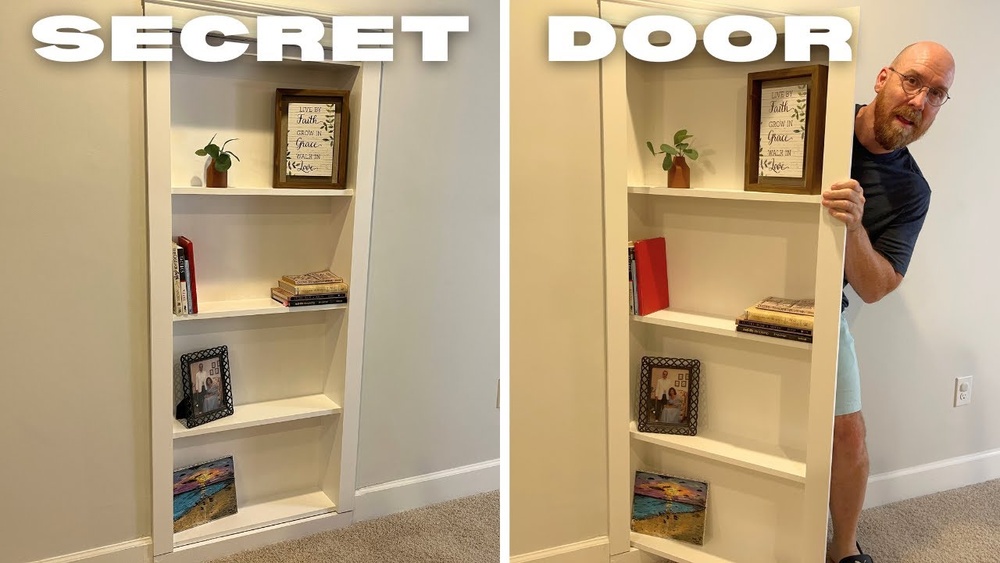
Have you ever wished for more closet space but didn’t want to add bulky furniture? What if your bookshelf could become your new closet?
Transforming a simple bookshelf into a stylish and functional closet is easier than you think. You’ll discover step-by-step tips to create extra storage without spending a fortune or sacrificing style. Ready to unlock hidden space and organize your clothes like a pro?
Keep reading and turn your bookshelf into the closet you’ve always wanted.
Choosing The Right Bookshelf
Choosing the right bookshelf is the first step to create a closet space. It needs to fit the room and hold your clothes well. The right bookshelf makes the project easier and the result better.
Size And Dimensions
Measure the space where the bookshelf will stand. Check the height, width, and depth carefully. The bookshelf should fit without blocking doors or windows. Think about the clothes you want to store. Taller shelves work for long items like dresses. Deeper shelves hold folded clothes better. Choose a size that matches your needs and room space.
Material Considerations
Bookshelves come in wood, metal, or plastic. Wood shelves look warm and strong. They hold heavy clothes well. Metal shelves are light and modern. They resist moisture but may be less sturdy. Plastic shelves cost less and are easy to clean. Pick a material that suits your style and budget. Also, check if it is easy to modify for hanging rods or hooks.
Style And Design
The bookshelf style should match your room decor. Simple designs fit most rooms and look neat. Open shelves show your clothes and accessories clearly. Closed shelves hide clutter and dust. Some bookshelves come with doors or drawers. These add privacy and extra storage. Choose a design that fits your space and keeps your clothes organized.
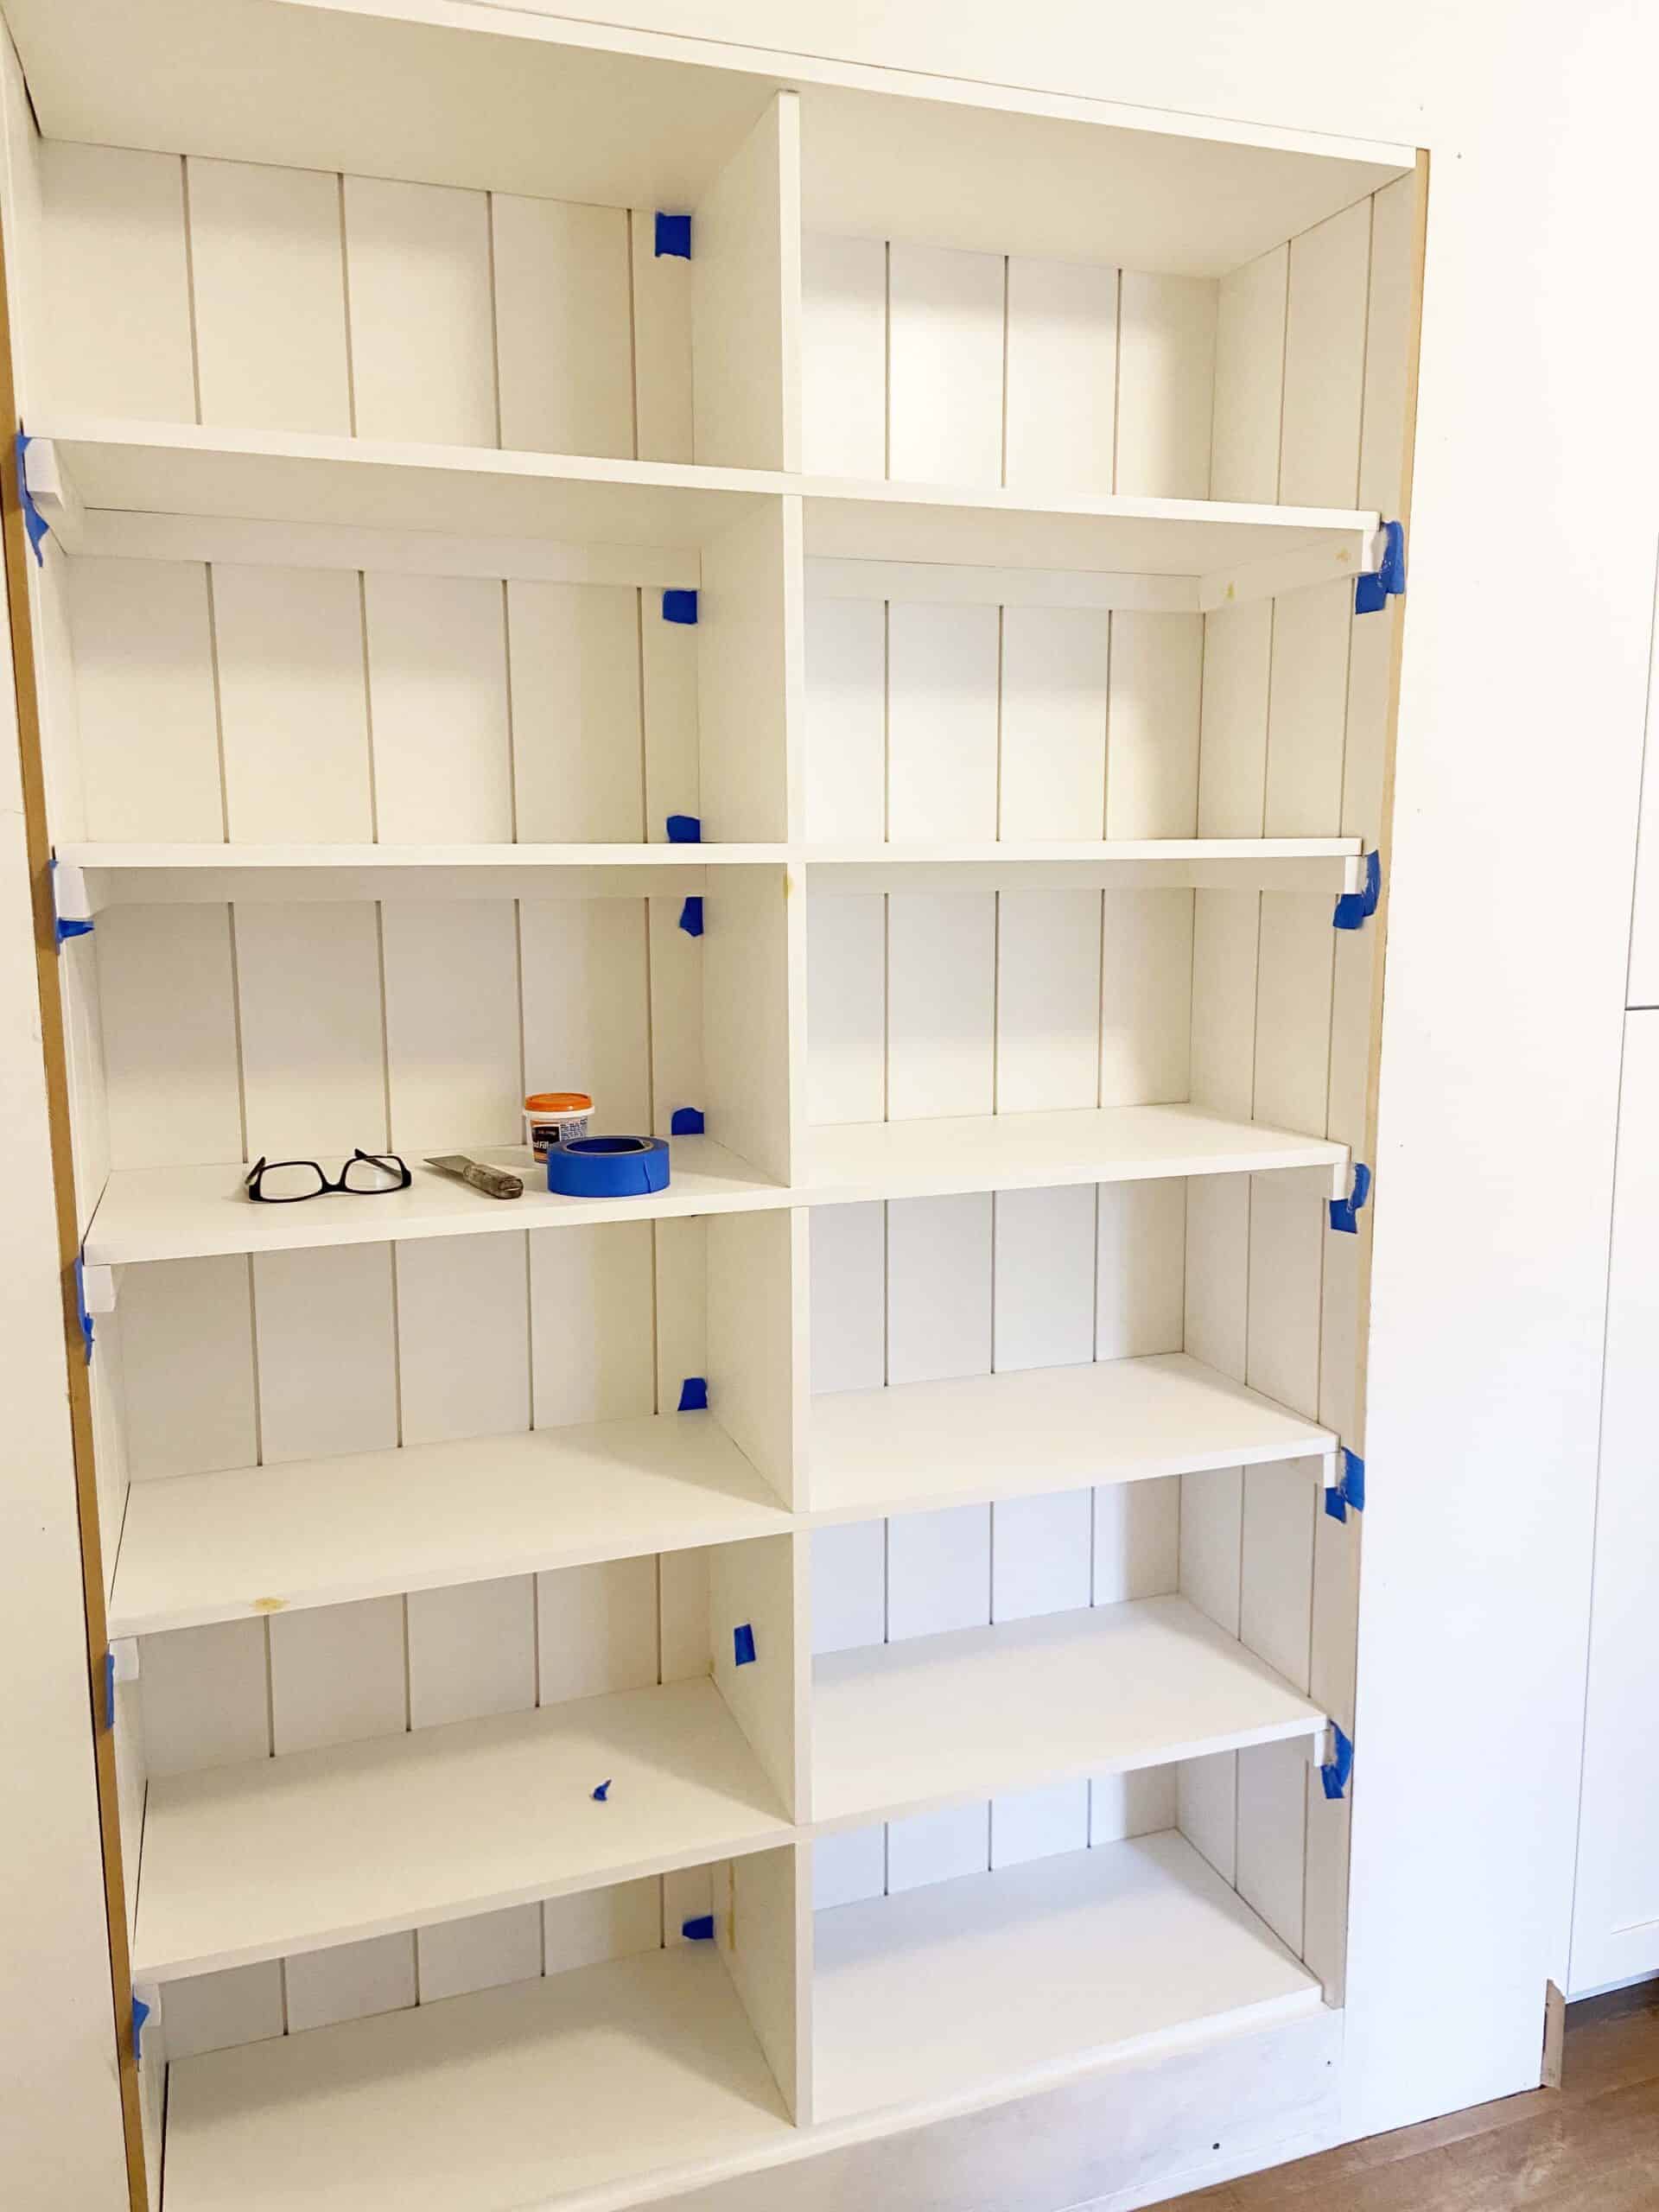
Preparing The Bookshelf
Preparing the bookshelf is the first step to turning it into a closet. It makes sure the structure is strong and looks good. Taking time here saves effort later. This stage includes cleaning, sanding, painting, and adding back panels. Each part is important for a smooth transformation.
Cleaning And Sanding
Start by removing all dust and dirt from the bookshelf. Use a soft cloth or vacuum cleaner. Check for any stickers or glue residue. Remove them carefully without damaging the surface. Next, sand the entire bookshelf with fine-grit sandpaper. Sanding smooths rough areas and helps paint stick better. Wipe off the dust after sanding. This creates a clean and even base for painting.
Painting And Finishing
Choose paint suitable for wood furniture. Primer may be needed for better adhesion and color. Apply a thin, even coat of paint using a brush or roller. Let it dry fully before adding a second coat. Use light, smooth strokes to avoid drips. For a polished look, apply a clear finish or sealant. This protects the paint and makes the surface durable.
Adding Back Panels
Back panels add strength and a finished look to the closet. Measure the bookshelf’s back area carefully. Cut plywood or thin wood boards to size. Attach panels using nails or screws. Make sure they fit snugly without gaps. Paint or cover the panels to match the rest of the closet. This step improves stability and hides wall marks behind the shelf.
Adding Closet Features
Adding closet features to a bookshelf helps create a functional storage space. It transforms the bookshelf into a practical closet. This step lets you store clothes and accessories neatly. Small changes make a big difference. Focus on hanging rods, shelves, dividers, and drawers. Each feature adds convenience and keeps items organized.
Installing Hanging Rods
Hanging rods are essential for clothes like shirts and jackets. Choose a rod that fits the width of the bookshelf. Secure the rod firmly on both sides. Use brackets or hooks for support. Place the rod at a height that fits your clothes. This lets you hang items without wrinkles or folds.
Adding Shelves And Dividers
Shelves increase storage space for folded clothes or boxes. Use adjustable shelves for flexibility. Dividers help separate items and keep them tidy. They prevent piles from toppling over. Arrange shelves and dividers based on your storage needs. This creates clear sections for easy access and neatness.
Incorporating Drawers
Drawers add hidden storage for small items like socks or accessories. Choose drawers that fit inside the bookshelf frame. Install smooth sliding tracks for easy use. Drawers keep your closet clutter-free and organized. They also protect items from dust and damage.

Credit: www.youtube.com
Maximizing Storage Space
Maximizing storage space is key when turning a bookshelf into a closet. Every inch counts. Organizing smartly helps keep your space neat and easy to use. Small additions can make a big difference in storage capacity.
Use containers and clever placement to hold clothes and accessories. This approach keeps items visible and accessible. It also stops clutter from building up inside your new closet.
Using Baskets And Bins
Baskets and bins fit perfectly on bookshelf shelves. They hold folded clothes, scarves, and small items. Choose containers that match your room’s style for a tidy look. Label bins to find things quickly. Stackable bins save even more space.
Hooks And Hangers
Hooks and hangers add vertical storage inside the bookshelf. Hang belts, bags, or necklaces on hooks fixed to side panels. Use slim hangers for shirts or jackets on a rod across the shelf. This keeps clothes wrinkle-free and easy to grab.
Utilizing Door Space
The inside of bookshelf doors offers extra storage potential. Attach small racks or hooks for shoes, jewelry, or hats. Use over-the-door organizers to store items without losing shelf space. This keeps your closet organized and your items within reach.
Organizing Your New Closet
Organizing your new closet is key to making it functional and easy to use. A well-organized space saves time and reduces stress. It helps you find what you need quickly. Start by sorting your clothes and accessories carefully.
Sorting Clothes And Accessories
Sort clothes by type, such as shirts, pants, and dresses. Group accessories like belts, scarves, and hats separately. Check each item for wear or damage. Remove items you no longer use. This creates space and keeps only what you need.
Labeling And Categorizing
Label shelves or bins to identify what goes where. Use simple labels like “T-Shirts,” “Socks,” or “Jewelry.” Categorize clothes by season or color if you prefer. Labels help maintain order and speed up your daily routine.
Maintaining Tidiness
Put items back in their place after use. Fold clothes neatly or hang them properly. Regularly check for clutter and remove unused items. Clean your closet space often. Small habits keep your closet tidy and pleasant to use.

Credit: arloren.com
Creative Closet Hacks
Transforming a bookshelf into a closet is a smart way to save space. Creative closet hacks can make this project easier and more stylish. These ideas help you use your new closet comfortably and beautifully. Simple tricks can brighten the space, add charm, and make it feel truly yours.
Lighting Solutions
Good lighting makes a small closet feel larger. Use LED strip lights under each shelf for soft brightness. Battery-powered puck lights are easy to install and move. A small lamp or light fixture adds warmth and helps find clothes fast. Bright light prevents shadows and creates a clean look.
Mirrors And Decorative Touches
Mirrors open up the space visually. Attach a slim mirror on the inside door or side panel. Choose a frame that matches your room’s style. Add decorative hooks for scarves or jewelry. Place small plants or art pieces on shelves to add personality. These touches make the closet more inviting and neat.
Personalizing Your Space
Make the closet feel like yours with simple personal touches. Use baskets or boxes with labels to organize items. Choose colors that match your room or favorite shades. Add a scented sachet for a fresh smell. Change decorations seasonally for a fresh look. A personalized closet feels special and keeps you organized.
Credit: www.anodtonavy.com
Frequently Asked Questions
How Do I Convert A Bookshelf Into A Closet?
Remove shelves to create space, add rods for hanging clothes, and install baskets or bins for smaller items. Customize with hooks or lighting for better functionality.
What Materials Are Needed To Turn A Bookshelf Into A Closet?
You’ll need a sturdy bookshelf, closet rods, brackets, hooks, baskets, and possibly paint or wallpaper for customization. Basic tools like a drill and screwdriver help with installation.
Can I Use Any Bookshelf For A Closet Conversion?
Choose a bookshelf that is tall and wide enough to hold clothes and accessories. Solid wood or metal frames work best for support and durability.
How Much Time Does It Take To Transform A Bookshelf?
Depending on complexity, it usually takes 2 to 4 hours. Simple setups with rods and baskets are quicker, while painting and customization may add time.
Conclusion
Transforming a bookshelf into a closet saves space and adds style. It fits small rooms and helps organize clothes neatly. Choose shelves that hold your items well and use baskets or bins for small things. Paint or decorate to match your room’s look.
This idea is simple, practical, and budget-friendly. Try it to make your space more useful and tidy. A little effort brings big changes. Give your old bookshelf a new purpose today.