Looking for a way to create more space and keep your work area organized? Building a desk with a bookshelf attached might be the perfect solution for you.
Imagine having everything you need right at your fingertips—your books, supplies, and workspace all in one place. In this guide, you’ll learn simple steps to build a sturdy, stylish desk that fits your needs and boosts your productivity. Ready to transform your room and make your work easier?
Let’s dive in and start building your perfect desk with a bookshelf attached.
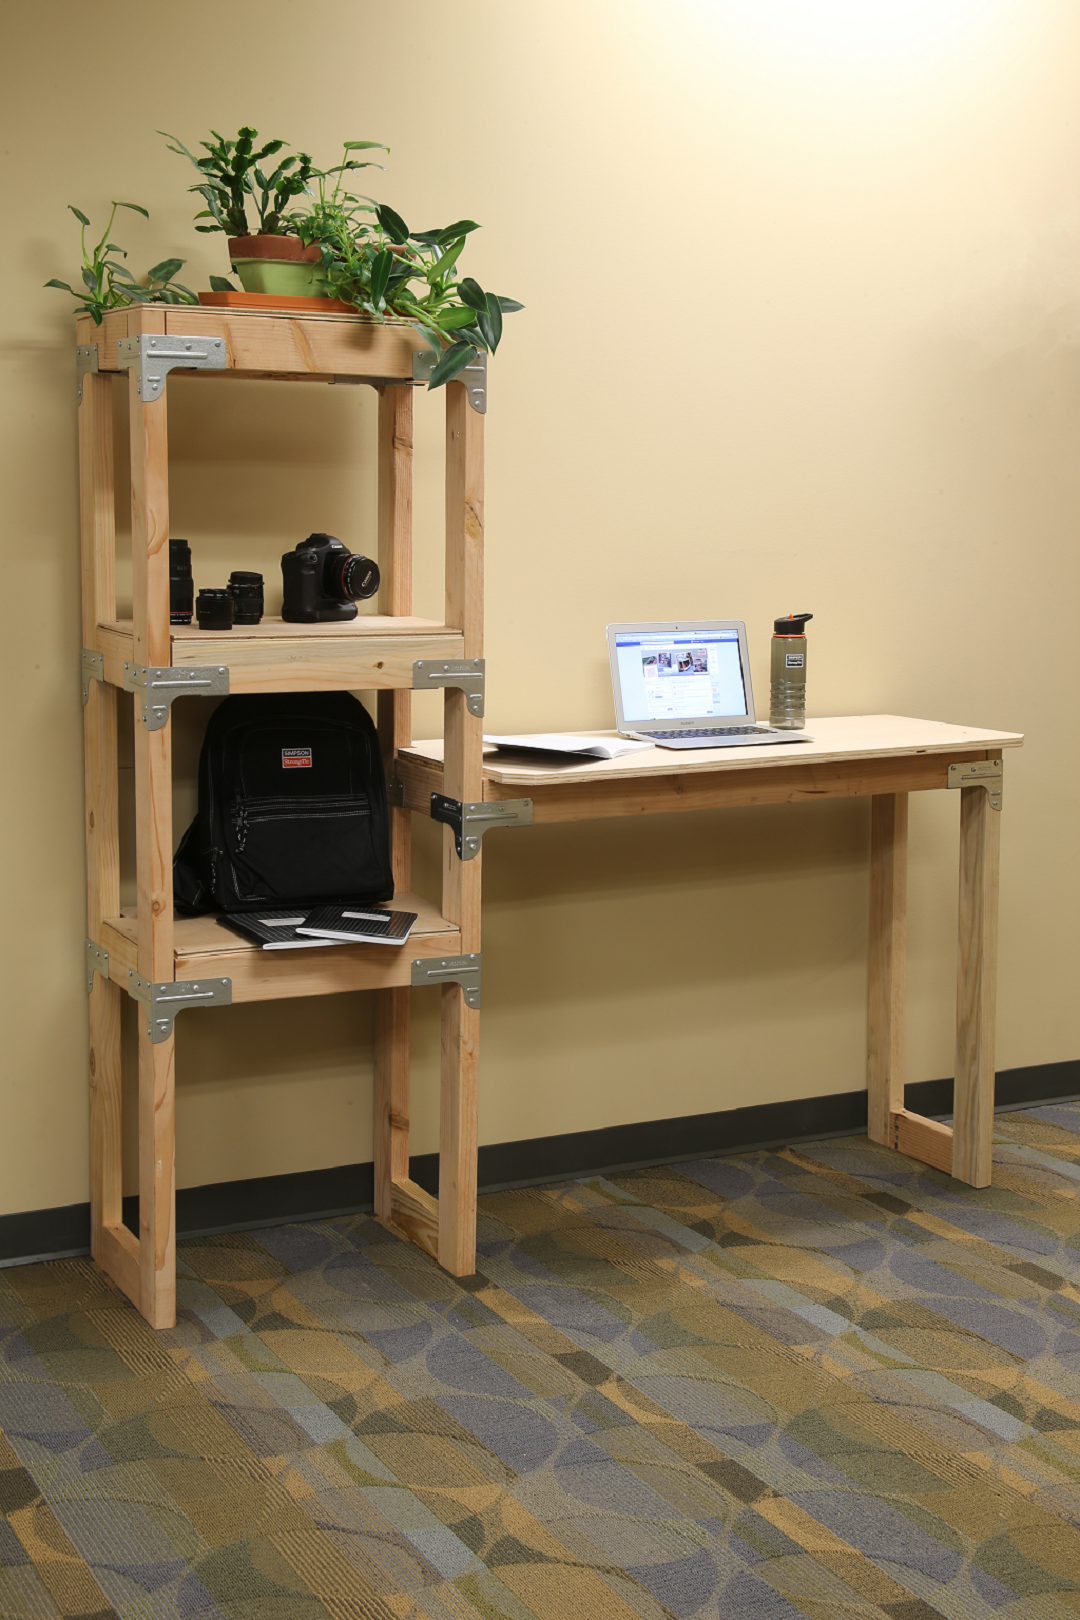
Credit: blog.strongtie.com
Materials And Tools Needed
Building a desk with a bookshelf attached requires the right materials and tools. Choosing quality supplies makes the project easier and the final product strong. Prepare everything before starting to save time and avoid interruptions.
This section lists all necessary items. Check each one carefully. Use the best options that fit your budget and needs.
Wood And Boards
Pick sturdy wood like pine, oak, or plywood. The desk surface and shelves need thick boards. Measure the space and cut pieces to size. Smooth edges with sandpaper for safety.
Fasteners And Connectors
Use screws, nails, and brackets to join parts. Wood glue adds extra strength. Buy screws of various lengths to fit different joints. Choose rust-resistant materials for durability.
Tools For Cutting And Shaping
A saw is essential to cut wood accurately. A jigsaw works well for curves and corners. Sandpaper or an electric sander smooths surfaces. A drill makes holes for screws and fittings.
Measuring And Marking Tools
A tape measure ensures precise dimensions. A carpenter’s square helps with right angles. Mark lines with a pencil for clear guidance. Double-check measurements before cutting.
Finishing Supplies
Paint or wood stain protects and beautifies the desk. Brushes or rags apply finishes evenly. Use a clear sealant to protect surfaces from wear. Allow drying time between coats.

Credit: do-it-cat.com
Choosing The Right Desk And Bookshelf Design
Choosing the right desk and bookshelf design is key to a useful workspace. The design affects comfort, storage, and style. It should fit your room and needs. This section helps you pick a design that works well for your project.
Understanding Your Space And Needs
Measure the area where you want the desk and bookshelf. Know how much space you have for both pieces. Think about what you will use the desk for. Do you need space for a computer, books, or crafts? Decide on the main uses first.
Picking A Style That Matches Your Room
Choose a style that fits your room’s look. Classic, modern, or rustic? Match colors and materials to your room decor. This makes the desk and bookshelf blend in well. A matching style creates a nice, clean look.
Choosing The Right Size And Shape
Pick a size that fits your tasks and space. A large desk for big projects or a small one for light use. The shape matters too. L-shaped desks save space and offer more surface area. Straight desks work well in tight spots.
Considering Storage And Accessibility
Think about the type of storage you need. Shelves for books, drawers for tools, or open space for easy reach. Make sure shelves are easy to access while working. Good storage keeps your space tidy and organized.
Choosing Materials For Durability And Look
Select materials that last and look good. Wood offers warmth and strength. Metal brings a modern touch and durability. Consider materials that are easy to clean and maintain. Strong materials protect your investment.
Preparing The Workspace
Preparing the workspace is the first step to building a desk with a bookshelf attached. A clean and organized area helps you work safely and efficiently. Taking time to set up your space makes the project easier and more enjoyable.
Start by choosing a flat surface with enough room for your materials and tools. Good lighting is important to see details clearly. Also, consider ventilation if you use paints or adhesives.
Clearing The Area
Remove all items from the workspace to avoid clutter. This prevents accidents and gives you space to move freely. Clear floors and tables help keep tools and materials within reach.
Gathering Tools And Materials
Collect all needed tools before starting. Include saws, drills, screws, wood glue, sandpaper, and measuring tape. Having everything ready saves time and avoids interruptions.
Setting Up Safety Measures
Wear safety glasses and gloves to protect yourself. Keep a first aid kit nearby for emergencies. Ensure tools are in good condition and follow instructions carefully.
Organizing Materials
Sort wood pieces by size and type. Keep screws and nails in small containers to avoid losing them. Label parts if possible to make assembly easier.
Cutting The Wood Pieces
Cutting the wood pieces is a key step in building a desk with a bookshelf attached. Accurate cuts ensure the desk fits well and looks good. Take your time to measure and mark each piece carefully. This step shapes the entire project.
Use the right tools for clean and straight cuts. Safety matters, so wear protective gear. A steady hand helps avoid mistakes and wasted wood.
Preparing Your Tools And Workspace
Start by gathering all your tools. You will need a saw, measuring tape, pencil, and clamps. Clear your workspace for easy movement. Good lighting helps you see the marks clearly. Keep the wood stable to cut safely.
Measuring And Marking The Wood
Measure twice, cut once. Mark every piece with a pencil. Use a square to draw straight lines. Label each piece to avoid confusion later. Accurate marks guide your saw and improve precision.
Cutting The Desk Surface And Bookshelf Boards
Cut the desk surface first. Follow your marks closely. Next, cut the bookshelf sides and shelves. Use steady pressure for smooth edges. Check each piece after cutting to confirm size.
Sanding The Cut Edges
After cutting, sand the edges smooth. This removes splinters and rough spots. Smooth edges prevent injuries and give a clean finish. Use fine-grit sandpaper for best results.
Assembling The Bookshelf Frame
Assembling the bookshelf frame is the first key step in building a desk with an attached bookshelf. A strong frame keeps the whole structure stable and safe. This part of the project needs care and clear steps.
Start with the right tools and materials. Make sure all wood pieces are cut to size. Check that screws, nails, and brackets are ready. Organize everything before you begin.
Preparing The Wood Pieces
Sort the wood pieces by size and shape. Sand all edges to avoid splinters. Mark where each piece will join. This preparation helps the assembly go smoothly.
Joining The Vertical Supports
Stand the vertical boards upright. Attach the bottom and top horizontal boards with screws. Use a square tool to keep corners perfect. Tighten screws but do not overdo it.
Adding Horizontal Shelves
Measure the space for each shelf carefully. Fix the horizontal shelves between the vertical supports. Use brackets for extra strength. Check the shelves are level before securing fully.
Reinforcing The Frame
Add corner braces inside the frame. This step increases stability and support. Double-check all screws are tight. The frame should feel solid and steady.
Building The Desk Surface
Building the desk surface is an important step in creating a desk with a bookshelf attached. The surface must be strong enough to hold your work items. It also needs to fit well with the bookshelf structure. A smooth and even surface helps you work comfortably.
Choosing the right materials and measuring carefully ensures a good fit. Taking your time in this stage leads to a better final desk. Follow the steps below to build a solid desk surface that complements your bookshelf.
Choosing The Desk Surface Material
Select wood that is sturdy and smooth. Plywood or solid wood boards work well. Avoid thin or weak materials that might bend or break. Think about the finish too. A smooth finish feels good to touch and is easy to clean.
Measuring And Cutting The Surface
Measure the width and depth of your desk frame. Mark the wood accurately before cutting. Use a saw that cuts straight lines. Cut slowly and carefully to avoid splinters and rough edges. Double-check measurements to prevent mistakes.
Securing The Desk Surface To The Frame
Place the cut surface on the desk frame. Make sure it fits perfectly without gaps. Use wood screws to attach the surface firmly. Drill pilot holes first to stop wood from splitting. Tighten screws evenly for a strong hold.
Sanding And Finishing The Desk Surface
Sand the surface edges and top smoothly. Use fine-grit sandpaper to avoid scratches. Wipe off dust with a clean cloth. Apply a wood finish or paint to protect the surface. Let it dry fully before using the desk.
Attaching The Bookshelf To The Desk
Attaching the bookshelf to the desk is a key step. It ensures stability and a neat look. This part needs care and the right tools. Proper attachment will keep the bookshelf secure and safe for use.
Choose a spot on the desk where the bookshelf fits well. Check that the desk surface is clean and flat. This helps the bookshelf sit properly without wobbling.
Gathering Tools And Materials
Collect all tools before starting. You will need screws, a drill, a screwdriver, and brackets. Make sure the screws are the right size for the wood. Having everything ready saves time and effort.
Aligning The Bookshelf And Desk
Place the bookshelf against the desk side. Use a level to check it is straight. Mark the points where you will drill holes. Accurate marking helps avoid mistakes later.
Drilling And Securing The Bookshelf
Drill pilot holes on the marked spots. This prevents the wood from splitting. Attach the brackets with screws tightly. Check the bookshelf again to ensure it is stable and secure.

Credit: www.atthepicketfence.com
Adding Shelves And Supports
Adding shelves and supports is a key step in building a desk with a bookshelf. Shelves give you space to store books and items. Supports keep the shelves strong and steady. Both parts must fit well together for a solid desk.
Choosing the right shelves and supports helps create a practical and durable design. You want shelves that hold weight without sagging. Supports must be fixed tightly to avoid wobbling. Planning this part carefully makes your desk last longer.
Choosing Shelf Materials
Pick materials that match your desk style. Wood boards are common and easy to work with. Plywood is strong and less costly. Avoid thin materials that bend under weight. Solid wood or thick plywood works best for shelves.
Measuring And Cutting Shelves
Measure the space where shelves go. Cut boards to fit exactly inside the frame. Use a saw with a guide for straight cuts. Sand edges smooth to avoid splinters. Proper cutting ensures shelves sit flush and neat.
Installing Shelf Supports
Supports hold shelves in place firmly. Use brackets, cleats, or strips of wood under shelves. Attach supports to the desk frame with screws. Make sure supports are level and evenly spaced. Strong supports prevent shelves from sagging.
Securing Shelves To Supports
Place shelves on top of supports carefully. Screw shelves to supports for extra stability. Check that shelves do not move or wobble. Tight connections keep your desk safe for heavy books and objects.
Sanding And Finishing Touches
Sanding and finishing touches are key steps in building a desk with a bookshelf attached. These steps make the wood smooth and ready for use. They also protect the wood and improve its look. Taking time on these steps gives your desk a clean, polished finish that lasts.
Start with sanding to remove rough spots and splinters. Use fine sandpaper to get a smooth surface. Sand all parts of the desk and bookshelf, including edges and corners. After sanding, wipe the dust off with a damp cloth. This helps the finish stick better and look even.
Sanding The Desk And Bookshelf
Choose the right sandpaper grit for your wood. Start with medium grit to smooth rough areas. Then use fine grit to create a silky surface. Sand in the direction of the wood grain. This avoids scratches and keeps the wood natural. Check for any rough patches and sand again if needed.
Choosing The Right Finish
Pick a finish that fits your style and use. Clear varnish shows the natural wood grain. Paint adds color and covers imperfections. Stain changes the wood color but keeps texture visible. Consider durability and ease of cleaning for your finish choice.
Applying The Finish
Apply the finish in thin, even coats. Use a brush or cloth depending on the product. Let each coat dry fully before adding the next. Lightly sand between coats for a smooth surface. Finish all visible areas, including inside the bookshelf.
Tips For Maintenance And Durability
Maintaining your desk with a bookshelf attached helps keep it strong and looking good. Regular care prevents damage and extends its life. Simple steps protect your work area and storage space.
Clean Surfaces Regularly
Dust and dirt can wear down wood and paint. Use a soft cloth to wipe surfaces weekly. Avoid harsh chemicals that may damage finishes. A gentle cleaner keeps your desk fresh.
Check For Loose Screws
Screws and bolts can loosen over time. Tighten them every few months to keep the desk stable. Loose parts cause wobbling and stress the structure. Regular checks make your desk safer to use.
Protect From Water Damage
Water stains can ruin wood and shelves. Use coasters for drinks and clean spills quickly. Avoid placing the desk where it may get wet. A dry desk stays durable longer.
Avoid Overloading Shelves
Heavy items can bend or break shelves. Distribute weight evenly across the bookshelf. Follow weight limits suggested during building. Proper loading keeps shelves strong and prevents accidents.
Use Furniture Pads
Furniture pads stop scratches on floors and desk legs. They also reduce noise when moving the desk. Use pads under each leg for balance and protection. Simple pads improve durability and care.
Frequently Asked Questions
What Materials Do I Need To Build A Desk With Bookshelf?
You need wood boards, screws, wood glue, sandpaper, paint or stain, and brackets. Choose sturdy wood for durability and smooth finishing.
How Long Does It Take To Build A Desk With Bookshelf?
Building this desk typically takes 6 to 10 hours. Time varies based on skill level and complexity of design.
Can I Customize The Desk And Bookshelf Dimensions?
Yes, you can adjust the height, width, and depth. Measure your space and materials before starting for perfect fit.
What Tools Are Essential For This Diy Project?
Essential tools include a saw, drill, screwdriver, measuring tape, level, and clamps. These ensure accurate cuts and assembly.
Conclusion
Building a desk with a bookshelf attached adds both space and style. You save room by combining two pieces into one. It also keeps your books and supplies close while you work. Following simple steps makes the project easier and fun.
This desk will fit well in any home or office. Try creating your own to enjoy a neat, organized workspace.