Your outdoor wood furniture deserves to look its best and stay protected through every season. But how do you keep it safe from rain, sun, and wear without spending hours on maintenance?
Varnishing is the simple solution that can transform your pieces, making them durable and beautiful at the same time. If you want to learn exactly how to varnish your outdoor wood furniture like a pro, this guide is for you.
Stick with me, and you’ll discover easy steps that anyone can follow to give your furniture a fresh, lasting finish. Ready to bring new life to your outdoor space? Let’s get started!
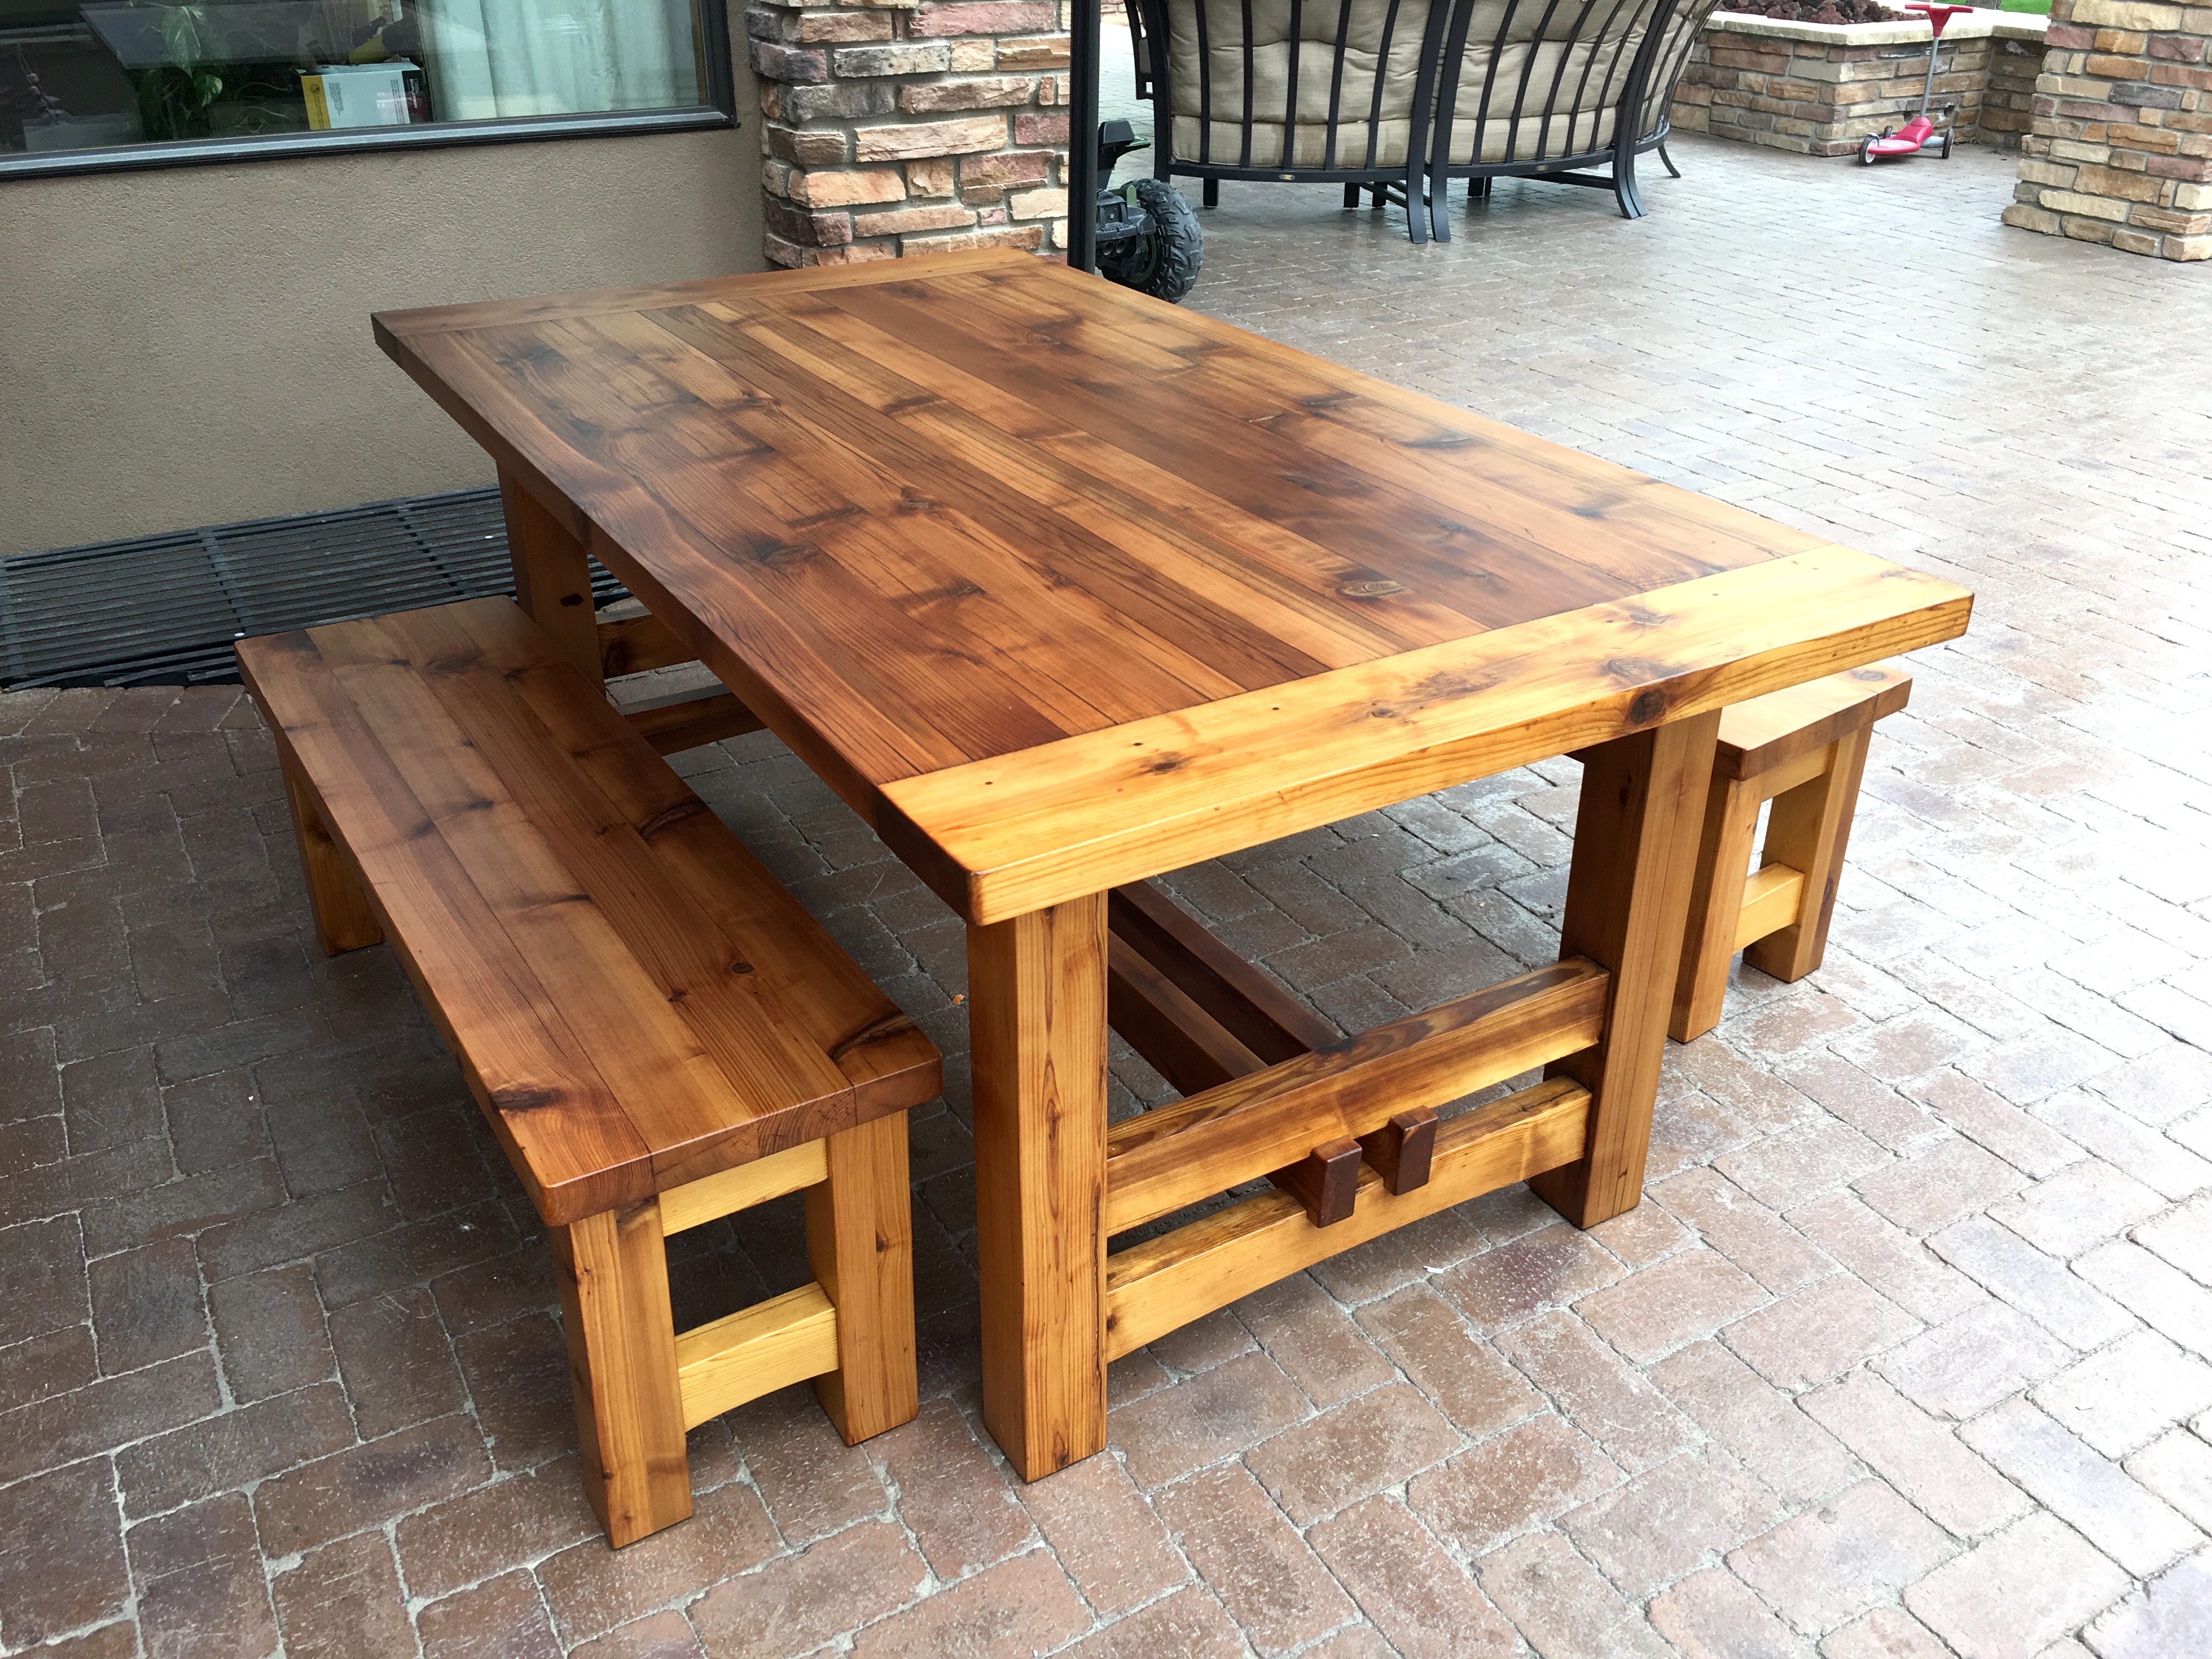
Credit: thewoodwhisperer.com
Choosing The Right Varnish
Choosing the right varnish is key to protect outdoor wood furniture. The varnish shields wood from sun, rain, and wear. It keeps furniture looking fresh and strong for years. Picking the correct type helps the wood last longer and look better.
Types Of Outdoor Varnishes
There are several varnish types for outdoor wood. Oil-based varnishes soak into the wood and give a hard finish. They are tough and last long. Water-based varnishes dry fast and have low odor. They keep the wood’s natural color better. Spar varnish is made for outdoor use. It stays flexible and resists cracking. Choose a varnish that suits your climate and wood type.
Uv Protection Features
Sunlight can fade and weaken wood. Varnishes with UV blockers stop sun damage. They protect wood color and prevent cracking. Look for varnish labels that mention UV protection. This feature is a must for sunny outdoor spots. It keeps furniture looking new despite strong sunlight.
Water Resistance Levels
Rain and moisture can ruin wood quickly. Pick varnish with strong water resistance. It prevents water from soaking into the wood. Some varnishes offer full waterproofing, ideal for wet areas. Others resist water but still allow wood to breathe. Good water resistance stops swelling and rotting. It helps wood furniture survive all seasons.
Preparing Wood For Varnishing
Preparing wood for varnishing is a crucial step for long-lasting outdoor furniture. Proper preparation helps the varnish stick well and protects the wood from weather damage. Clean, smooth, and damage-free surfaces give the best results. Follow these simple steps to get the wood ready before applying varnish.
Cleaning And Sanding
Start by cleaning the wood to remove dirt, dust, and grease. Use mild soap and water with a soft brush or cloth. Let the wood dry completely before sanding.
Sand the wood surface gently with medium-grit sandpaper. This removes rough patches and old residues. Finish with fine-grit sandpaper for a smooth feel. Always sand in the direction of the wood grain. Wipe off dust with a clean cloth before varnishing.
Repairing Damages
Check the wood for cracks, holes, or splinters. Fill small holes and cracks with wood filler. Let the filler dry fully, then sand it smooth. Replace or glue loose or broken parts. Repairing damages prevents varnish from peeling or cracking.
Removing Old Finish
Old varnish or paint can stop new varnish from sticking. Use a chemical stripper or sandpaper to remove old finishes. Apply the stripper carefully, then scrape off the old layers. Sand the wood again to smooth the surface. Make sure the wood is clean and dry before varnishing.
Applying Varnish Correctly
Applying varnish correctly protects outdoor wood furniture from weather damage. It also enhances the wood’s natural beauty. The right technique ensures a smooth, even finish. This section covers the tools you need and the step-by-step process. You will also find tips for applying smooth coats. Follow these instructions for lasting, attractive results.
Tools And Materials Needed
- High-quality outdoor wood varnish
- Natural bristle brush or foam brush
- Fine-grit sandpaper (220 grit)
- Clean, lint-free cloths
- Protective gloves
- Stir stick
- Drop cloth or newspaper
- Masking tape (optional)
Step-by-step Application Process
- Clean the furniture surface to remove dirt and dust.
- Lightly sand the wood with fine-grit sandpaper.
- Wipe off sanding dust with a clean cloth.
- Stir the varnish gently to avoid bubbles.
- Apply the first thin coat along the wood grain.
- Allow the varnish to dry as per instructions.
- Lightly sand the first coat once dry.
- Clean the surface again before applying the next coat.
- Apply 2-3 more thin coats, sanding between each.
- Let the final coat dry completely before use.
Tips For Smooth Coats
- Use thin coats to avoid drips and bubbles.
- Brush in long, even strokes along the grain.
- Do not rush; allow proper drying time.
- Maintain a clean brush for each coat.
- Work in a dust-free, well-ventilated space.
- Keep the brush slightly damp with varnish during application.
- Check your work under good light to spot missed areas.
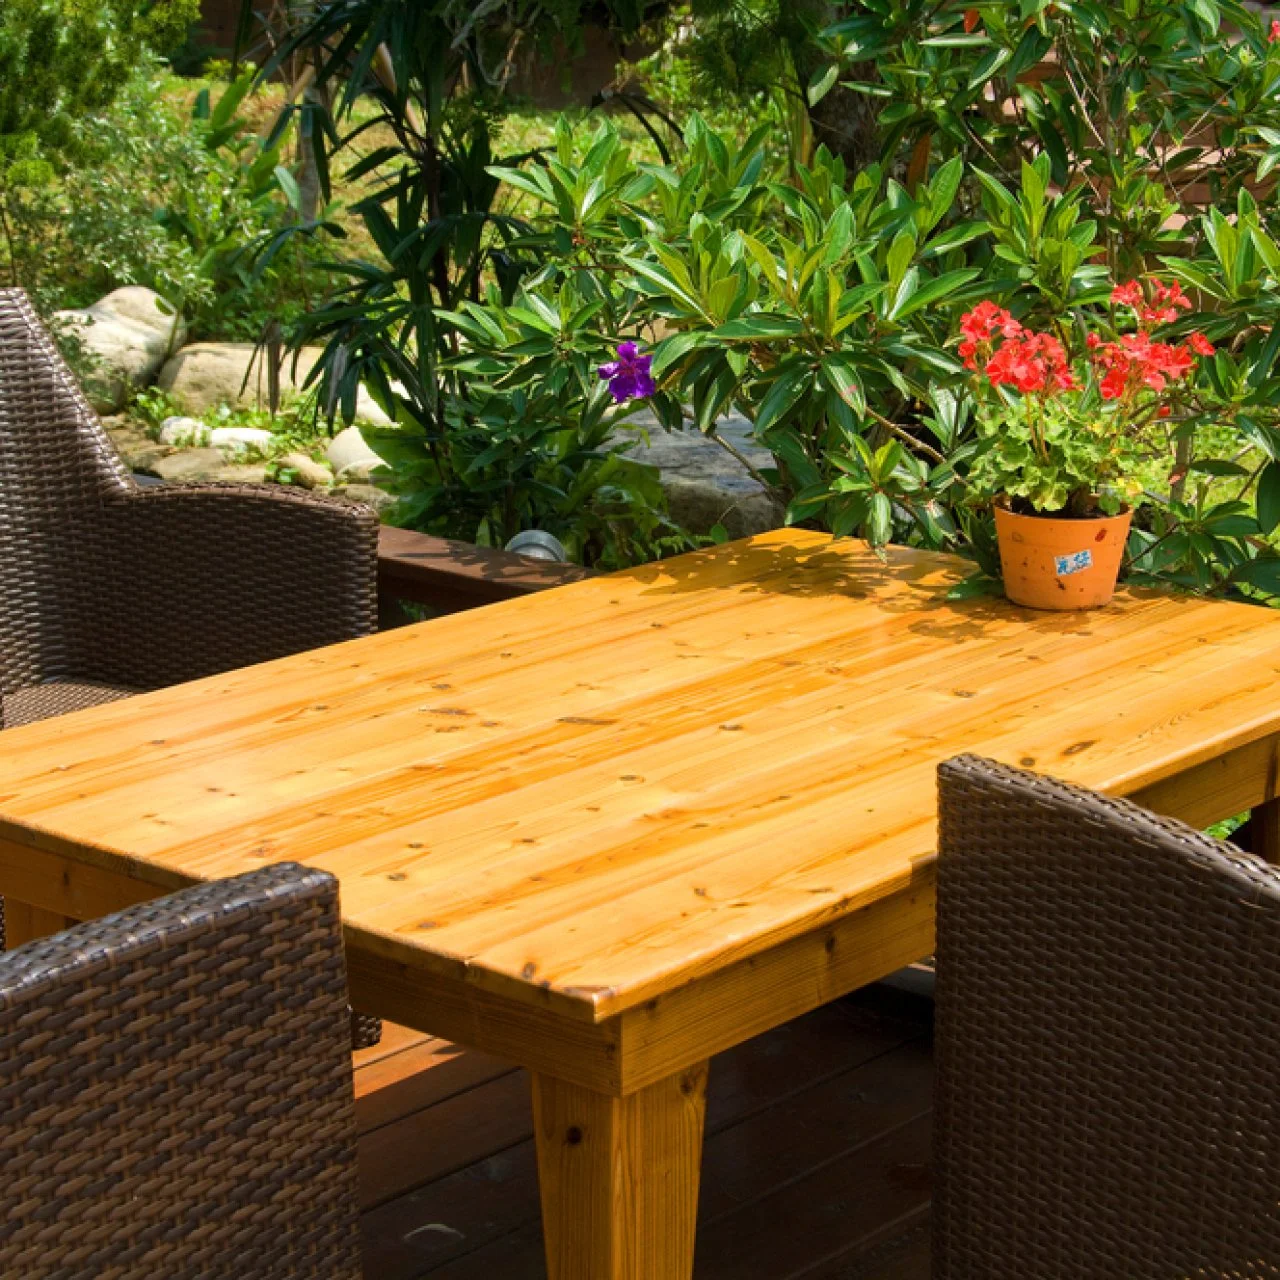
Credit: www.hgtv.com
Drying And Curing Times
Drying and curing times are key when varnishing outdoor wood furniture. Proper drying ensures the finish hardens well and lasts longer. Rushing this process can cause sticky spots or peeling later. Understanding the right conditions and timing makes a big difference.
Optimal Weather Conditions
Choose a dry day with mild temperatures. Ideal weather is between 60°F and 80°F. Avoid varnishing in direct sunlight or high humidity. These factors can affect drying speed and the final look. Calm air helps the varnish dry evenly and smoothly.
Avoiding Dust And Debris
Keep the area clean and dust-free during drying. Dust on wet varnish creates rough spots and weak finish. Cover furniture loosely with a breathable cloth if needed. Avoid windy areas that blow debris onto the surface. Patience here improves the smoothness and durability.
When To Apply Additional Coats
Wait until the first coat feels dry to the touch. Usually, this takes 4 to 6 hours under good conditions. Avoid pressing or wiping the surface too soon. Each coat should cure fully before adding the next. Multiple thin coats protect better than one thick coat.
Maintaining Varnished Furniture
Maintaining varnished outdoor wood furniture keeps it looking fresh and protects it from damage. Proper care extends the life of the varnish and the wood underneath. Dirt, moisture, and sun can wear down the finish over time. Regular attention helps prevent this and keeps your furniture beautiful.
Regular Cleaning Techniques
Use a soft cloth or brush to remove dirt and dust. Avoid harsh chemicals that can strip the varnish. Mix mild soap with water for gentle cleaning. Wipe the surface carefully and dry it well after cleaning. Clean your furniture at least once a month. This prevents buildup and keeps the varnish intact.
Touch-up Methods
Small scratches or worn spots need quick repairs. Lightly sand the damaged area with fine sandpaper. Apply a thin layer of matching varnish using a brush. Let it dry completely before using the furniture. Repeat if needed for better coverage. Touch-ups keep the finish even and protect the wood.
Seasonal Care Tips
Protect furniture from extreme weather changes. Cover pieces or move them indoors during heavy rain or snow. Check the varnish after winter for cracks or peeling. Reapply varnish yearly or as needed to keep a strong barrier. Proper seasonal care prevents damage and maintains shine.
Common Mistakes To Avoid
Varnishing outdoor wood furniture can protect it from weather damage and keep it looking fresh. Many people make simple mistakes that reduce the effectiveness of varnishing. Avoiding these common errors helps your furniture last longer and look better.
Skipping Surface Preparation
Cleaning and sanding the wood before varnishing is essential. Dirt, dust, and old finishes stop varnish from sticking well. Skipping this step causes uneven coatings and peeling later. Always clean the surface and sand it smooth for best results.
Applying Too Thick Coats
Thick varnish coats take much longer to dry. They can drip, bubble, or crack as they dry. Thin, even layers dry faster and last longer. Apply several thin coats instead of one thick coat for a smooth finish.
Ignoring Environmental Factors
Temperature and humidity affect varnish drying time and quality. High humidity slows drying and can cause cloudiness. Strong sunlight can dry varnish too fast, causing cracks. Choose a dry, mild day to varnish outdoor furniture.
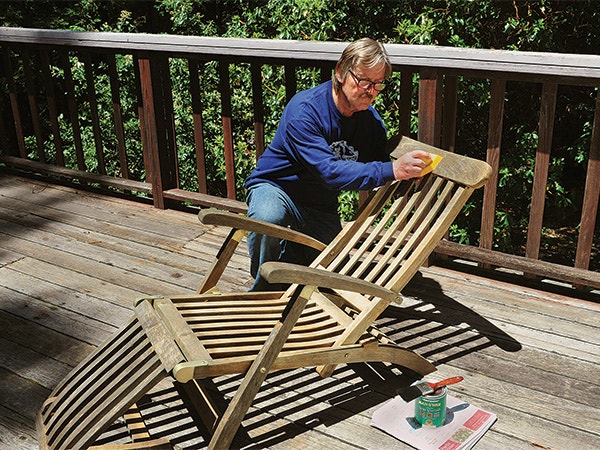
Credit: www.rockler.com
Frequently Asked Questions
How Do I Prepare Wood Furniture Before Varnishing?
Clean the wood thoroughly and sand it to a smooth finish. Remove dust with a tack cloth. Ensure the surface is dry and free from oils or old finishes before applying varnish.
What Type Of Varnish Is Best For Outdoor Wood?
Use spar varnish or marine varnish designed for outdoor use. These varnishes resist UV rays, moisture, and temperature changes, protecting wood furniture effectively.
How Many Coats Of Varnish Should I Apply Outdoors?
Apply at least two to three coats for optimal protection. Allow each coat to dry fully and sand lightly between coats for a smooth finish.
Can I Varnish Wood Furniture In Humid Weather?
Avoid varnishing in high humidity as it affects drying time and finish quality. Choose a dry day with moderate temperature for best results.
Conclusion
Varnishing outdoor wood furniture protects it from weather damage. It keeps the wood looking fresh and lasts longer. Clean the surface well before applying varnish for best results. Use thin, even coats and let each dry fully. Regular maintenance helps maintain beauty and strength over time.
Enjoy your furniture’s new shine and durability. Simple steps make a big difference in care. Your outdoor space will feel warm and inviting. Give your wood the protection it deserves today.