Are you about to install a new vanity top but unsure how to secure it properly to your cabinet? Choosing the right materials and methods can make all the difference between a sturdy, long-lasting setup and a frustrating, unstable one.
You want your vanity to stay put without damage or hassle. In this guide, you’ll discover exactly what to use to attach your vanity top to your cabinet with confidence. Keep reading to find simple, effective solutions that anyone can apply—no special skills needed.
Your bathroom upgrade is about to get a whole lot easier.
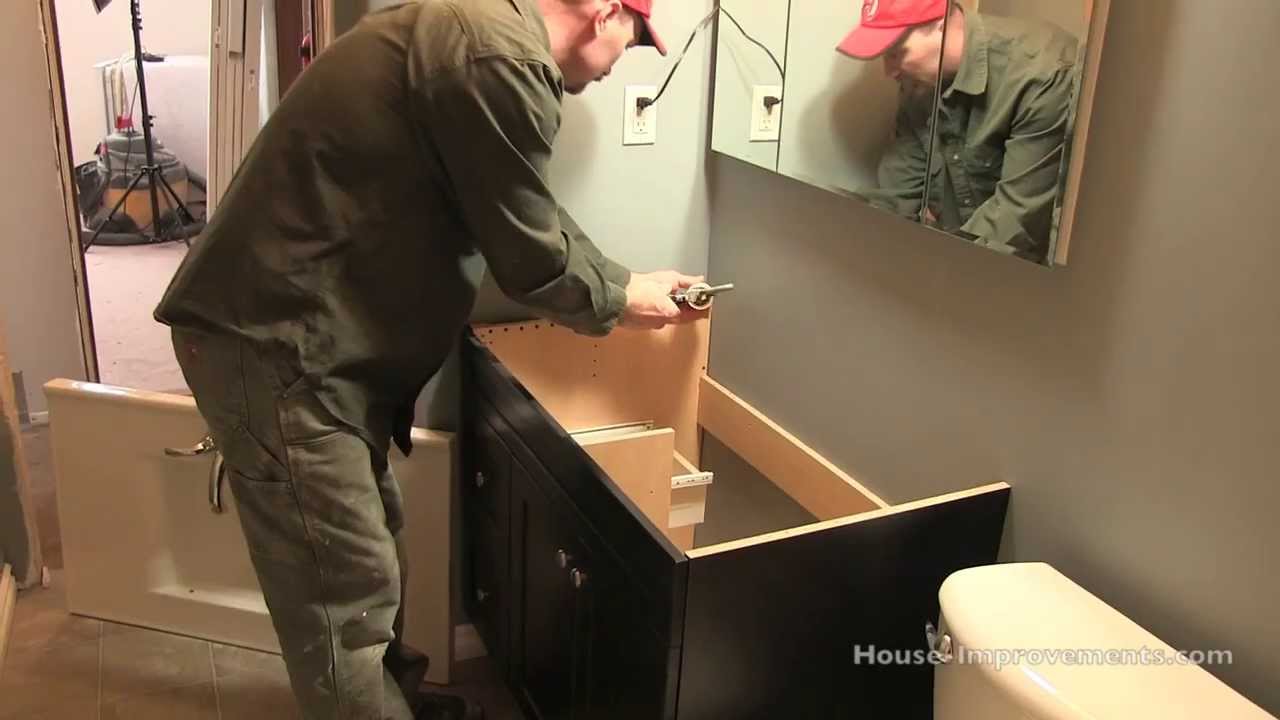
Credit: www.youtube.com
Choosing The Right Adhesive
Choosing the right adhesive is key to securing your vanity top to the cabinet. The adhesive must hold the weight and resist water and moisture. It should also create a strong bond that lasts for years. Different adhesives work better for different materials and conditions.
Silicone Sealant Benefits
Silicone sealant is flexible and water-resistant. It creates a tight seal that stops water from leaking. This sealant works well around sinks and edges. It also allows slight movement without cracking. Easy to apply, silicone is a common choice for bathroom vanities.
Epoxy Adhesive Options
Epoxy adhesives form a very strong and durable bond. They work well on stone, wood, and laminate. Epoxy cures hard and resists heat and chemicals. It fills gaps and holds heavy tops firmly. Epoxy takes longer to dry but offers excellent strength.
Construction Adhesive Uses
Construction adhesive is thick and strong. It bonds wood, metal, and some plastics well. This adhesive sets quickly and holds heavy materials. It is ideal for attaching vanity tops to cabinets. Construction adhesive also helps reduce movement and noise.
Preparing Surfaces For Attachment
Preparing the surfaces before attaching a vanity top to the cabinet is very important. Proper preparation ensures a strong bond and prevents future problems like lifting or gaps. Clean, smooth, and dry surfaces help adhesives stick better. This step takes little time but makes a big difference in the final result.
Cleaning And Drying
Start by wiping the cabinet and vanity top surfaces. Use a mild detergent and water to remove dust, grease, and dirt. Dirt can stop glue from sticking well. After cleaning, dry the surfaces completely. Use a clean cloth or let them air dry. Moisture weakens adhesive bonds and causes slipping.
Sanding For Better Grip
Lightly sand the areas where you will apply the adhesive. Sanding roughens smooth surfaces to help glue hold better. Use fine-grit sandpaper and rub gently. Avoid sanding too much to prevent damage. After sanding, wipe away dust with a dry cloth. This simple step improves the grip between surfaces.
Removing Old Adhesive
If the cabinet or vanity has old glue, remove it fully. Use a putty knife or scraper to lift off dried adhesive. Sticky residue can block new glue from sticking properly. For tough spots, use a solvent suitable for the surface. Clean the area well and dry it before attaching the vanity top.
Step-by-step Installation Process
Installing a vanity top on a cabinet takes care and precision. Following a clear step-by-step process helps ensure a secure fit. It also prevents damage to both the vanity top and cabinet.
This guide explains the key steps to attach your vanity top correctly. It covers the right way to apply adhesive, position the top, and secure it firmly.
Applying Adhesive Correctly
Begin by cleaning the cabinet surface thoroughly. Remove dust, dirt, and grease for better adhesion. Use a high-quality silicone adhesive made for bathroom fixtures. Apply a continuous bead along the cabinet’s top edge. Avoid gaps or uneven lines to ensure a solid bond. Do not use too much adhesive; a thin, even layer works best.
Positioning The Vanity Top
Carefully place the vanity top onto the cabinet. Align edges and corners to fit perfectly. Check for any overhang or misalignment. Adjust the position slightly until it sits evenly. Avoid sliding the top too much to keep the adhesive in place. Make sure the sink opening lines up with plumbing holes.
Securing And Clamping Tips
After positioning, press the vanity top firmly down. Use clamps or heavy objects to hold it in place. Keep the pressure steady to create a strong seal. Leave clamps on for at least 24 hours for the adhesive to cure. Avoid moving or disturbing the vanity top during this time. Clean any excess adhesive before it dries for a neat finish.
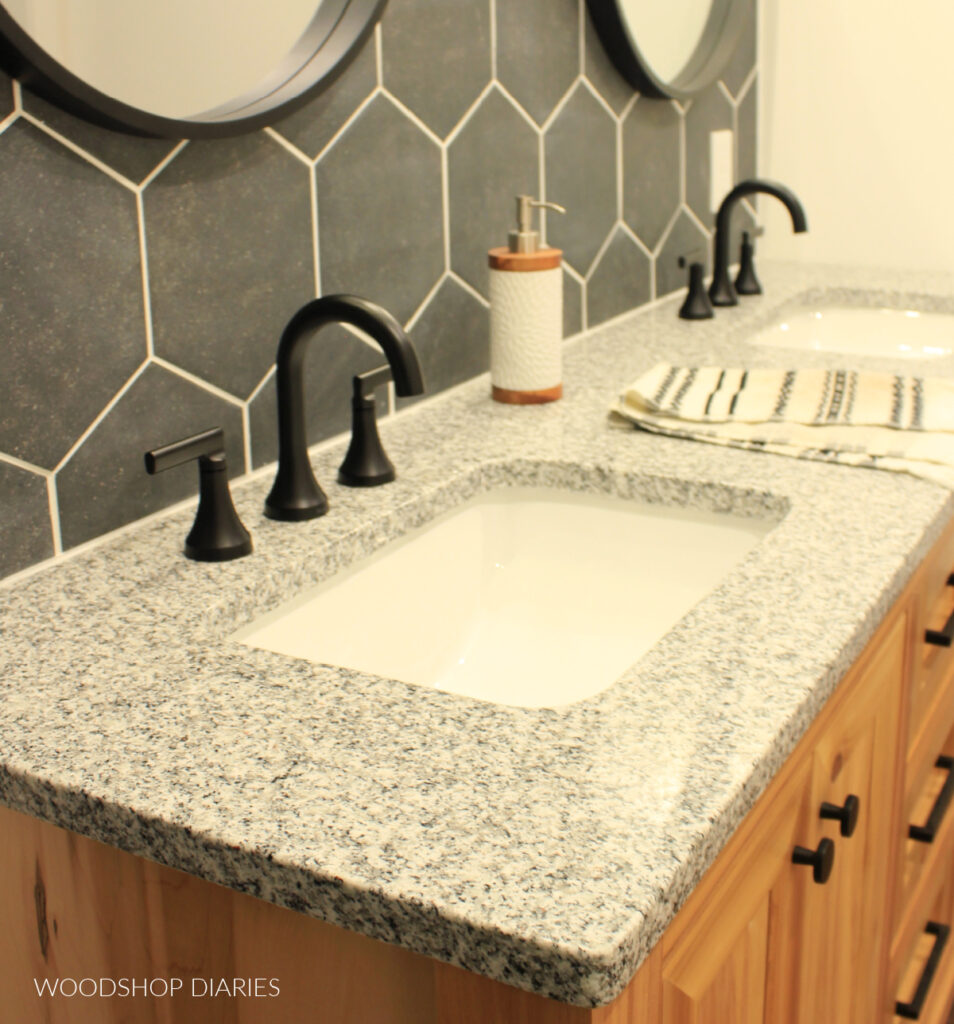
Credit: www.woodshopdiaries.com
Tools And Materials Needed
Attaching a vanity top to a cabinet requires specific tools and materials. Having the right items makes the job easier and safer. Prepare everything before starting the installation. This helps avoid interruptions and ensures a smooth process.
Essential Tools List
- Measuring tape to check dimensions accurately
- Caulk gun for applying adhesive or sealant
- Silicone adhesive or construction adhesive for strong bonding
- Screwdriver or drill to secure screws
- Level to ensure the vanity top sits evenly
- Clamps to hold the vanity top in place while adhesive dries
- Utility knife for trimming excess caulk or sealant
- Cleaning cloth to remove dust and excess adhesive
Recommended Safety Gear
- Safety goggles to protect eyes from dust and debris
- Gloves to protect hands from adhesive and sharp tools
- Mask to avoid inhaling dust or fumes
- Knee pads for comfort when working low
Common Mistakes To Avoid
Attaching a vanity top to a cabinet seems easy. Still, many make common mistakes that cause problems later. Avoiding these errors ensures a strong, lasting bond. It saves time and money on repairs or replacements.
Using The Wrong Adhesive
Choosing the wrong adhesive weakens the connection. Some glues cannot handle moisture or weight. Use adhesives made for bathroom or kitchen surfaces. These types resist water and hold heavy materials well. Avoid general-purpose glues that dry too fast or stay sticky.
Skipping Surface Prep
Not cleaning or sanding surfaces leads to poor adhesion. Dirt, dust, or grease stops glue from sticking properly. Always clean both vanity top and cabinet areas. Light sanding creates a rough surface for glue to grip. Skipping these steps causes gaps or loose tops.
Improper Clamping Techniques
Not clamping the vanity top correctly can ruin the bond. Uneven pressure creates weak spots or gaps. Use clamps that distribute pressure evenly. Avoid over-tightening, which may crack the vanity top. Hold the pieces firmly until the adhesive dries completely.
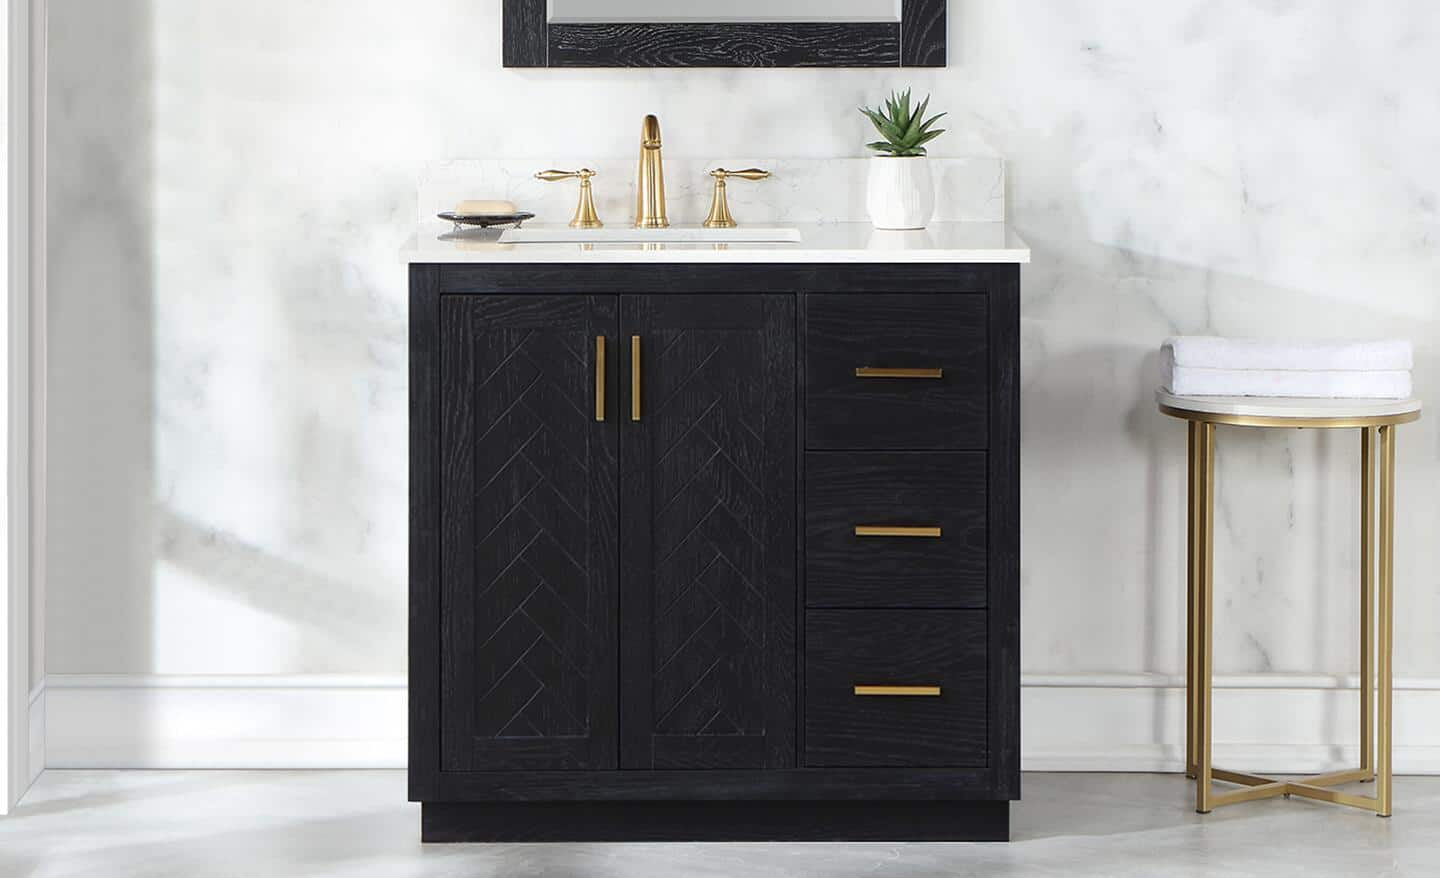
Credit: www.homedepot.com
Maintaining The Vanity Attachment
Maintaining the attachment of your vanity top to the cabinet is important for safety and durability. Over time, the adhesive or fasteners may weaken. Regular checks help keep the vanity secure and prevent damage.
Simple care steps can extend the life of your vanity setup. Pay attention to signs of loosening or movement. Fix small issues before they become bigger problems.
Inspecting For Loose Areas
Check the edges and corners of the vanity top regularly. Look for any gaps between the top and cabinet. Feel for wobbling or movement by gently pressing on the vanity surface. Use a flashlight to see hard-to-reach spots. Tighten any loose screws or bolts you find. Early detection stops bigger repairs later.
Reapplying Adhesive When Needed
Remove the vanity top carefully if you find loose spots. Clean off old adhesive with a scraper or cloth. Use a strong, waterproof adhesive made for bathroom fixtures. Apply a thin, even layer to the cabinet surface. Press the vanity top firmly back in place. Let the adhesive dry fully before using the vanity. This prevents water damage and keeps the top stable.
Frequently Asked Questions
What Adhesive Is Best For Attaching Vanity Tops?
Silicone caulk is the best adhesive for attaching vanity tops. It provides a strong, waterproof seal and prevents movement. It is easy to apply and dries clear, making it ideal for bathroom use. Always choose a high-quality, mold-resistant silicone for durability.
Can Construction Adhesive Secure Vanity Tops Effectively?
Yes, construction adhesive can securely attach vanity tops. It offers strong bonding and resists moisture well. Use it sparingly and evenly to avoid excess squeeze-out. This adhesive is especially useful for heavier stone or solid surface tops.
How To Prepare Cabinet Surface Before Attaching Vanity Top?
Clean the cabinet surface thoroughly to remove dust and grease. Sand any rough spots lightly for better adhesion. Ensure the surface is dry before applying adhesive. Proper preparation helps the vanity top bond firmly and prevents future issues.
Is Silicone Caulk Waterproof For Bathroom Vanity Tops?
Yes, silicone caulk is waterproof and ideal for bathroom vanity tops. It prevents water from seeping between the top and cabinet. This keeps the cabinet dry and protects it from damage and mold growth. Use bathroom-grade silicone for best results.
Conclusion
Choosing the right method to attach your vanity top is key. Use strong adhesive and screws for a secure hold. Clean surfaces well before starting the job. Take your time to align everything carefully. This helps avoid damage and keeps the vanity stable.
A well-attached vanity top lasts longer and looks neat. Small efforts make a big difference in your bathroom’s look. Now, you can confidently finish your vanity installation with ease.