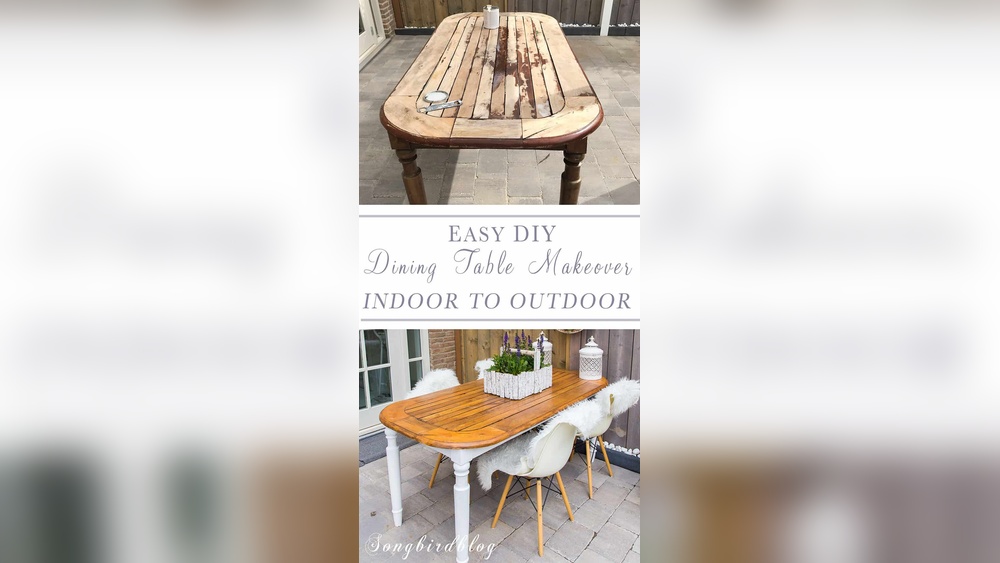
Are you ready to transform your outdoor unfinished wood furniture into something stunning? Painting your wooden pieces not only gives them a fresh look but also protects them from the elements.
Imagine stepping outside to relax on beautifully painted furniture that reflects your style and personality. In this guide, you’ll discover simple, step-by-step tips to make your painting project easy and successful. Keep reading, and you’ll learn how to bring new life to your outdoor wood furniture with just a few tools and the right techniques.
Choosing The Right Paint
Choosing the right paint for outdoor unfinished wood furniture is key to a lasting finish. The paint must protect the wood from weather and wear. It should also look good and be easy to apply. Picking the right type and finish makes a big difference. Consider eco-friendly paints to keep your space safe and green. Below are important details to guide your choice.
Types Of Exterior Paint
Latex paint is popular for outdoor wood. It dries fast and cleans with water. It resists cracking and fading well. Oil-based paint sticks tightly and lasts long. It handles tough weather but takes longer to dry. Both types protect wood, but choose based on your needs and tools.
Paint Finishes For Wood
Glossy finishes shine bright and show color vividly. They hide dirt and are easy to wipe clean. Satin finishes give a soft shine and smooth look. They hide small flaws and resist moisture. Flat finishes do not shine but hide imperfections well. Pick the finish that fits your style and use.
Eco-friendly Options
Eco-friendly paints have low or no harmful chemicals. They are safer for you and the environment. These paints reduce strong smells during application. Many eco paints work well outdoors and last long. Choose eco-friendly options to protect your health and nature.

Credit: www.healthierhomes.com
Preparing The Wood Surface
Preparing the wood surface is the first step to paint outdoor unfinished wood furniture. It helps the paint stick better and last longer. A smooth, clean surface also makes the paint look nice and even. Take your time in this stage. It will save effort later and give you better results.
Cleaning And Sanding
Start by cleaning the wood with a mild soap and water. Remove all dirt, dust, and grime. Let the wood dry completely before sanding. Sand the surface with medium-grit sandpaper to smooth rough spots. Sanding opens the wood pores, helping paint stick well. Wipe off sanding dust with a damp cloth after sanding.
Repairing Imperfections
Check the wood for cracks, holes, or dents. Fill small holes and cracks with wood filler. Press the filler firmly and smooth it with a putty knife. Let it dry as per instructions. Sand the filled areas lightly to blend with the wood surface. This creates an even base for painting.
Removing Old Paint Or Stains
Old paint or stains can block new paint from sticking. Use a paint stripper or sandpaper to remove them. Apply paint stripper carefully and follow safety rules. Scrape off loosened paint gently. Sand the area after removal to smooth the surface. Clean the wood to remove any residue before painting.
Priming The Furniture
Priming outdoor unfinished wood furniture is an important step before painting. It helps protect the wood and makes the paint last longer. Priming creates a smooth surface, so the paint sticks better. This process also stops moisture from damaging the wood over time.
Benefits Of Priming
Priming seals the wood and prevents paint from soaking in unevenly. It blocks stains, knots, and tannins from showing through the paint. Priming also improves the paint’s durability against weather and sun. This means your furniture will look fresh for a longer time. It reduces the need for frequent repainting.
Selecting The Best Primer
Choose a primer made for outdoor wood. Oil-based primers work well for tough wood types. They block stains and seal the surface tightly. Water-based primers dry faster and clean up easily. Check the label to ensure the primer is for exterior use. A good primer matches the paint type you plan to use. This helps the paint stick better and last longer.
Applying Primer Correctly
Start with clean, dry wood. Sand the surface lightly to remove rough spots. Use a brush or roller to apply primer evenly. Cover all sides and edges of the furniture. Avoid thick coats; one or two thin coats work best. Let the primer dry fully before painting. Dry time varies, so follow the instructions on the can. Proper application ensures strong paint adhesion and long-lasting results.
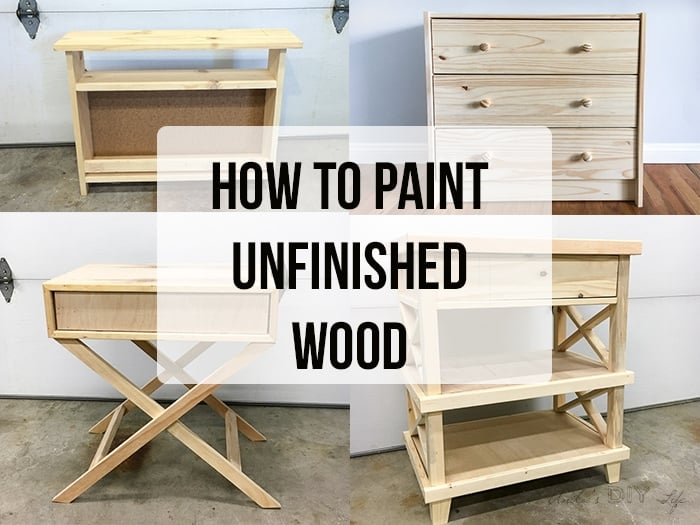
Credit: www.anikasdiylife.com
Painting Techniques
Painting outdoor unfinished wood furniture needs good techniques for a smooth finish. Proper methods help the paint stick well and last longer. Follow these simple steps for better results.
Choosing Brushes And Rollers
Select brushes with soft, natural bristles for smooth paint spread. Use a small roller for flat surfaces to cover quickly. Avoid cheap brushes that shed bristles on the wood. Quality tools give even coverage and save time.
Applying Thin, Even Coats
Apply paint in thin layers to avoid drips and thick spots. Thin coats dry faster and bond better to wood. Use long, smooth strokes in one direction for uniform coverage. Let each coat dry completely before adding the next.
Avoiding Drips And Streaks
Do not overload your brush or roller with paint. Remove extra paint by tapping lightly on the can edge. Paint slowly and steadily to control the flow. Watch for drips and smooth them out immediately with your brush.
Sealing And Protecting
Sealing and protecting outdoor unfinished wood furniture is a must. It helps the paint last longer. It also stops damage from sun, rain, and dirt. Without sealing, paint can peel or fade quickly. Protecting your furniture keeps it looking fresh and new for years.
Types Of Sealants
Choose the right sealant for your wood. Polyurethane offers strong protection against scratches and water. It comes in both oil-based and water-based forms. Oil-based lasts longer but smells stronger. Water-based dries faster and cleans up easily.
Another option is spar varnish. It is made for outdoor use. Spar varnish bends with the wood as it expands and contracts. It resists UV rays and moisture well.
For a natural look, try a clear wood sealer. It soaks into the wood and protects without adding shine. It keeps the wood looking fresh and natural.
How To Apply A Protective Finish
Start with clean, dry furniture. Use a brush or foam applicator to spread the sealant evenly. Work in thin coats to avoid drips and bubbles. Let each coat dry fully before applying the next. Usually, two to three coats are enough for good protection.
Sand lightly between coats with fine sandpaper. This helps the next layer stick better. Always apply sealant in a well-ventilated area. Follow the product instructions for the best results.
Maintaining Painted Furniture
Clean furniture regularly with mild soap and water. Avoid harsh chemicals that can damage the sealant. Check for chips or cracks in the paint or sealant. Touch up these spots quickly to stop water from getting in.
Reapply the protective finish every one to two years. This keeps the wood safe from weather damage. Proper maintenance keeps your furniture looking great and extends its life.
Troubleshooting Common Issues
Painting outdoor unfinished wood furniture can bring new life to your garden or patio. Sometimes, problems happen during or after painting. These common issues may make your furniture look less nice. Fixing them early helps keep your furniture strong and beautiful for longer.
Dealing With Peeling Paint
Peeling paint happens when the surface was not clean or dry before painting. To fix peeling, scrape off loose paint gently. Sand the area smooth to remove rough edges. Clean the wood well to remove dust and dirt. Apply a primer made for outdoor wood. Let the primer dry fully. Then, repaint with a high-quality outdoor paint in thin layers.
Fixing Bubbling Or Blistering
Bubbling happens when moisture gets trapped under the paint. Check if the wood was wet before painting. Remove bubbled paint by scraping or sanding. Allow the wood to dry completely. Use a primer that blocks moisture. Paint only when the weather is dry and warm. Apply thin coats and let each layer dry well. This stops bubbles from coming back.
Handling Fading And Discoloration
Sun and rain cause paint to fade and change color. Use paint made for outdoor use with UV protection. Clean the furniture regularly to remove dirt and grime. Apply a clear outdoor sealer every year to protect the paint. Touch up faded areas with matching paint. This keeps your furniture looking fresh and new.
Seasonal Care Tips
Seasonal care is key to keep outdoor unfinished wood furniture looking good. Wood changes with the weather. It can swell, crack, or lose color if not cared for. Small steps each season protect your furniture for years.
Follow these tips to maintain the paint and wood quality. Regular care saves time and money on repairs later.
Preparing Furniture For Winter
Winter brings cold and moisture. These can damage wood and paint. Start by cleaning the furniture. Remove dirt and dust using a soft brush or cloth. Avoid water if wood is bare and dry.
Apply a protective sealant or outdoor paint to block moisture. Check for loose paint and touch it up. Cover furniture with a waterproof cover. Make sure air can circulate to stop mold.
Cleaning In Spring And Summer
Spring and summer are perfect for cleaning and upkeep. Use mild soap and water to wash dirt and pollen. Rinse well and let dry completely in the sun.
Check for any paint chips or cracks. Sand lightly and repaint small areas as needed. This keeps the wood safe from sun damage and moisture.
Storage Recommendations
Store furniture properly during heavy rain or winter months. Move pieces to a dry, covered space like a garage or shed. If inside storage is not possible, use fitted covers.
Elevate furniture off the ground to avoid moisture. Keep air flowing around the pieces to prevent mold and mildew. Proper storage extends the life of your wood furniture.
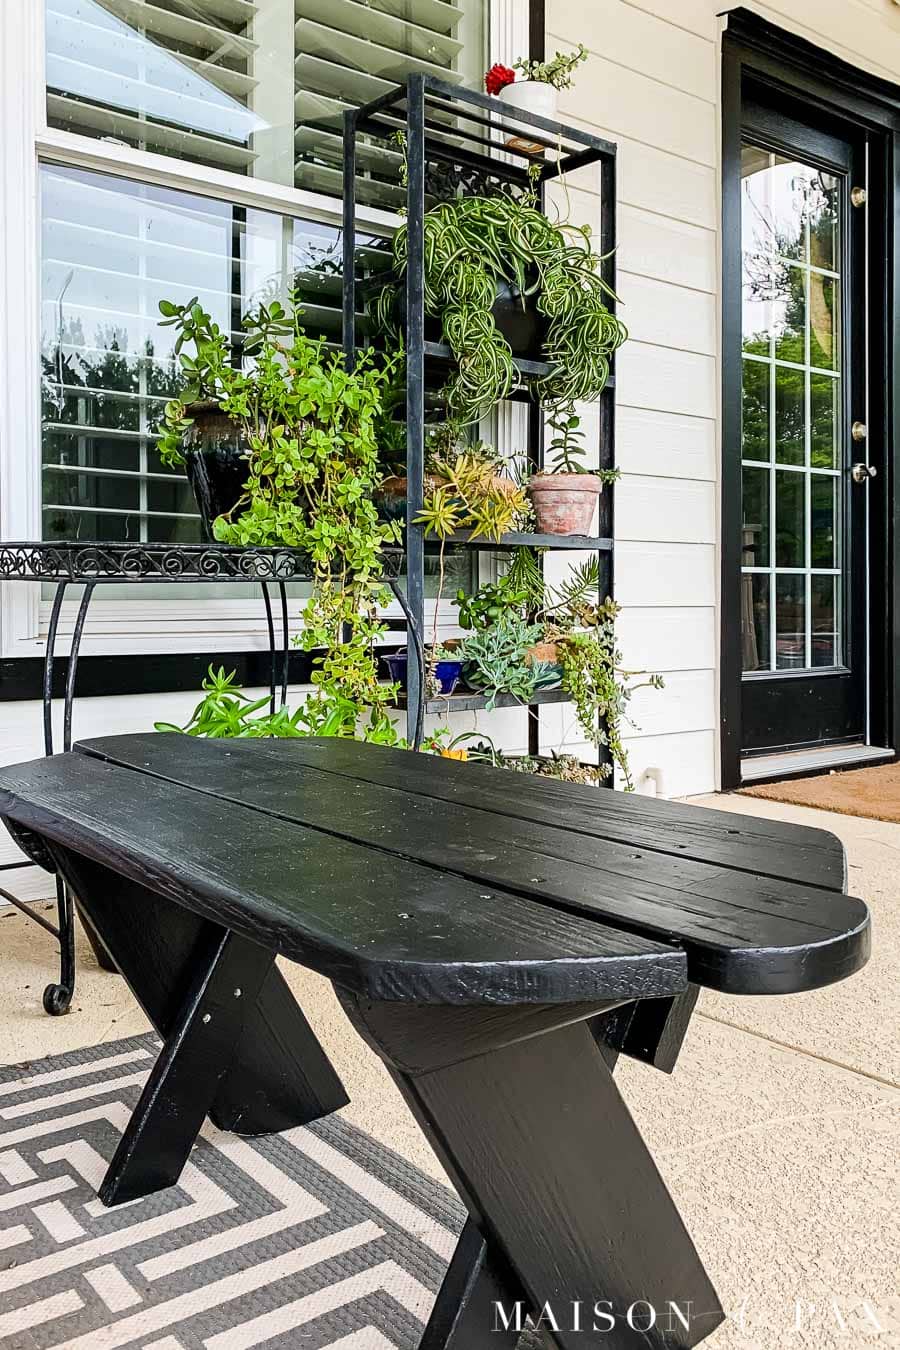
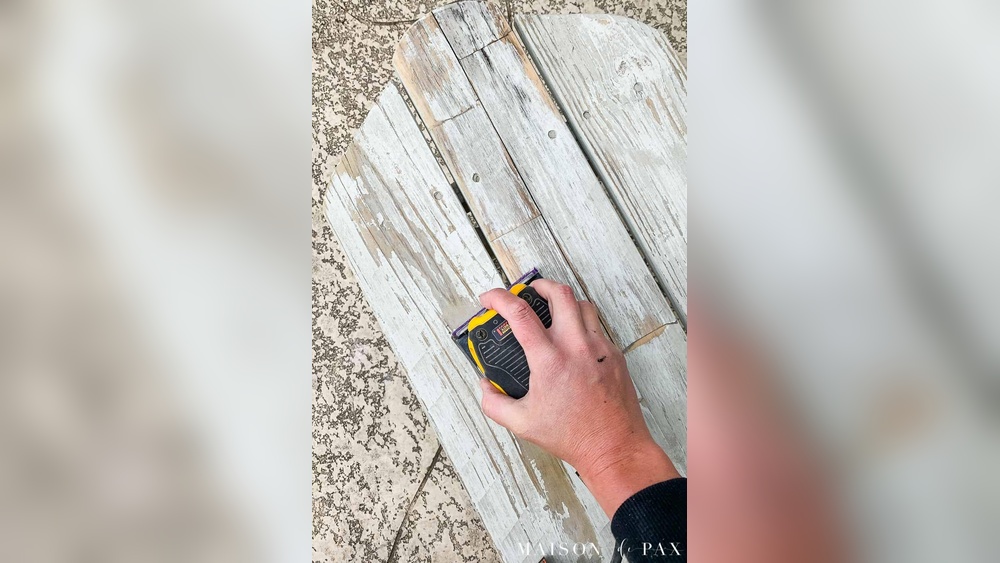
Credit: www.maisondepax.com
Frequently Asked Questions
How Do I Prepare Unfinished Wood For Outdoor Painting?
Start by cleaning the wood surface to remove dirt and dust. Sand the wood smoothly with fine-grit sandpaper. Wipe off sanding dust with a damp cloth. Apply a wood primer suitable for outdoor use before painting. This ensures better paint adhesion and durability.
What Type Of Paint Is Best For Outdoor Wood Furniture?
Use exterior-grade acrylic latex paint for outdoor wood furniture. It offers excellent weather resistance and flexibility. Oil-based paints are durable but take longer to dry. Always choose paint labeled for outdoor use to withstand moisture and UV exposure.
How Many Coats Of Paint Should I Apply?
Apply two to three thin coats for best coverage and durability. Allow each coat to dry fully before applying the next. Thin layers prevent peeling and cracking. Multiple coats protect wood from outdoor elements longer.
Should I Seal Outdoor Painted Wood Furniture?
Yes, apply a clear outdoor polyurethane or sealant after painting. Sealing adds extra protection against water, sun, and wear. Use a water-based sealant for acrylic paints. This extends your furniture’s life and maintains its finish.
Conclusion
Painting outdoor unfinished wood furniture takes some care and patience. Start with cleaning and sanding the wood well. Use a good primer before applying paint for best results. Choose paint made for outdoor use to protect from weather. Let each coat dry fully before adding the next.
This will make your furniture last longer and look great. With these steps, your wood pieces will brighten your outdoor space. Enjoy the fresh, new look and the time spent creating it.