Are you tired of searching for the perfect bookshelf that fits your space and style? What if you could create one yourself, quickly and without spending a fortune?
Making a simple bookshelf DIY is easier than you think. In this guide, you’ll discover clear, step-by-step instructions that anyone can follow—no special skills needed. Imagine having a sturdy, personalized bookshelf that holds your favorite books and adds charm to your room.
Keep reading, and you’ll learn exactly how to build it with tools and materials you probably already have. Ready to start? Let’s dive in!
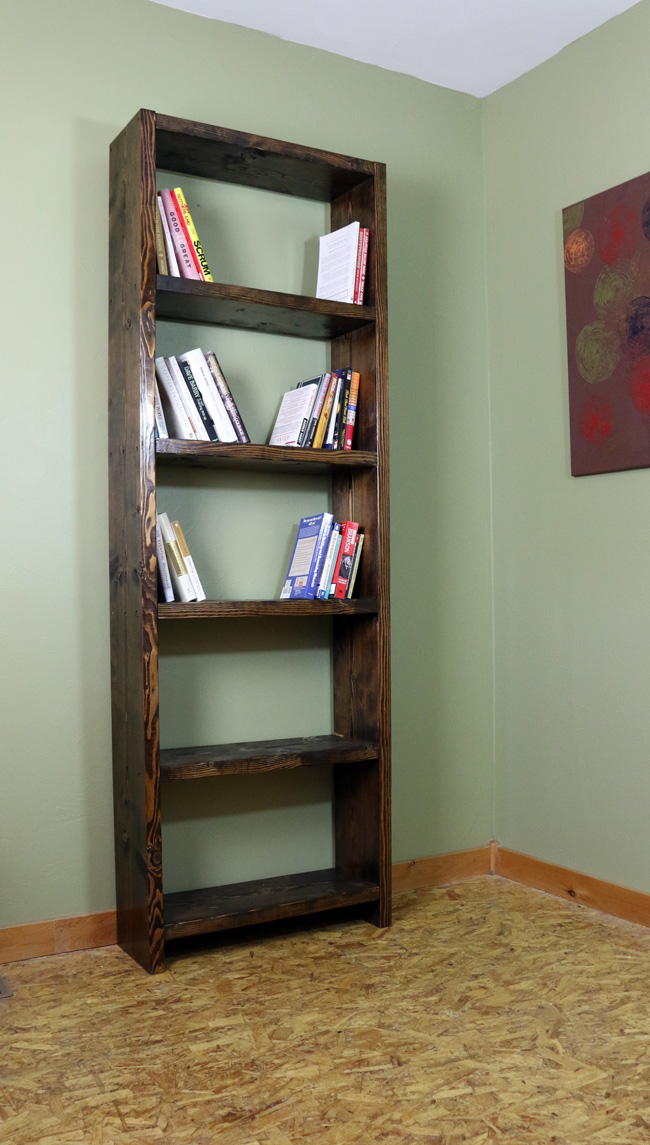
Credit: www.diypete.com
Choosing Materials
Choosing the right materials is key to building a sturdy and attractive bookshelf. The materials affect the look, strength, and cost of your project. Picking the best wood and gathering the proper tools makes the process smoother. This section guides you through these important steps.
Selecting Wood Types
Wood choice affects the shelf’s durability and appearance. Pine is soft, easy to cut, and affordable. Oak is harder, strong, and has a nice grain but costs more. Plywood is a budget-friendly option that is stable and simple to work with. Choose wood that fits your style and budget. Check for smooth surfaces to avoid extra sanding.
Gathering Tools And Supplies
Right tools make building easier and safer. You will need a saw to cut the wood pieces. A drill and screws help hold the shelf together. Sandpaper smooths rough edges. Use a measuring tape for precise cuts. A level keeps shelves straight. Gather all supplies before starting. This saves time and keeps you organized.
Planning Your Bookshelf
Planning your bookshelf is the first step to a successful DIY project. Good planning helps you avoid mistakes and saves time. It also ensures your bookshelf fits perfectly in your space and holds your books well.
Think about where you want to place your bookshelf. Consider the size of the room and available space. This helps you decide the best dimensions and style for your shelf.
Measuring Space
Start by measuring the wall or area where the bookshelf will go. Use a tape measure for accuracy. Note the height, width, and depth of the space. Check for any obstacles like doors or outlets that might limit size.
Write down your measurements. Double-check them to avoid errors later. These numbers guide your design and material choices.
Designing The Layout
Decide how many shelves you need. Think about the size and number of your books. Some shelves may need more space for tall books or decorations.
Sketch a simple drawing of your bookshelf. Mark the height and width of each shelf. Plan for strong support to hold the weight of your books safely.
Choose a style that matches your room. A simple design works well for most spaces. Keep your layout easy to build and use.
Cutting The Wood
Cutting the wood is the first real step in building your simple bookshelf. This step shapes the pieces you will assemble. Accuracy here ensures your shelf fits together well and looks neat. Taking time to prepare before cutting saves effort later.
Marking Measurements
Start by measuring the wood pieces carefully. Use a tape measure for exact lengths. Mark the cut lines with a pencil. Double-check your marks to avoid mistakes. Clear, straight lines help guide your saw precisely. Mark all pieces before starting to cut.
Safe Cutting Techniques
Wear safety glasses to protect your eyes from dust and chips. Use a stable surface to support your wood while cutting. Hold the wood firmly or clamp it down. Cut slowly and steadily along the marked lines. Keep fingers away from the blade’s path. Let the saw do the work, no force needed.
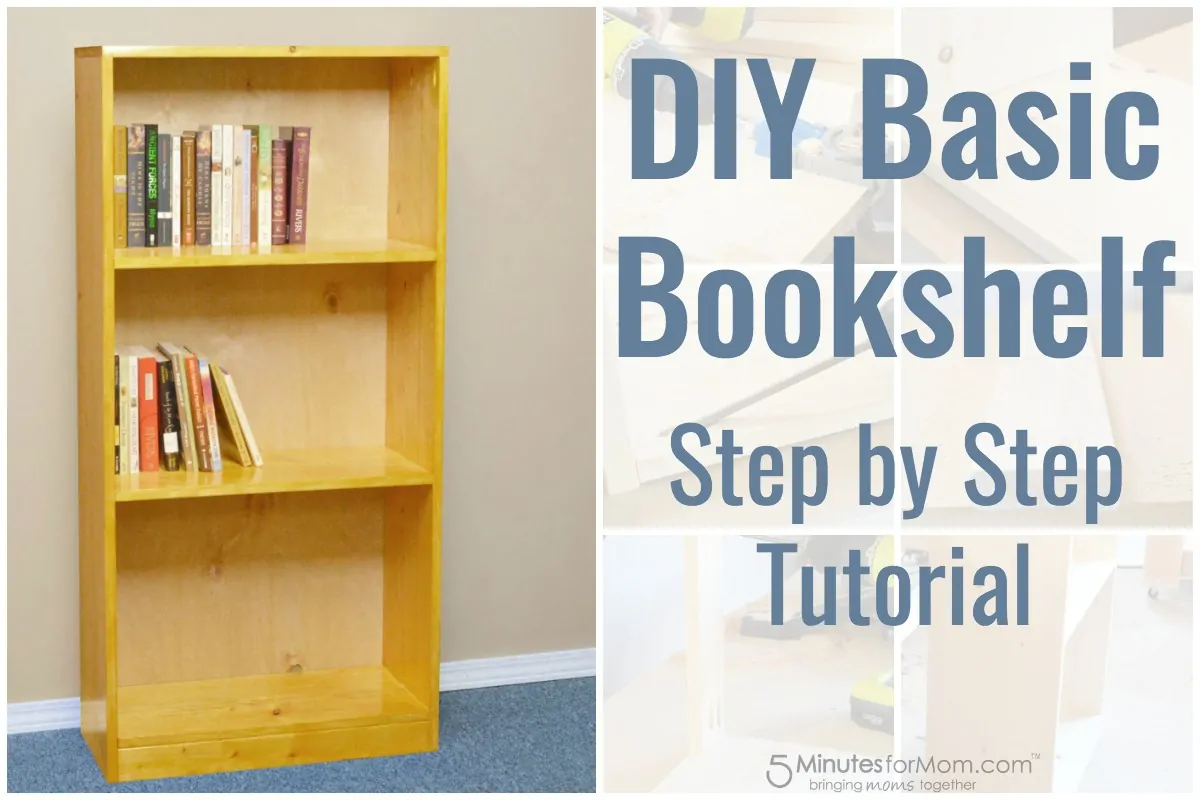
Credit: www.5minutesformom.com
Assembling The Frame
Assembling the frame is the core step in building your simple bookshelf. It shapes the structure and holds everything together. Take your time and follow each step carefully. A strong frame means a sturdy shelf.
Start by organizing your wood pieces. Make sure they match the measurements from your plan. This helps avoid mistakes during assembly.
Joining The Pieces
Place the side panels upright. Align the top and bottom boards between them. Check that all edges meet evenly. Use clamps to hold the pieces in place. This keeps them from moving while you work.
Double-check the corners with a square tool. Right angles are important for a balanced frame. Adjust if needed before moving on.
Securing With Screws Or Nails
Choose screws or nails based on your tools and wood type. Screws provide a stronger hold for heavy books. Nails work well for lighter loads and faster assembly.
Drill pilot holes before inserting screws. This prevents the wood from splitting. Drive screws or hammer nails slowly and steadily. Ensure each fastener goes in straight and flush with the surface.
Re-check the frame for stability. Tighten or add fasteners where needed. A solid frame will support your shelves safely.
Adding Shelves
Adding shelves is the key step in building a simple bookshelf. It turns the frame into a useful storage space. Careful placement and support make the shelves strong and neat.
Positioning Shelves
Decide how many shelves you want. Mark their positions on the side panels. Use a level to keep marks straight. Space shelves evenly or by your needs. Measure twice to avoid mistakes. Adjust placement for tall or short books.
Ensuring Stability
Use sturdy brackets or wooden cleats for support. Attach them firmly to side panels. Screw shelves into brackets or cleats tightly. Check shelf level before securing screws. Add extra supports for heavy items. Stability keeps your books safe and shelf steady.
Finishing Touches
Finishing touches give your DIY bookshelf a neat and polished look. They protect the wood and make the shelf last longer. Taking time on these steps improves the final result.
Sanding Surfaces
Start by sanding all wooden surfaces with fine sandpaper. This removes rough spots and splinters. Sand along the grain for a smooth finish. Wipe away dust with a clean cloth before painting or staining.
Applying Paint Or Stain
Choose paint or stain based on your desired look. Use a brush or cloth to apply evenly. Let the first coat dry completely. Add a second coat for better coverage and durability. Finish with a clear sealant for extra protection.
Maintenance Tips
Keeping your DIY bookshelf in good shape makes it last longer and look better. Regular care avoids damage and keeps the wood strong. Simple maintenance steps help you enjoy your bookshelf for years.
Cleaning Your Bookshelf
Dust the shelves often with a soft cloth. Use a slightly damp cloth for sticky spots. Avoid harsh cleaners that can harm the wood finish. Clean spills quickly to prevent stains and warping.
Preventing Wear And Tear
Place your bookshelf away from direct sunlight to stop fading. Keep it in a dry area to avoid moisture damage. Tighten screws and joints regularly to keep it steady. Use coasters or mats under heavy items to protect the surface.

Credit: www.youtube.com
Frequently Asked Questions
What Materials Do I Need For A Simple Bookshelf Diy?
You need wood boards, screws, nails, wood glue, sandpaper, paint or stain, a drill, and a saw. These basic materials help create a sturdy, attractive bookshelf.
How Long Does It Take To Build A Simple Bookshelf?
Building a simple bookshelf usually takes 2 to 4 hours. Time varies based on skill level and complexity of the design.
Can Beginners Make A Bookshelf Without Prior Experience?
Yes, beginners can build a simple bookshelf using easy-to-follow instructions and basic tools. Start with simple designs to gain confidence.
How Do I Ensure My Bookshelf Is Sturdy And Safe?
Use quality wood, secure all joints tightly, and add brackets if needed. Sand edges and check stability before use.
Conclusion
Building a simple bookshelf yourself saves money and adds charm. You only need basic tools and a few materials. Step-by-step, you create something useful and personal. It fits your space and style perfectly. Plus, the satisfaction of making it yourself feels great.
Try this DIY project to organize your books neatly. Enjoy the process and your new shelf!
