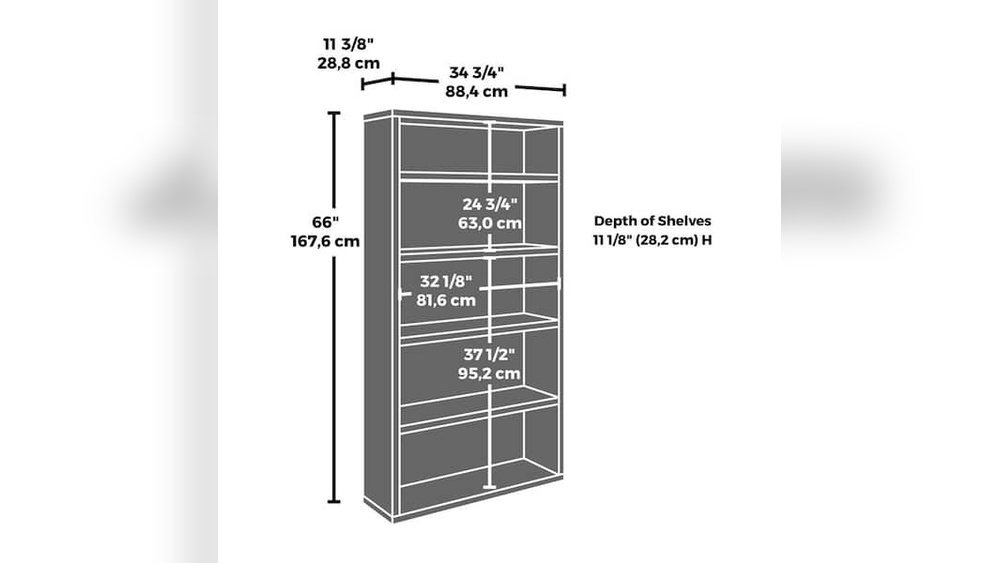
Are you looking for a simple and stylish way to organize your books? Making a wood crate bookshelf might be just what you need.
It’s a fun project that lets you add a personal touch to your space while creating something practical. Imagine having a unique bookshelf that fits perfectly in your room and shows off your creativity. In this guide, you’ll find easy steps to build your own wood crate bookshelf, even if you’ve never worked with wood before.
Ready to transform your clutter into a neat, eye-catching display? Let’s get started!
Materials And Tools Needed
Building a wood crate bookshelf requires specific materials and tools. Choosing the right items ensures a strong and beautiful shelf. This guide lists everything needed for a smooth project.
Choosing The Right Wood Crates
Select crates made from solid wood like pine or oak. These woods offer durability and a nice finish. Avoid plastic or thin plywood crates. Check the size to fit your space and books. Uniform crates make stacking easier and look tidy.
Essential Tools For Assembly
Gather basic tools before starting. A power drill speeds up the process. Use wood screws to secure the crates. A screwdriver helps tighten screws by hand. Sandpaper smooths rough edges for safety and style. A measuring tape ensures accurate alignment.
Additional Supplies
Wood glue adds extra strength between crates. Paint or wood stain improves the look and protects wood. Brushes or rags help apply finishes evenly. Furniture pads prevent floor scratches. Clamps hold crates together while glue dries.
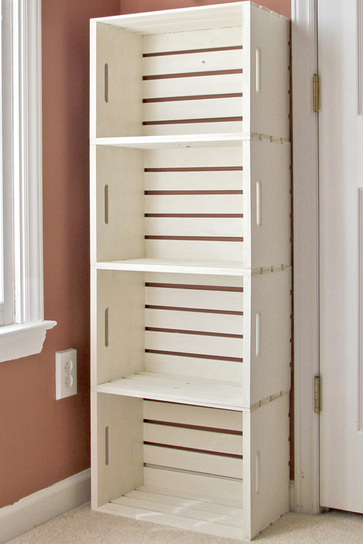
Credit: www.calmcradle.com
Preparing The Crates
Preparing the crates is the first step to build a strong and attractive bookshelf. Proper preparation improves the look and life of the wood. It also makes the painting or staining process easier and more effective.
Take your time to clean, sand, and treat the crates before assembling them. This effort will pay off with a smooth and neat finish.
Cleaning And Sanding
Start by removing dirt, dust, and old paint from the crates. Use a brush or a cloth to wipe them clean. Check for nails or splinters and remove or fix them carefully.
Sand the wood surfaces with medium-grit sandpaper. Sanding smooths rough spots and opens the wood grain. This step helps paint or stain stick better. Finish with fine-grit sandpaper for a soft, even surface.
Painting Or Staining Options
Choose paint or stain based on your style and room decor. Paint offers bright, solid colors that cover imperfections. Stain highlights the natural wood grain with a rich tone.
Use a brush or sponge to apply thin, even coats. Avoid thick layers that can drip or peel. Follow the product instructions for best results.
Allowing Proper Drying Time
Let each coat dry fully before adding another. Drying times vary by product and weather. Check the label for exact times.
Proper drying prevents smudges and uneven finishes. It also ensures the crate stays strong and durable. Patience here leads to a beautiful, lasting bookshelf.
Designing Your Bookshelf
Designing your wood crate bookshelf is the first step to a perfect build. A good design helps you save time and materials. It also makes sure your bookshelf fits well in your space. Think about how many books and items you want to store. This will guide your design choices.
Keep your design simple and clear. It will be easier to build and look great in your room.
Determining Size And Shape
Measure the space where you want to place the bookshelf. Write down the height, width, and depth. Decide how tall or wide you want your shelf. The size depends on the number of crates you plan to use. Choose a shape that fits your room style. Square, rectangular, or stacked crates all work well.
Layout Planning
Plan how to arrange the crates. You can stack them in columns or rows. Try to balance the look by spreading crates evenly. Think about open spaces for decoration or small plants. Sketch your layout on paper or use a simple design app. This step helps you see the final look before building.
Considering Stability And Weight
Check the weight of the books and items you want to place. Wood crates can hold a lot, but balance is key. Make sure the bottom crates are strong and stable. Use screws or brackets to fix crates together. This prevents wobbling or tipping. A stable bookshelf lasts longer and is safer.
Assembling The Crates
Assembling the crates is the key step in building your wood crate bookshelf. It shapes the final look and strength. Take your time to fit each crate properly. This ensures the shelf will hold your books safely and look great.
Joining Techniques
Start by arranging the crates in your desired pattern. Use wood glue on the edges to bond them. Clamp the crates to keep them tight while drying. For extra strength, add screws through the sides. Drill pilot holes first to avoid splitting the wood.
Securing The Structure
Check that all crates align evenly. Adjust as needed before the glue dries. Use a level to keep shelves straight. Tighten screws to lock everything in place. This step makes the bookshelf steady and ready to hold weight.
Adding Support Brackets
Support brackets add extra stability to your bookshelf. Attach them inside corners where crates meet. Use small screws to fix the brackets firmly. These supports stop wobbling and keep the shelf durable. Choose brackets that match your crate size for best results.
Finishing Touches
Finishing touches make your wood crate bookshelf both beautiful and durable. These final steps protect the wood and add personality. They help your project last longer and fit your style perfectly.
Sealing And Protecting
Apply a clear sealant to guard the wood from moisture and dirt. Use polyurethane or wood varnish for a smooth finish. Brush on thin layers, letting each dry before the next. This protects the wood and makes cleaning easier.
Adding Decorative Elements
Decorate with paint, stencils, or decals for a unique look. Choose colors that match your room’s style. You can also attach metal handles or corner brackets. These small details give your shelf character and charm.
Customizing Shelving Options
Adjust shelf heights by adding removable boards inside the crates. Use brackets or small nails to hold shelves in place. This lets you store different sized books or items. Customize for better space use and personal needs.
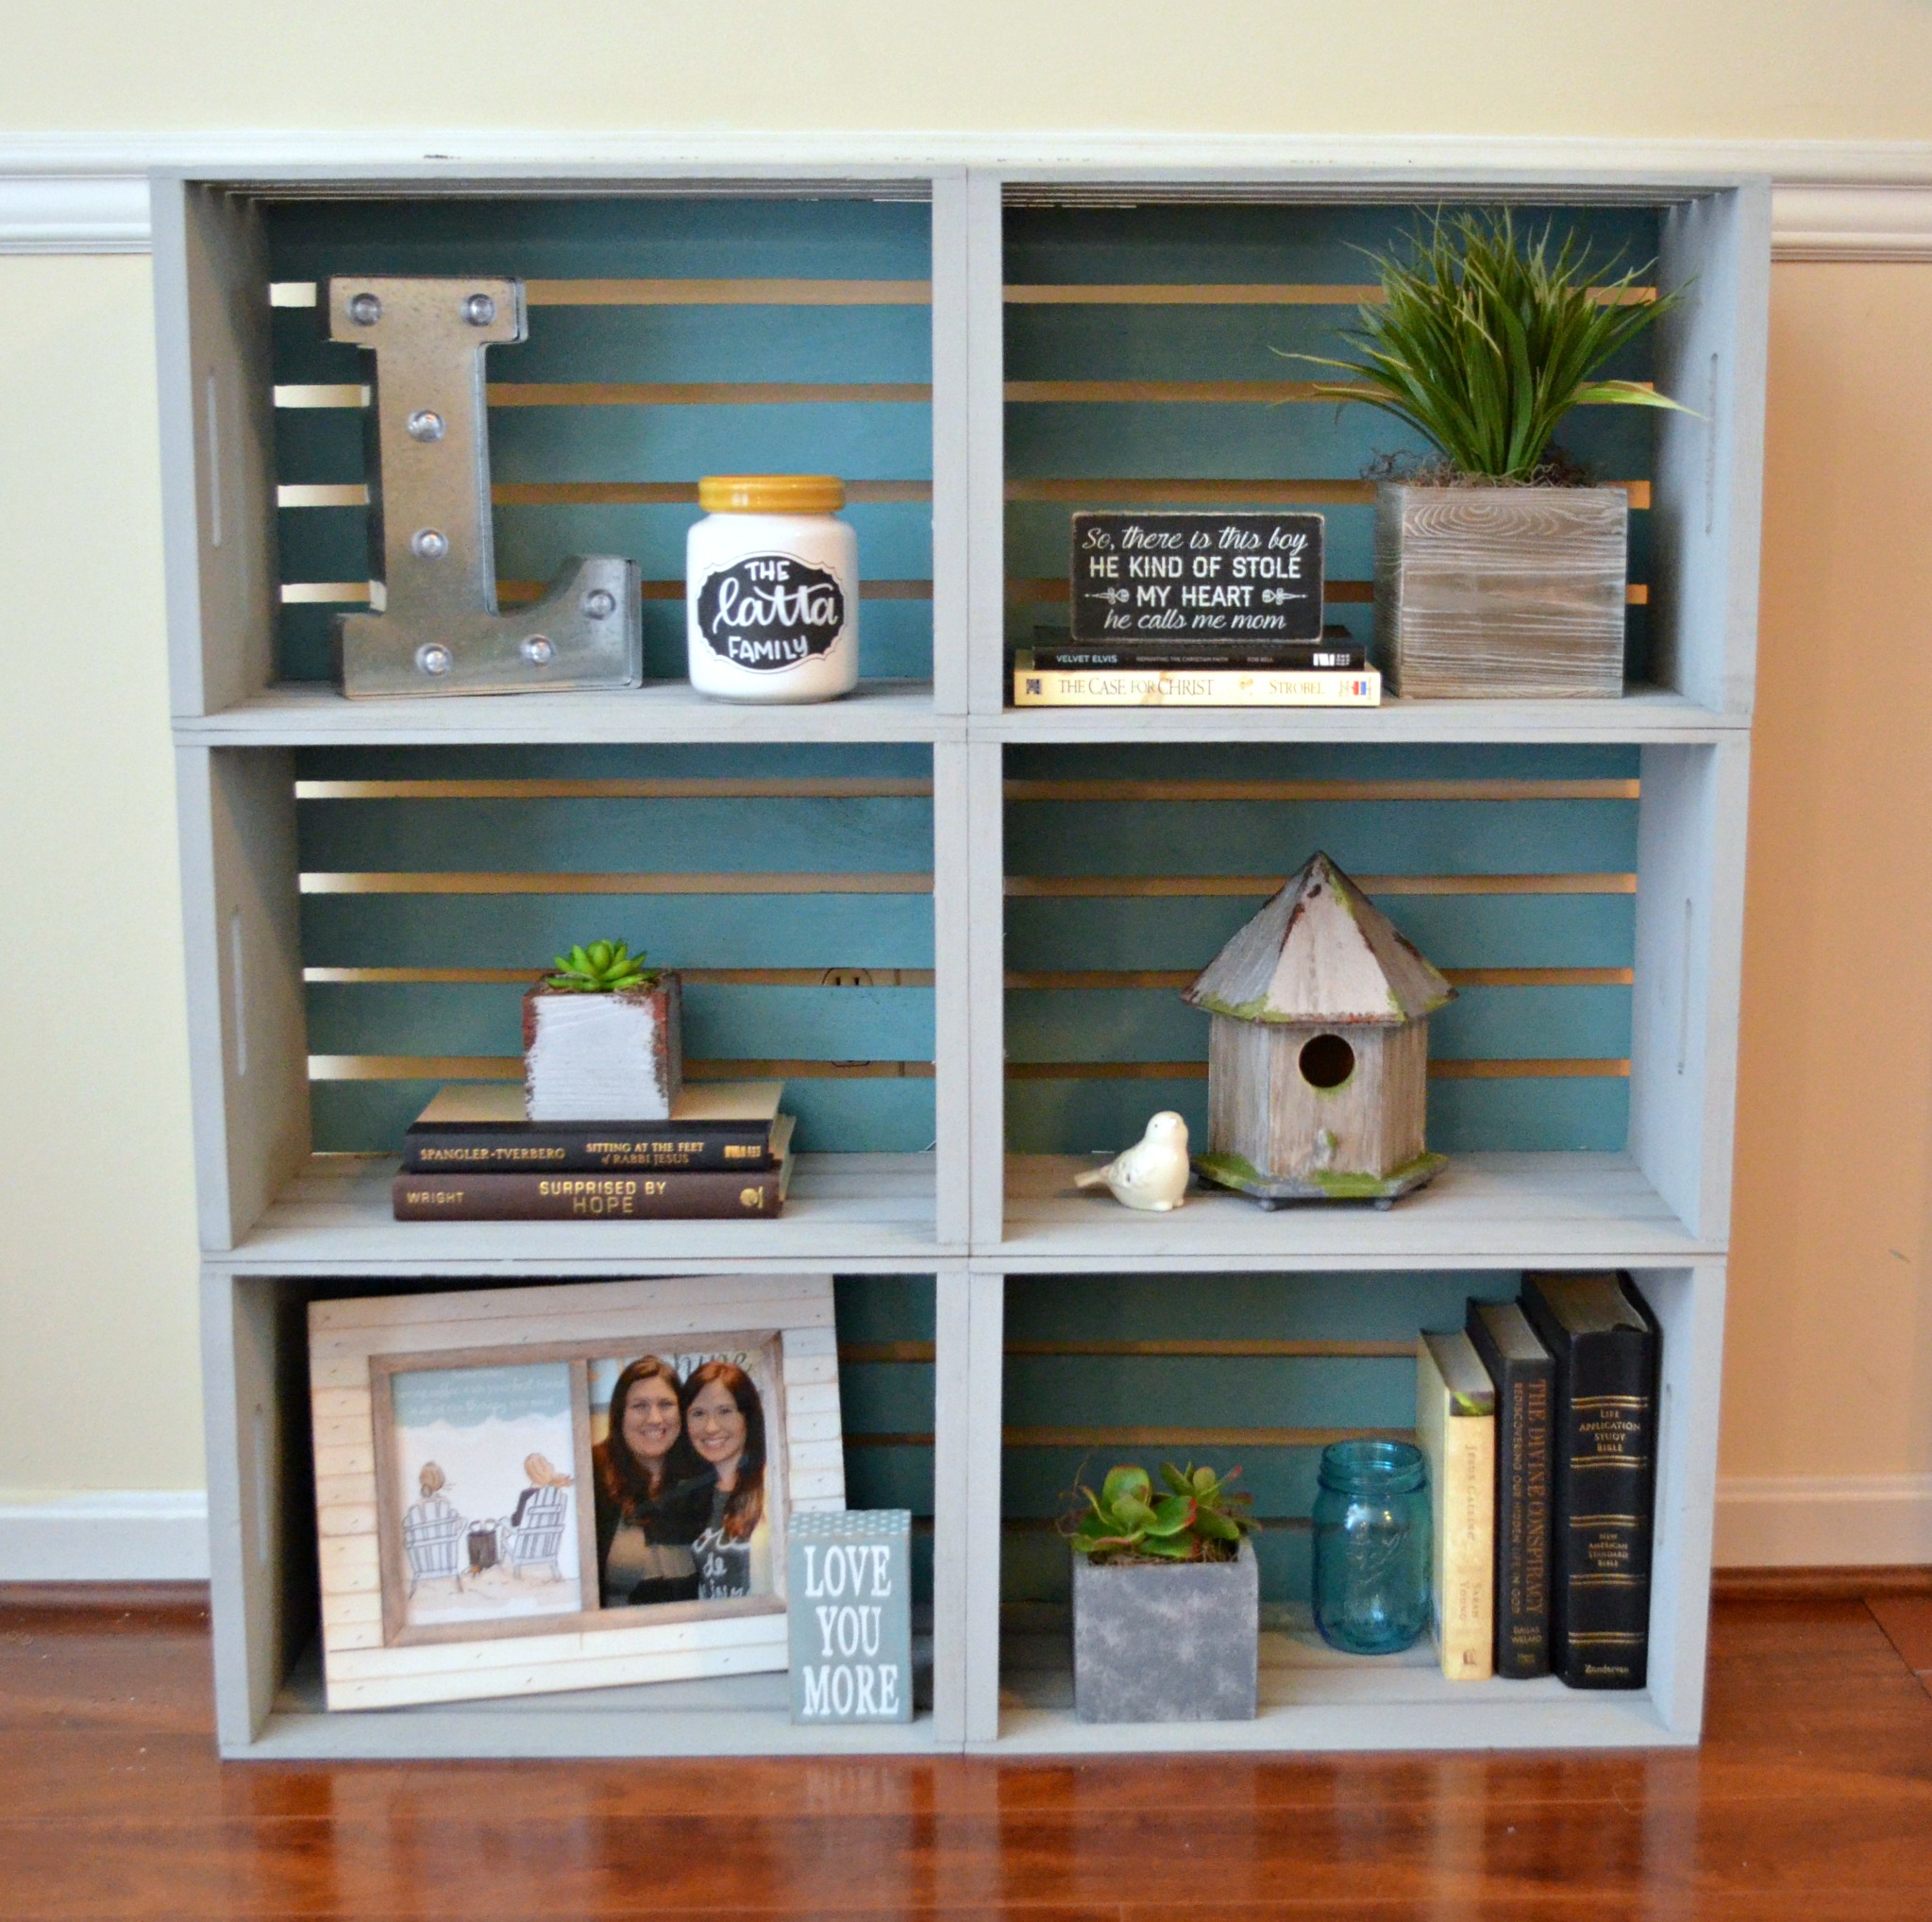
Credit: www.amylattacreations.com
Placement And Styling Ideas
Choosing the right place for your wood crate bookshelf can change the look of a room. Good placement helps your room feel neat and inviting. Styling the bookshelf makes it stand out and match your home’s style.
Think about where you need storage and what looks best. A wood crate bookshelf fits many spaces. It works well in living rooms, bedrooms, or even hallways. Styling it with small decorations and books brings life to the room.
Optimizing Space
Place the bookshelf in a spot that uses space well. Corners are great for small rooms. Use vertical space by stacking crates higher. This keeps the floor clear and rooms open. A wood crate shelf can fit under windows or beside chairs. It makes the room feel bigger and less crowded.
Combining With Other Furniture
Match the crate bookshelf with your other furniture. Pair it with a simple chair or desk. It looks good next to a couch or bed. Use the crate shelf as a side table or nightstand. This creates a cozy and useful corner. Wood crates add a rustic touch that softens modern furniture.
Accessorizing Your Bookshelf
Add small plants or candles to your shelf. They bring color and warmth to the space. Use baskets or boxes inside the crates to organize small items. Display a few favorite books or photo frames. Keep the look clean by not overcrowding the shelves. Simple decorations highlight the natural wood texture well.
Maintenance Tips
Keeping your wood crate bookshelf in great shape is easy with simple care. Regular maintenance helps the wood last longer and stay beautiful. Follow these tips to protect your bookshelf and enjoy it every day.
Cleaning Recommendations
Dust your bookshelf often using a soft cloth. Avoid wet or harsh cleaners that can harm the wood. Use a dry or slightly damp cloth for light cleaning. For tough spots, try mild soap with water. Wipe dry immediately to stop moisture damage.
Preventing Damage
Place your bookshelf away from direct sunlight to prevent fading. Keep it clear of damp areas to avoid warping. Use coasters or pads under heavy objects to stop scratches. Handle the shelves gently when moving or adjusting.
Periodic Checks And Repairs
Look over the bookshelf every few months. Tighten loose screws or nails to keep it sturdy. Check for cracks or splits in the wood. Sand and refinish small damaged areas to protect the surface. Early repairs prevent bigger problems later.

Credit: taramichellehome.com
Frequently Asked Questions
What Materials Are Needed For A Wood Crate Bookshelf?
You need wooden crates, sandpaper, wood glue, screws, a drill, paint or stain, and a sealing finish. Optional items include brackets for extra stability. These materials help build a sturdy and attractive bookshelf from crates.
How Do You Assemble A Wood Crate Bookshelf?
Start by sanding all crates for smoothness. Arrange crates in your preferred layout. Use wood glue and screws to join them securely. Let glue dry fully before painting or staining for a polished look.
Can Wood Crate Bookshelves Hold Heavy Books?
Yes, if crates are securely fastened and reinforced. Use screws instead of nails for stronger joints. Position heavier books at the bottom to maintain balance and prevent tipping over.
How To Customize A Wood Crate Bookshelf Design?
Paint or stain crates in your favorite colors. Add decorative knobs or decals for style. Arrange crates in creative patterns like staggered or vertical stacks to match your room’s decor.
Conclusion
Building a wood crate bookshelf brings both style and function. It fits well in any room and holds your books neatly. You can customize it to match your space and taste. Plus, it is a simple project to try at home.
With some basic tools and patience, you create a useful piece of furniture. Give it a go and enjoy the pride of your own handmade bookshelf. Small steps lead to great results.