Are you looking to add a personal touch to your space while organizing your favorite books? Making your own bookshelf is easier than you think, and it gives you full control over the design, size, and style.
Imagine having a custom piece that fits perfectly in your room and holds all your treasured reads. In this guide, you’ll discover simple steps and practical tips to create a bookshelf that’s both functional and beautiful. Ready to transform your space and enjoy the satisfaction of building something with your own hands?
Let’s get started!
Choosing Materials
Choosing the right materials is the first step to building a strong bookshelf. The materials affect how your shelf looks, holds weight, and lasts over time. Pick materials that fit your budget and skill level. Good materials make the building process easier and the final product better.
Selecting The Right Wood
Wood choice affects the shelf’s strength and style. Pine is a good option for beginners. It is soft, easy to cut, and affordable. Hardwoods like oak and maple are stronger but cost more. They give a polished look and last longer. Plywood is another choice. It is stable and less likely to warp. Choose smooth plywood for a clean finish. Think about the shelf’s purpose. Use sturdy wood for heavy books. For light items, softer wood can work well.
Gathering Tools And Supplies
Having the right tools makes the project faster and safer. Basic tools include a saw, drill, screwdriver, and measuring tape. Sandpaper smooths edges and surfaces. Wood glue and screws help hold parts together. Clamps keep pieces steady while glue dries. Paint or stain gives your shelf a nice look. Safety gear like gloves and goggles protects your hands and eyes. Organize all tools and supplies before starting. This saves time and keeps you focused.
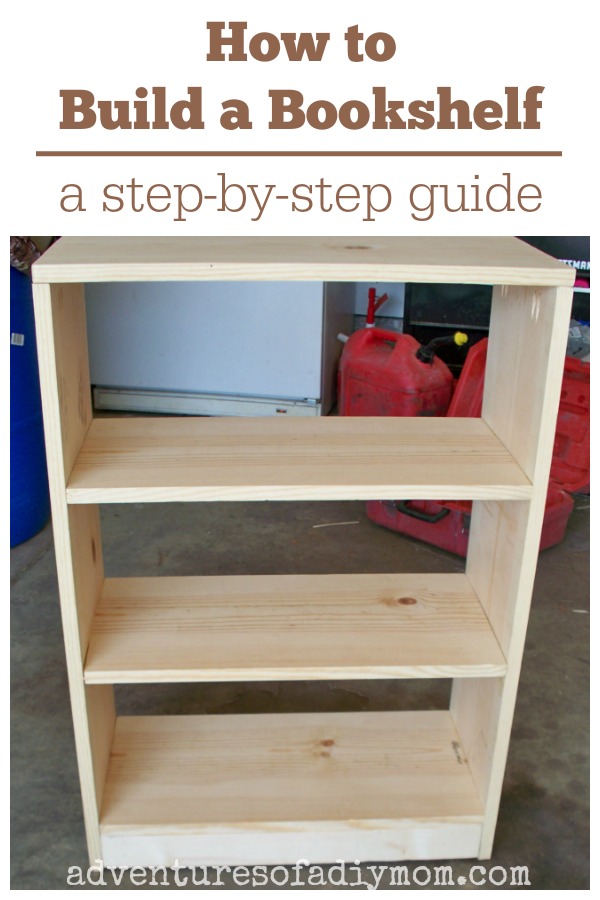
Credit: www.adventuresofadiymom.com
Measuring And Planning
Measuring and planning are the first steps to build a sturdy bookshelf. Precise measurements help avoid mistakes and wasted materials. Careful planning ensures the design fits your space and needs.
Start by knowing the size of your room and the books you want to store. Think about shelf height, width, and depth. Sketching your ideas on paper makes the process easier and clearer.
Determining Bookshelf Dimensions
Measure the wall space where the bookshelf will go. Note the height from floor to ceiling. Decide how many shelves you need and their spacing.
Consider the size of your books. Tall books need taller shelves. Wide shelves hold more books but need strong support. Plan for extra space to add decorations or boxes.
Sketching The Design
Draw a simple sketch on paper or use a design app. Show the bookshelf’s height, width, and depth. Mark where each shelf will go.
Add details like the thickness of wood and type of joinery. A clear drawing helps buy the right materials. It also guides you during assembly and keeps you on track.
Cutting The Wood
Cutting the wood is the first big step in building your bookshelf. It shapes the wood into the right sizes and parts you need. Precise cuts help the pieces fit well together. This step sets the stage for a strong, neat bookshelf.
Focus on accuracy and safety to avoid mistakes and accidents. Take time to prepare before using any saws or tools. Proper cutting makes the whole project smoother and better.
Marking The Pieces
Start by measuring your wood carefully. Use a tape measure and pencil to mark all cut lines. Double-check each mark before cutting. Clear marks guide your saw and keep cuts straight. Mark both sides of the wood for better visibility. Use a square tool to make perfect right angles. This helps your bookshelf have clean edges and even parts.
Using Power Tools Safely
Always wear safety goggles and gloves before cutting. Keep your workspace clean and well-lit. Read instructions for each power tool you use. Hold the wood firmly and cut slowly. Never rush or force the saw through the wood. Keep fingers far from the blade at all times. Turn off and unplug tools when not in use. Safe tool use prevents injuries and makes cutting easier.

Credit: www.infarrantlycreative.net
Assembling The Bookshelf
Assembling the bookshelf is the step where all your prepared parts come together. This phase shapes the final piece of furniture that will hold your books and decorations. Careful assembly ensures a sturdy and neat bookshelf that lasts.
Joining The Parts
Start by aligning the side panels with the bottom shelf. Use screws or dowels to connect these parts tightly. Make sure the edges are flush and even. Tighten all screws but avoid overtightening to prevent damage. Attach the back panel last, using nails or screws for extra support. Check each joint for firm connection as you work.
Ensuring Stability
Place the bookshelf on a flat surface to check balance. Use a level tool to confirm it stands straight. Add corner braces or brackets inside for added strength. Secure the bookshelf to the wall with safety anchors if needed. This prevents tipping and keeps the shelf safe for heavy items. Stability is key for a lasting and safe bookshelf.
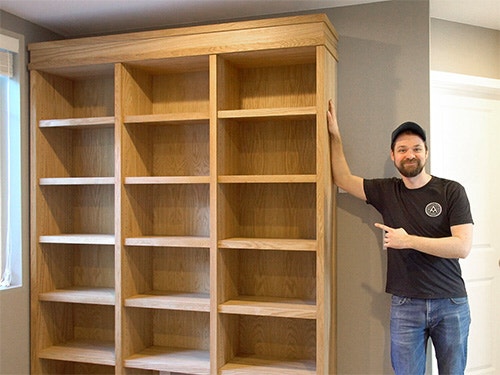
Credit: www.rockler.com
Frequently Asked Questions
How Long Does It Take To Build A Bookshelf?
Building a bookshelf typically takes 2 to 4 hours. Time depends on design complexity and your skill level. Simple designs are quicker, while intricate ones need more time and precision.
What Materials Are Best For Making A Bookshelf?
Wood is the best material for bookshelves due to its durability. Pine, oak, and plywood are popular choices. Choose based on budget, style, and strength required.
Do I Need Special Tools To Build A Bookshelf?
Basic tools like a saw, drill, screws, and measuring tape are sufficient. Advanced tools can speed up the process but aren’t mandatory. Safety gear is also important.
How Can I Customize My Bookshelf Design?
Customize by adjusting size, shape, and paint color. Adding shelves or compartments enhances functionality. Personal touches make your bookshelf unique and fit your space perfectly.
Conclusion
Building a bookshelf is simpler than it seems. Follow each step with care and patience. Choose the right materials to fit your space. Measure twice, cut once to avoid mistakes. Assemble pieces carefully for a sturdy result. Personalize your shelf with paint or decorations.
Enjoy your new bookshelf for books or display. This project brings pride and useful storage. Start today and create something useful and nice.