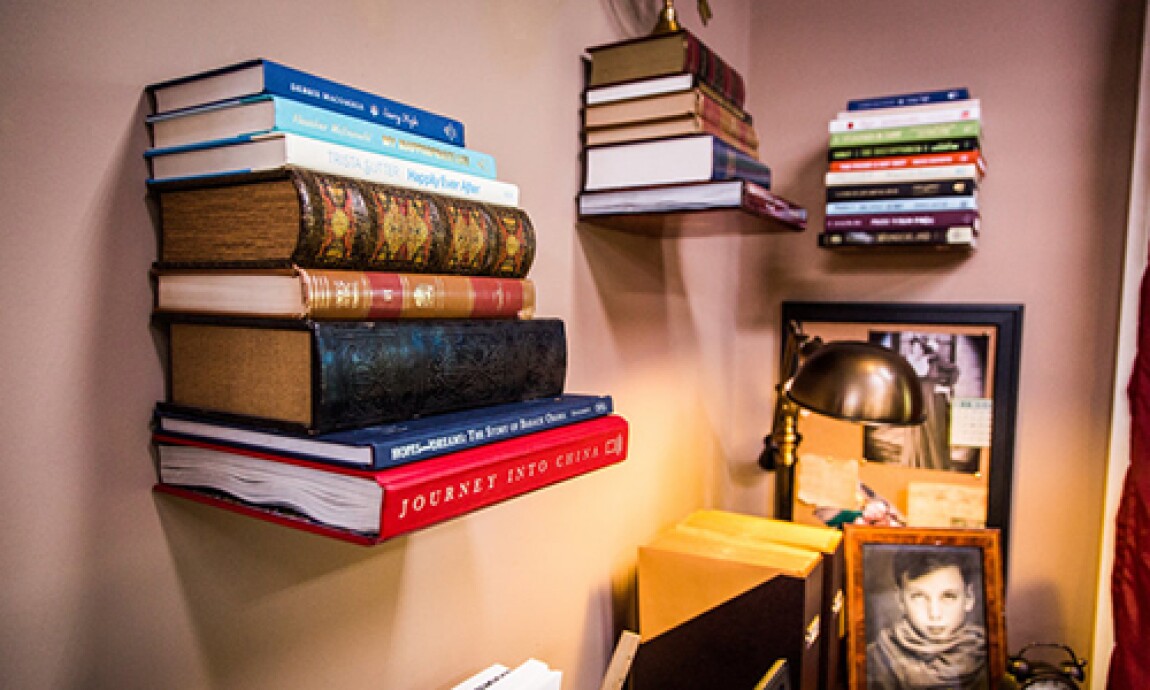
Imagine your books floating magically on the wall, with no visible support holding them up. Sounds amazing, right?
You can create this stunning effect yourself with a simple invisible bookshelf. Not only does it save space, but it also turns your favorite books into eye-catching decor. If you’ve ever wanted to impress your guests or give your room a sleek, modern look, this project is perfect for you.
Keep reading, and you’ll learn exactly how to make your own invisible bookshelf step by step—no special skills needed!

Credit: www.instructables.com
Materials Needed
Making your own invisible bookshelf needs some basic materials. Choosing the right parts helps the shelf hold your books safely. You need strong brackets and a few tools. These materials make the project easier and the result sturdy.
Gathering everything before you start saves time. Use good quality items for a neat finish. Let’s look at what you need in detail.
Choosing The Right Brackets
Brackets are the key part of an invisible bookshelf. Pick metal brackets that are strong and flat. Look for L-shaped brackets with a long arm. This arm will slide under the book to hold it.
Check the size of brackets based on your book size. Make sure the brackets can support the weight of your books. Powder-coated or painted brackets last longer and look cleaner.
Selecting Tools And Supplies
You need a drill to make holes in the wall. A screwdriver or drill bit helps fix the brackets with screws. Use screws that fit your wall type, like drywall or wood.
Have a level to keep the shelf straight. A pencil marks the spots for drilling. Sandpaper helps smooth any rough edges. A tape measure ensures correct placement and spacing.
Preparing The Wall
Preparing the wall is an important step before installing your invisible bookshelf. It helps ensure the shelf is secure and looks neat. Taking time to get this right makes the whole project easier.
Finding The Perfect Spot
Choose a wall that is strong and free of obstacles. Avoid walls with pipes or wires inside. Look for a spot near a power outlet if you want to add a lamp later. The wall should be smooth and clean. Check the height so the books will be easy to reach. Also, consider the room’s style and light.
Marking And Measuring
Use a pencil to mark the exact spot for the shelf. Measure carefully to keep the shelf level. Use a ruler or tape measure for accuracy. Mark where the brackets will go. Double-check your marks before drilling. This step helps avoid mistakes and keeps the shelf straight.
Installing The Brackets
Installing the brackets is a key step in making your invisible bookshelf sturdy and safe. These brackets hold the weight of your books and keep the shelf hidden. Getting this part right will ensure your bookshelf looks neat and lasts a long time.
Securing The Brackets
Start by choosing the right spot on the wall. Use a stud finder to locate studs behind the drywall. Mark these spots with a pencil. Drill pilot holes into the studs for better grip. Align the bracket holes with the pilot holes. Use strong screws to secure the brackets tightly. Avoid loose screws, as they can cause the shelf to fall.
Leveling Tips
Place a level on top of the brackets before tightening screws completely. Adjust the bracket position until the bubble is centered. This step prevents books from sliding off. Double-check the level after tightening. Small changes here make a big difference in shelf stability. A perfectly level shelf looks professional and functions well.
Finishing Touches
Finishing touches make your invisible bookshelf look neat and polished. They help the shelf blend into your wall. Small details create a big difference.
Hiding The Hardware
Cover screws and brackets with matching paint or putty. Use a small brush for precise work. This hides the hardware from plain sight.
Check the shelf from different angles. Make sure nothing stands out. The goal is a smooth, seamless look.
Styling Your Bookshelf
Place books carefully to keep the invisible effect. Stack some books horizontally to add variety. Mix books with small decorative items.
Leave some space around the edges. It helps the shelf look light and clean. Avoid overcrowding to keep the invisible charm.
Troubleshooting Common Issues
Building your own invisible bookshelf can have a few challenges. These issues might stop your project from looking perfect or being safe. Fixing these problems early saves time and effort later.
This section covers common problems and how to solve them. Follow these tips to make your invisible bookshelf strong and neat.
Dealing With Uneven Walls
Uneven walls make it hard to mount shelves straight. Use a level tool to check the wall surface. Mark high and low spots before installing. Sand or fill small bumps to create a smooth area. Use shims behind the shelf bracket if needed. This helps the shelf sit flat and steady.
Ensuring Stability
Stability keeps your shelf from falling or tilting. Choose strong wall anchors for heavy books. Screw brackets tightly into studs, not just drywall. Test the shelf with light weight first. Add extra support brackets if the shelf wobbles. Double-check all screws are secure after installation. A stable shelf protects your books and wall.
Credit: yellowbrickhome.com
Creative Variations
Creative variations make invisible bookshelves unique and personal. They turn a simple shelf into a stylish piece of art. Simple changes can fit your room’s style and your taste. Explore ideas that add color, texture, and character to your shelf. These variations keep the project fun and inspiring.
Painting And Decorating
Painting the invisible shelf helps it blend or stand out. Use colors that match your wall or decor. Matte paint hides the shelf better than glossy paint. Add patterns or designs to make it eye-catching. Stickers or stencils create neat shapes without much effort. Paint the screws or brackets to keep them hidden. Personal touches make the shelf feel special and new.
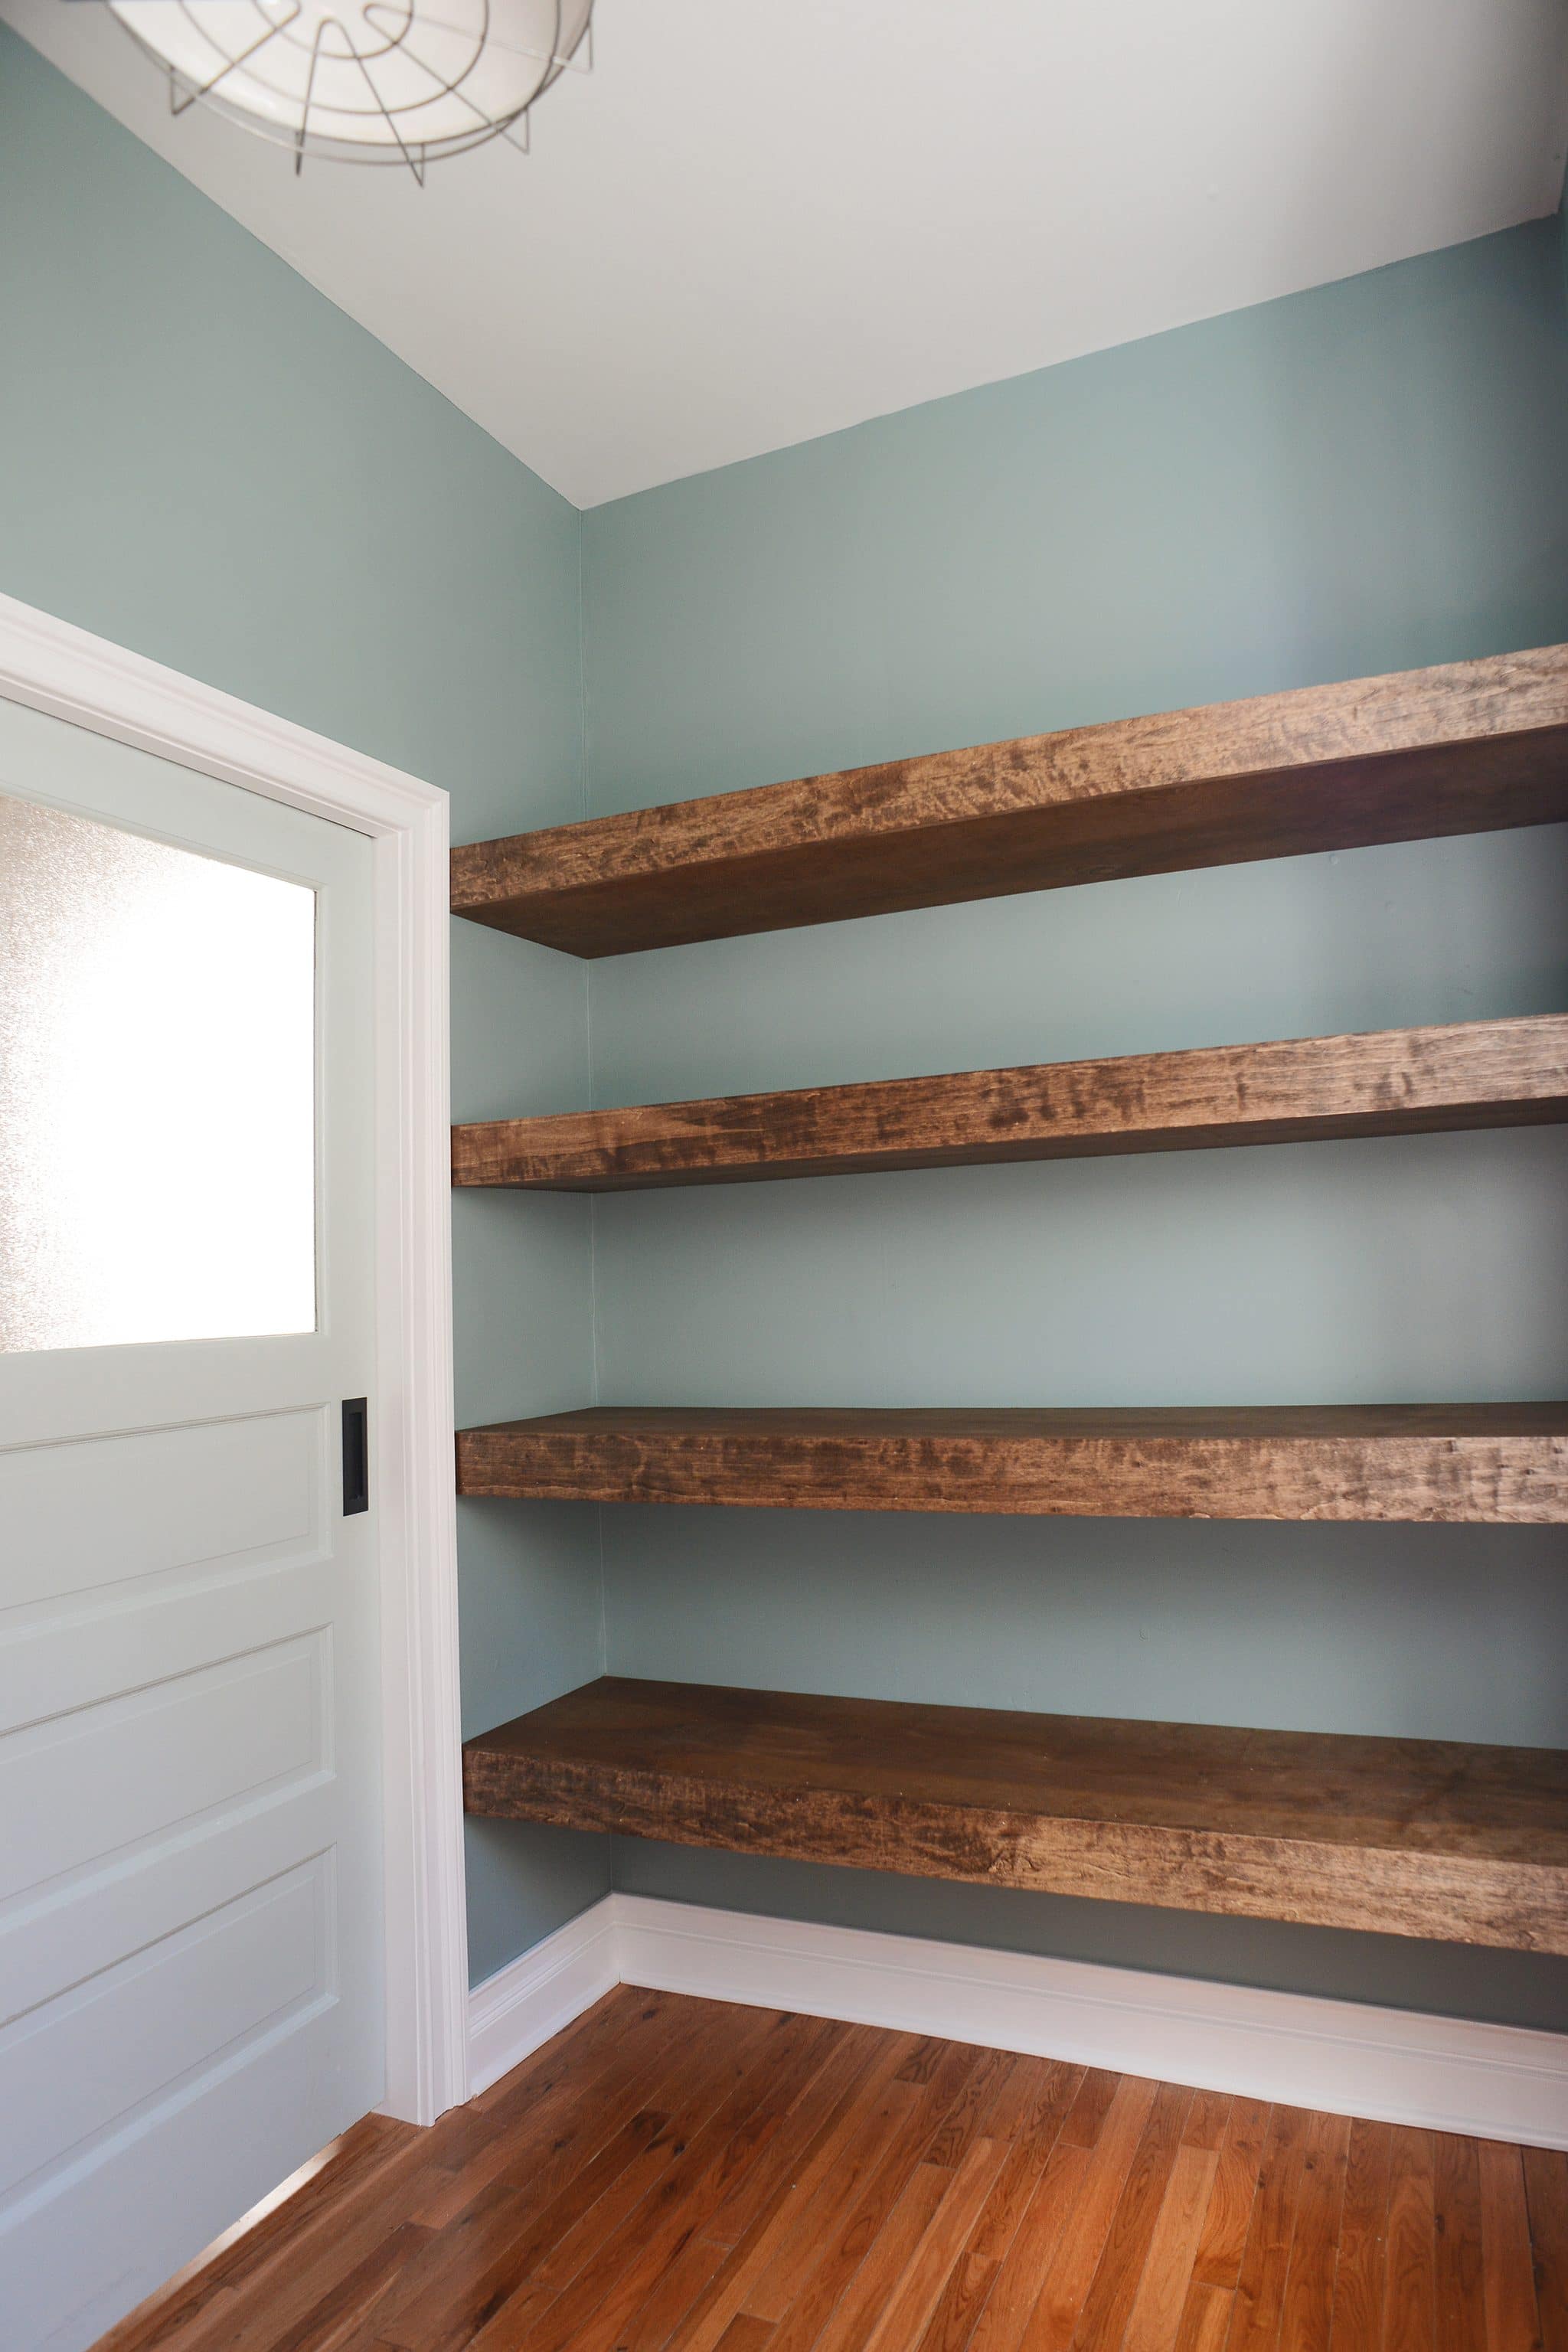
Using Different Materials
Change the material for a fresh look and feel. Wood is classic and easy to work with. Try metal for a modern, sleek style. Clear acrylic creates a floating effect, almost invisible. Use reclaimed wood for a rustic, eco-friendly shelf. Mix materials like wood and metal for contrast. Each material changes how the shelf looks and holds weight. Choose what fits your space and books best.
Credit: www.hallmarkchannel.com
Frequently Asked Questions
What Materials Do I Need For An Invisible Bookshelf?
You need L-brackets, wood boards, screws, wall anchors, a drill, and a level. Choose sturdy wood for durability. These materials ensure your shelf holds books securely and looks seamless on your wall.
How Do I Install An Invisible Bookshelf Step-by-step?
First, mark bracket positions on the wall. Drill holes, insert anchors, and screw in brackets. Slide the wooden shelf onto brackets, securing it tightly. Use a level to keep the shelf straight and stable.
Can Invisible Bookshelves Hold Heavy Books Safely?
Yes, if installed correctly using strong brackets and anchors. Choose solid wood and secure brackets into wall studs for extra support. Proper installation ensures the shelf can hold heavy books without sagging or falling.
How To Hide The Brackets On My Invisible Bookshelf?
Use narrow L-brackets that fit inside the shelf. Slide the shelf over brackets to conceal them completely. Painting the brackets the same color as the wall also helps keep them invisible.
Conclusion
Making your own invisible bookshelf is simple and fun. It saves space and looks great on any wall. You only need a few tools and some patience. Follow the steps carefully and enjoy your new shelf. Books seem to float, creating a cool effect in your room.
Try it yourself and add a unique touch to your home. This project fits any style and helps keep things neat. Start today and see how easy it is to build. Your books will thank you!