Are you tired of cluttered shelves and limited space? Imagine turning your bookshelf into a clever sliding unit that saves room and adds a stylish touch to your home.
Creating a sliding bookshelf might sound tricky, but with the right steps, you can build one yourself—even if you’re not a pro. In this guide, you’ll discover simple, clear instructions to help you make a sliding bookshelf that fits your space perfectly.
Ready to transform your storage and impress your guests? Keep reading to learn how!
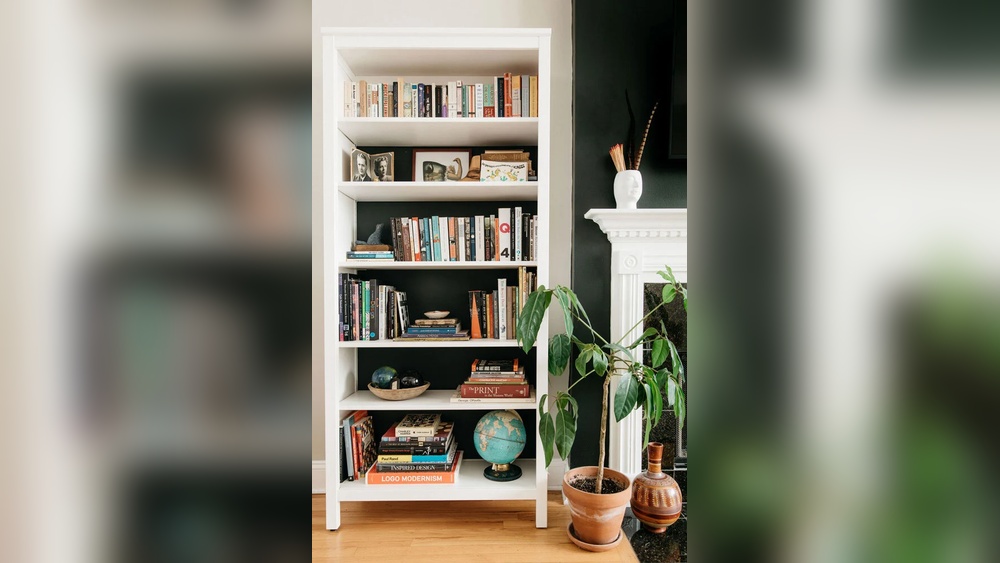
Credit: murphydoor.com
Materials And Tools Needed
Building a sliding bookshelf requires the right materials and tools. Choosing good quality supplies makes the project easier and the result stronger. This section explains what wood, hardware, and tools you need.
Choosing The Right Wood
Pick wood that is sturdy and smooth. Pine and oak are common choices. Pine is cheaper and easy to cut. Oak is stronger but costs more. The wood should be straight with no cracks or knots. Use boards that are thick enough to hold books without bending.
Essential Hardware
You need hardware to make the bookshelf slide smoothly. Sliding door tracks and rollers work well. Choose metal tracks that fit the weight of the shelf. Screws and brackets will hold the parts together. Also, get handles or knobs for easy sliding.
Tools For Assembly
Gather basic tools for cutting and joining wood. A saw helps cut the wood to size. Use a drill for screws and holes. A screwdriver is needed to fasten hardware. Sandpaper smooths rough edges. A tape measure and level ensure accuracy.
Planning Your Sliding Bookshelf
Planning your sliding bookshelf carefully sets the foundation for a successful build. This step helps you avoid mistakes and ensures your bookshelf fits perfectly. It also makes the building process smoother and faster.
Measuring Your Space
Start by measuring the wall or area where the bookshelf will go. Measure the height, width, and depth available. Write down these numbers clearly. Check for obstacles like doors, windows, or light switches. These can affect the shelf size and placement.
Designing The Shelf Dimensions
Use your measurements to decide the shelf size. Think about what books or items you want to store. Plan enough space between shelves for tall books or decorations. Keep the design simple and balanced. Consider the shelf thickness for strength and style.
Selecting Sliding Mechanism
Choose a sliding mechanism that fits your shelf size and weight. Options include metal tracks, rollers, or ball-bearing slides. Metal tracks are strong and smooth. Rollers work well for light shelves. Ball-bearing slides offer quiet and easy movement. Make sure the mechanism is easy to install and maintain.
Preparing The Wood
Preparing the wood is a key step in making a sliding bookshelf. It ensures the pieces fit well and look great. Good preparation helps the shelf last longer and work smoothly. This step includes cutting the wood to the right size and then sanding it for a smooth finish.
Cutting To Size
Start by measuring your wood carefully. Mark the wood clearly where you need to cut. Use a saw that fits your cutting needs, like a circular saw or handsaw. Cut slowly and steadily for clean edges. Check each piece after cutting to confirm the sizes are correct. Accurate cuts help the bookshelf parts fit perfectly.
Sanding And Finishing
After cutting, sand the wood to remove rough spots. Use medium-grit sandpaper first, then fine-grit for a smooth surface. Sand along the grain to avoid scratches. Wipe the wood clean with a cloth to remove dust. Apply a wood finish or sealant to protect the wood and enhance its look. This step also helps the sliding parts move without catching.
Building The Frame
Building the frame is the first step in making a sliding bookshelf. It gives the shelf strength and shape. A strong frame holds the shelves and allows smooth sliding. Focus on making the frame sturdy and straight for best results.
Assembling The Base
Start with the base of the bookshelf frame. Cut the wood pieces to size for the bottom. Use a flat surface to keep everything even. Join the pieces with wood glue and screws. Check the corners with a square tool. The base must be strong to hold the whole shelf.
Constructing The Shelves
Next, build the shelves that will hold your books. Cut the wood boards to the right width and length. Sand the edges to make them smooth. Attach the shelves to the frame using brackets or screws. Make sure each shelf is level before fixing it. Leave space between shelves for different book sizes.
Installing The Sliding System
Installing the sliding system is a key step in building a sliding bookshelf. It allows the shelf to move smoothly and stay secure. This process needs careful attention to detail. Proper installation ensures durability and ease of use.
Attaching Tracks
Start by measuring the space where the tracks will go. Use a level to keep the tracks straight. Mark the screw holes on the surface clearly. Pre-drill holes to prevent wood from splitting. Attach the tracks firmly with screws. Check the alignment again after fixing them. Tracks must be parallel for smooth sliding.
Mounting Rollers Or Glides
Choose rollers or glides that fit your tracks and shelf weight. Attach the rollers to the bottom of the bookshelf. Make sure they are centered and fixed tightly. Test the movement by sliding the shelf along the tracks. Adjust the rollers if the shelf sticks or wobbles. Proper mounting reduces noise and wear over time.

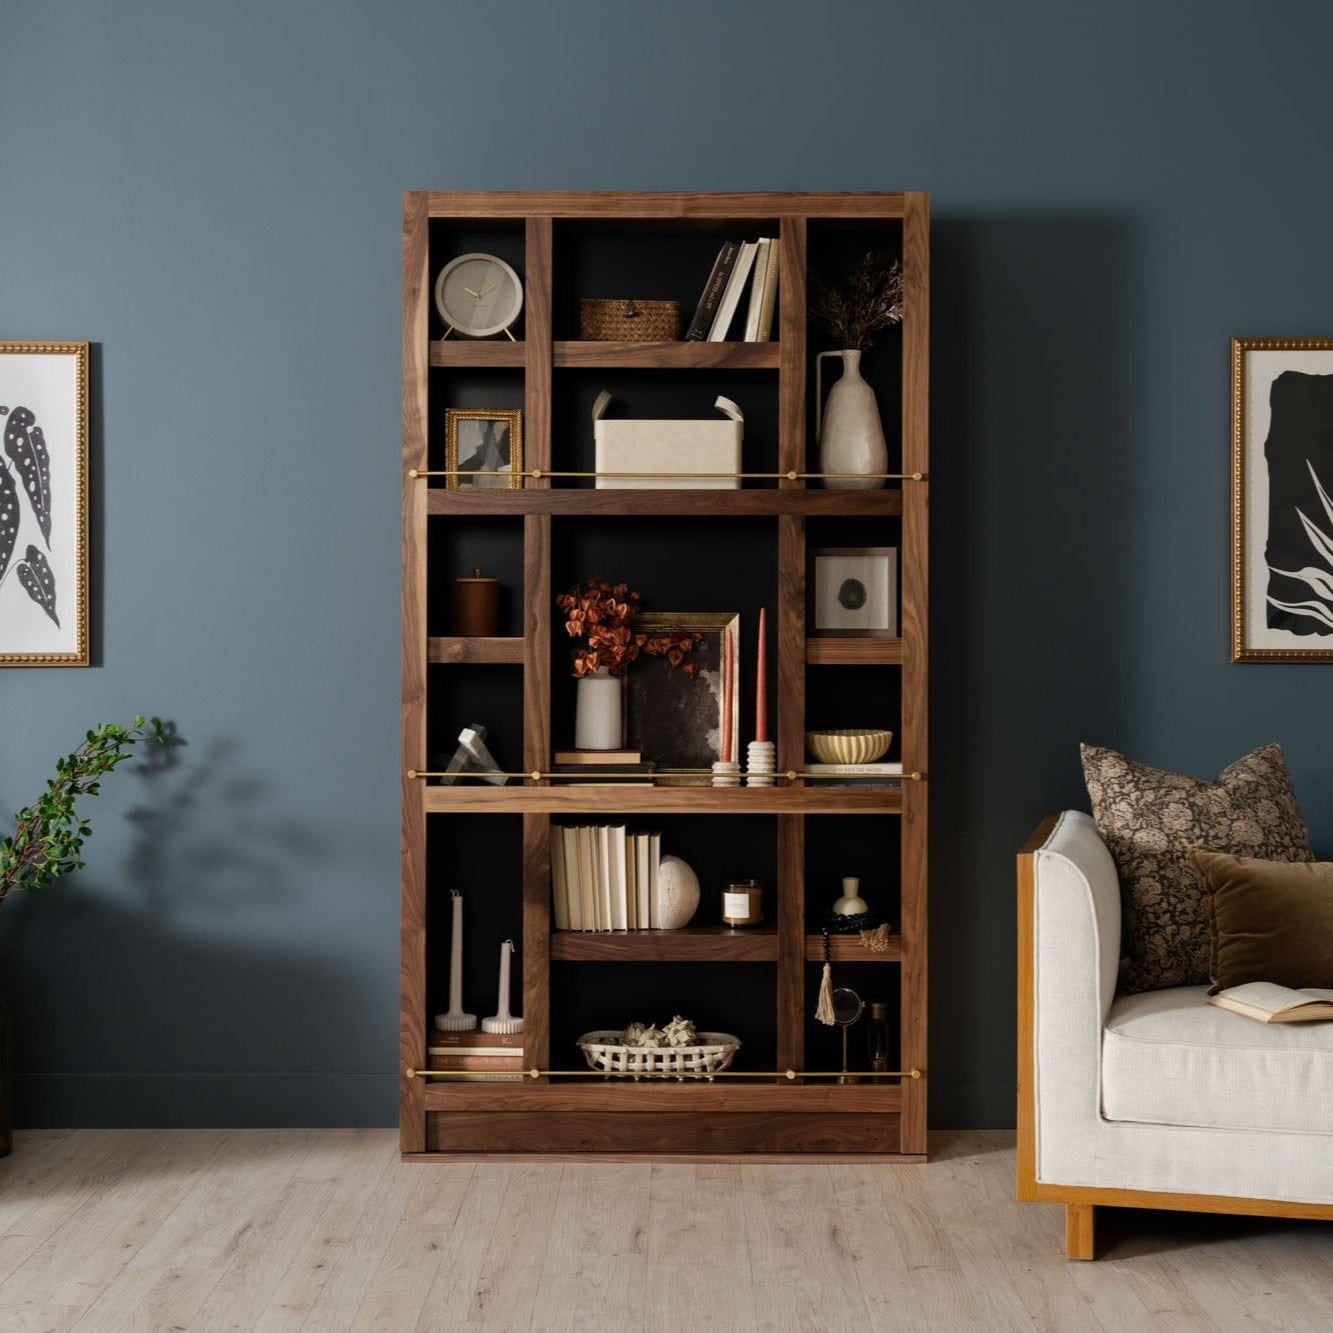
Credit: www.reddit.com
Final Assembly And Adjustments
The final assembly and adjustments are key steps in building your sliding bookshelf. This phase ensures your shelves fit well and slide smoothly. Take your time to complete these steps carefully. A well-assembled shelf will last longer and work better.
Fitting The Shelves Onto Tracks
Start by placing each shelf onto its track. Align the shelf edges with the track grooves. Make sure the shelves sit firmly without wobbling. Push gently to secure them in place. Check if the shelves are level and balanced. This step sets the stage for smooth sliding later.
Testing Smooth Movement
Slide each shelf back and forth along the tracks. Notice any sticking points or resistance. The shelves should move with little effort. Test both directions several times. This helps spot any issues early. Smooth movement means your bookshelf will be easy to use.
Making Necessary Tweaks
Adjust any shelves that do not slide well. Tighten or loosen screws on the tracks as needed. Realign shelves that are uneven or tilted. Add small shims if gaps cause wobbling. Keep testing after every change. These tweaks improve the function and look of your bookshelf.
Finishing Touches
Finishing touches bring your sliding bookshelf to life. They protect the wood and make it look beautiful. Simple steps can make a big difference in the final look and feel. Focus on painting, handles, and decoration to complete your project.
Painting Or Staining
Choose paint or stain that suits your room style. Paint adds color and hides wood grain. Stain shows the natural beauty of wood. Use a brush or cloth to apply evenly. Let each coat dry well before the next. Sand lightly between coats for a smooth finish.
Adding Handles Or Pulls
Select handles that match the design of your bookshelf. Handles help you slide the bookshelf easily. Attach them at a comfortable height. Use screws to fix handles firmly. Test the movement to ensure smooth sliding. Choose simple styles for a clean look.
Decorating Your Bookshelf
Decorate with small plants, books, or art pieces. Keep decorations light to avoid affecting the sliding. Use baskets or boxes for neat storage. Personal touches make your bookshelf unique. Change decorations with seasons or moods.

Credit: www.youtube.com
Maintenance Tips
Maintaining your sliding bookshelf ensures it works smoothly for years. Simple care keeps the tracks clear and parts from wearing out. Follow easy steps to protect your bookshelf and enjoy its function daily.
Keeping Tracks Clean
Dust and dirt can block the sliding tracks. Use a soft cloth to wipe the tracks regularly. Avoid water or harsh cleaners that can cause damage. Vacuum small debris with a brush attachment for better cleaning. Clean tracks help the shelf slide easily and quietly.
Preventing Wear And Tear
Check the moving parts for loose screws or damage. Tighten screws to keep the shelf stable. Avoid placing too much weight on the bookshelf. Heavy loads can wear out the tracks and wheels fast. Lubricate metal parts with a light oil to reduce friction. Proper care extends the life of your sliding bookshelf.
Frequently Asked Questions
What Materials Are Needed To Make A Sliding Bookshelf?
You need wood panels, sliding tracks, screws, a drill, measuring tape, and a level. Optional items include wood finish and handles.
How Do I Install Sliding Tracks For The Bookshelf?
Measure and mark the track placement on the frame. Secure tracks with screws, ensuring they are level and aligned for smooth sliding.
Can I Customize The Size Of My Sliding Bookshelf?
Yes, customize dimensions based on your space and book collection. Adjust wood panel sizes and track length accordingly for a perfect fit.
How Do I Maintain A Sliding Bookshelf For Smooth Operation?
Regularly clean tracks and rollers to remove dust. Lubricate moving parts with silicone spray to ensure easy and quiet sliding.
Conclusion
Making a sliding bookshelf adds style and saves space at home. Follow each step carefully to build it safely. Use the right tools and materials for best results. Take your time to measure and fit parts correctly. This project improves your DIY skills and creates useful storage.
Enjoy organizing your books in a smart, easy way. Keep practicing, and you can build more furniture soon. Simple projects like this bring great satisfaction and help your home look neat. Try it out and see the difference yourself.