Have you ever wanted to build your own bookshelf speaker but didn’t know where to start? Imagine having a custom speaker that fits perfectly in your space and delivers sound just the way you like it.
Making your own bookshelf speaker is easier than you think, and it can save you money while giving you a unique piece to enjoy. In this guide, you’ll discover simple steps to create a powerful, stylish speaker that suits your taste.
Ready to bring your music to life with a speaker you built yourself? Let’s dive in and make it happen.
Materials And Tools Needed
Building a bookshelf speaker needs the right materials and tools. Good preparation makes the process smooth. Knowing what to use saves time and money. This section lists all essentials for your project.
Choosing The Right Wood
Wood affects sound quality and speaker durability. Medium-density fiberboard (MDF) is popular for its density and smooth surface. Plywood offers strength and resists warping. Avoid softwoods; they vibrate too much. Pick wood with no knots or cracks. A smooth finish helps with painting or covering.
Essential Tools List
Gather tools before starting to avoid delays. A saw, like a circular or jigsaw, cuts wood precisely. A drill makes holes for screws and wires. Screwdrivers are needed to assemble parts firmly. Sandpaper smooths edges and surfaces. Clamps hold pieces tight during glue drying. A tape measure ensures exact dimensions every time.
Additional Components
Speakers need parts beyond wood and tools. Speaker drivers produce the sound you hear. Crossovers split sound frequencies for clarity. Speaker wire connects drivers to the amplifier. Binding posts let you attach wires easily. Acoustic foam or stuffing reduces unwanted echoes inside. Screws and wood glue keep the structure strong and stable.
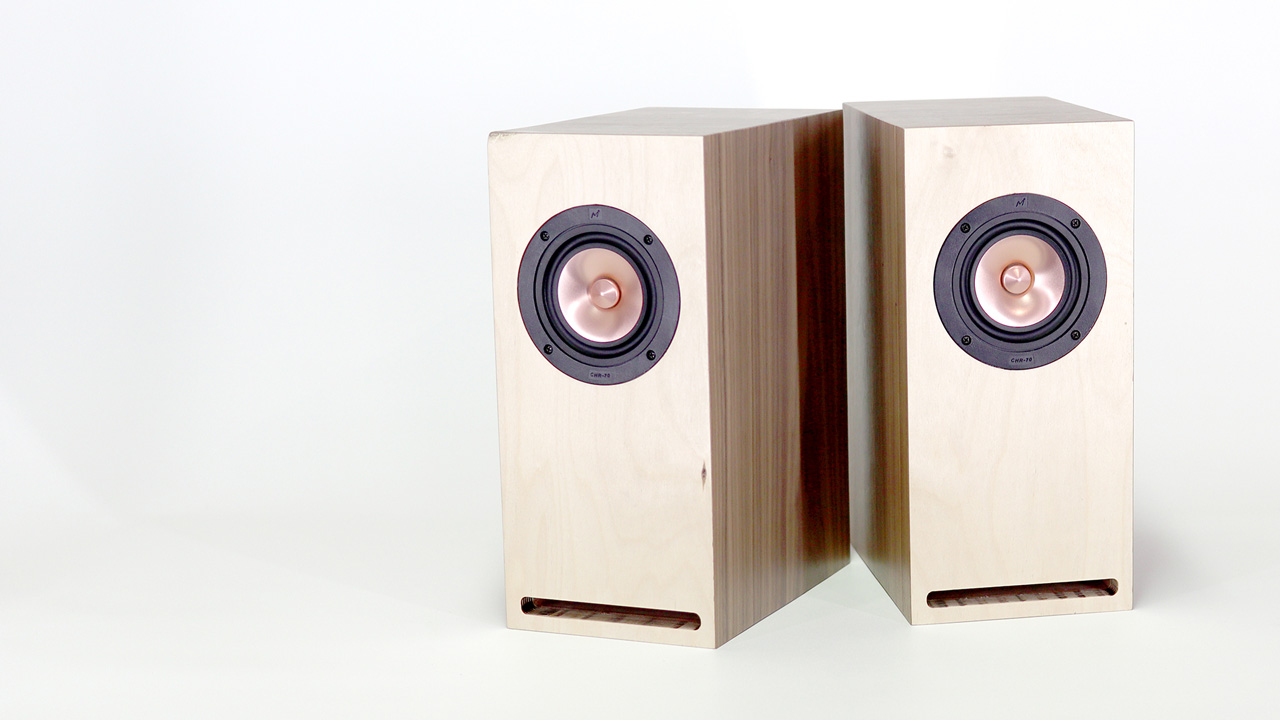
Credit: www.arylic.com
Designing Your Speaker
Designing your bookshelf speaker is a crucial step. It shapes how your speaker looks and sounds. Good design makes your speaker both nice to see and hear. Plan carefully to build a speaker that fits your space and style. Think about the parts you need and how they work together.
Selecting Speaker Drivers
Speaker drivers create the sound you hear. Choose drivers that match your sound needs. Tweeters handle high tones, and woofers manage low sounds. Pick drivers that fit your sound goal and size limits. Quality drivers give clear sound and last longer.
Determining Cabinet Dimensions
The cabinet holds the drivers and affects sound quality. Size the cabinet to fit your drivers well. Too small or too big can change the sound. Use measurements from your drivers to find the right volume. Consider space where you will place the speaker.
Creating A Blueprint
Draw a clear plan before building. A blueprint shows driver placement and cabinet shape. Mark exact sizes and parts needed. This plan helps avoid mistakes and saves time. Keep the design simple and functional for best results.
Cutting And Preparing Wood
Cutting and preparing wood is a key step in building a bookshelf speaker. It sets the base for a strong and clean-looking speaker box. Precise cuts and smooth edges help the panels fit well. This makes the speaker look good and work better.
Measuring And Marking
Start by measuring each panel carefully. Use a ruler or tape measure for accuracy. Mark the wood with a pencil at the exact size you need. Double-check all measurements before cutting. Clear markings guide your cuts and reduce mistakes.
Cutting Panels
Use a saw to cut the wood along your marks. A circular saw or jigsaw works well for this task. Cut slowly and steadily to keep the edges straight. Wear safety glasses and work on a stable surface. Proper cuts make assembly easier and stronger.
Sanding And Finishing Edges
Sand the edges of each panel after cutting. Use medium-grit sandpaper to smooth rough spots. Sand until the edges feel even and soft. This step prevents splinters and gives a neat finish. Clean dust off the wood before assembling.
Assembling The Cabinet
Assembling the cabinet is a key step in building your bookshelf speaker. This process forms the box that holds all parts. A strong, tight cabinet improves sound quality and speaker life.
Take your time and follow each step carefully. Proper assembly ensures your speaker looks good and works well.
Joining Panels
Start by arranging all wooden panels. These include the sides, top, bottom, and back. Use wood glue along the edges. Press panels together firmly.
Clamp the panels to hold them in place. Let the glue dry for several hours. Use screws or nails to add extra strength. Check for square corners before tightening.
Sealing Joints
Seal all joints to stop air leaks. Use silicone or wood sealant on inside edges. Smooth the sealant with your finger or a tool.
Check for any gaps or cracks. Proper sealing keeps sound clear and bass tight. Let the sealant dry fully before next steps.
Installing Internal Bracing
Bracing inside the cabinet adds strength and reduces vibrations. Cut bracing pieces to fit inside the box. Attach them with glue and screws.
Place braces to connect opposite panels. This stops the cabinet from flexing when playing music. Strong bracing helps your speaker sound better and last longer.
Installing Speaker Components
Installing speaker components is a key step in building your bookshelf speaker. This process ensures the speaker produces clear and balanced sound. Proper installation also protects the parts and extends the speaker’s life.
Mounting Drivers
First, place the drivers in their correct spots. Use screws to fix them firmly. Avoid overtightening to prevent damage. Make sure the drivers align with the front panel holes. This keeps the sound clear and focused.
Wiring Connections
Connect the wires carefully to the drivers. Match the positive and negative terminals correctly. Loose connections cause poor sound or no sound. Use a soldering iron or secure clips for strong links. Check all wires twice before closing the box.
Adding Acoustic Insulation
Place acoustic insulation inside the cabinet. This material reduces echoes and unwanted noise. Cut pieces to fit around the drivers and walls. Avoid blocking the driver openings. Insulation helps the speaker sound smooth and natural.
Finishing Touches
Finishing touches bring your bookshelf speaker to life. This step makes the speaker look great and work well. Small details here improve the overall feel and sound.
Applying Paint Or Stain
Choose paint or stain that matches your room’s style. Use light coats for smooth, even coverage. Let each layer dry fully before adding another. Sand lightly between coats for a clean finish. This protects the wood and enhances the look.
Attaching Speaker Grills
Speaker grills protect the drivers from dust and damage. Align the grills carefully before securing them. Use clips or magnets for easy removal later. Make sure the grills fit snugly but do not block sound. This keeps your speaker safe and stylish.
Testing Sound Quality
Play music or test tones through your speaker. Listen for clear highs, mids, and deep bass. Check for any rattles or vibrations in the cabinet. Adjust speaker placement if the sound feels off. Good sound means your project is complete.
Troubleshooting Tips
Troubleshooting is key when building bookshelf speakers. It helps fix common problems fast. This section covers simple tips for assembly, sound, and care. Follow these steps to enjoy clear, rich audio from your new speakers.
Common Assembly Issues
Loose screws can cause vibrations and poor sound. Tighten all screws firmly but avoid cracking the wood. Check that all wires connect properly. Poor wiring leads to no sound or static noise. Use a multimeter to test connections if unsure. Make sure the speaker drivers fit snugly in the cabinet. Gaps may affect sound quality and durability.
Improving Sound Performance
Place the speakers away from walls for better bass. Use foam pads under the speakers to reduce vibrations. Adjust the crossover settings if available to balance highs and lows. Avoid placing speakers inside closed cabinets. That can muffle the sound. Test different room spots to find the best audio position.
Maintenance Advice
Dust the speakers regularly to avoid blocking sound holes. Clean the speaker cones gently with a soft brush or cloth. Avoid using water or harsh cleaners. Check wires and connections every few months. Replace damaged cables immediately to keep sound clear. Store speakers in a dry place to prevent damage to wood and electronics.

Credit: www.arylic.com
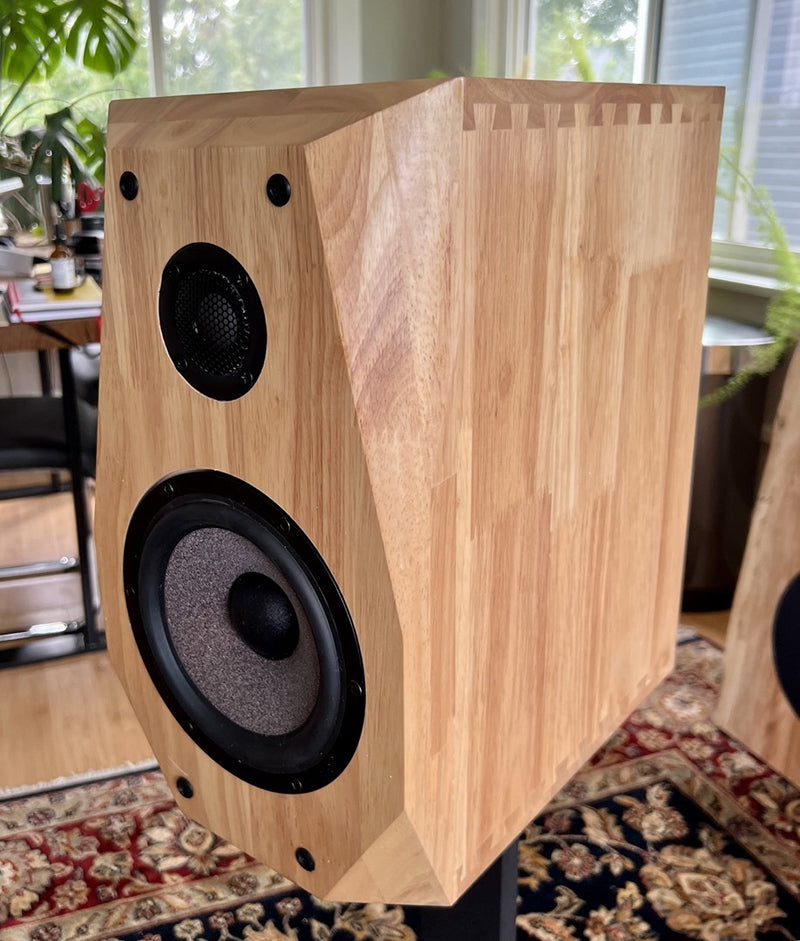
Credit: iwistao.com
Frequently Asked Questions
What Materials Are Needed To Make A Bookshelf Speaker?
You need wood panels, speaker drivers, crossover components, screws, glue, and speaker terminals. Quality materials ensure better sound and durability.
How Do I Assemble The Bookshelf Speaker Box?
Cut wood panels to size, glue and screw them together. Ensure airtight joints for better sound quality and durability.
What Type Of Drivers Should I Use For Bookshelf Speakers?
Use a woofer for low frequencies and a tweeter for highs. Choose drivers based on your sound preference and budget.
How Do I Wire The Crossover In A Bookshelf Speaker?
Connect the crossover between the input terminal and drivers. It directs frequencies correctly for clear, balanced sound output.
Conclusion
Building a bookshelf speaker is a fun and useful project. You can enjoy better sound at home without spending much. Follow the steps carefully to get good results. Choose the right materials and tools for a strong speaker. Take your time to assemble and test it well.
This project helps you learn about sound and electronics. Try customizing your speaker to fit your style. Enjoy the satisfaction of listening to music from your own creation. Simple steps lead to great sound. Give it a try and hear the difference!