Looking for a smart way to add style and function to your space? Building a fold out console table could be exactly what you need.
Imagine having a sleek table that stays out of the way when you don’t need it, but quickly unfolds to give you extra surface space whenever you want. In this guide, you’ll discover simple steps to create your own fold out console table, even if you’re new to DIY projects.
By the end, you’ll have a unique piece that saves space and impresses guests—all made by your own hands. Ready to transform your room and your skills? Let’s get started!

Credit: www.spryinterior.com
Choosing The Right Materials
Choosing the right materials is key to building a strong fold out console table. It affects how sturdy the table will be. It also changes how the table looks and how long it lasts. Picking good wood and hardware makes the project easier and the results better.
Use materials that balance strength and style. Think about where you will use the table. This helps decide which wood and tools to choose.
Selecting Wood Types
Pick wood that is strong and easy to work with. Pine is soft, cheap, and easy to cut. Oak is hard, durable, and looks great. Birch offers a smooth finish and good strength. Avoid wood that warps or cracks easily. Check the wood for knots or damage before buying.
Choose wood with a smooth surface. This helps when sanding and painting. Thicker wood adds strength but can be heavy. Thin wood is lighter but may need extra support.
Necessary Hardware And Tools
Gather all hardware before starting. Hinges are essential for the fold out part. Choose sturdy, smooth-operating hinges. Screws must fit the wood thickness well. Use wood glue to add extra hold.
Basic tools include a saw, drill, screwdriver, and sander. A tape measure and pencil help with accuracy. A clamp keeps pieces steady while gluing. Sandpaper smooths rough edges for a clean finish.
Designing Your Console Table
Designing your fold-out console table is the first step in creating a practical piece. Good design makes the table both useful and stylish. It must fit your space and meet your needs.
Start by thinking about size, shape, and how the fold-out part will work. Careful planning saves time and materials later. Clear design helps avoid mistakes.
Measuring Your Space
Measure the area where the console table will go. Note the width, height, and depth available. Check for obstacles like doors or vents.
Consider how much space you want when the table is folded and unfolded. The fold-out part needs room to open fully. Write all measurements down carefully.
Sketching The Fold-out Mechanism
Draw a simple sketch of your table with the fold-out section. Show how the fold-out piece attaches and moves. Use arrows to mark the direction it folds.
Think about hinges or sliding parts for smooth folding. The mechanism must be strong and easy to use. Plan for support when the fold-out is open.
Cutting And Preparing Wood Pieces
Cutting and preparing wood pieces is a key step in building a fold-out console table. This process shapes the wood into the right sizes and smooths the surfaces. Proper cutting and sanding make assembly easier and improve the table’s look. Take your time for precise work. Good preparation leads to a strong and beautiful table.
Cutting To Size
Start by measuring each piece of wood carefully. Use a tape measure and mark the wood with a pencil. Cut the wood using a saw that fits the size and type of wood. Make straight cuts to ensure the pieces fit well later. Wear safety glasses and work on a stable surface. Check each piece after cutting to confirm the correct size.
Sanding And Smoothing Surfaces
After cutting, sand each wood piece to smooth rough edges. Use medium-grit sandpaper first, then fine-grit for a soft finish. Sand along the wood grain to avoid scratches. Remove dust with a brush or cloth before moving to assembly. Smooth wood helps paint or stain stick better. It also prevents splinters and improves the table’s feel.
Assembling The Table Frame
Assembling the table frame is a crucial step in building a fold out console table. The frame supports the entire structure. It must be strong and stable. Proper assembly ensures the table lasts a long time. Follow simple steps to build a solid frame.
Joining Techniques
Use wood glue and screws for strong joints. First, apply glue to the edges that meet. Press them together firmly. Then, drill pilot holes to avoid wood splitting. Insert screws to lock the pieces in place. For extra strength, consider using corner brackets. These keep the frame square and steady. Make sure all joints are flush and tight.
Securing The Base
The base holds the table upright. Attach the legs to the frame securely. Use screws and wood glue for a firm hold. Check that each leg is straight and even. Add cross braces between legs for more support. This prevents wobbling and keeps the table steady. Test the base on a flat surface before moving on.
Installing The Fold-out Mechanism
Installing the fold-out mechanism is a key step in building your console table. This part allows the table to open and close smoothly. Proper installation ensures durability and ease of use. Take your time to position the parts correctly. Follow each step carefully for the best results.
Attaching Hinges
Start by choosing strong hinges that fit your table size. Place the hinges evenly along the folding edge. Mark the screw holes with a pencil for accuracy. Use a drill to make pilot holes before screwing in. Secure the hinges tightly but avoid over-tightening. Check that the hinges align perfectly to prevent misalignment. Proper hinge attachment keeps your table stable and functional.
Ensuring Smooth Movement
Test the fold-out action after attaching the hinges. The table should open and close without resistance. Lubricate the hinges with a little oil for smoother motion. Adjust the screws if the movement feels stiff or loose. Make sure the table folds flat when closed. Smooth movement extends the life of your fold-out console table. This step is crucial for user comfort and table safety.
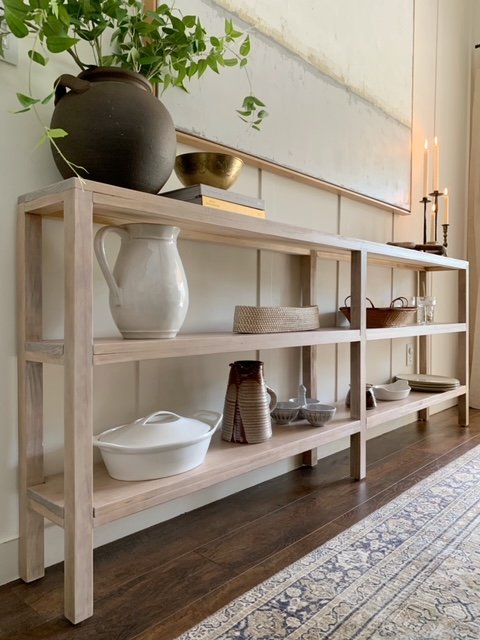
Credit: www.hartleyhomedesign.com
Finishing Touches
Finishing touches make your fold out console table stand out. They protect the wood and add style. These final steps bring your project to life. Focus on painting, staining, and adding decorative details. These choices highlight your work and match your space.
Painting And Staining
Choose paint or stain based on your room’s style. Paint offers bold, solid colors that hide imperfections. Stain shows the natural wood grain and adds warmth. Use a brush or cloth for smooth, even coats. Apply thin layers and let each dry fully. Seal with a clear coat to protect from wear.
Adding Decorative Elements
Decorative touches give your table character and charm. Consider adding knobs, handles, or metal brackets. These small items improve function and style. Use painter’s tape to mark spots before attaching. Sand edges gently for a smooth finish. Custom stencils or decals can add unique patterns too.
Maintenance Tips
Maintaining your fold out console table keeps it looking great and working well. Simple care steps extend its life and prevent damage. Pay attention to cleaning and fixing small problems early.
Cleaning And Care
Dust the table often with a soft cloth. Avoid using harsh cleaners that can damage the finish. Use a mild soap and water solution for sticky spots. Dry the surface right after cleaning to stop water marks.
Protect the table from direct sunlight to avoid fading. Use coasters to prevent stains from drinks. Tighten screws and bolts every few months to keep the table stable.
Troubleshooting Common Issues
If the fold out mechanism feels stiff, apply a small amount of lubricant. Check for loose screws or parts that cause wobbling. Tighten any loose hardware carefully.
Fix scratches by lightly sanding and applying matching wood finish. For squeaky hinges, use a little oil to stop noise. Replace broken parts quickly to avoid bigger problems.
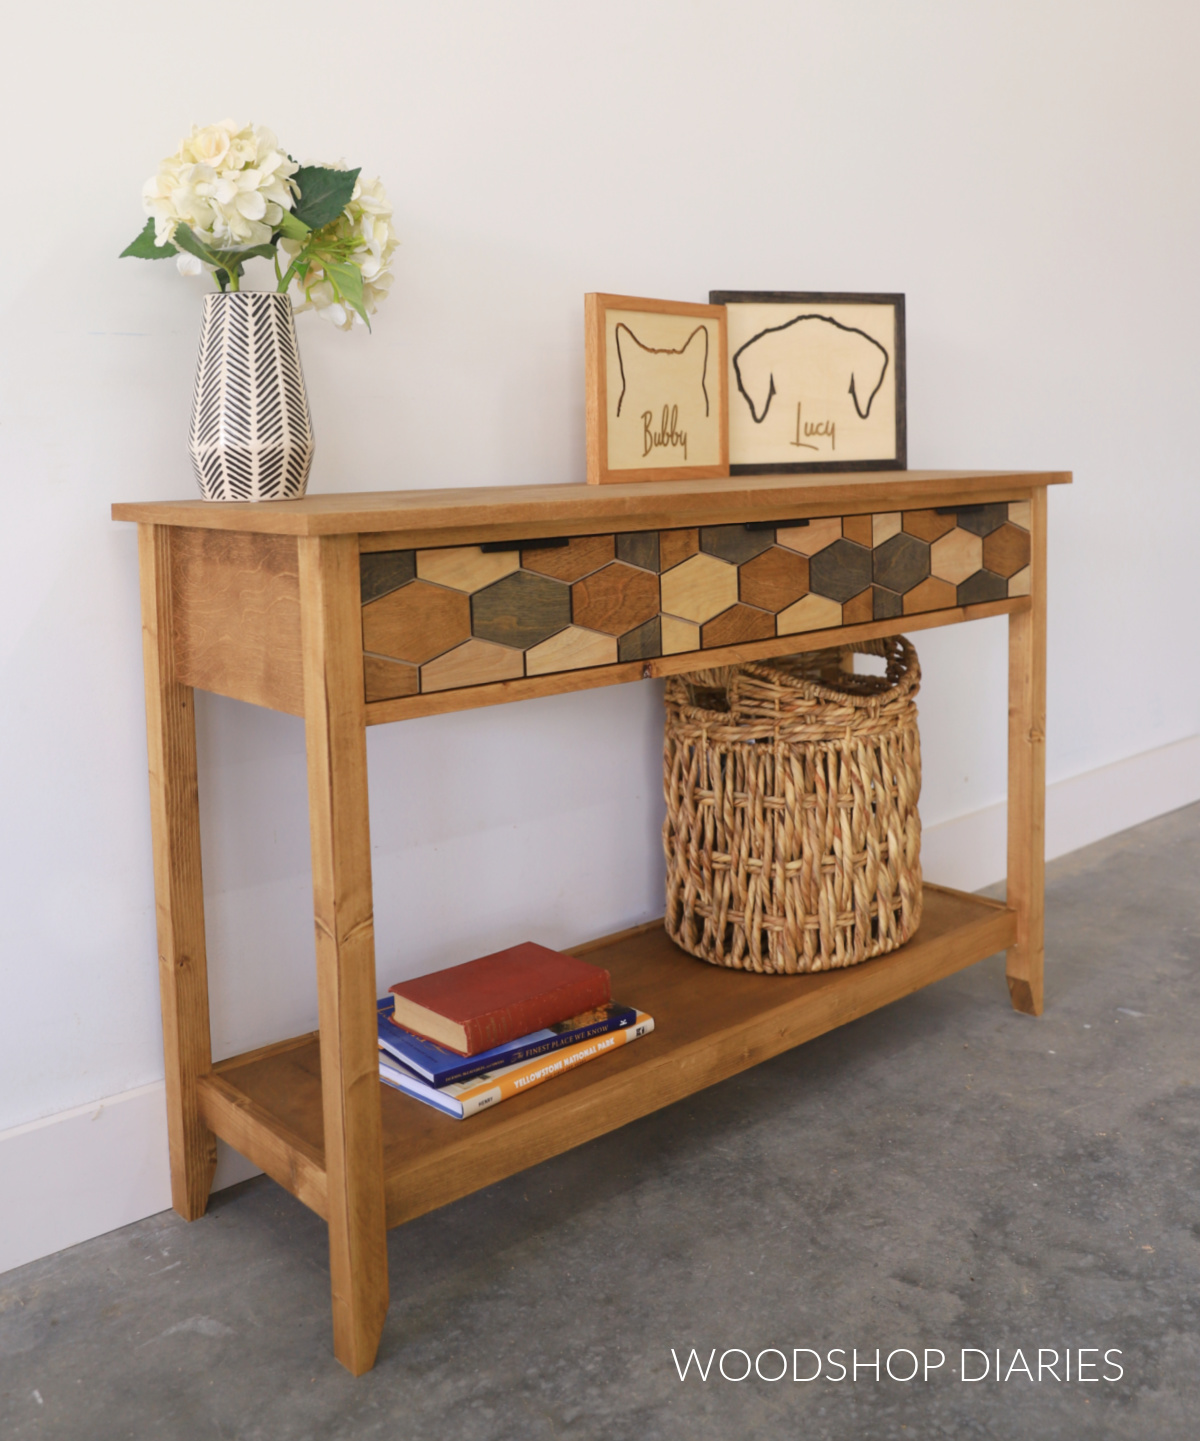
Credit: www.woodshopdiaries.com
Frequently Asked Questions
What Materials Do I Need To Build A Fold Out Console Table?
You need wood boards, hinges, screws, a drill, measuring tape, sandpaper, and wood finish. Quality materials ensure durability and a smooth finish for your fold out console table.
How Long Does It Take To Build A Fold Out Console Table?
Building usually takes 4 to 6 hours, depending on skill level. Proper planning and preparation can reduce construction time significantly.
Can I Customize The Size Of The Fold Out Console Table?
Yes, you can adjust dimensions to fit your space. Measure your area carefully and modify wood cuts accordingly for a perfect fit.
What Tools Are Essential For Constructing This Table?
A drill, screwdriver, saw, measuring tape, clamps, and sander are essential. These tools help ensure accuracy and ease during assembly.
Conclusion
Building a fold out console table adds style and function to any space. You save room without losing surface area. The steps are clear and easy to follow. Using simple tools and materials makes the process smooth. This project suits beginners and pros alike.
Try it yourself to enjoy a smart, handy table. Small changes can make a big difference at home. Now, your space feels more open and organized. Give your room a fresh look with this idea.
