Are you struggling to display your MySQL data clearly in your Node.js projects? Imagine a simple way to see your database results neatly organized right in your console.
Using console. table can transform how you review your data, making debugging and development faster and easier. You’ll learn step-by-step how to fetch data from MySQL and present it using console. table in Node. js. By the end, you’ll have a powerful tool to visualize your data instantly, saving you time and frustration.
Ready to make your data easier to read? Let’s dive in!
Setting Up Node Environment
Setting up the Node environment is the first step to work with data from MySQL. This setup allows you to run JavaScript outside the browser. It helps you connect to databases and display data easily. Follow these simple steps to prepare your workspace.
Installing Node.js And Npm
Download Node.js from the official website. This installation includes npm, the package manager. npm helps you add useful tools to your project. After installation, check if Node.js works by typing node -v in the terminal. Then, check npm with npm -v.
Creating A New Project Folder
Make a new folder on your computer for the project. Name it clearly, like mysql-node-console. Open the terminal and go to this folder using the cd command. This folder will hold all your files and codes.
Initializing Npm
Inside your project folder, run npm init -y in the terminal. This command creates a package.json file automatically. It keeps track of your project settings and dependencies. Now, you are ready to add packages like MySQL drivers.
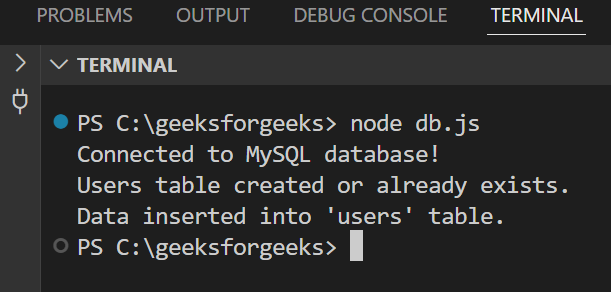
Credit: www.geeksforgeeks.org
Connecting To Mysql Database
Connecting to a MySQL database is the first step to work with data in Node.js. This connection allows your app to send queries and receive data easily. Setting up this connection involves installing the right module, setting credentials, and opening the link to the database.
Installing Mysql Node Module
To connect MySQL with Node.js, you need the MySQL module. It helps your app talk to the database. Run this command in your project folder:
npm install mysqlThis installs the package and saves it in your project. You can then use it in your code to manage database tasks.
Configuring Database Credentials
Credentials let your app access the database safely. You need the host, username, password, and database name. Keep these details secure. Example setup:
const config = { host: 'localhost', user: 'root', password: 'yourPassword', database: 'yourDatabase' };Change these values to match your own database settings. Correct credentials ensure a smooth connection.
Establishing The Connection
Use the MySQL module to create a connection using your credentials. This step opens communication with the database.
const mysql = require('mysql'); const connection = mysql.createConnection(config); connection.connect((err) => { if (err) { console.error('Error connecting: ' + err.stack); return; } console.log('Connected as id ' + connection.threadId); });This code tries to connect and logs success or error. Once connected, you can run queries and fetch data.
Fetching Data From Mysql
Fetching data from MySQL is the first step in many Node.js applications. It helps you get the information stored in your database. This data can then be used in your app or shown on the screen. Understanding how to fetch data correctly improves your app’s performance and reliability.
Let’s explore how to write SQL queries, run them in Node.js, and handle the results. Each part is important to get data smoothly and display it clearly using console.table.
Writing Sql Queries
SQL queries tell the database what data you want. A simple query looks like this: SELECT FROM users; This fetches all data from the “users” table. You can select specific columns by listing them. For example, SELECT name, email FROM users; gets only names and emails. Use WHERE clauses to filter results, like WHERE age > 18. Write clear and simple queries for best results.
Executing Queries In Node
Node.js uses libraries like mysql or mysql2 to connect to MySQL. First, create a connection with your database credentials. Then, use the query method to run your SQL commands. This method sends the query and waits for results. Always handle errors to avoid crashes. Use asynchronous functions or callbacks to manage query execution smoothly.
Handling Query Results
After running a query, MySQL returns the data in an array. Each item represents a row from the table. Use console.table to display this data in a neat table format in your console. It helps you see all rows and columns clearly. Check if the result is empty before using it. Handle errors and data carefully to keep your app stable and user-friendly.
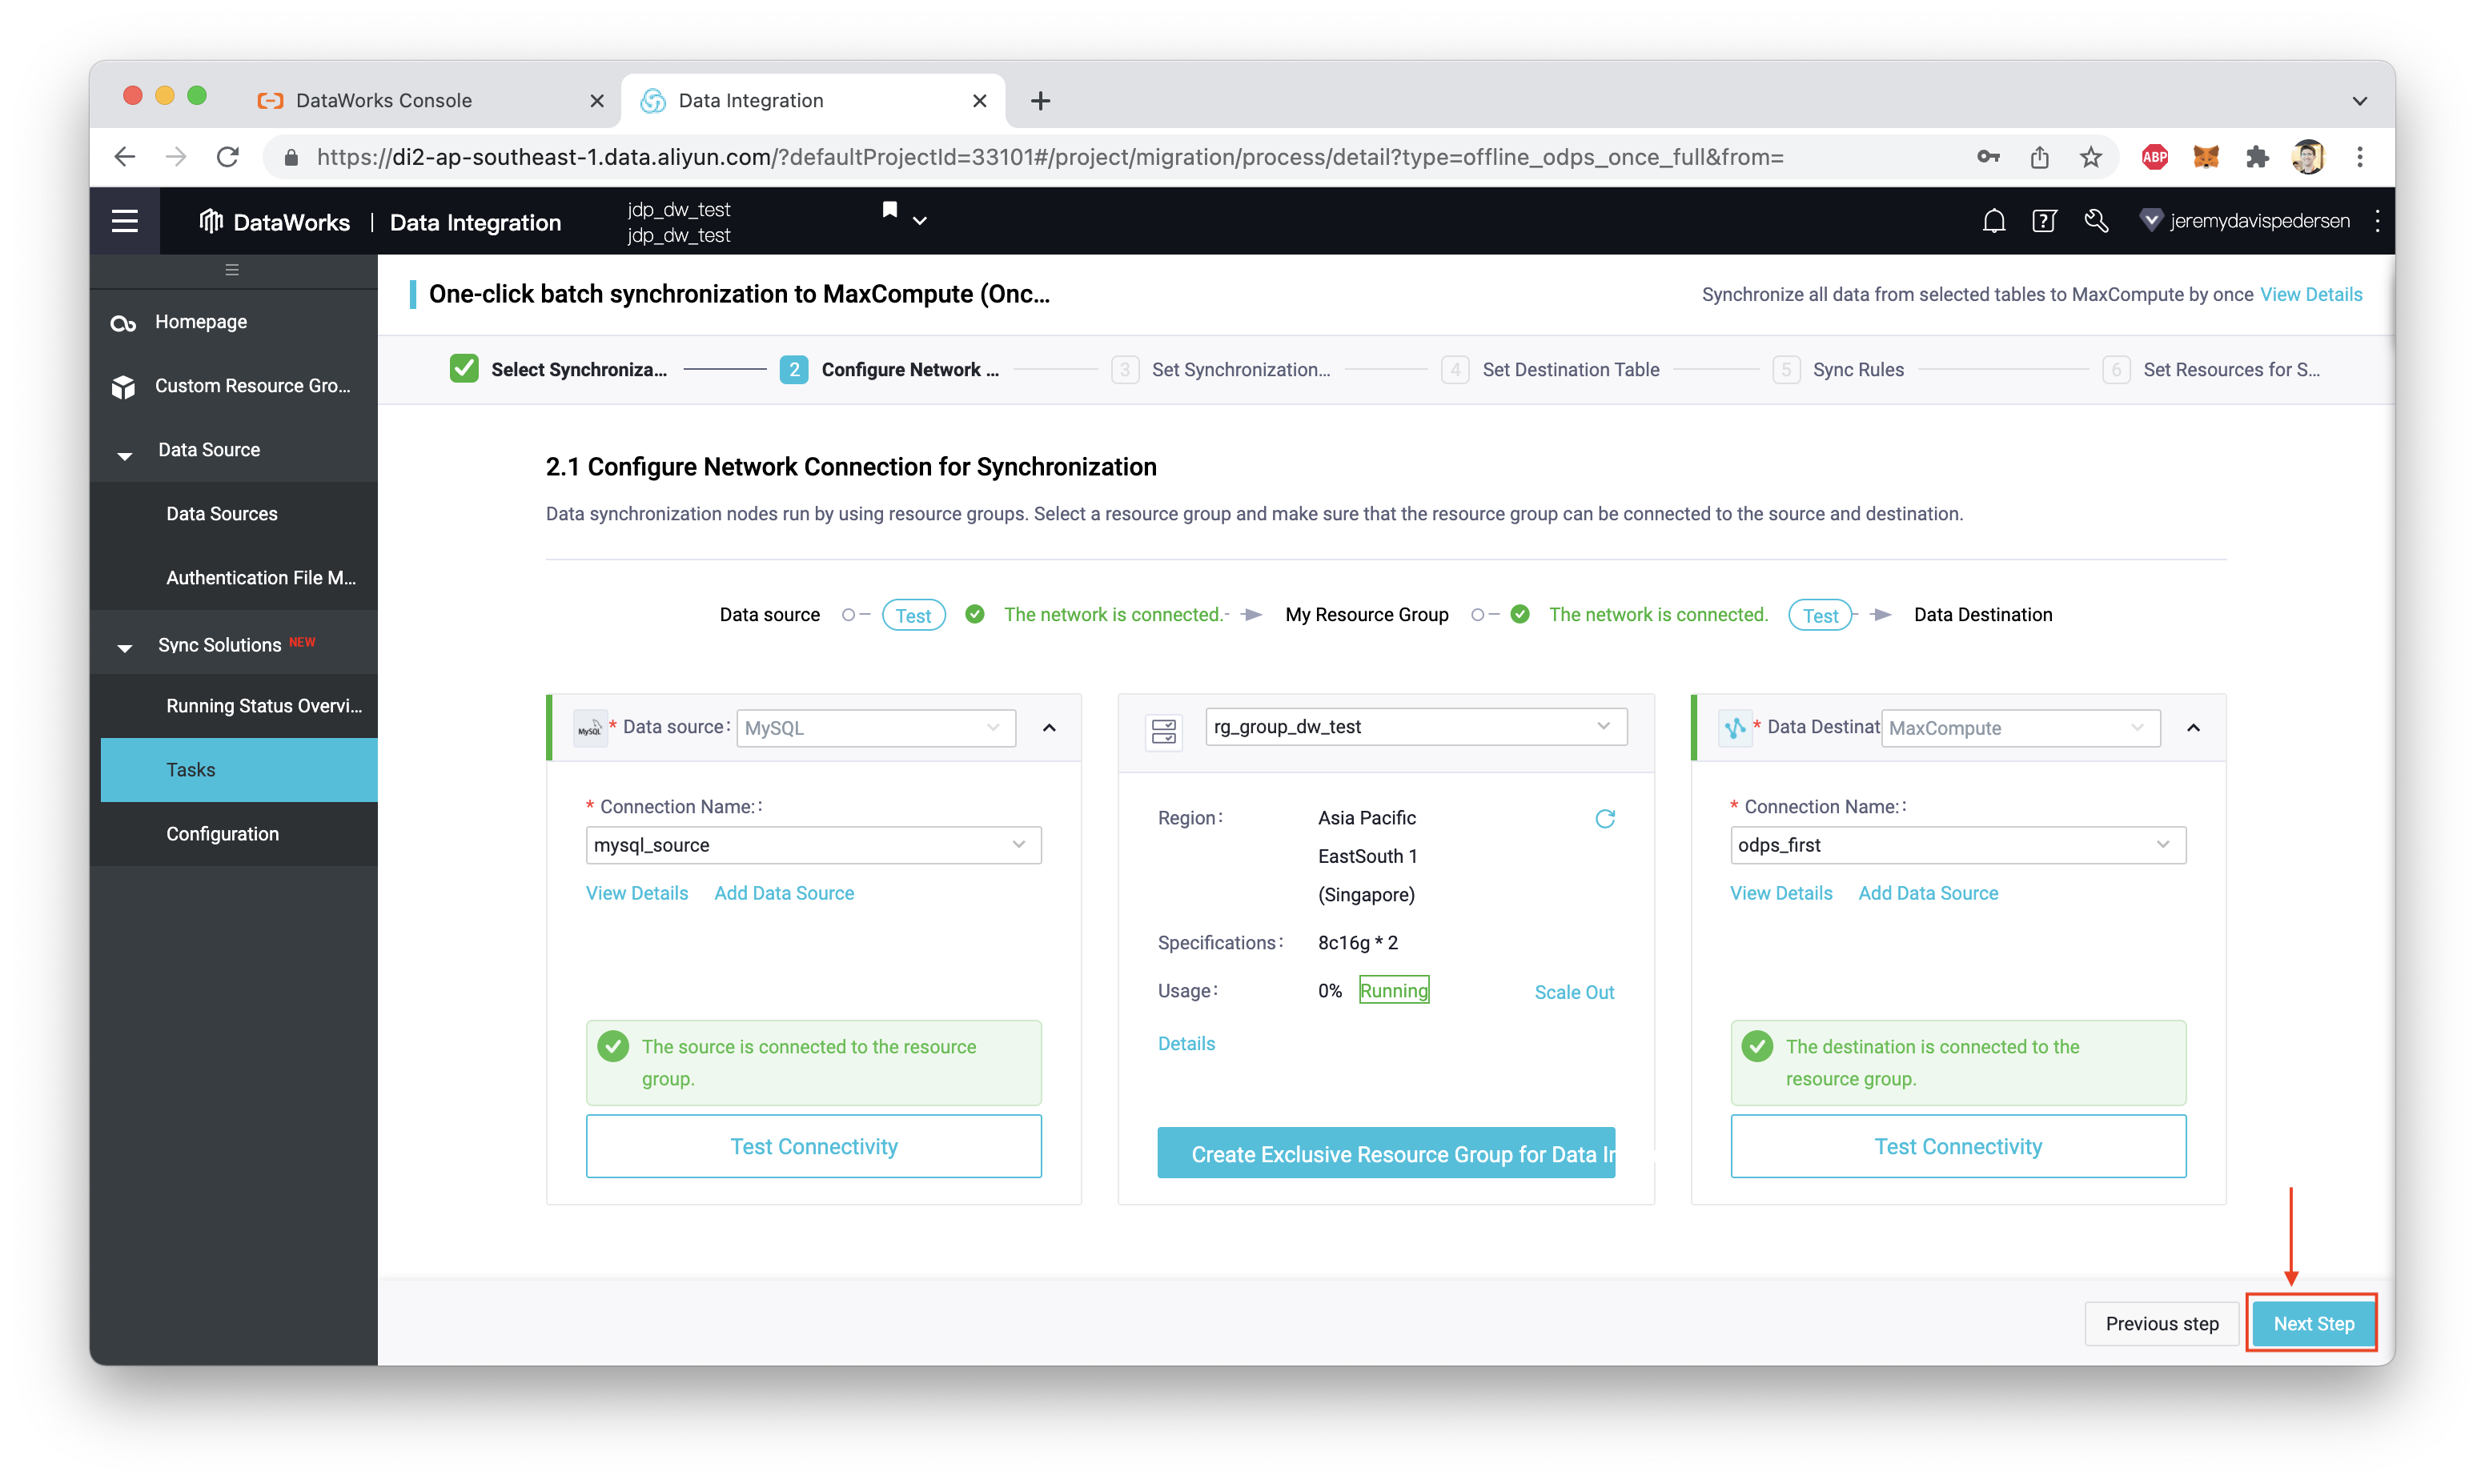
Credit: www.alibabacloud.com
Using Console.table For Data Display
Displaying data clearly helps developers understand their results faster. Using console.table in Node.js offers a simple way to show MySQL query results in a neat table. This method improves readability and makes data easier to analyze. Below, we explore how to use console.table effectively for data display.
Introduction To Console.table
console.table is a built-in Node.js function. It prints arrays or objects as formatted tables in the console. This makes rows and columns visually clear. Unlike simple console.log, it organizes data by keys and values. It is useful for debugging and data review.
Formatting Query Results
MySQL query results often come as arrays of objects. Each object represents a row with column names as keys. Before using console.table, ensure the data is in this format. Clean and convert the result if needed. This makes the output easy to read and understand.
Displaying Data In Table Format
After running a query, pass the result to console.table. The console will display a clear table with headers and rows. Each column header matches the object keys. Rows show the corresponding values from the query. This helps quickly spot errors or analyze data patterns.
Error Handling And Debugging
Error handling and debugging are vital when working with console.table data from MySQL to Node.js. These steps help find and fix problems quickly. They keep your app stable and your data reliable. Understanding common errors and how to debug makes development smoother.
Common Connection Errors
Connection errors happen when Node.js cannot reach the MySQL server. Check if the server is running. Confirm the host, user, password, and database details are correct. A wrong port number causes failure. Network issues may block the connection. Always handle connection errors with try-catch or callbacks. Show clear messages to know the problem fast.
Query Execution Issues
Query errors occur when MySQL cannot run your SQL commands. Syntax mistakes are common causes. Missing or wrong table and column names lead to failure. Data type mismatches can also break queries. Use parameterized queries to prevent injection risks. Log query errors clearly. This helps identify which part of the query is wrong.
Debugging Console Output
Use console.table to view query results in a neat table format. If output is empty or incorrect, check your query and connection first. Add console.log statements before and after the query to track data flow. Inspect the error object carefully. It often holds clues to what went wrong. Step through code with a debugger to find subtle bugs. Clear and consistent console output speeds up fixing issues.
Enhancing Data Presentation
Presenting data clearly improves understanding and speeds up decisions. Console.table in Node.js offers a simple way to display MySQL data. Enhancing this presentation makes data easier to read and analyze. Small changes can create big differences in how data appears.
Customizing Table Output
Customize console.table to show only needed columns. Filter out extra data to keep the table clean. Rename headers for clarity and better context. Format numbers and dates for easy reading. Adjust column widths to prevent wrapped text. These tweaks help users focus on key information.
Using Third-party Libraries
Use libraries like cli-table or table for advanced formatting. These tools add colors, borders, and alignment options. They support nested tables and wider data sets. Using them improves visual appeal without extra coding. They work well with MySQL data fetched in Node.js.
Exporting Table Data
Exporting data supports sharing and offline analysis. Convert console.table output into CSV or JSON files. Use Node.js packages like json2csv for easy export. Save files locally or upload to cloud storage. Exported files help teams review data outside the console.
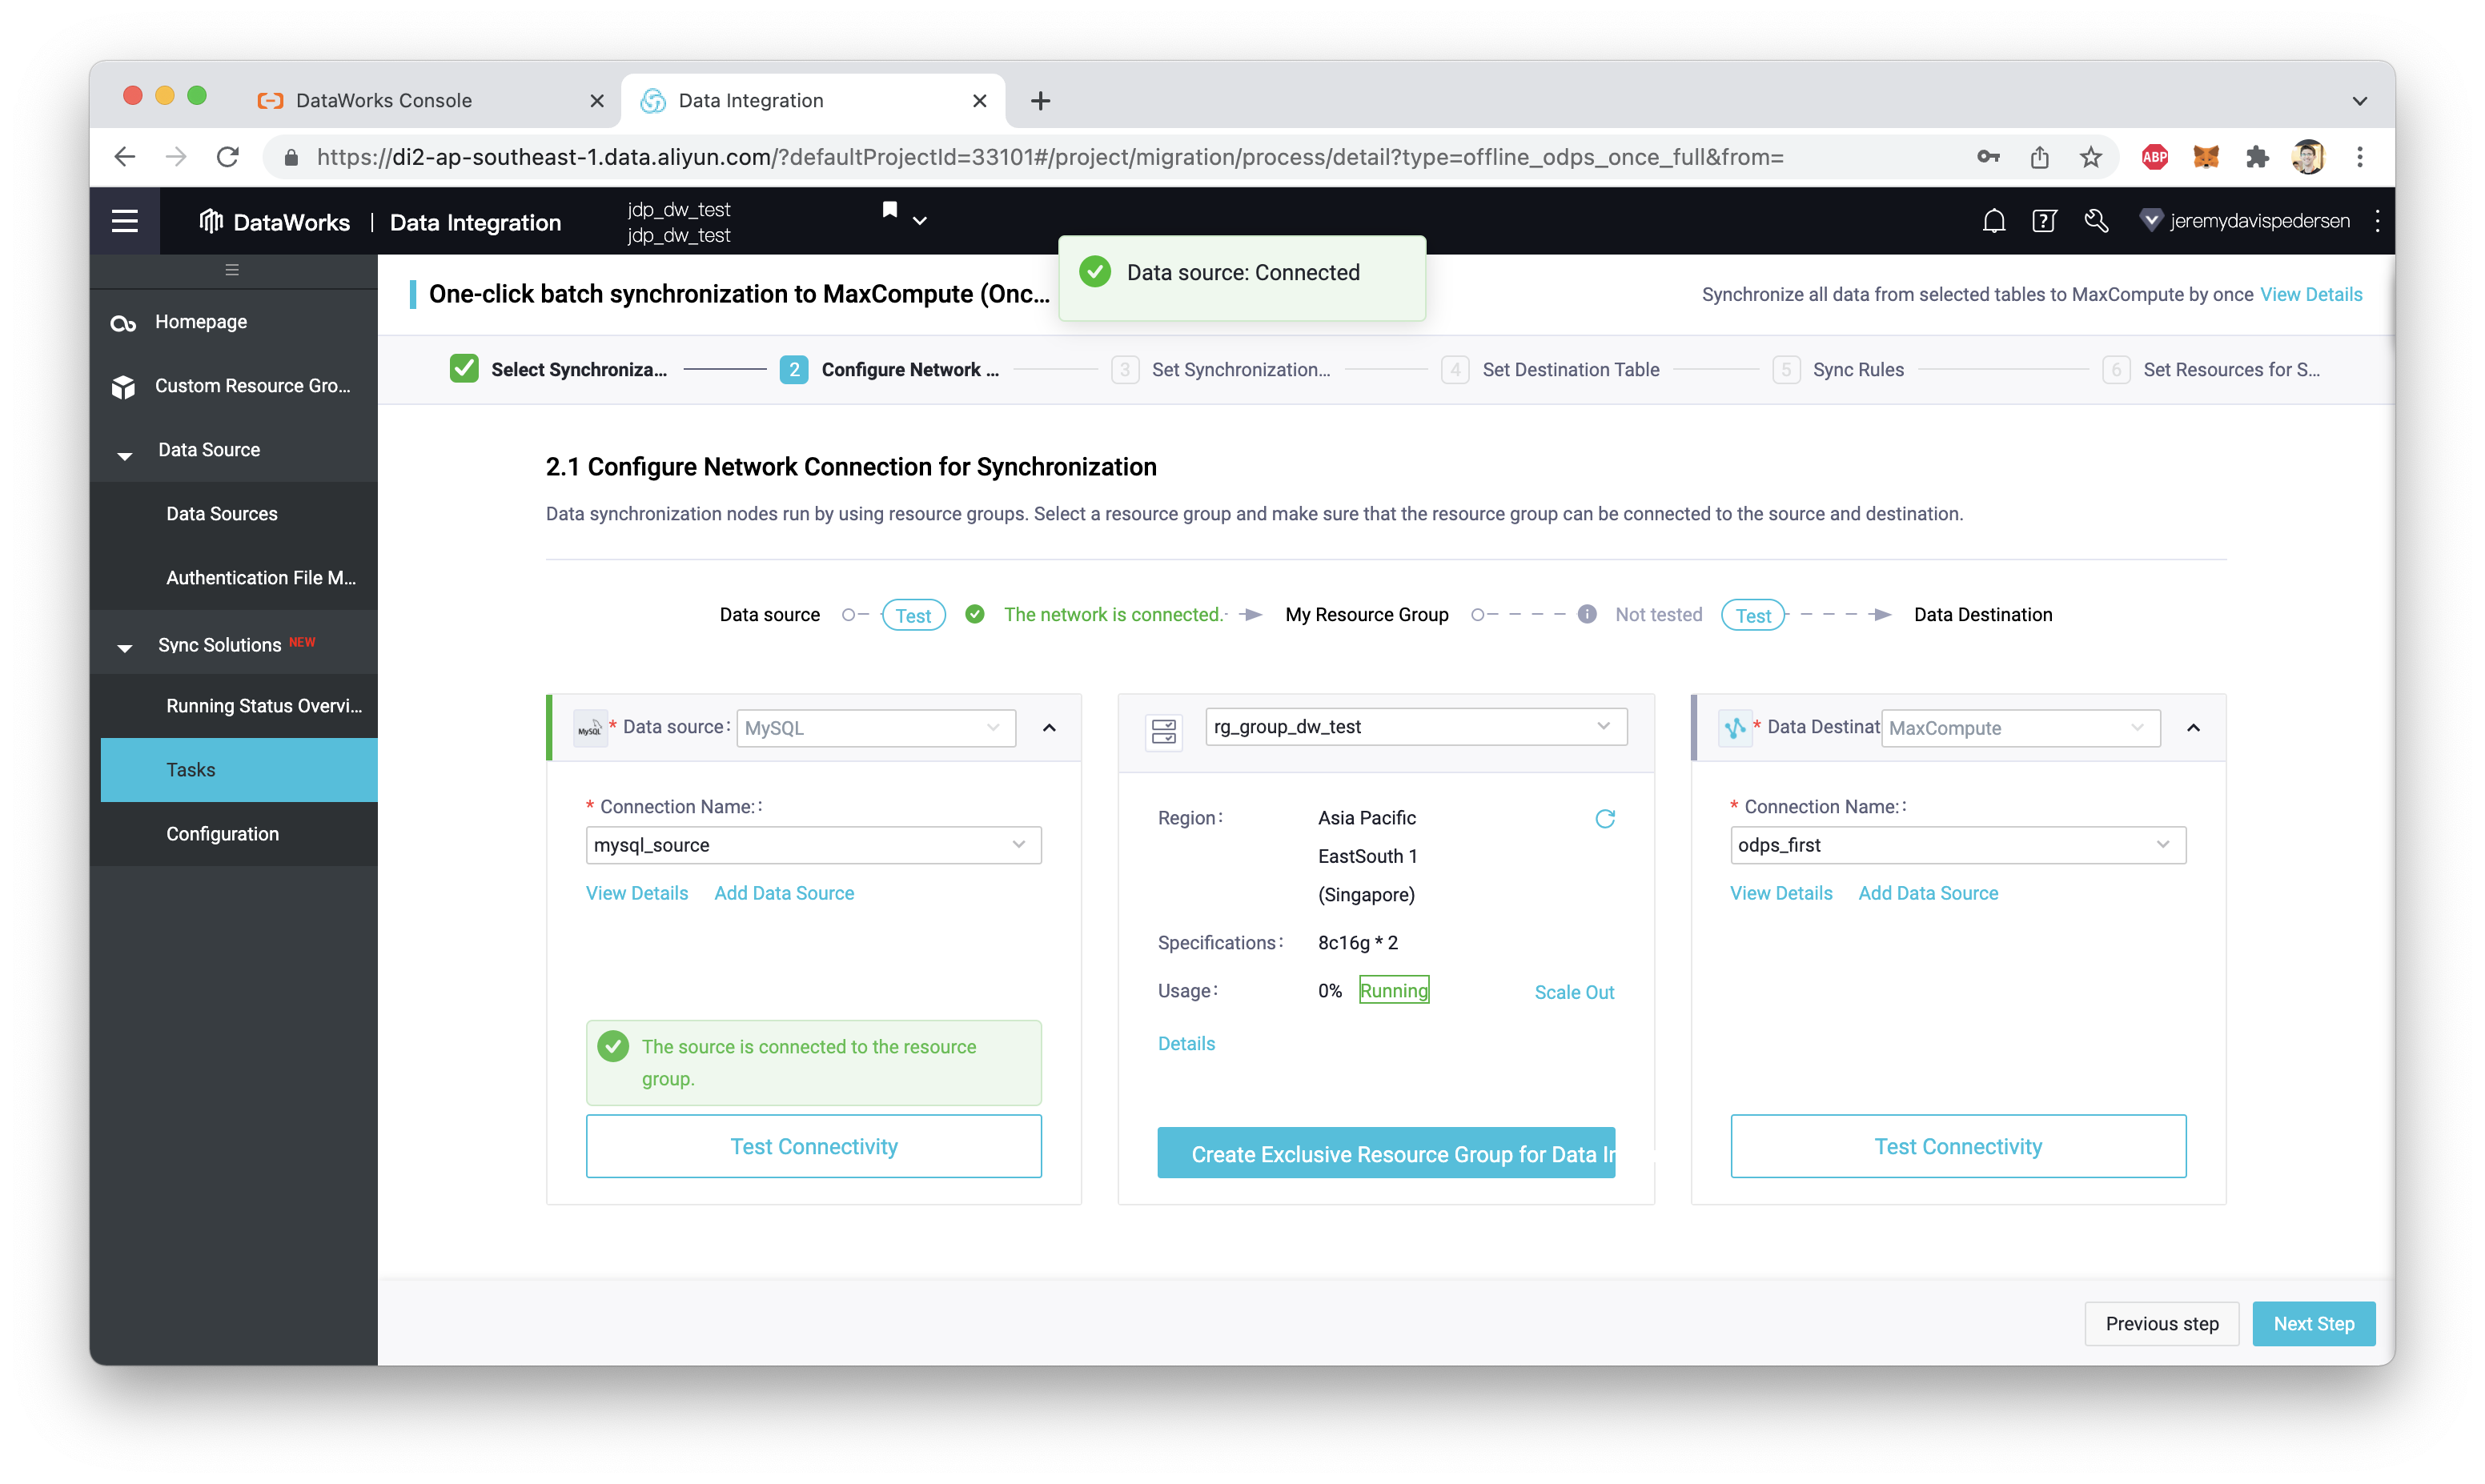
Credit: www.alibabacloud.com
Frequently Asked Questions
How To Display Mysql Data Using Console.table In Node.js?
Use the MySQL package to fetch data in Node. js. Then, apply console. table() to neatly display the results as a formatted table in the console. This method improves readability and debugging during development.
What Are The Benefits Of Using Console.table For Mysql Data?
Console. table enhances data visualization by presenting MySQL query results as structured tables. It simplifies data analysis, makes debugging easier, and improves code clarity without needing extra libraries.
How To Connect Mysql Database To Node.js For Console.table?
Install the MySQL Node. js driver. Create a connection using mysql. createConnection(). Query your database and pass results to console. table() for formatted output. This enables easy data display directly in your terminal.
Can Console.table Handle Large Mysql Datasets Efficiently?
Console. table works best with small to medium datasets. Large datasets may clutter the console and reduce readability. For big data, consider pagination or exporting results for better management.
Conclusion
Displaying MySQL data in Node. js using console. table is simple. It helps you see data clearly in your console. You just connect to MySQL, run your query, and pass the results to console. table. This method saves time and makes debugging easier.
Try it out in your next project to view database data quickly and cleanly. Clear output means fewer mistakes and faster coding. Keep practicing this approach to improve your coding skills step by step.
