Are you tired of juggling windows and struggling to keep your Mac Bookshelf organized across multiple screens? Imagine having your entire library spread out neatly on each monitor, making it easier than ever to browse, read, and manage your books.
If you’ve ever wondered how to get your Mac Bookshelf working seamlessly on multiple monitors, you’re in the right place. This guide will show you simple steps to boost your productivity and enjoy a smoother reading experience. Keep reading to discover how to unlock the full potential of your Mac setup.
Check Display Compatibility
Before setting up your Mac Bookshelf on multiple monitors, check if your devices are compatible. Compatibility ensures smooth connection and good display quality. It saves time and prevents frustration during setup.
Understanding your Mac model and monitor requirements is key. This helps avoid buying wrong cables or adapters. It also ensures your Mac can support more than one screen at once.
Supported Mac Models
Not all Mac models support multiple monitors. Most recent MacBook Pro and MacBook Air models do. Macs with M1 or later chips have some limits on external displays. Intel-based Macs usually support more screens.
Check your Mac’s specifications on Apple’s website. Look for the maximum number of external displays supported. This number tells you how many monitors you can connect at the same time.
Monitor Requirements
Monitors need specific ports to connect with your Mac. Common connections include HDMI, DisplayPort, and USB-C. Your Mac may need adapters to match these ports. Ensure your monitors support the resolution your Mac can output.
Some older monitors may not work well with new Macs. Check monitor refresh rates and resolution compatibility. Using compatible monitors improves display clarity and performance.
Credit: www.macstories.net
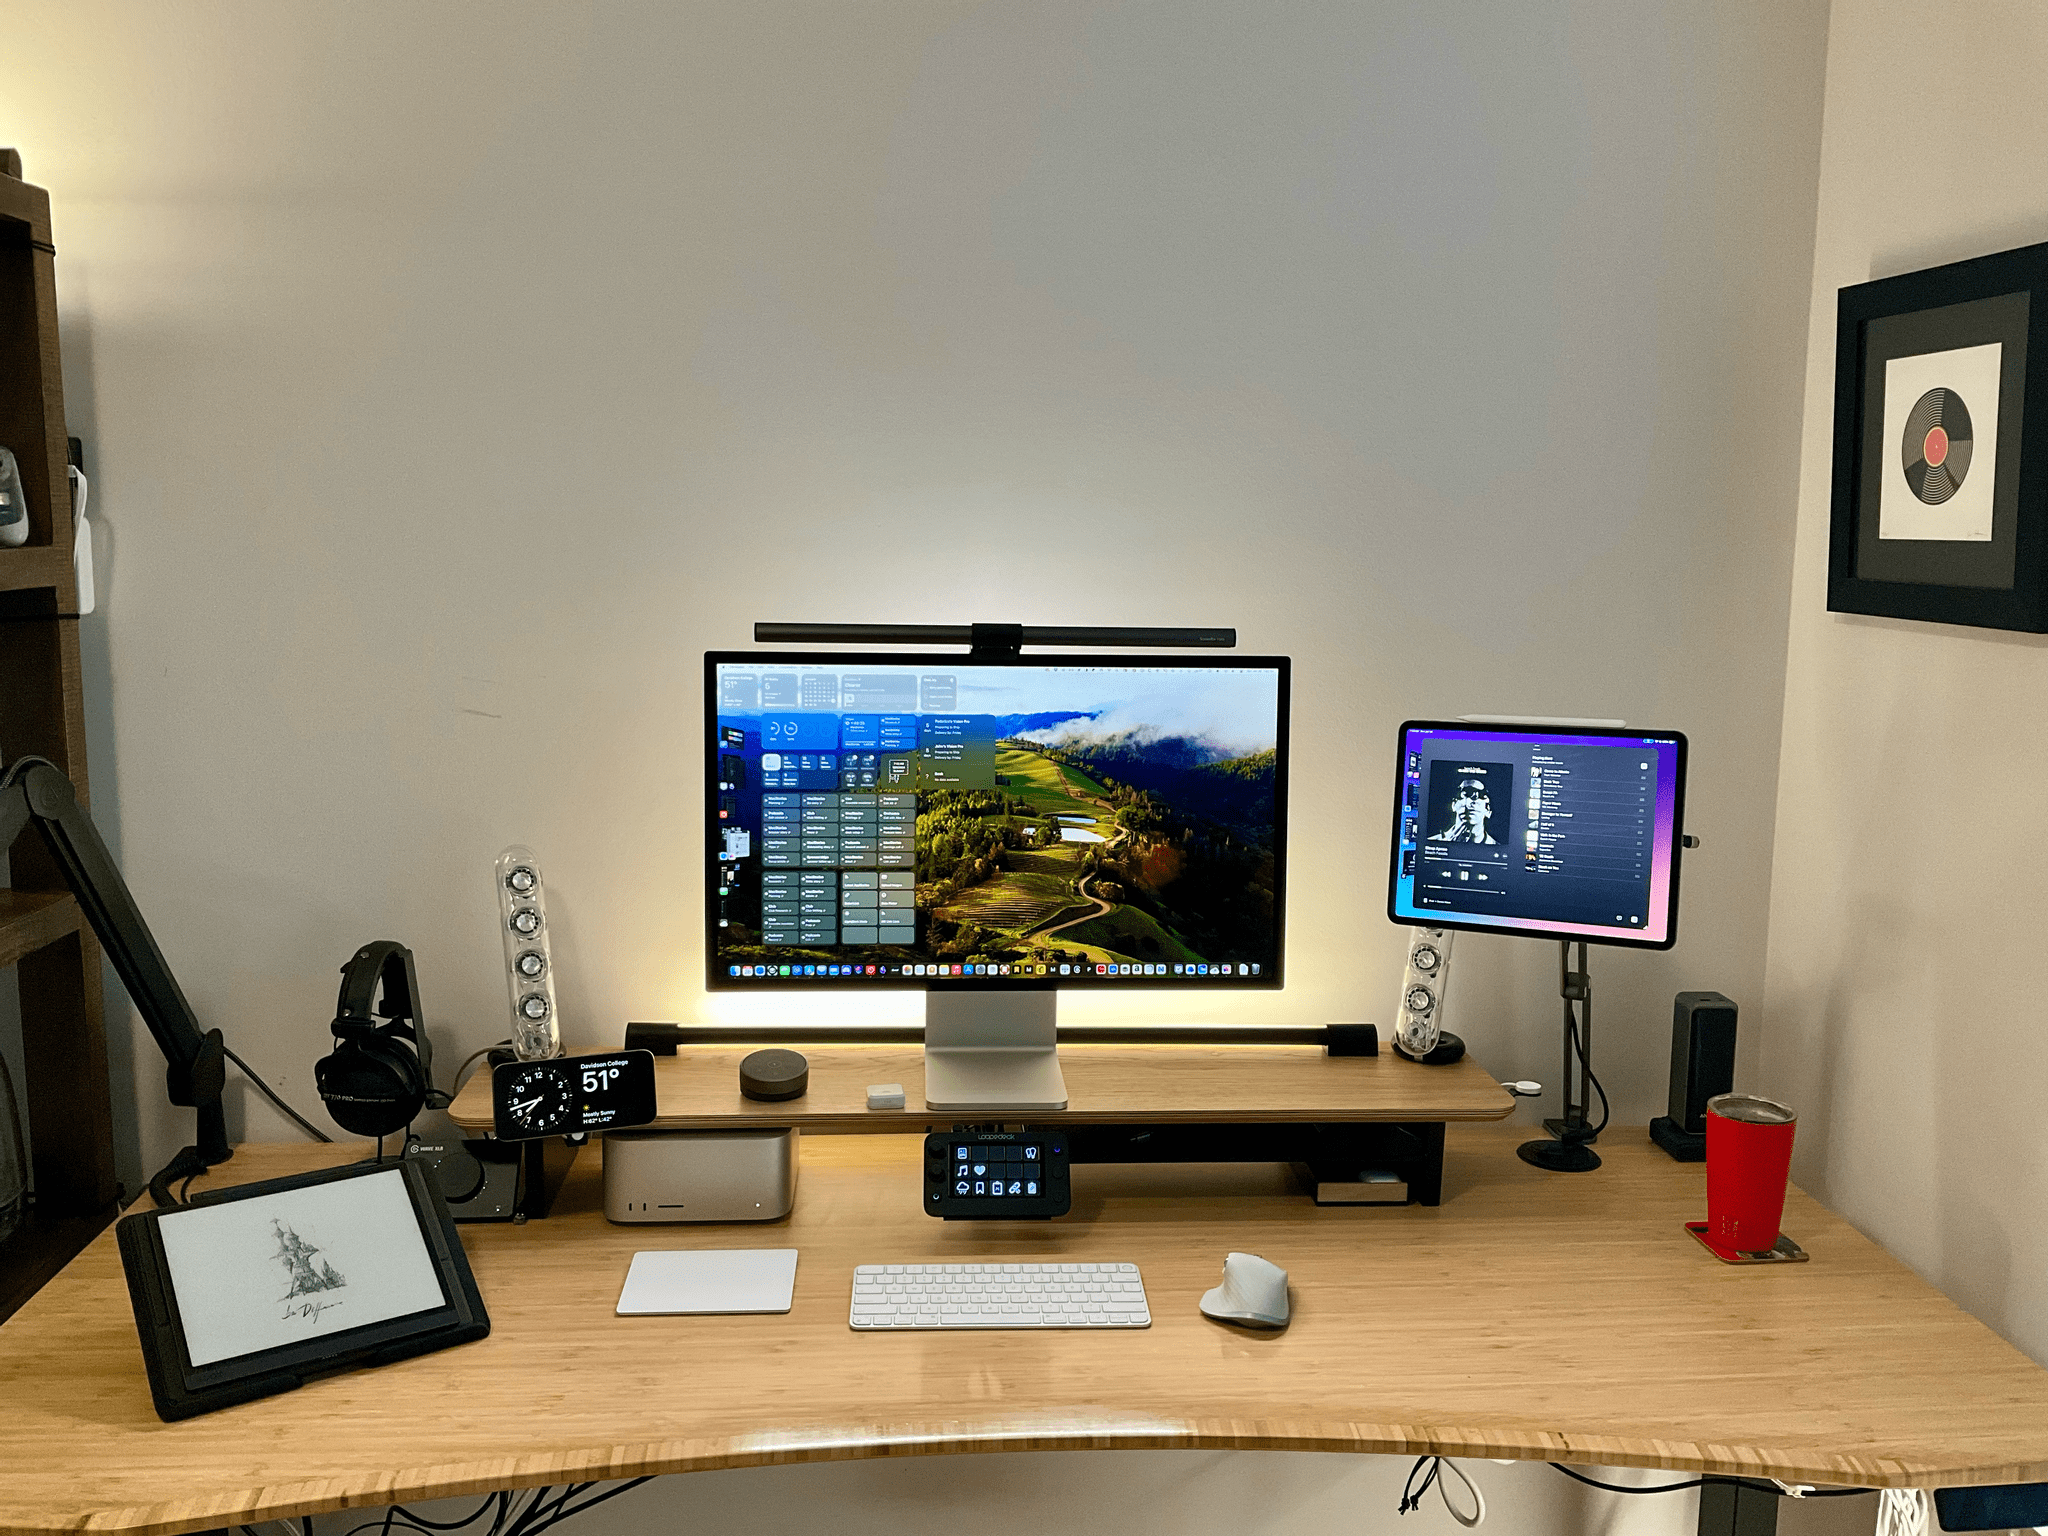
Connect External Monitors
Connecting external monitors to your Mac lets you expand your workspace. It helps you see more apps and documents at once. This is useful for work, study, or creative projects.
To connect external monitors, you need the right cables and adapters. Then, set up the connections properly for the best display quality.
Cable Types And Adapters
MacBooks support different video cables. Common types include HDMI, USB-C, and DisplayPort. Choose a cable that matches your monitor’s input.
Many MacBooks use USB-C ports. You might need an adapter to connect HDMI or DisplayPort monitors. Adapters convert the signal so your Mac and monitor work together.
Check your Mac model’s ports before buying cables or adapters. This avoids compatibility issues and ensures smooth setup.
Setting Up Connections
Turn off your Mac and monitor before connecting cables. Plug the cable into your Mac’s port first. Then connect the other end to the monitor.
Turn on the monitor and then your Mac. Your Mac should detect the new display automatically. If not, open System Preferences and select Displays.
Adjust the screen arrangement and resolution for each monitor. Drag the screens to match their physical layout. This makes moving your cursor across screens easy and natural.
Configure Display Settings
Configuring display settings is essential for using your Mac bookshelf across multiple monitors. It helps you manage how screens work together and how content shows up. This setup improves your workspace and makes multitasking easier.
Adjusting these settings is simple and takes just a few steps. You can change the position of each screen and choose how they display your content.
Arranging Displays
Start by opening System Preferences on your Mac. Click on Displays and then the Arrangement tab. Here, you see all connected monitors as blue boxes.
Drag these boxes to match the physical layout of your screens on your desk. This setup lets your mouse move smoothly between monitors. Align the tops or bottoms for better cursor flow.
You can also choose which screen is primary by dragging the white menu bar to the desired display. The primary screen shows your dock and menu bar.
Setting Display Modes
Mac offers different display modes for multiple monitors. Mirror mode shows the same content on all screens. This mode works well for presentations.
Extended mode treats each monitor as a separate space. You get more room to open apps and windows. This mode is best for multitasking and productivity.
To switch modes, go back to the Arrangement tab and check or uncheck the Mirror Displays box. Your Mac will apply the changes instantly.

Credit: www.youtube.com
Extend Mac Bookshelf Across Screens
Extending your Mac Bookshelf across multiple monitors helps improve productivity and workspace. It lets you view more content at once. This way, you can organize your books, notes, and apps on different screens. The process is simple with the right tools. Below are two common methods to extend your Mac Bookshelf.
Using Sidecar With Ipad
Sidecar is a built-in feature on Mac that turns your iPad into a second screen. It works wirelessly or with a cable. You can drag your Bookshelf app from your Mac to the iPad screen. This creates more space for your reading and organizing.
To use Sidecar, your Mac and iPad must be signed in with the same Apple ID. Both devices need Bluetooth, Wi-Fi, and Handoff turned on. Then, click the AirPlay icon on your Mac and select your iPad. Your iPad screen will extend your Mac desktop. You can move the Bookshelf app freely across the two screens.
Third-party Apps For Multi-monitor
Several third-party apps help extend your Mac desktop across multiple monitors. Apps like DisplayLink and Duet Display are popular choices. They allow you to connect extra screens via USB or Wi-Fi.
These apps offer more flexibility for older Macs or non-Apple screens. After installation, you can set up your external monitors to extend your desktop. Drag the Bookshelf app to any connected screen. This method works well for users needing more than two screens.
Troubleshoot Common Issues
Setting up your Mac Bookshelf on multiple monitors can sometimes cause issues. Troubleshooting these problems helps you enjoy a smooth experience. This section covers common problems and simple fixes. Follow these tips to get your displays working properly.
Display Not Detected
Sometimes your Mac does not see the extra monitor. Check all cables and connections first. Make sure the monitor is powered on. Try unplugging and plugging the cable back in. Restart your Mac if the display still does not appear. Use the “Detect Displays” button in the Display settings. This helps your Mac find connected screens.
Resolution And Scaling Problems
Monitors may show blurry or stretched images. This happens when resolution settings do not match the screen. Open Display settings on your Mac. Choose “Scaled” and pick the best resolution for each monitor. Adjust scaling options to make text and images clear. Setting the right resolution keeps everything sharp and easy to read. Test different settings until the display looks correct.

Credit: www.amazon.com
Optimize Workflow With Multiple Monitors
Using multiple monitors with your Mac can improve your work speed and focus. It gives you more space to open apps and documents. You can keep important files in view while working on others. This setup reduces the need to switch between windows constantly. It helps keep your tasks organized and clear.
Setting up your Mac bookshelf across multiple screens makes it easier to read, write, and research. You can drag books or notes from one screen to another. This way, you create a smooth flow of information. Your work feels less cluttered and more productive.
Managing Windows Efficiently
Arrange your windows to fit each monitor’s size. Use full screen mode on one screen for reading. Keep editing tools or notes open on another. Drag and drop files between screens quickly. Close or minimize apps that you do not need. This keeps your workspace clean and focused.
Keyboard Shortcuts
Use shortcuts to move windows between monitors fast. Press Control + Left or Right Arrow to switch spaces. Hold Option and drag windows to move them easily. Command + Tab switches between apps quickly. Learning a few shortcuts saves time and effort. It makes your work smoother on multiple screens.
Frequently Asked Questions
How To Extend Mac Bookshelf Across Multiple Monitors?
To extend Mac Bookshelf across monitors, use macOS’s built-in display settings. Connect all monitors, go to System Preferences > Displays, then arrange your screens. Drag Bookshelf windows to each monitor to organize your content efficiently.
Can Mac Bookshelf Sync Content On Multiple Screens?
Yes, Mac Bookshelf can display synced content on multiple screens. Open the same book or document on different monitors for seamless reading or referencing. Ensure all monitors are properly connected and configured in System Preferences.
What Is The Best Setup For Mac Bookshelf Multi-monitor Use?
The best setup includes connecting compatible external monitors with proper resolution. Use DisplayPort or HDMI cables for stable connections. Arrange displays logically in macOS settings for easy navigation between Bookshelf windows.
Does Mac Support Full-screen Bookshelf On Multiple Monitors?
MacOS allows full-screen apps on one monitor only. However, you can open multiple Bookshelf windows and maximize them on different screens. This lets you view various sections or books simultaneously.
Conclusion
Getting your Mac Bookshelf on multiple monitors improves your workflow. It helps you see more at once and stay organized. Just follow the steps carefully to set it up right. Use the display settings on your Mac to arrange your screens.
Drag your Bookshelf window to the screen you want. Keep your work visible and easy to find. This simple setup makes your Mac more useful every day. Try it out and enjoy the extra space.
