Are you ready to give your bathroom a fresh, clean look? Attaching a sink to a vanity cabinet might seem tricky, but with the right steps, you can do it yourself and save money.
Imagine having a sturdy, perfectly installed sink that stays put and looks great every day. In this guide, you’ll discover simple, clear instructions to make the process smooth and stress-free. Keep reading—you’re just a few easy steps away from upgrading your space with confidence!

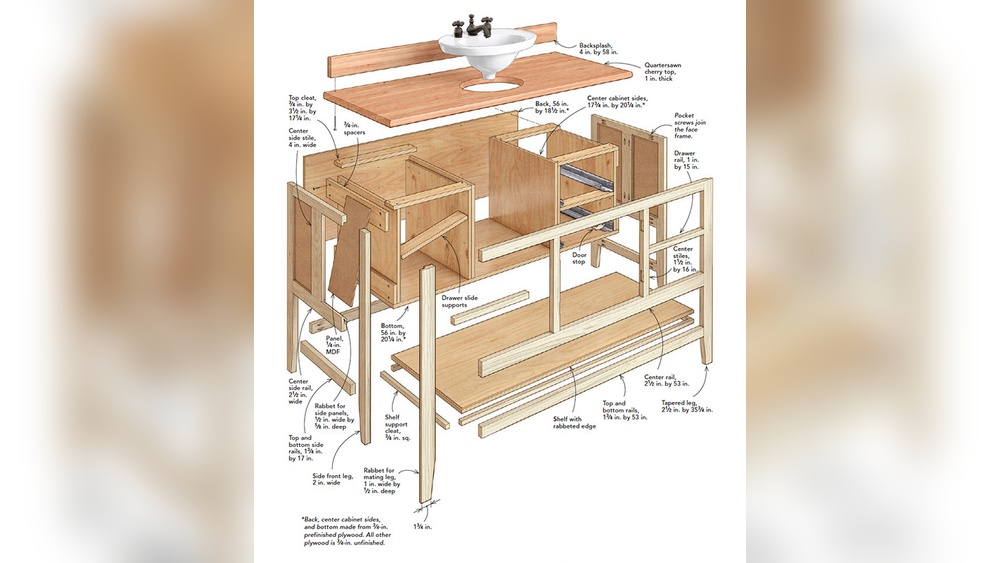
Credit: www.youtube.com
Choose The Right Sink And Vanity
Choosing the right sink and vanity is the first step to a successful bathroom setup. The sink and vanity must fit well together. This choice affects both style and function. A good match makes your bathroom look neat and work better.
Think about the size, material, and structure. These details help create a strong and lasting installation. A proper fit avoids leaks and damage over time. Let’s explore how to pick the best sink and vanity for your space.
Match Sink Size To Vanity
Measure your vanity carefully. The sink should fit the vanity top without hanging over. Small sinks on big vanities look odd and waste space. Large sinks on small vanities can cause water spills and damage. Choose a sink width close to the vanity width. This keeps your bathroom balanced and neat.
Consider Sink Material
Sink materials affect durability and cleaning ease. Porcelain sinks look smooth and clean well. Stainless steel sinks resist stains and scratches. Natural stone sinks add style but need more care. Pick a sink material that suits your bathroom use. Think about how often you clean and the style you want.
Check Vanity Structure
Look inside the vanity before buying. Check for enough space for plumbing and sink mounting. The vanity must hold the sink’s weight firmly. Strong materials like solid wood last longer than particleboard. Make sure the vanity has a flat, even surface for the sink. This helps avoid leaks and movement after installation.
Gather Necessary Tools And Materials
Before attaching a sink to a vanity cabinet, gather all needed tools and materials. Preparation saves time and avoids interruptions. Having everything ready makes the process smoother and faster. This section helps you collect all essentials for the job.
List Of Tools Needed
- Screwdriver (Phillips and flathead)
- Adjustable wrench
- Power drill with drill bits
- Measuring tape
- Level
- Caulking gun
- Putty knife
- Bucket (for water spills)
- Plumber’s putty or silicone sealant
- Safety gloves
- Rags or paper towels
Required Materials And Supplies
- Vanity cabinet
- Sink (drop-in or undermount)
- Sink mounting clips or brackets
- Water supply lines
- Drain assembly
- Plumber’s tape (Teflon tape)
- Sealant or caulk
- Cleaning solution
Prepare The Vanity Cabinet
Preparing the vanity cabinet is a key step before attaching the sink. It ensures a strong hold and a smooth installation. This part of the process helps avoid mistakes and extra work later.
Remove Doors And Drawers
Take off all doors and drawers from the vanity cabinet. This clears your workspace and stops damage. Use a screwdriver to carefully remove hinges and screws. Store hardware in a safe place for reassembly.
Clean And Inspect Surface
Wipe down the top surface of the vanity with a damp cloth. Remove dust, dirt, and old glue. Check for cracks or damage that might weaken the sink hold. Repair any problems before moving on.
Mark Sink Placement
Place the sink upside down on the cabinet top. Align it evenly with the edges and front. Use a pencil to trace around the sink base. This mark guides you for cutting or drilling holes later.

Credit: www.homedepot.com
Install Faucet And Drain On Sink
Installing the faucet and drain on your sink is the next key step. It sets up your sink for full use. Proper installation prevents leaks and ensures smooth water flow. Focus on attaching faucet parts correctly and securing the drain assembly tightly. This makes your sink functional and durable.
Attach Faucet Components
Start by placing the faucet through the sink holes. Tighten the mounting nuts from underneath. Connect the water supply lines to the faucet’s hot and cold inlets. Use a wrench to secure the connections but do not overtighten. Check the faucet handles to ensure they turn smoothly. Attach any additional parts like sprayers or soap dispensers if included.
Secure Drain Assembly
Insert the drain body into the sink drain hole. Apply plumber’s putty around the drain flange to prevent leaks. From below, screw on the drain nut and tighten it by hand. Attach the tailpiece to the drain body. Connect the P-trap to the tailpiece and the wall drain. Make sure all connections are snug to avoid water leaks.
Position And Secure The Sink
Positioning and securing the sink to the vanity cabinet is a crucial step. It ensures the sink stays firmly in place and prevents leaks. This step needs care and attention to detail. Follow these simple steps to do it right.
Apply Sealant Or Adhesive
Start by applying a thin bead of silicone sealant or adhesive around the sink edge. This creates a strong bond between the sink and vanity. Use a caulk gun for an even application. Avoid using too much sealant to prevent mess. The sealant also stops water from seeping through.
Place Sink On Vanity
Carefully lower the sink onto the vanity cabinet. Align it properly with the edges and holes. Make sure the sink fits snugly without gaps. Check the sink’s position from different angles. Adjust it slightly if needed for a perfect fit.
Clamp And Secure Sink
Use clamps to hold the sink firmly while the adhesive dries. Place the clamps evenly around the sink edges. Tighten them gently to avoid damaging the sink. Leave the clamps in place for at least 24 hours. This step ensures the sink bonds tightly to the vanity.
Connect Plumbing Fixtures
Connecting the plumbing fixtures is a key step after placing the sink on the vanity cabinet. Proper connection ensures water flows correctly and drains without leaks. This part of the installation requires careful attention to detail. Follow these steps to connect the water supply, drain pipes, and check for leaks.
Attach Water Supply Lines
Start by attaching the water supply lines to the faucet. Use a wrench to tighten the connections. Do not overtighten to avoid damage. Make sure to connect hot and cold lines correctly. Hand-tighten first, then use the wrench for a secure fit.
Connect Drain Pipes
Next, connect the drain pipes beneath the sink. Fit the drain tailpiece into the sink drain. Attach the P-trap to the tailpiece and the wall drain pipe. Tighten all slip nuts by hand, then use pliers for a snug fit. Ensure all parts align straight to prevent leaks.
Check For Leaks
Turn on the water supply slowly. Watch all connections closely for drips. Use a dry cloth to spot any moisture. Tighten any loose fittings as needed. Run water through the drain to check for leaks. Fix problems immediately to avoid water damage.
Final Adjustments And Cleanup
After attaching the sink to the vanity cabinet, the final steps ensure a clean and functional setup. These adjustments make the sink ready for daily use and keep the vanity looking neat. Pay close attention to details to avoid future problems.
Replace Vanity Doors And Drawers
Start by putting back the vanity doors and drawers. Align them carefully with the cabinet frame. Check that they open and close smoothly without rubbing. Tighten any loose screws to secure the doors and drawers firmly in place.
Wipe Excess Sealant
Remove any extra sealant around the sink edges. Use a damp cloth or sponge for a clean finish. Clean sealant prevents mold and keeps the area looking fresh. Do this before the sealant fully dries for the easiest cleanup.
Test Sink Functionality
Turn on the water supply and check all connections. Look for leaks under the sink and around the faucet. Run both hot and cold water to ensure proper flow. Confirm the drain works well and water flows freely. Fix any issues before finishing the job.

Credit: www.lowes.com
Frequently Asked Questions
How Do I Secure A Sink To A Vanity Cabinet?
To secure a sink, apply silicone sealant around the sink edge. Place the sink on the vanity and tighten mounting clips underneath. Ensure clips are evenly spaced for a firm hold. Let the sealant cure for at least 24 hours before use.
What Tools Are Needed To Attach A Sink To Vanity?
You need a caulking gun with silicone sealant, a screwdriver, adjustable wrench, mounting clips, and plumber’s putty. These tools help secure the sink and ensure a watertight seal. Having them ready simplifies the installation process and prevents delays.
Can I Attach Any Sink To Any Vanity Cabinet?
Not all sinks fit every vanity cabinet. Match the sink size and shape to the cabinet’s countertop cutout. Check weight capacity and mounting type compatibility. Proper matching avoids leaks and ensures a secure fit for long-lasting use.
How Do I Prevent Leaks When Attaching A Sink?
Apply a consistent bead of silicone sealant or plumber’s putty around the sink rim. Tighten mounting clips evenly to avoid gaps. Double-check all plumbing connections are secure. Proper sealing and installation prevent water damage and leaks.
Conclusion
Attaching a sink to a vanity cabinet is simple with the right steps. Start by measuring carefully and use proper tools. Secure the sink firmly to avoid leaks or movement. Take your time to align everything correctly. A well-attached sink looks neat and lasts longer.
Small mistakes can cause big problems later. Follow the guide, and you will finish the job with confidence. This task saves money and improves your bathroom’s look. Try it yourself and enjoy the satisfaction of a job done well.