Are you ready to transform your bathroom with a sleek new vanity top but unsure how to attach it to your cabinet? You’re not alone—and the good news is, it’s easier than you might think.
With just a few simple steps, you can secure your vanity top firmly and confidently, giving your space a fresh, polished look. Keep reading, and you’ll discover the exact process to make your bathroom upgrade smooth and stress-free. Your perfect vanity is just a few easy moves away!
Tools And Materials Needed
Before attaching a vanity top to the cabinet, gather all tools and materials. This step makes the process easier and faster. Having the right items helps you avoid mistakes. It also ensures a secure fit between the vanity top and cabinet.
Essential Tools
- Measuring tape – for accurate measurements
- Level – to check even placement
- Power drill – to make holes and drive screws
- Screwdriver – for tightening screws
- Caulk gun – to apply sealant
- Clamps – to hold the vanity top in place
- Utility knife – to trim excess sealant
Required Materials
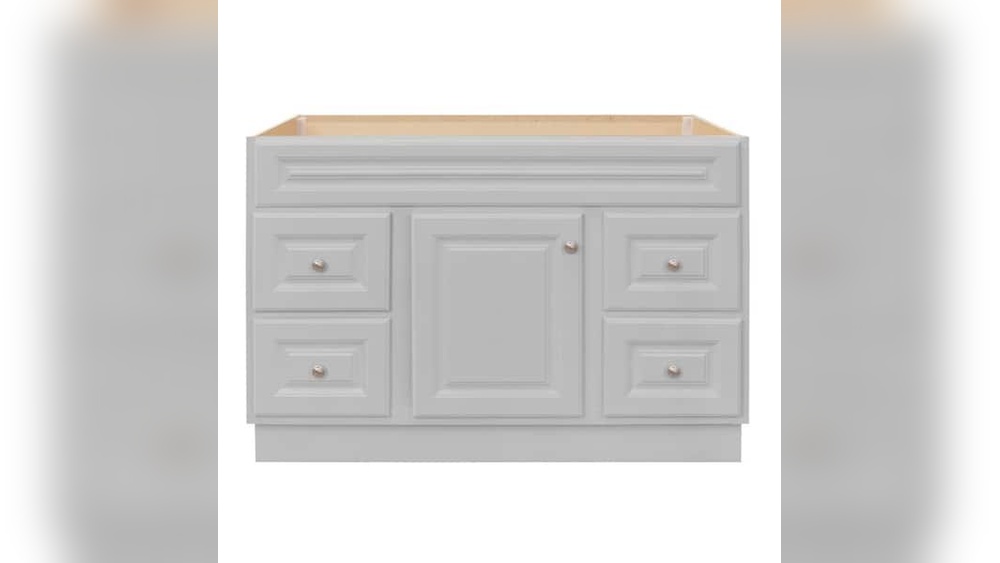
- Vanity top – the surface to attach
- Vanity cabinet – the base structure
- Silicone caulk – to seal edges and prevent water damage
- Mounting screws – to secure the top to the cabinet
- Wood shims – to adjust and level the vanity top
- Painter’s tape – to protect surfaces during installation
Preparing The Vanity Cabinet
Preparing the vanity cabinet is an important first step before attaching the vanity top. It ensures a strong and stable fit. Taking time to prepare the cabinet helps avoid problems later.
Clean and check the cabinet carefully. Small details make a big difference. Follow these simple steps to get the cabinet ready.
Cleaning The Surface
Start by removing dust, dirt, and grease from the cabinet’s top. Use a damp cloth or sponge and mild soap. Wipe the surface well and let it dry completely. A clean surface helps the vanity top stick better and fit correctly.
Checking For Levelness
Use a level tool to check if the cabinet is flat and even. Place the level on different spots of the cabinet top. If it tilts or rocks, adjust the cabinet feet or add shims under the base. A level cabinet prevents water from pooling and stops the vanity top from cracking.
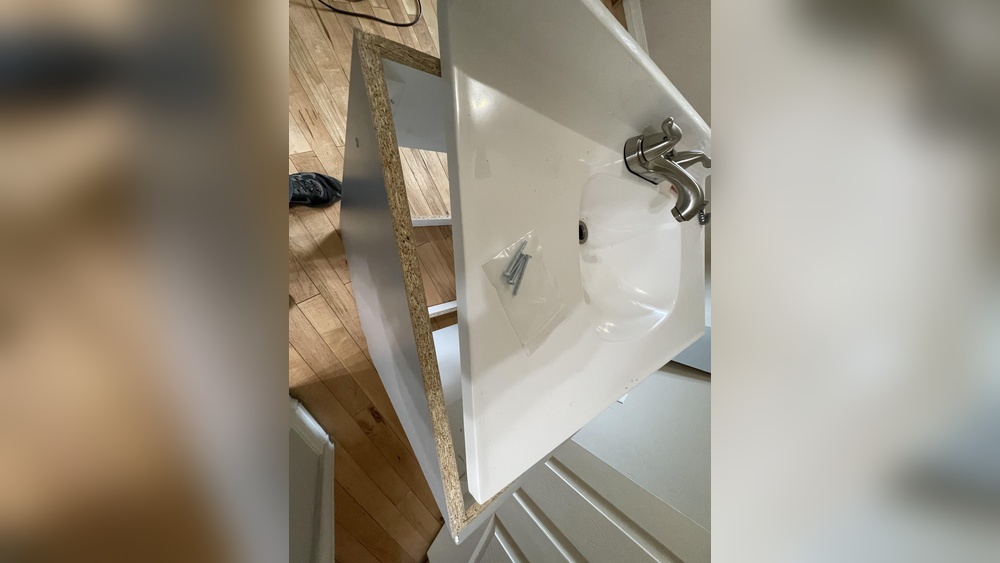
Positioning The Vanity Top
Positioning the vanity top is a key step in the installation process. It ensures the top fits well and looks great. Proper positioning prevents gaps and damage later on. Taking time here saves effort and cost.
Aligning The Top Correctly
Place the vanity top gently on the cabinet. Check that all edges line up with the cabinet sides. The front edge should sit flush with the cabinet’s front. Use a level to confirm the top is even. Adjust the position until the top lies flat without rocking.
Marking Attachment Points
After alignment, mark where to attach the top. Use a pencil to draw small marks through the cabinet’s holes or along the edge. These marks show where screws or clips will go. Clear markings help avoid errors during fixing. Double-check the marks before removing the top.

Credit: www.reddit.com
Applying Adhesive And Sealant
Applying adhesive and sealant is a key step in attaching a vanity top to the cabinet. It holds the top firmly in place. It also stops water from leaking into the cabinet below. Use the right materials and apply them carefully. This ensures a strong, lasting bond and good waterproofing.
Choosing The Right Adhesive
Select an adhesive made for bathroom use. Silicone-based adhesives work well. They stick to many surfaces like wood, stone, and laminate. Check that the adhesive is waterproof and mold-resistant. Avoid glues that are not designed for wet areas. Follow the instructions on the package for best results. Use enough adhesive to cover the cabinet top evenly. Too little may cause the vanity top to shift or lift.
Applying Sealant For Waterproofing
Sealant keeps water from seeping into cracks and joints. Use a high-quality silicone sealant made for bathrooms. Run a smooth bead of sealant along the edges where the vanity top meets the wall and cabinet. Use a damp finger or tool to smooth the sealant. This creates a neat, water-tight seal. Let the sealant dry fully before using the sink or countertop. Proper sealing protects the cabinet from water damage and mold growth.
Securing The Vanity Top
Securing the vanity top to the cabinet is an important step. It keeps the vanity steady and safe. A well-attached top stops movement and prevents damage. Careful securing also helps the vanity last longer. This section explains easy ways to fix the vanity top firmly in place.
Using Screws Or Fasteners
One common way to secure a vanity top is with screws or fasteners. Use screws made for wood or cabinets. Place screws through the cabinet frame into the underside of the vanity top. Tighten screws gently to avoid cracking the top. Space screws evenly for a strong hold. Check that the screws sit flush and do not stick out.
Clamping For Stability
Clamping helps hold the vanity top steady while securing it. Use clamps to press the top down onto the cabinet. Keep the top aligned with the cabinet edges. Let the clamps stay in place while you screw or fasten the top. This prevents shifting and keeps the top level. Remove clamps after all fasteners are tight and secure.
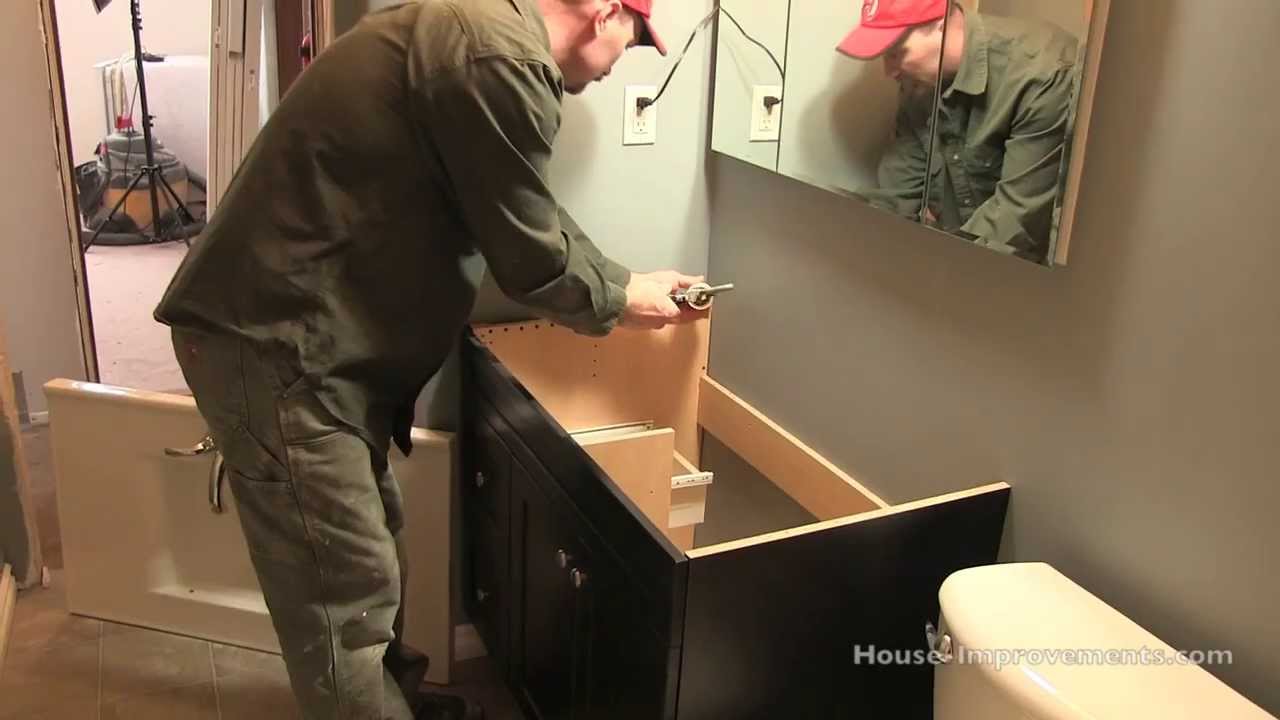
Credit: www.youtube.com
Final Adjustments And Cleanup
After attaching the vanity top to the cabinet, the final step is making adjustments and cleaning up. This step ensures the vanity looks neat and stays secure. Small details here can improve the overall finish and durability.
Removing Excess Sealant
Sealant prevents water damage and keeps the vanity tight. Sometimes, extra sealant squeezes out during installation. Use a damp cloth or a plastic scraper to gently remove the extra sealant. Clean the edges carefully to avoid damaging the surface. Removing excess sealant gives a clean, professional look.
Checking For Stability
Check the vanity top for any movement. Press down lightly on different spots to test if it stays firm. If it moves, tighten the screws or bolts under the cabinet. Ensure the vanity top fits flush against the wall and cabinet. Stability is important to avoid damage and keep the vanity safe for daily use.
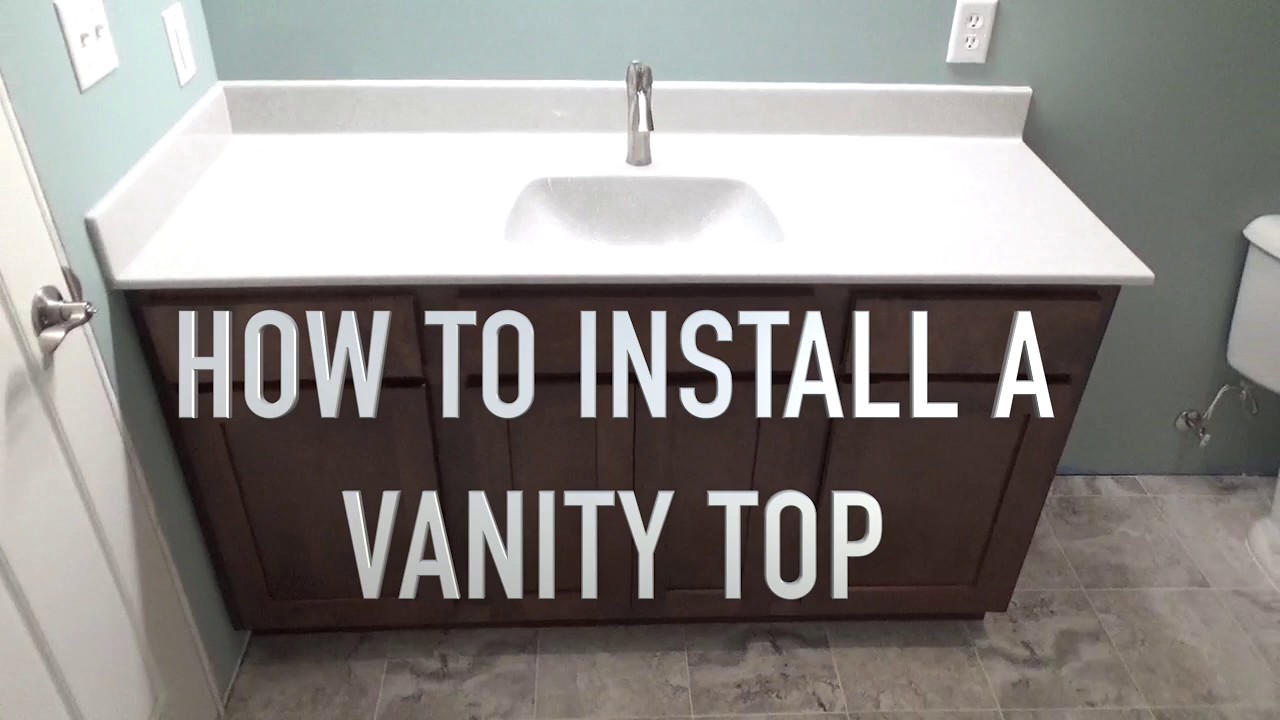
Credit: www.youtube.com
Frequently Asked Questions
How Do I Secure A Vanity Top To The Cabinet?
Use silicone adhesive or construction adhesive to bond the vanity top. Then, clamp it firmly and allow it to cure for 24 hours. This ensures a strong, water-resistant seal between the top and cabinet.
What Tools Are Needed To Attach A Vanity Top?
You’ll need a caulking gun, silicone adhesive, clamps, a drill, and screws. These tools help secure the vanity top safely and accurately to the cabinet.
Can I Attach A Vanity Top Without Screws?
Yes, you can use strong adhesive alone, but screws provide extra stability. Adhesive prevents water damage, while screws secure the top against movement.
How To Align The Vanity Top Correctly?
Place the vanity top gently on the cabinet first. Check for level and alignment. Adjust as needed before applying adhesive or screws to avoid uneven installation.
Conclusion
Attaching a vanity top to the cabinet is simple with the right steps. Take your time to measure and align everything carefully. Use proper tools to secure the top firmly in place. Check for stability before finishing the job. This process helps ensure your vanity looks good and lasts long.
Enjoy your new vanity setup with confidence and ease.