Are you looking to add a stylish and functional piece to your space? Making a vanity with a cabinet on top is a smart way to combine storage and beauty in one.
Imagine having a perfect spot to get ready each day, with all your essentials neatly organized within arm’s reach. In this guide, you’ll discover simple steps to create your own vanity that fits your style and needs. Ready to transform your room and enjoy a clutter-free, elegant setup?
Keep reading, and you’ll find out exactly how to make it happen.
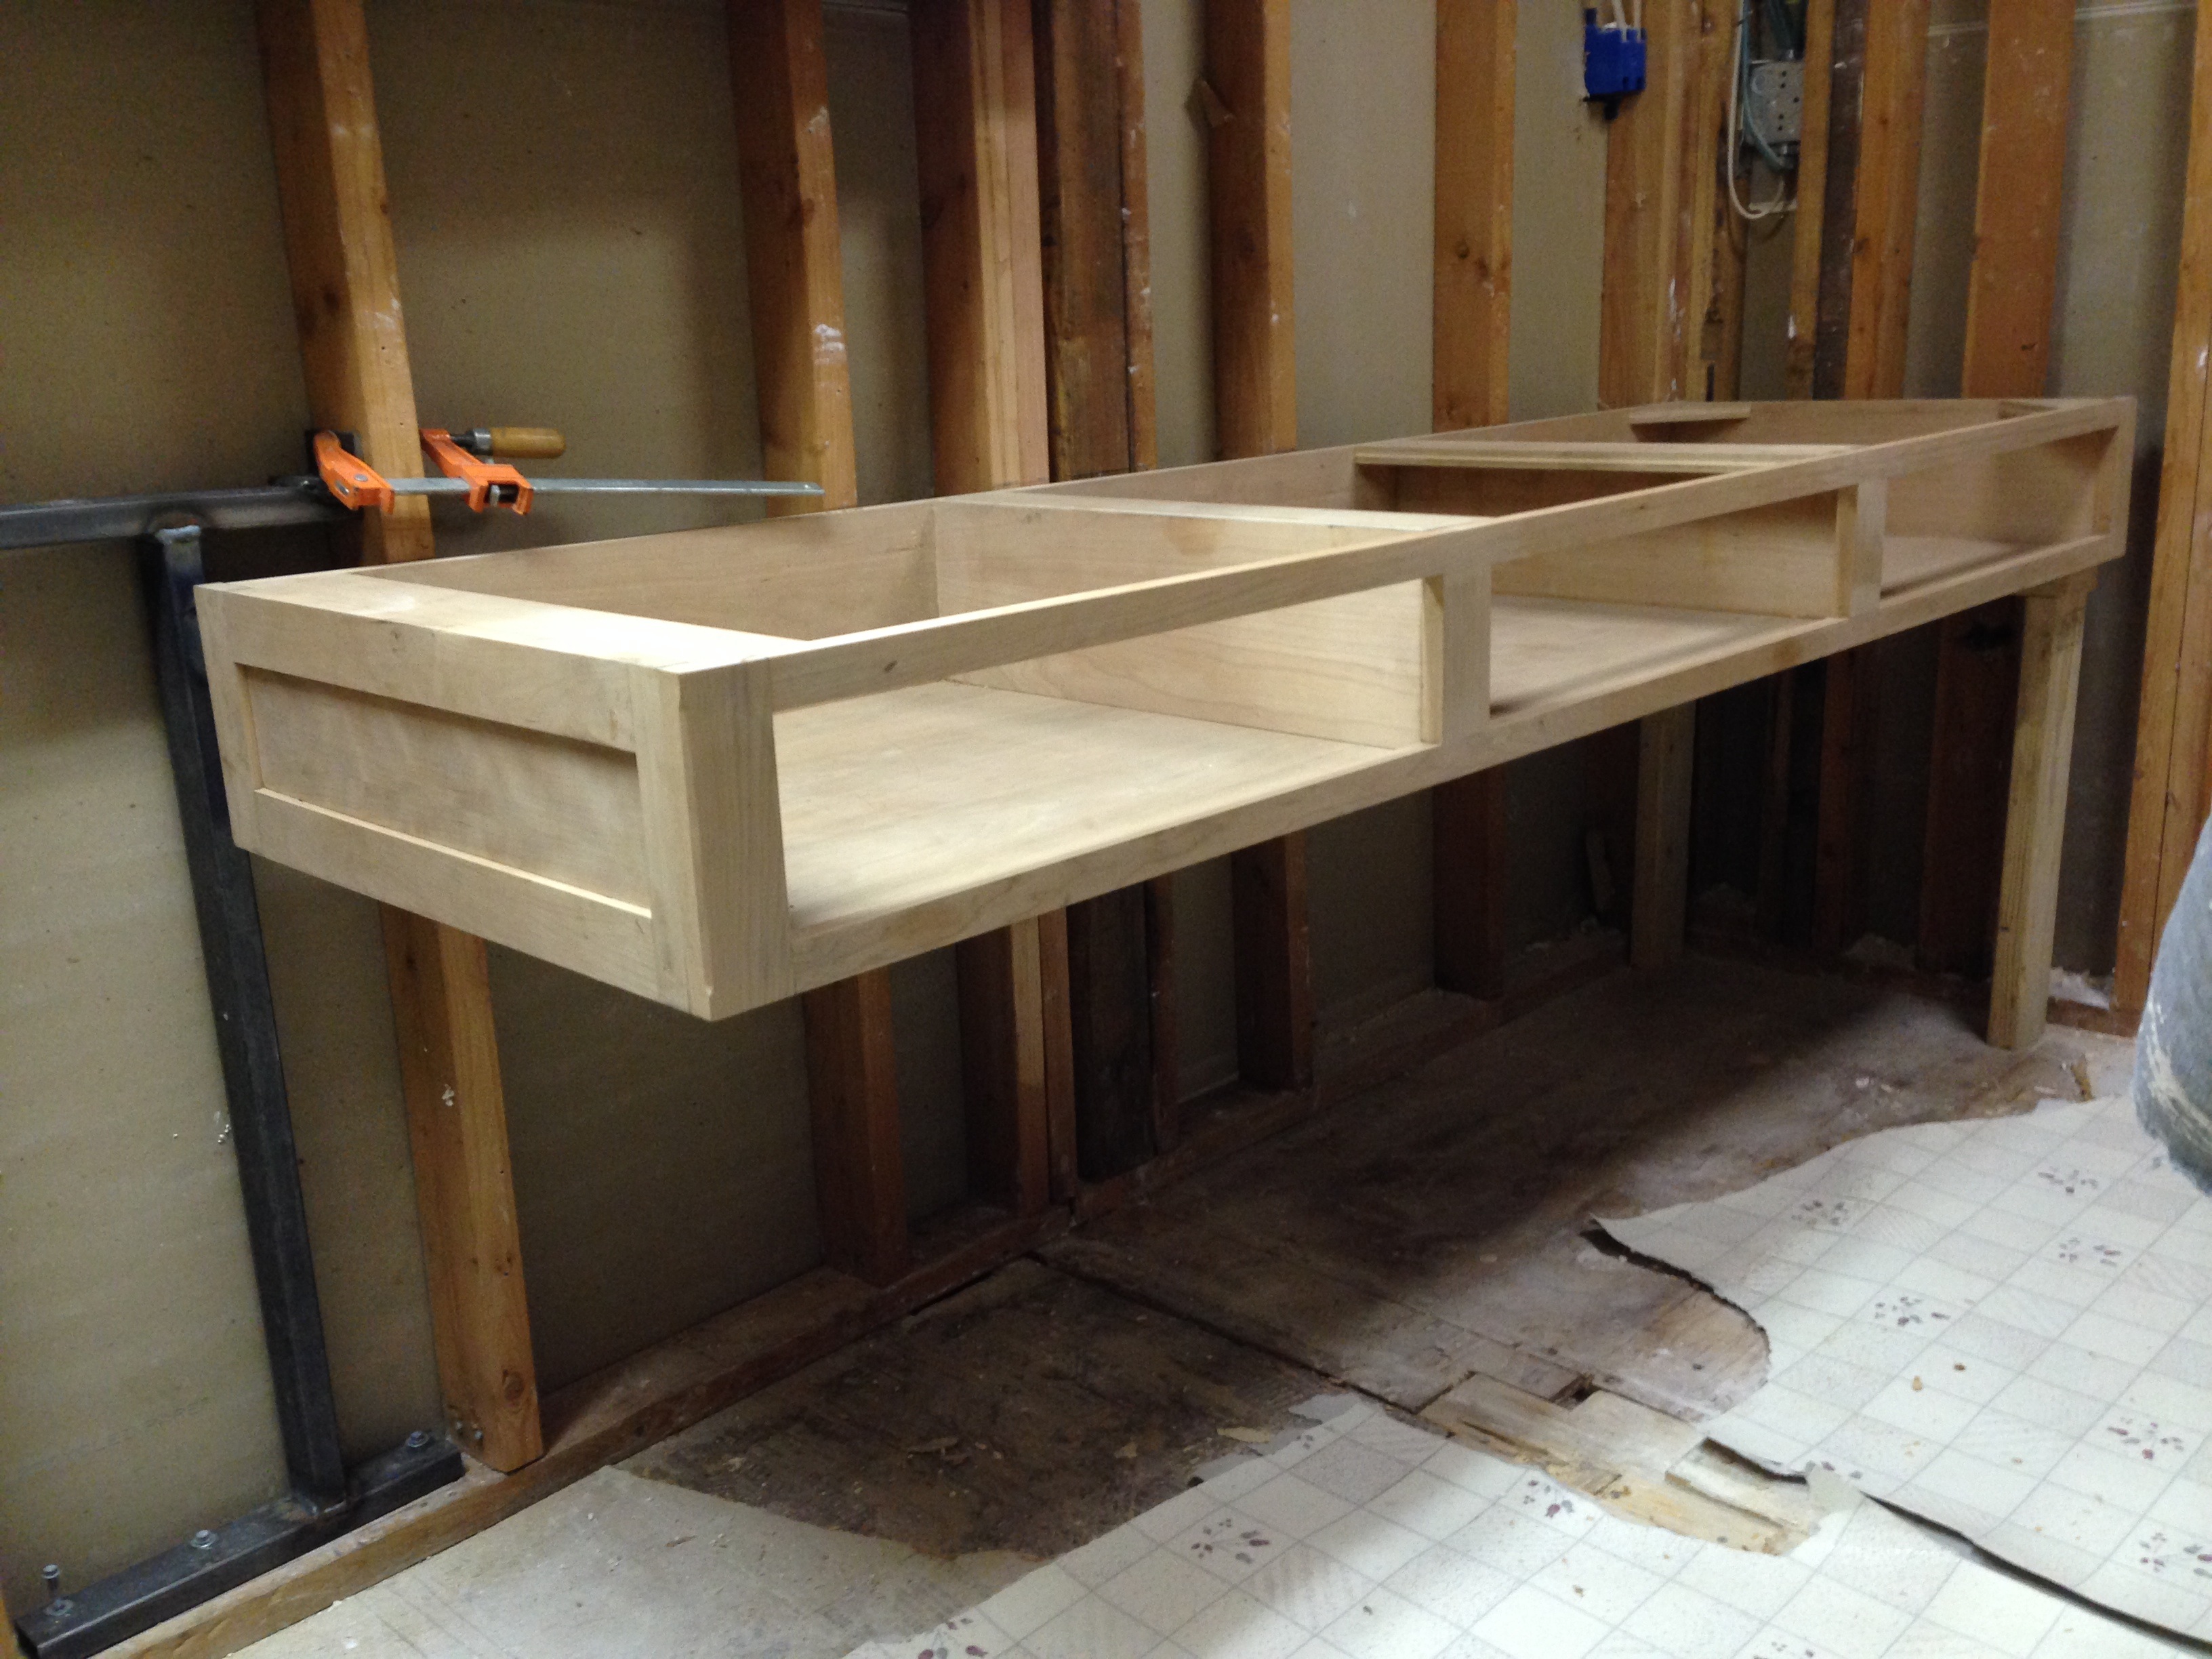
Credit: www.corbinstreehouse.com
Choosing Materials
Choosing the right materials is key to building a beautiful vanity with a cabinet on top. The materials decide how strong and attractive your vanity will be. Quality materials make the project easier and the result longer-lasting.
Selecting The Right Wood
Wood is the main material for your vanity. Solid wood like oak or maple is strong and lasts long. Pine is cheaper but less durable. Plywood is stable and resists warping. Choose wood that fits your budget and style. Check the wood for smoothness and no cracks.
Picking Cabinet Hardware
Hardware includes knobs, handles, and hinges. These small parts affect the look and function. Metal hardware is sturdy and easy to clean. Choose styles that match your bathroom decor. Make sure the hardware fits your cabinet doors and drawers well.
Choosing Paint And Finish
Paint and finish protect the wood from water and stains. Use water-resistant paint for bathrooms. Satin or semi-gloss finishes are easy to wipe clean. Choose colors that brighten your space or match existing decor. Apply finish evenly for a smooth look and strong protection.
Gathering Tools
Gathering the right tools is the first step to making a vanity with a cabinet on top. Having the proper equipment saves time and ensures the project goes smoothly. This section covers the power tools, hand tools, and safety gear needed for the job. Prepare everything before you start for the best results.
Essential Power Tools
A cordless drill is vital for drilling holes and driving screws. A jigsaw helps cut wood into shapes and sizes needed. A sander smooths rough edges and surfaces quickly. A circular saw is useful for straight, long cuts. These power tools speed up the work and improve precision.
Hand Tools Needed
A tape measure is necessary to get exact measurements. A carpenter’s square helps mark right angles accurately. A hammer is useful for nails and small adjustments. Screwdrivers are needed for tightening or loosening screws by hand. A pencil marks cut lines and positions on wood.
Safety Equipment
Safety glasses protect your eyes from dust and flying debris. Earplugs reduce noise from loud power tools. Work gloves keep hands safe from splinters and sharp edges. A dust mask prevents inhaling sawdust and small particles. Always wear safety gear to avoid injuries during the project.
Planning Your Design
Planning your design is the first step to create a beautiful vanity with a cabinet on top. It helps you avoid mistakes and ensures the final product fits your space well. Careful planning saves time and money. Take time to think about your needs and the room’s layout before starting.
Measuring Space
Measure the area where the vanity will go. Use a tape measure to get the width, height, and depth. Note any obstacles like doors, windows, or pipes. Check the floor space to make sure the vanity will fit comfortably. Accurate measurements prevent surprises during installation.
Sketching Layout
Draw a simple sketch of your bathroom or room. Mark the vanity’s position and the cabinet on top. Show how much space each part will take. Include doors and drawers in the sketch. This visual helps you plan storage and walking space effectively.
Deciding Cabinet Size
Choose a cabinet size that matches your needs and space. It should be large enough for your items but not too big. The cabinet must fit well on top of the vanity without overhanging. Consider the height to keep it easy to reach. Balance between style and practicality.

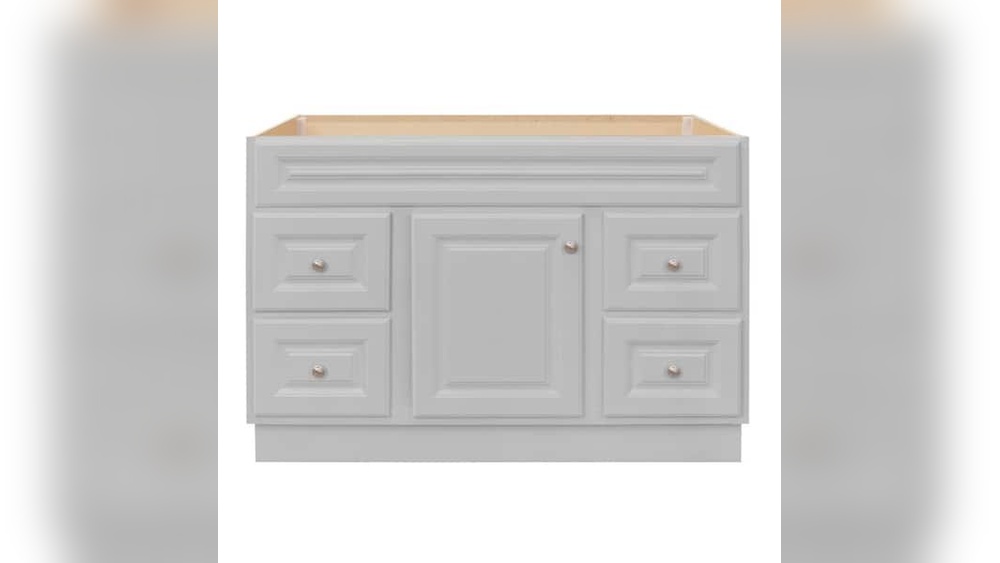
Credit: www.amazon.com
Building The Vanity Base
Building the vanity base is the first big step in making your vanity with a cabinet on top. This base holds the entire structure steady and strong. A solid base ensures the vanity lasts long and supports the cabinet well. Follow simple steps to create a perfect foundation.
Cutting Wood Pieces
Start by measuring the space where the vanity will go. Mark the wood pieces carefully before cutting. Use a saw to cut the wood into the right sizes. Cut pieces for the sides, top, bottom, and back of the base. Smooth the edges with sandpaper to avoid splinters.
Assembling Frame
Lay out the wood pieces on a flat surface. Join the sides to the bottom piece using wood glue or screws. Attach the top frame piece to create a box shape. Make sure all corners are square and the frame is level. Tighten screws firmly but avoid cracking the wood.
Adding Support Structures
Add extra wood strips inside the frame for strength. Place supports near the middle to hold the weight of the cabinet. Attach horizontal braces between the sides for stability. These supports prevent wobbling and keep the vanity base rigid. Check all joints to confirm they are secure.
Constructing The Cabinet
Constructing the cabinet is a key step in making a vanity with a cabinet on top. This part shapes the storage and style. A strong, well-built cabinet holds everything neatly and looks great.
Building The Cabinet Box
Start by cutting the panels for the cabinet box. Use plywood or MDF for strength. Make sure all pieces fit well before joining them. Use wood glue and screws to assemble the sides, bottom, and top. Check that the box is square by measuring diagonals. Sand the edges smooth to avoid splinters.
Installing Shelves
Decide how many shelves you need inside the cabinet. Mark their positions on the side panels. Attach shelf supports or use shelf pins for adjustable shelves. Place each shelf on the supports and check for level. Secure fixed shelves with screws from the side. This adds extra strength and keeps shelves steady.
Attaching Doors And Drawers
Fit the doors by attaching hinges to the cabinet frame. Align doors so they close evenly. Adjust hinges if needed for a perfect fit. For drawers, build boxes to slide smoothly. Install drawer slides inside the cabinet. Attach drawer fronts and handles last. Test doors and drawers to ensure easy opening.
Combining Vanity And Cabinet
Combining a vanity with a cabinet creates a stylish and functional piece. It saves space and adds storage. This project lets you customize your bathroom furniture. The key is to join the two parts securely and neatly.
Careful planning and proper tools make the process easier. Follow simple steps to ensure a strong and level fit. This guide shows how to attach a cabinet on top of a vanity.
Securing The Cabinet On Top
Place the cabinet carefully on the vanity base. Check that it fits well and does not wobble. Use clamps to hold the cabinet steady. Drill pilot holes to avoid splitting the wood. Screw the cabinet to the vanity with strong screws. Secure points along the edges for better hold.
Aligning And Leveling
Use a spirit level to check the alignment. Adjust the cabinet until it sits perfectly flat. Shim under the cabinet if needed to fix gaps. Make sure the front edges line up evenly. Double-check the top surface is level for a clean look.
Reinforcing Connections
Add wood glue along the joining surfaces for extra strength. Use corner braces or metal brackets inside the cabinet. These supports prevent movement and keep the parts tight. Tighten all screws after the glue dries. Reinforcement ensures your vanity and cabinet stay secure for years.
Finishing Touches
Finishing touches make your vanity with a cabinet look complete and polished. These steps protect the wood and improve its beauty. Taking time with these details gives your project a professional feel.
Sanding And Smoothing
Start by sanding all surfaces with fine-grit sandpaper. This removes rough spots and splinters. Sand evenly to create a smooth base. Wipe off dust with a clean cloth before moving on.
Painting Or Staining
Choose paint or stain that suits your room’s style. Apply evenly with a brush or cloth. Let each coat dry fully before adding the next. This enhances the wood’s look and protects it from moisture.
Installing Hardware
Select handles and knobs that match your design. Mark and drill holes carefully for accurate placement. Attach hardware firmly to avoid looseness. Small details like these add charm and function.
Maintenance Tips
Maintaining your vanity with a cabinet on top is key to keeping it looking fresh and working well. Small efforts make a big difference. Regular care stops damage and keeps the wood and paint in good shape.
Simple maintenance tasks help your vanity last longer. They also save money on repairs. Here are easy tips to keep your vanity clean, fix minor problems, and extend its life.
Cleaning Advice
Use a soft cloth to wipe dust daily. Avoid harsh chemicals that can harm the finish. A mild soap and water solution works best for stains. Dry the surface immediately to stop water damage. Clean the cabinet doors and handles often to prevent grime build-up.
Repairing Minor Damages
Fix small scratches with wood filler or touch-up markers. Tighten loose screws on doors and hinges to keep them steady. Replace worn-out knobs to improve function and look. Check for small cracks and seal them with wood glue. Early repairs stop bigger issues later.
Extending Vanity Lifespan
Keep the vanity away from direct sunlight to avoid fading. Use coasters or mats under toiletries to prevent stains. Avoid placing heavy items on the cabinet top. Ventilate the bathroom to reduce moisture and prevent mold. Regular checks for damage help catch problems early.
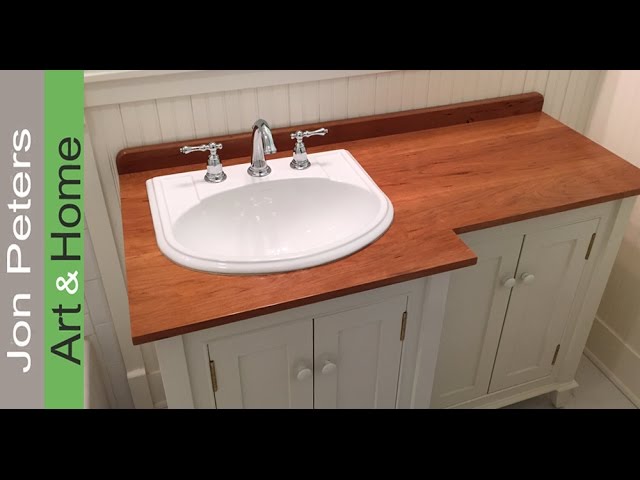
Credit: www.youtube.com
Frequently Asked Questions
What Materials Are Best For Making A Vanity Cabinet?
Wood, plywood, and MDF are ideal for vanity cabinets. They offer durability and smooth finishes. Choose moisture-resistant materials for bathroom use. Proper sealing prevents water damage and extends cabinet life.
How Do I Attach A Cabinet On Top Of A Vanity?
Secure the cabinet using strong brackets or screws. Ensure the vanity surface is level and stable. Use anchors if mounting on drywall. Proper alignment guarantees safety and a clean look.
Can I Customize The Size Of My Vanity Cabinet?
Yes, vanity cabinets can be custom-sized. Measure your bathroom space accurately before building. Custom sizes optimize storage and fit perfectly. Many woodworking plans allow easy size adjustments.
What Tools Are Needed To Build A Vanity With Cabinet?
Basic tools include a saw, drill, screwdriver, measuring tape, and clamps. Sandpaper and paintbrushes help finish the project. Safety gear like goggles and gloves is essential. Having the right tools ensures a smooth build.
Conclusion
Creating a vanity with a cabinet on top adds style and storage. You can save space and keep things neat. The steps are simple to follow and do not need special skills. Choose materials and colors that fit your room.
Take your time and enjoy building it yourself. This project brings a fresh look to your space. It feels good to use something you made. Try it and see the difference it makes.