Are you ready to give your bathroom a quick and impressive upgrade? Installing a vanity top to your cabinet might sound tricky, but with the right steps, you can do it yourself and save money.
Imagine turning your plain cabinet into a stylish centerpiece that adds both function and beauty to your space. In this guide, you’ll discover simple, clear instructions that anyone can follow—no special skills needed. Keep reading, and you’ll soon be proud of the fresh, polished look you’ve created with your own hands.
Prepare The Workspace
Preparing your workspace is the first step to install a vanity top to a cabinet. A clean, organized area helps avoid mistakes. It also makes the process faster and safer. Take time to set up properly before starting the installation.
Clear The Area
Remove all items around the cabinet. Clear space on the floor and countertop. This prevents accidents and gives you room to work. A clutter-free area means fewer distractions and less chance of damage.
Gather Necessary Tools
Collect all tools needed for the job. Common tools include a screwdriver, level, silicone sealant, and measuring tape. Having everything ready saves time. It also stops you from searching for tools mid-installation.
Inspect The Vanity Top And Cabinet
Check both the vanity top and cabinet carefully. Look for cracks, chips, or defects. Make sure the cabinet is sturdy and level. A good inspection prevents problems during installation. Fix any issues before you begin.
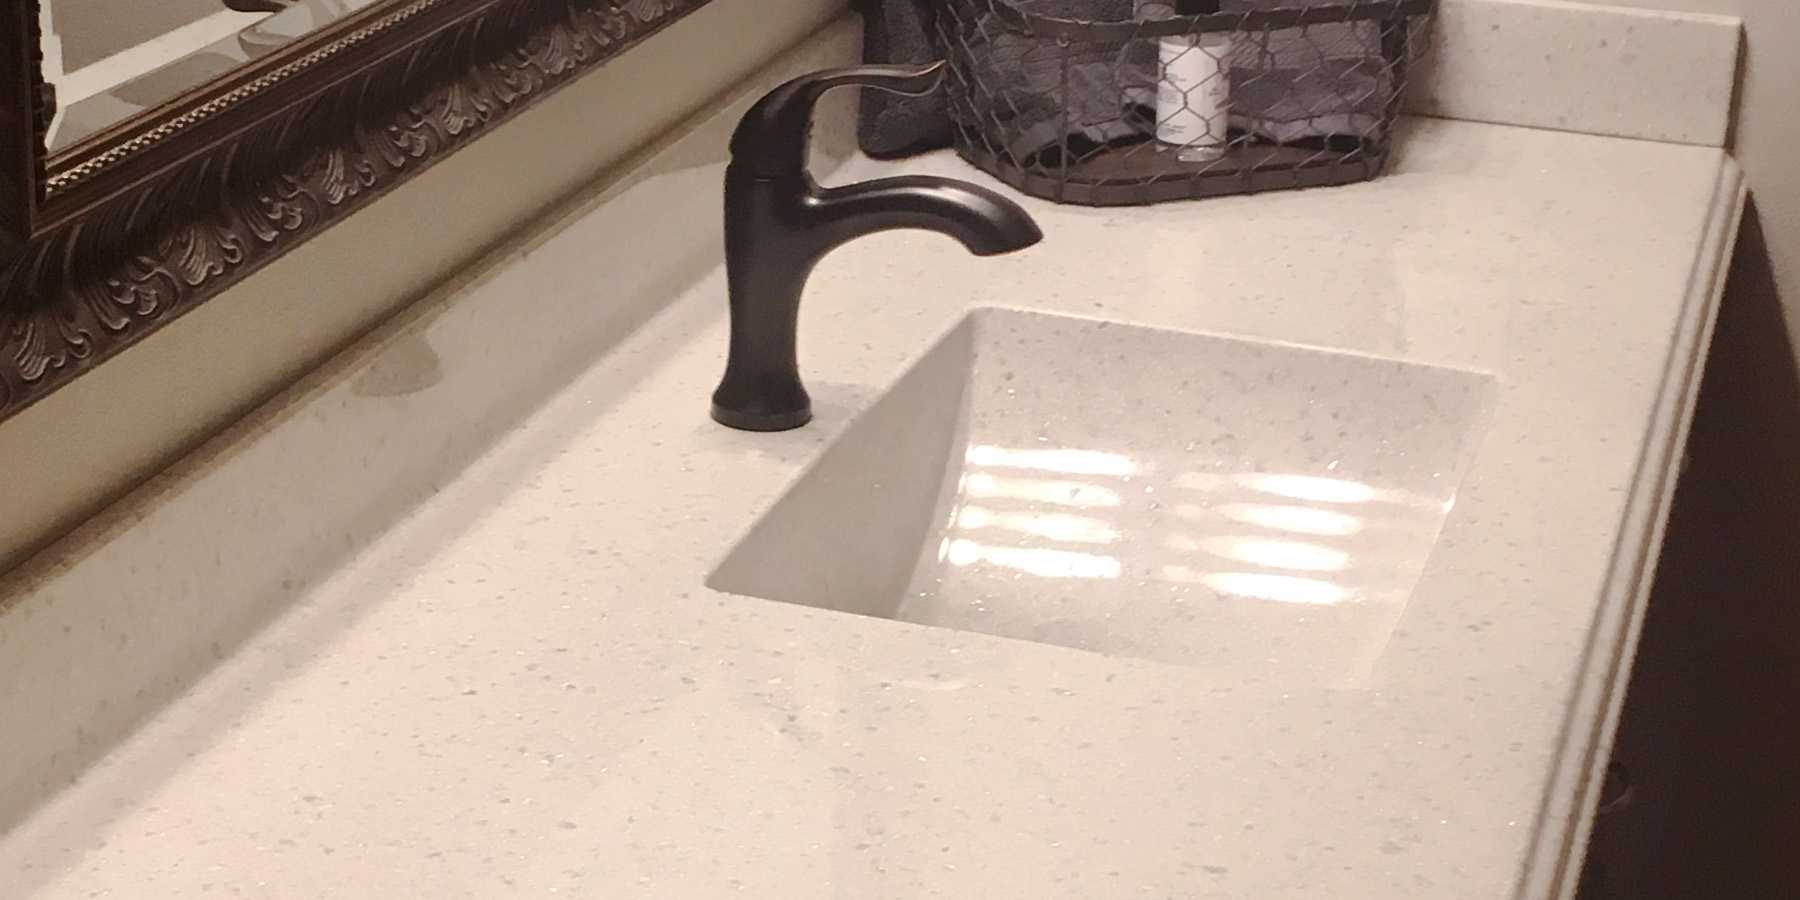
Credit: sinksbysfi.com
Remove Old Vanity Top
Removing the old vanity top is the first step in installing a new one. It takes care and attention to avoid damage. Follow these steps to remove it safely and prepare for the new installation.
Safety is important. Turn off the water supply and disconnect plumbing parts before lifting the old top.
Turn Off Water Supply
Locate the water shut-off valves under the sink. Turn both hot and cold valves clockwise. This stops water flow and prevents leaks.
Disconnect Plumbing
Place a bucket under the pipes to catch water. Use a wrench to loosen the nuts on the drain and water lines. Carefully disconnect the pipes and set them aside.
Lift Off Existing Top
Check for any screws or adhesive holding the top in place. Remove screws with a screwdriver. Use a putty knife to break the seal of old caulk. Lift the vanity top slowly and set it down safely.
Measure And Align
Measuring and aligning the vanity top to the cabinet is a key step. It ensures a perfect fit and a polished look. Take your time to be precise. Small errors can cause big problems later. Follow these steps carefully for the best results.
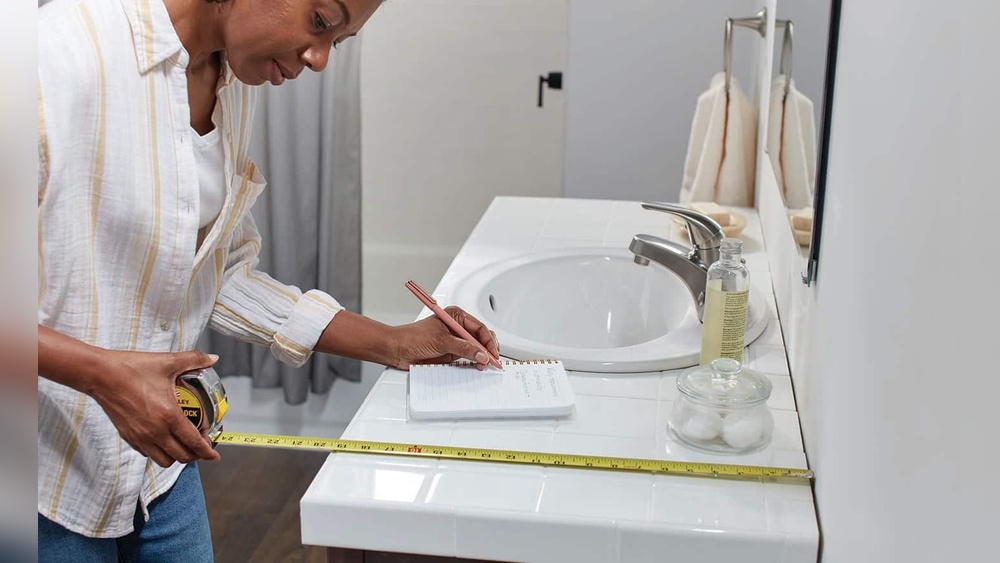
Check Cabinet Dimensions
Start by measuring the cabinet’s width, depth, and height. Use a tape measure and write down each number. Compare these numbers to the vanity top dimensions. Make sure the cabinet is level and square. Uneven surfaces affect the vanity top fit.
Position Vanity Top
Place the vanity top gently on the cabinet. Center it from side to side. Check the front and back edges for even overhang. Adjust the position until it sits flat and balanced. Avoid pushing too hard to prevent damage.
Mark Alignment Points
Use a pencil to mark key points on the cabinet. Mark where the edges of the vanity top meet the cabinet. These marks guide you during final installation. Double-check the marks before moving to the next step. Accurate marks save time and frustration.
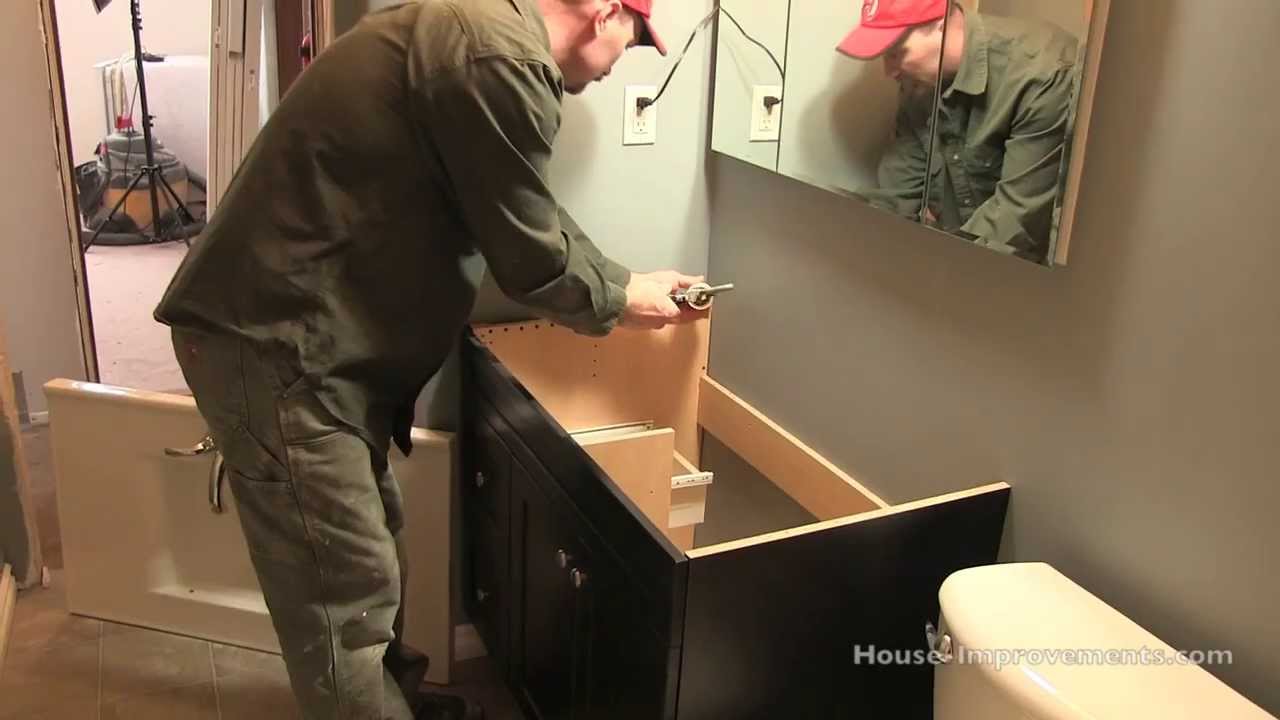
Credit: www.youtube.com
Secure Vanity Top
Securing the vanity top to the cabinet ensures stability and a clean look. This step keeps the top firmly in place during daily use. Follow simple methods to attach the vanity top safely and neatly.
Use the right materials and tools. Work carefully to avoid damage and make the installation last longer.
Apply Adhesive
Start by applying a bead of silicone adhesive along the cabinet’s top edge. Use a caulking gun for smooth, even application. Avoid thick globs; a thin, continuous line works best. This adhesive seals the gap and helps hold the vanity top firmly.
Clamp Vanity Top
Place the vanity top carefully on the cabinet. Align edges to ensure a perfect fit. Use clamps to press the top down gently. Keep the clamps tight enough to hold, but not too tight to cause damage. Leave clamps in place until the adhesive sets, usually about an hour.
Install Fasteners
Locate the mounting holes under the vanity top. Use screws or brackets to secure the top to the cabinet frame. Tighten fasteners evenly on all sides. Check for any gaps or loose spots. This step adds extra strength to the bond created by the adhesive.
Reconnect Plumbing
After placing the vanity top on the cabinet, reconnecting the plumbing is the next step. This process ensures your sink works well and water flows properly. Take time to follow these steps carefully. Proper plumbing connections help prevent leaks and water damage.
Install Faucet And Drain
Start by installing the faucet into the vanity top. Secure it tightly with the provided nuts. Then, attach the drain assembly to the sink. Make sure the drain gasket is in place to avoid leaks. Tighten all parts but do not over-tighten.
Connect Water Lines
Attach the hot and cold water lines to the faucet. Use an adjustable wrench to tighten the connections. Ensure the water supply valves are off before connecting. Check the lines for any twists or kinks that could block water flow.
Test For Leaks
Turn on the water supply valves slowly. Watch all connections closely for any drips or leaks. Tighten any loose fittings if you see water leaking. Run both hot and cold water to confirm everything works well.
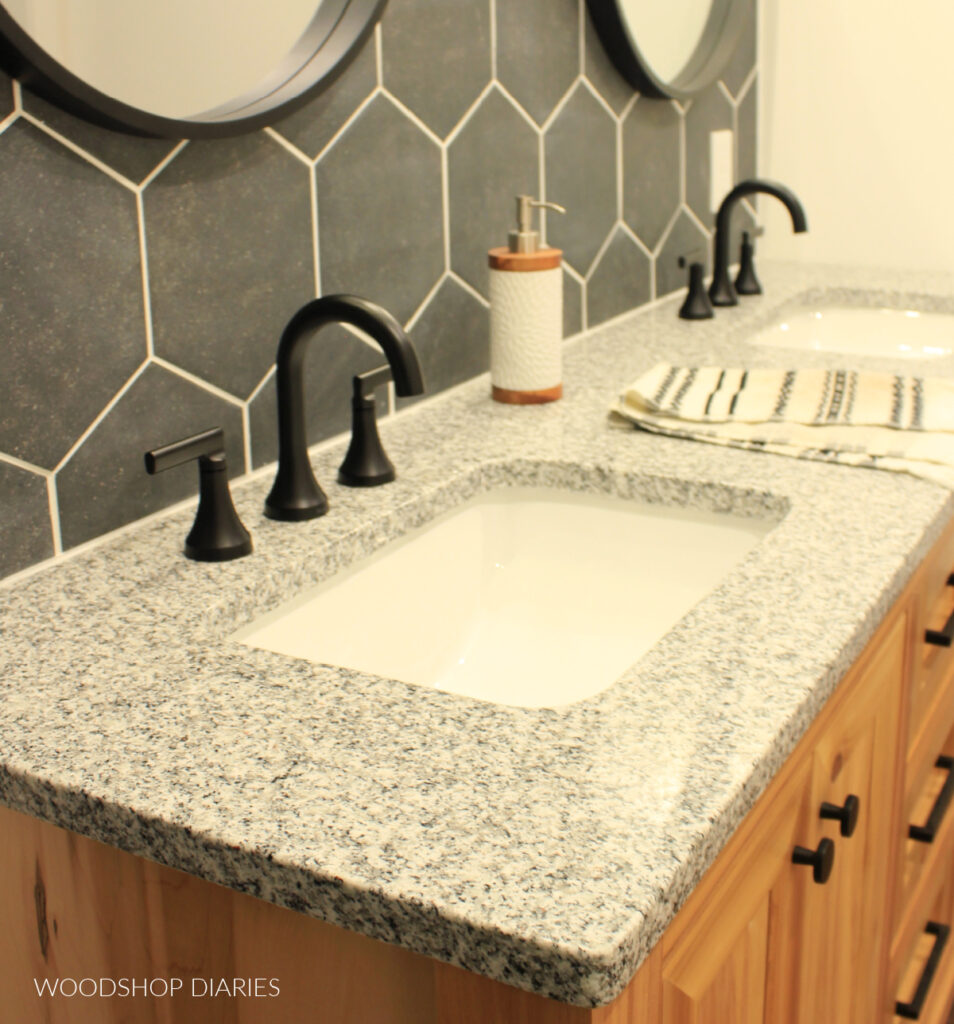
Credit: www.woodshopdiaries.com
Finish And Clean Up
After securing the vanity top to the cabinet, the final steps are crucial. Finishing and cleaning up make the installation look neat and last longer. These steps protect your vanity from water damage and keep it looking new.
Seal Edges
Apply a thin bead of silicone sealant along the edges where the vanity top meets the wall and cabinet. This stops water from seeping under the vanity top. Smooth the sealant with a wet finger or a sealant tool for a clean line. Let it dry fully before using the sink.
Remove Excess Adhesive
Check around the vanity top for any glue or adhesive that squeezed out during installation. Wipe off excess adhesive immediately with a damp cloth. Use a plastic scraper for dried glue, avoiding damage to the surface. Clean edges make the vanity look professional and tidy.
Clean The Surface
Use a mild cleaner and a soft cloth to wipe the vanity top surface. This removes dust, fingerprints, and leftover residue. Avoid harsh chemicals that can dull the finish. Dry the surface well to prevent water spots and stains. A clean vanity top enhances the bathroom’s overall look.
Frequently Asked Questions
How Do I Prepare The Cabinet Before Installing A Vanity Top?
Clean the cabinet surface thoroughly and remove any old adhesive or debris. Ensure the cabinet is level and sturdy to support the vanity top. This preparation helps achieve a smooth, secure installation.
What Tools Are Needed To Install A Vanity Top?
You will need a caulk gun, silicone adhesive, clamps, a level, and a utility knife. These tools help secure and align the vanity top properly on the cabinet.
How Do I Secure The Vanity Top To The Cabinet?
Apply a bead of silicone adhesive along the top edge of the cabinet. Carefully place the vanity top and press firmly. Use clamps if needed and allow the adhesive to cure as per instructions.
Can I Install A Vanity Top Myself Or Hire A Professional?
Yes, a DIY installation is possible with basic tools and careful steps. However, hiring a professional ensures precision and avoids damage, especially with heavy or custom tops.
Conclusion
Installing a vanity top to a cabinet is a simple task with the right steps. Take your time to measure and align everything carefully. Use the proper tools and materials for a secure fit. Clean the surface before sealing to avoid gaps.
Check that the vanity top sits evenly on the cabinet. A well-installed vanity top adds style and function to your bathroom. Enjoy your refreshed space and the satisfaction of a job done well. Small projects like this make a big difference at home.