Are you ready to give your bathroom a fresh, polished look? Attaching a vanity top to your cabinet might seem tricky, but with the right steps, you can do it yourself and save time and money.
Imagine stepping into your bathroom and seeing a perfectly installed vanity that feels sturdy and looks great. In this guide, you’ll discover simple, clear instructions that make the process easy, even if you’ve never done it before. Keep reading, and by the end, you’ll have the confidence to complete this upgrade on your own.
Prepare The Workspace
Preparing your workspace is the first step to attach a vanity top to a bathroom cabinet. A clean and organized area helps you work safely and quickly. It reduces mistakes and keeps tools within reach. Taking time to set up will make the entire process smoother and more enjoyable.
Clear And Clean The Area
Remove all items from the cabinet and countertop. Clear the floor space around the cabinet. Wipe down the cabinet surface to remove dust and dirt. Clean the vanity top as well. A clean area prevents damage and helps the vanity top fit correctly.
Gather Necessary Tools
Collect all tools before starting the installation. Common tools include a drill, screwdriver, measuring tape, and level. You may also need silicone caulk and a caulking gun. Having everything ready saves time and avoids interruptions. Double-check that tools are in good working order.
Check Vanity Top And Cabinet
Before attaching a vanity top to the cabinet, it is important to check both parts carefully. This step helps avoid problems during installation. You can save time and effort by making sure everything fits well and is in good condition.
Inspect For Damage
Look over the vanity top for cracks, chips, or scratches. Check the cabinet for dents, loose parts, or water damage. Any damage can affect the strength and appearance of your vanity. Fix or replace damaged parts before you begin attaching the top.
Measure For Proper Fit
Measure the width, depth, and height of the vanity top and cabinet. Both should match closely for a secure fit. Allow a small gap for expansion or adjustment. Accurate measurements ensure the vanity top sits flat and stable on the cabinet.
Apply Sealant
Applying sealant is a key step when attaching a vanity top to a bathroom cabinet. It helps create a strong, water-tight bond. Sealant stops water from leaking and damaging your cabinet. Taking time to apply it correctly ensures a long-lasting fit.
Choose The Right Sealant
Pick a sealant made for bathroom use. Silicone sealants work well because they resist water and mold. Look for sealants labeled “kitchen and bath” or “waterproof.” Avoid general-purpose glue or caulk. The right sealant stays flexible and keeps its grip over time.
Apply Evenly On Cabinet Surface
Clean the cabinet surface before applying sealant. Use a smooth, steady line of sealant along the top edges. Avoid thick blobs or thin patches. Even application spreads the sealant well and prevents gaps. Use a caulk gun for better control and neat results.
Credit: www.walmart.com
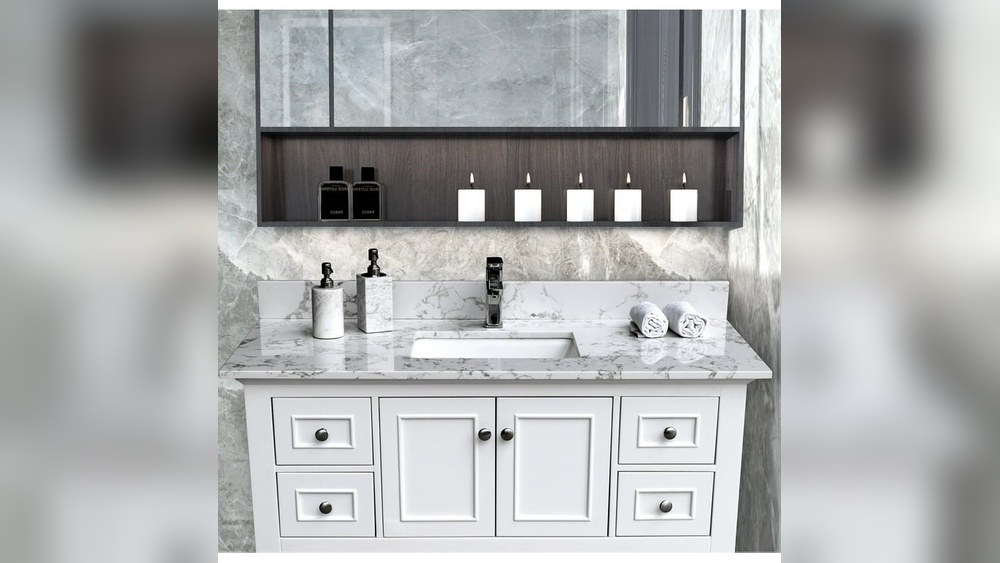
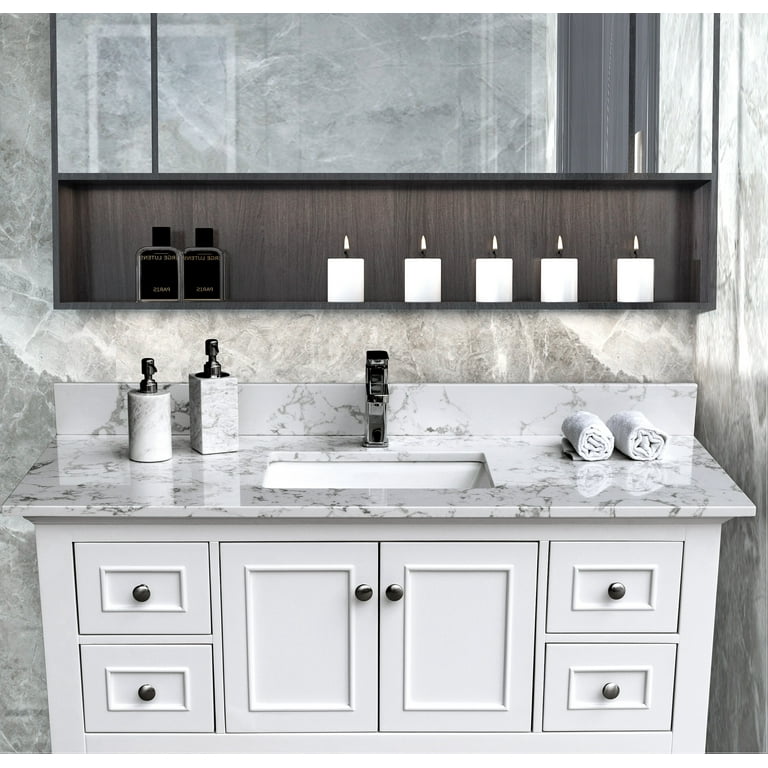
Position The Vanity Top
Positioning the vanity top is a key step in bathroom installation. It sets the foundation for a secure and neat finish. This step needs focus and care. A poorly placed vanity top can cause problems later. Take your time and follow these tips to place it correctly.
Align Carefully With Cabinet
Start by placing the vanity top gently on the cabinet. Check that the edges match the cabinet sides exactly. The front edge should line up with the cabinet front. Avoid any gaps or overhangs. This alignment ensures the vanity looks tidy and fits well.
Look from different angles to confirm the top is straight. Small shifts can affect the final look. Adjust the top until it fits perfectly over the cabinet.
Ensure Level Placement
Use a level tool to check the vanity top’s balance. Place the level across the front and sides. The surface must be completely flat and even. An uneven top can cause water to pool or damage the sink.
If the top is not level, use thin shims under the cabinet. Add or remove shims until the level shows a flat surface. Double-check the level after every adjustment. Proper leveling makes the vanity sturdy and safe to use.
Secure The Vanity Top
Securing the vanity top to the cabinet is important for a strong, stable bathroom setup. A loose vanity top can cause damage or accidents. Follow simple steps to keep the vanity top firmly in place.
Use the right tools and parts to ensure a tight, safe fit. Pay attention to details to avoid problems later.
Use Clips Or Brackets
Clips or brackets hold the vanity top firmly to the cabinet. Place them evenly along the edges for balanced support. Attach each clip or bracket with screws into the cabinet sides. Check that they fit tight without gaps. These small parts help stop movement and keep the top steady.
Tighten Fasteners Properly
Fasteners like screws or bolts must be tight but not overdone. Use a screwdriver to turn them slowly. Stop tightening once the vanity top feels secure. Too much force can crack the top or strip the screws. Double-check each fastener to ensure the whole vanity is stable and safe to use.
Seal Edges And Joints
Sealing the edges and joints of your vanity top is key to preventing water damage. It stops water from seeping into the cabinet and causing mold or rot. A neat seal also gives your bathroom a clean, finished look. Take your time to apply the sealant carefully for the best results.
Use the right sealant for bathroom use, usually silicone caulk. Prepare the edges by cleaning them well and making sure they are dry. This helps the caulk stick properly and last longer.
Apply Caulk Smoothly
Cut the tip of the caulk tube at a small angle. This controls the flow of the sealant. Hold the tube at a 45-degree angle to the edge. Apply a steady, even bead along the joint. Move slowly to avoid gaps or lumps. Smooth the caulk right after applying it for a neat finish.
Remove Excess Sealant
Use a damp finger or a caulk smoothing tool to clean up excess caulk. Wipe away extra sealant before it dries. This keeps the edges tidy and professional-looking. Clean your tools and hands often to avoid sticky messes. Proper cleanup improves the seal’s strength and appearance.
Final Adjustments
The final adjustments are key to a strong and neat vanity top installation. This step ensures your vanity top fits perfectly and stays secure for years. Taking time here avoids future problems and keeps your bathroom looking great.
Check Stability
Press gently on different areas of the vanity top. It should not move or wiggle. Check all sides and corners carefully. Tighten screws or brackets if needed. Make sure the vanity top sits flat on the cabinet. Stability means safety and durability.
Clean Up Workspace
Remove all tools and debris around the vanity. Wipe down the surface with a damp cloth. Clean any excess sealant or adhesive immediately. A clean workspace shows a job well done. It also prevents damage or stains to your new vanity top.
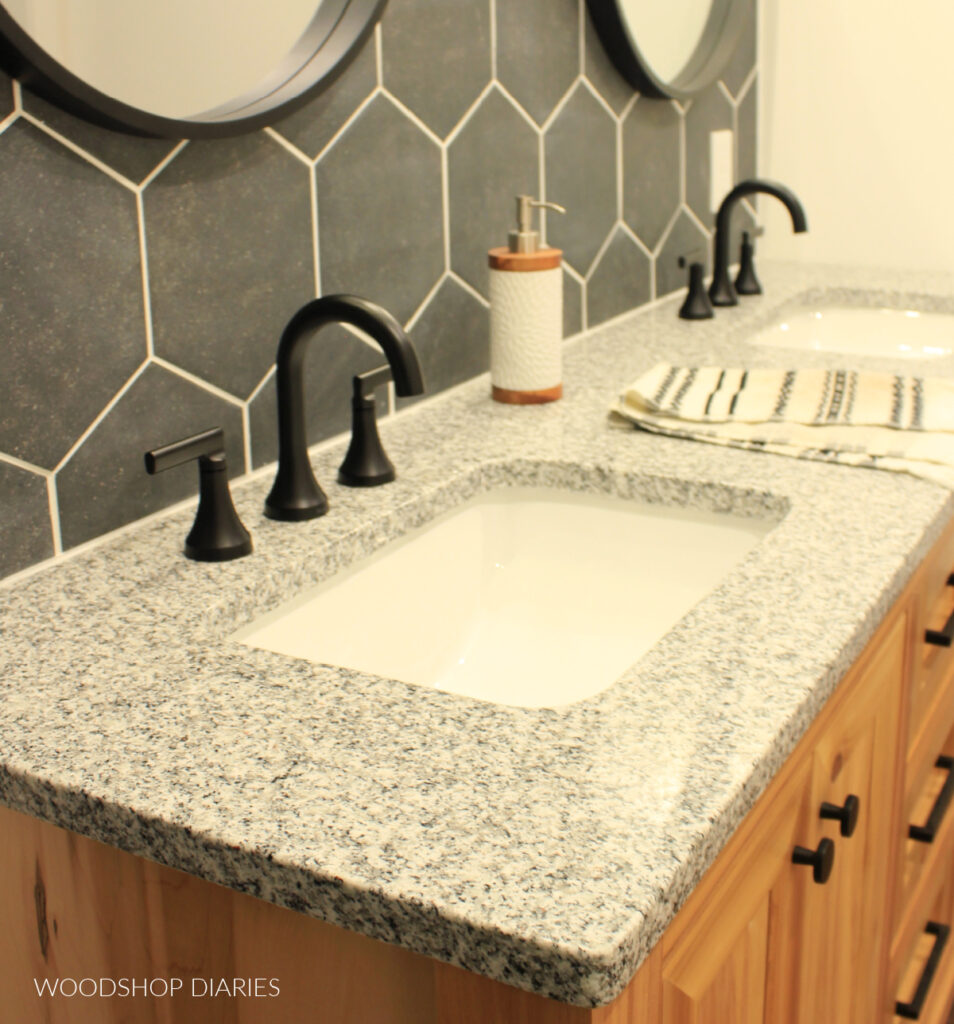
Credit: www.woodshopdiaries.com
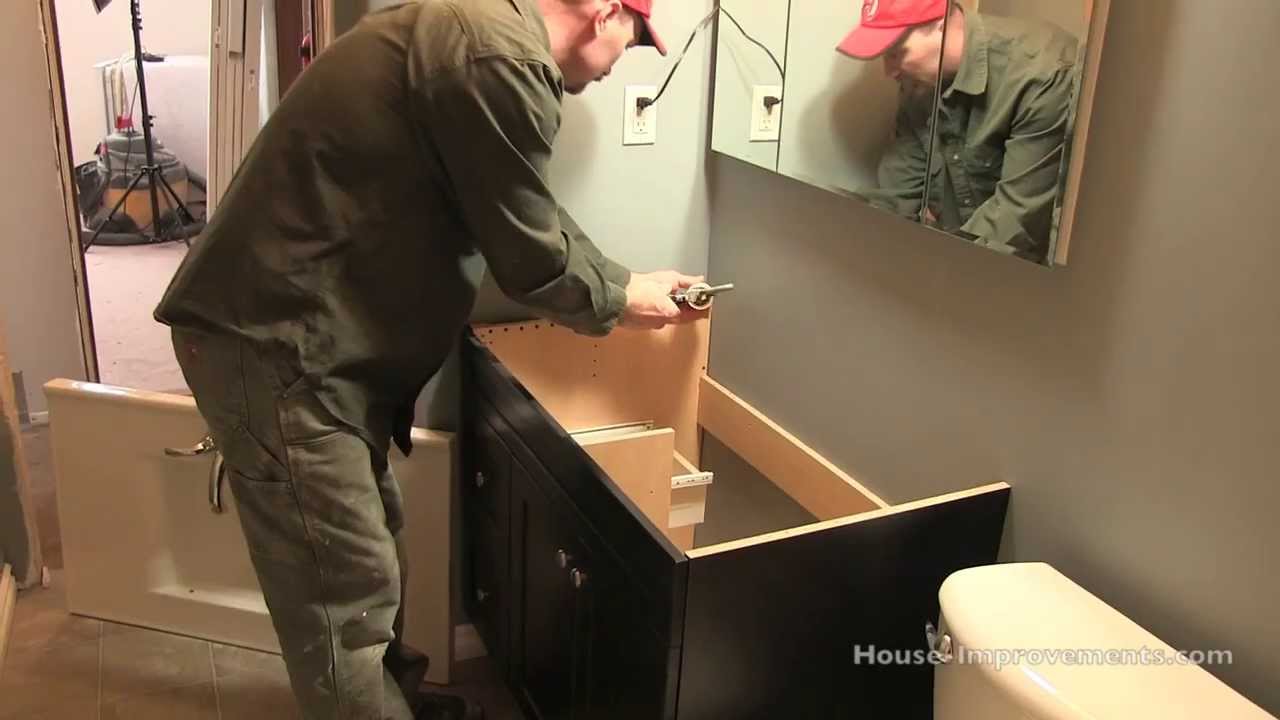
Credit: www.youtube.com
Frequently Asked Questions
How Do You Secure A Vanity Top To A Bathroom Cabinet?
To secure a vanity top, apply a bead of silicone caulk on the cabinet edges. Carefully place the vanity top and press firmly. Use clamps if needed until the caulk dries to ensure a strong bond without gaps or movement.
What Tools Are Needed To Attach A Vanity Top?
You need silicone caulk, a caulking gun, clamps, a level, and a clean cloth. Optionally, screwdrivers or drills help secure the top if pre-drilled holes exist. These tools ensure proper alignment and a secure, leak-proof installation.
Can I Install A Vanity Top Without Professional Help?
Yes, with basic DIY skills and proper tools, you can install a vanity top. Follow manufacturer instructions carefully and ensure a level fit. Take your time with measurements and sealing to avoid leaks or damage.
How Long Does Silicone Caulk Take To Dry On Vanity Tops?
Silicone caulk typically takes 24 hours to fully cure. Avoid moving the vanity top during this time. Proper drying ensures a strong seal and prevents water damage or shifting of the vanity top.
Conclusion
Attaching a vanity top to a bathroom cabinet is simple with the right steps. Measure and align carefully to avoid mistakes. Use proper sealant to keep water out and protect your cabinet. Secure the top firmly with screws or clips for stability.
Take your time and work safely for the best results. This small project can improve your bathroom’s look and function. You will enjoy your new vanity every day. Easy to do, worth the effort.