Have you ever looked at your empty wall and wished for a beautiful, sturdy bookshelf to showcase your favorite books and treasures? Building a bookshelf from scratch might sound tricky, but it’s easier than you think—and incredibly rewarding.
Imagine creating a custom piece that fits perfectly in your space, matches your style, and holds everything you love. In this guide, you’ll discover simple steps to build your own bookshelf, even if you’ve never picked up a hammer before.
Ready to transform your space and impress yourself with a new skill? Let’s get started!
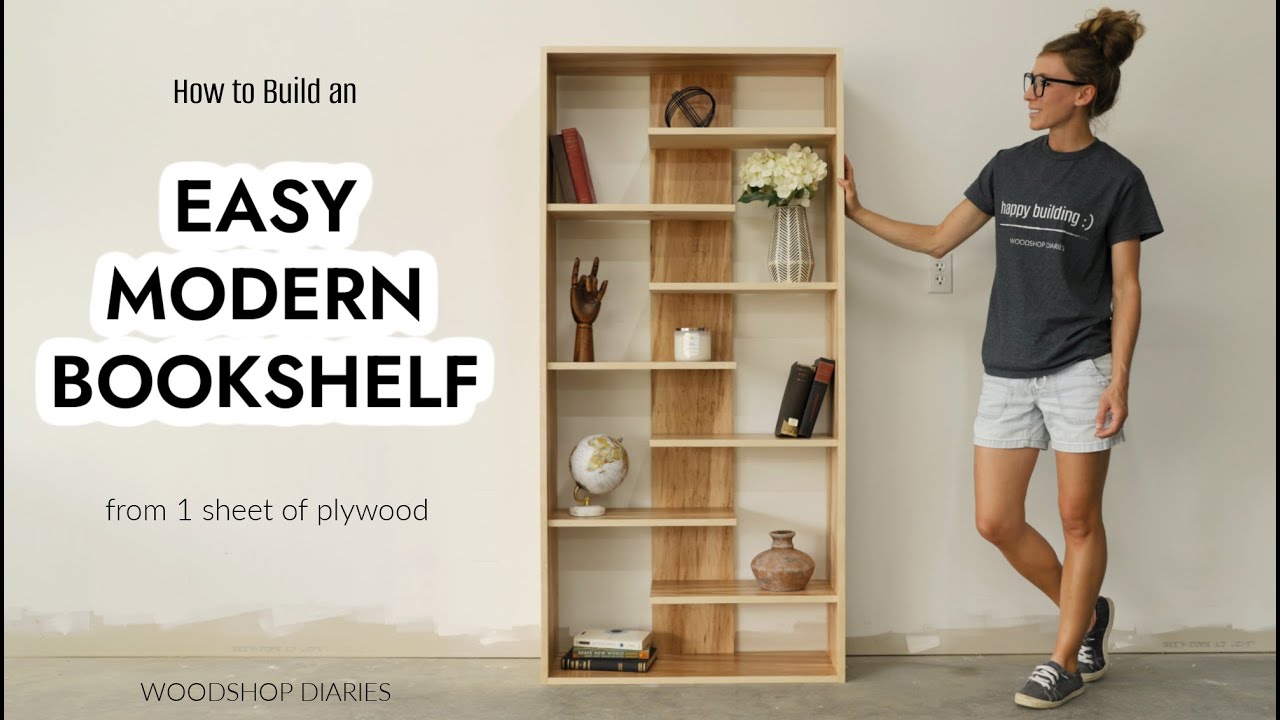
Credit: www.youtube.com
Choosing The Right Materials
Choosing the right materials is key to building a sturdy bookshelf. The materials affect the strength, look, and cost of your project. Spend time selecting wood and tools that fit your needs. Good materials make the building process easier and the final shelf last longer.
Types Of Wood
Wood type changes the shelf’s durability and style. Pine is soft, affordable, and easy to work with. Oak is harder and lasts longer but costs more. Birch offers a smooth finish and good strength. Plywood is also popular. It is strong and less likely to warp. Choose wood that matches your budget and design idea.
Tools And Supplies Needed
You need some basic tools and supplies to build a bookshelf. A saw cuts wood pieces. A drill helps to make holes and screw parts together. Sandpaper smooths rough edges. Wood glue adds extra strength. Screws and nails hold everything in place. A measuring tape and level keep your shelf even and the right size.
Planning Your Bookshelf
Planning your bookshelf is the first step to a successful build. It helps avoid mistakes and saves time. Careful planning ensures your shelf fits well and looks great.
Measuring Space
Measure the space where the bookshelf will go. Use a tape measure for accuracy. Note the height, width, and depth available. Consider room for wall clearance and furniture nearby. Write down the numbers for later use.
Designing The Layout
Decide how many shelves you want. Think about the size of your books or items. Arrange shelf heights to fit different objects. Sketch a simple drawing of the shelf design. This guides you during cutting and assembly.
Cutting The Wood Pieces
Cutting the wood pieces is a key step in building a bookshelf from scratch. Accurate cuts ensure the bookshelf fits together well. Taking time here saves effort later. Use the right tools and work carefully. Measure twice, cut once. Let’s dive into the details.
Marking Measurements
Start by measuring the wood pieces carefully. Use a tape measure or ruler for exact lengths. Mark the cutting lines clearly with a pencil. Double-check each measurement to avoid mistakes. Draw straight lines to guide your cuts. Clear marks help keep your cuts precise.
Safe Cutting Techniques
Always wear safety glasses to protect your eyes. Use clamps to hold the wood steady while cutting. Cut slowly and steadily to control the saw. Keep your hands away from the blade. Use a push stick for narrow cuts. Follow safety instructions for your tools. Safety first keeps the project smooth and injury-free.
Assembling The Frame
Assembling the frame is a key step in building a sturdy bookshelf. This process forms the basic shape and holds the whole structure together. Take your time to ensure all parts fit well. A strong frame supports the weight of your books and keeps everything steady.
Joining Side Panels
Start by aligning the side panels upright. Use wood glue on the edges for a tight bond. Then, secure the panels with screws or nails. Make sure the panels are square by measuring the corners. This keeps your bookshelf balanced and straight. Avoid gaps between the panels for better strength.
Securing Shelves
Next, place the shelves between the side panels. Mark the shelf positions before fixing them. Drill pilot holes to prevent wood from splitting. Attach the shelves with screws or brackets for a firm hold. Check that each shelf is level before tightening screws. Properly secured shelves can hold heavy books safely.
Sanding And Finishing
Sanding and finishing are important steps in building a bookshelf. They make the wood smooth and protect it from damage. A well-finished bookshelf looks better and lasts longer. Take your time to sand and finish carefully. This part brings out the beauty of the wood.
Smoothing Surfaces
Start sanding with coarse sandpaper to remove rough spots. Sand along the grain of the wood. This helps avoid scratches. Use finer sandpaper for a smooth finish. Wipe away dust with a dry cloth after sanding. Check surfaces by touch to ensure smoothness. Smooth wood feels soft and even under your hand.
Applying Paint Or Stain
Choose paint or stain that fits your style. Apply a thin, even coat with a brush or cloth. Let it dry completely before adding more layers. Multiple coats deepen the color and protect the wood. Sand lightly between coats to keep the surface smooth. Finish with a clear sealant for extra protection. This keeps your bookshelf looking great for years.

Credit: thediyplaybook.com
Adding Final Touches
Adding final touches to your bookshelf is key for a neat and sturdy finish. These steps protect the wood and make your shelf look polished. Take your time to do each task carefully. A well-done finish adds value and durability to your project.
Installing Back Panel
The back panel gives stability to the bookshelf. Choose a thin plywood or hardboard for this part. Measure the back opening accurately before cutting the panel. Use a saw to cut the panel to size. Position it flush with the edges of the frame. Secure the panel with small nails or screws. Check that the panel is flat and fits tightly. This step prevents the shelf from wobbling or twisting.
Attaching Hardware
Hardware adds function and style to your bookshelf. Decide which hardware you need, such as handles or brackets. For wall mounting, use strong brackets and anchors. Mark the spots for screws clearly on the shelf and wall. Drill pilot holes to avoid splitting the wood. Screw the hardware securely in place. Double-check all attachments are firm before use. Proper hardware ensures safety and long-lasting use.
Tips For Maintenance And Safety
Maintaining your bookshelf keeps it strong and looking good. Safety matters a lot. A well-maintained shelf lasts longer and holds your books safely.
Simple care steps prevent damage. Small actions protect your shelf and your books. Follow these tips to keep your bookshelf safe and clean.
Regular Cleaning
Dust builds up fast on shelves. Clean often to avoid scratches and stains. Use a soft cloth or feather duster. Wipe gently to keep the wood finish smooth.
Check corners and edges for dust. Use a vacuum with a brush attachment for hard-to-reach spots. Clean spills immediately to avoid stains or warping.
Preventing Damage
Avoid placing heavy items unevenly. Distribute weight to stop shelves from bending. Use brackets or supports if needed.
Keep your shelf away from direct sunlight and moisture. Sun can fade wood color. Moisture causes wood to swell or crack. Use coasters under plants or drinks.
Be careful when moving the shelf. Lift it instead of dragging. Tighten screws and bolts regularly to keep it sturdy.
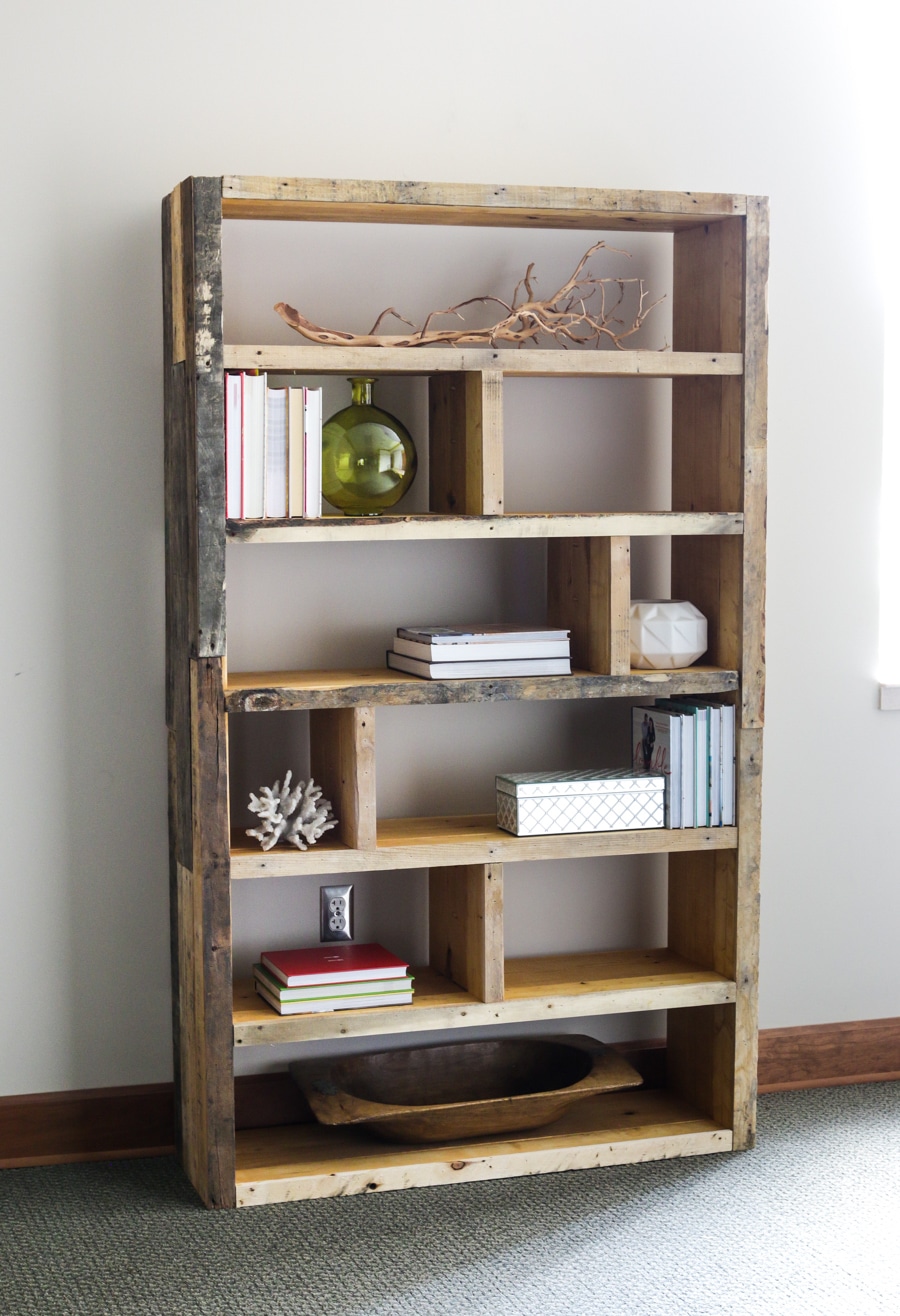
Credit: jenwoodhouse.com
Frequently Asked Questions
What Materials Do I Need To Build A Bookshelf From Scratch?
You need wood boards, screws, wood glue, sandpaper, paint or stain, brackets, and basic tools like a saw and drill. Choose quality wood for durability and finish for a polished look. Proper materials ensure a sturdy and attractive bookshelf.
How Long Does It Take To Build A Bookshelf?
Building a bookshelf typically takes 4 to 8 hours, depending on complexity and skill level. Simple designs take less time, while intricate ones require more precision. Proper planning and preparation can speed up the process and improve results.
What Are The Essential Tools For Bookshelf Construction?
Essential tools include a saw, drill, screwdriver, measuring tape, level, clamps, and sander. These tools help cut, assemble, and finish your bookshelf accurately. Having the right tools makes the building process easier and ensures a professional outcome.
How Can I Customize My Bookshelf Design?
You can customize size, number of shelves, paint color, and decorative details. Personalize to fit your space and style preferences. Adding unique features like adjustable shelves or built-in lighting enhances functionality and aesthetics.
Conclusion
Building a bookshelf from scratch is a rewarding project. It saves money and lets you design your own style. Follow clear steps and measure carefully for best results. Use good tools and take your time to avoid mistakes. Enjoy the process and learn new skills along the way.
Soon, you will have a sturdy, personalized bookshelf. A perfect addition to any room, made by your own hands.