Are you looking to add a unique touch to your home while showcasing your favorite books? Building a circular wooden bookshelf is a creative way to do just that.
Imagine a stunning piece that not only holds your books but also becomes a conversation starter. In this guide, you’ll discover simple steps to create your own circular bookshelf, even if you have little woodworking experience. By the end, you’ll have the confidence and know-how to craft a beautiful, functional piece that fits perfectly in your space.
Ready to transform your reading nook? Let’s get started!

Credit: www.amazon.com
Materials And Tools
Building a circular wooden bookshelf requires the right materials and tools. Choosing quality wood and having the correct equipment makes the process smooth. This section covers the wood types, tools, and supplies needed. Prepare well to create a sturdy and beautiful bookshelf.
Wood Selection
Select wood that is strong and easy to shape. Pine, oak, and plywood are common choices. Pine is soft and affordable. Oak is hard and lasts longer. Plywood offers stability and resists warping. Choose wood with a smooth surface for easy finishing. Avoid wood with knots or cracks. The thickness should be about ¾ inch for durability.
Necessary Tools
A few basic tools help build the circular bookshelf. A jigsaw or band saw cuts the curved shapes. A drill makes holes for screws and dowels. Sandpaper or an electric sander smooths rough edges. A tape measure ensures accurate measurements. Clamps hold pieces together while gluing or screwing. A screwdriver or power drill tightens screws firmly.
Additional Supplies
Besides wood and tools, gather some extra supplies. Wood glue bonds pieces strongly. Screws hold the structure tight. Wood filler hides nail holes and cracks. Paint or wood stain adds color and protects the surface. Brushes or rags help apply finishes evenly. Safety gear like gloves and goggles protects during cutting and sanding.
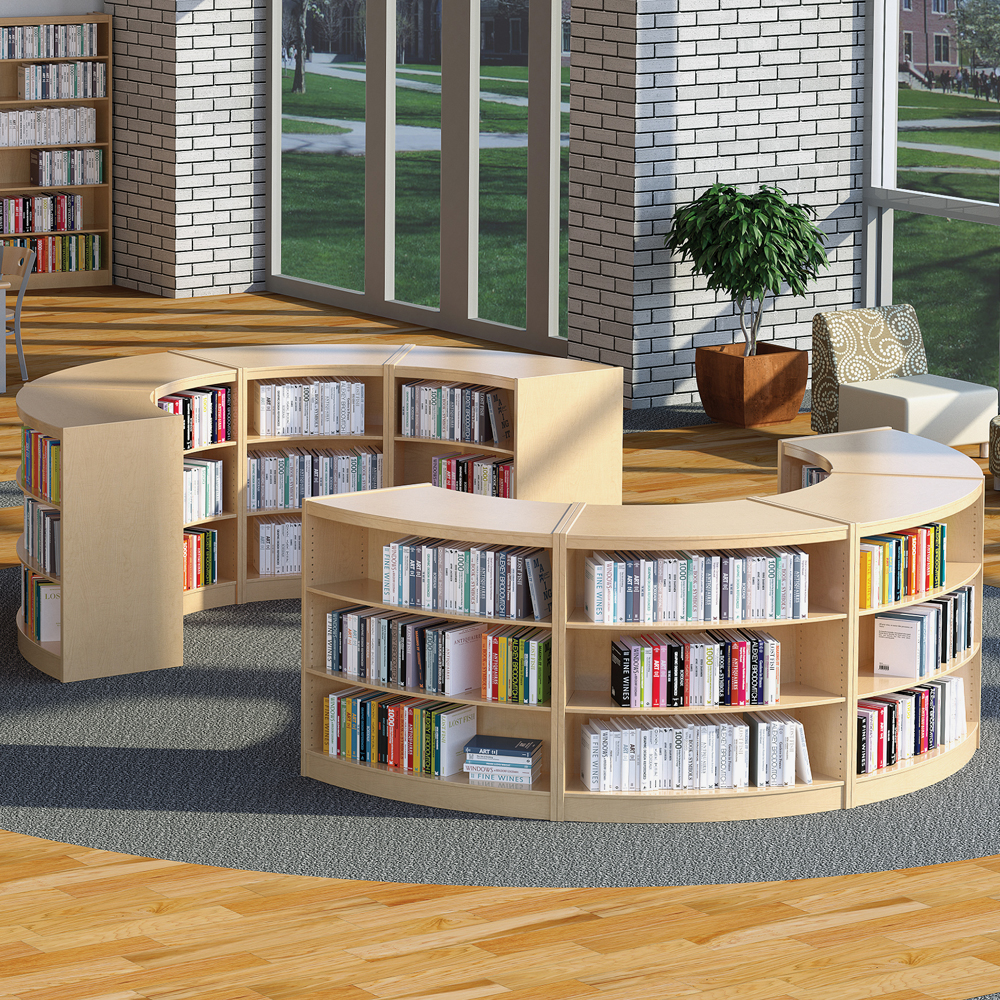
Credit: www.vernonlibrarysupplies.com
Planning Your Bookshelf
Planning your circular wooden bookshelf is the first step to a successful build. Careful planning saves time and materials. It helps create a shelf that fits your space and needs perfectly.
Design Dimensions
Start by deciding the bookshelf’s size. Measure the space where it will stand. Think about the diameter of the circle. Choose a height that matches your room. Keep in mind the thickness of the wood. These numbers guide your entire project.
Choosing Shelf Spacing
Decide how many shelves you want inside the circle. Space them to hold books of different sizes. Leave enough height for tall books and room for smaller items. Balance the shelf spacing for a neat look. Proper spacing helps keep books stable and easy to reach.
Sketching The Layout
Draw the circular shape on paper. Mark where each shelf will go inside. Show the spacing clearly. Use simple lines and circles to plan. This sketch acts as your blueprint. It helps avoid mistakes during cutting and assembly.
Cutting The Wood
Cutting the wood is a key step in building a circular bookshelf. This part needs focus and care to get the perfect shape. The wood pieces must fit well together for a strong and beautiful shelf. This section covers how to mark the circle, cut safely, and smooth the edges.
Marking The Circular Shape
Start by drawing the circle on the wood. Use a compass or a string tied to a pencil. Find the center point on the wood first. Keep the string tight to get a clean line. Double-check the size before cutting. A clear mark helps guide the saw for a smooth cut.
Safe Cutting Techniques
Use the right saw for curved cuts, like a jigsaw. Always wear safety glasses and gloves. Secure the wood on a stable surface. Cut slowly following the marked line. Avoid forcing the saw to prevent mistakes. Take breaks if your hands feel tired. Safety first for a good result.
Sanding Edges
After cutting, the edges will be rough. Use sandpaper or a sanding block to smooth them. Sand in a circular motion to keep the shape. Check edges with your hand to feel for splinters. Smooth edges make the shelf safer and look nicer. Proper sanding finishes the cutting step well.
Assembling The Frame
Finishing touches make your circular wooden bookshelf look complete and beautiful. They protect the wood and bring out its natural charm. These final steps ensure your bookshelf lasts long and stays strong.
Sanding The Entire Bookshelf
Sanding smooths the wood surface and removes rough spots. Use fine-grit sandpaper for the best finish. Sand all parts evenly, including edges and corners. This step helps the stain or paint stick better. Wipe off dust with a clean cloth after sanding.
Applying Stain Or Paint
Choose a stain to show the wood grain or paint for a solid color. Apply with a brush or cloth, using thin, even coats. Let each coat dry fully before adding another. Stain enhances the wood’s natural look. Paint adds color and style to your shelf.
Adding Protective Coating
Protective coating guards your shelf from scratches and spills. Use clear varnish, polyurethane, or lacquer for durability. Apply thin layers and let each dry well. This finish adds shine and strength to the wood. It keeps your bookshelf looking new for years.
Finishing Touches
Installing and styling your circular wooden bookshelf is the final step to create a beautiful and functional piece. Proper installation ensures safety and stability. Thoughtful styling makes the bookshelf a charming part of your room. This section helps you place, organize, and decorate your new bookshelf with ease.
Positioning The Bookshelf
Choose a spot with enough space around the bookshelf. Avoid areas with direct sunlight to protect the wood and books. Place it near a reading chair or desk for easy access. Ensure the bookshelf stands on a flat, stable surface. Leave some space around it to highlight its circular shape.
Organizing Books
Sort books by size, color, or genre for a neat look. Place taller books at the bottom for balance. Use the circular shelves to create layers of books and decorations. Keep frequently read books within easy reach. Avoid overcrowding shelves to maintain a clean, open feel.
Decorative Ideas
Add small plants or candles to bring life to the shelves. Use bookends that match the wooden texture or color. Display small art pieces or collectibles in empty spaces. Rotate decorations to keep the look fresh and interesting. Keep a few shelves for personal items to add character.
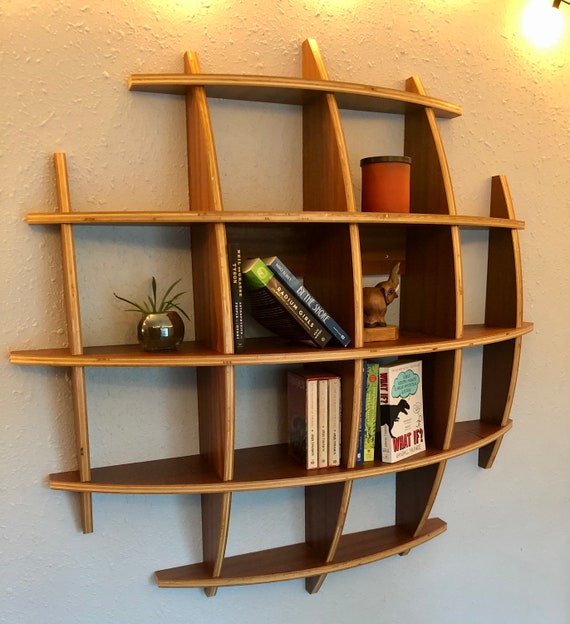
Credit: www.etsy.com
Frequently Asked Questions
What Materials Are Needed To Build A Circular Bookshelf?
To build a circular bookshelf, you need wood planks, plywood, wood glue, screws, sandpaper, a saw, clamps, and paint or stain. These materials ensure durability and a smooth finish for your bookshelf project.
How Do You Cut Wood For A Circular Bookshelf?
Cut wood using a jigsaw or bandsaw to create curved shapes. Measure and mark the circular design accurately before cutting for precision and safety.
What Is The Best Wood Type For A Circular Bookshelf?
Pine, oak, or plywood are ideal for circular bookshelves. They offer strength, smooth finishes, and are easy to work with for DIY projects.
How Long Does It Take To Build A Circular Bookshelf?
Building a circular bookshelf typically takes 4 to 6 hours. Time varies depending on skill level, tools, and drying time for glue or paint.
Conclusion
Building a circular wooden bookshelf can be simple and fun. Follow each step carefully to create a sturdy shelf. Use the right tools and materials for best results. Take your time to measure and cut precisely. This project adds style and storage to any room.
Enjoy the pride of making your own furniture. Keep practicing to improve your woodworking skills. A circular bookshelf makes a great home addition or gift. Start building today and see your space transform.