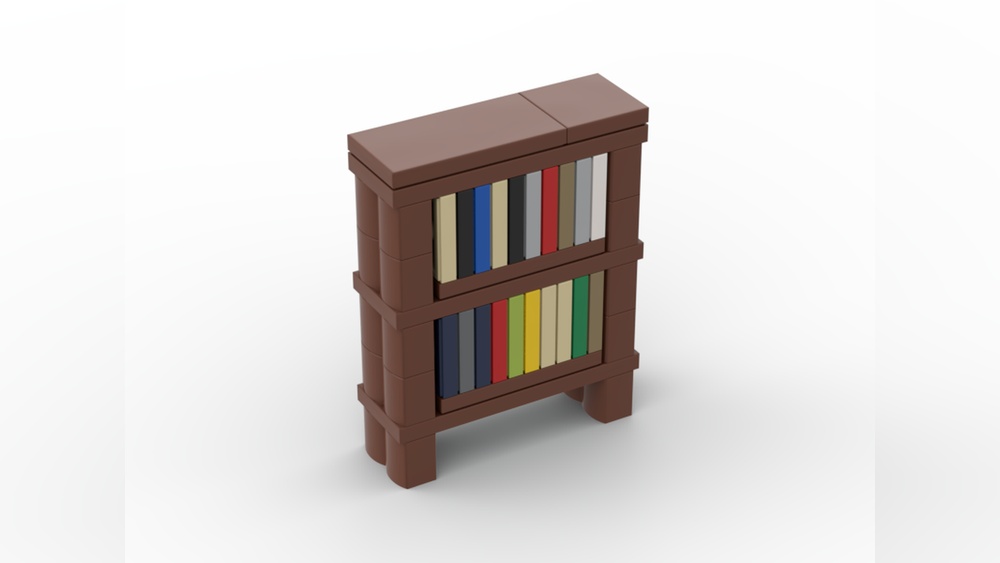
Have you ever wanted to build your own bookshelf but felt held back because you don’t have power tools? Imagine creating a beautiful, sturdy shelf using just simple hand tools and your own effort.
You don’t need a workshop or fancy equipment to make something amazing for your home. You’ll discover easy steps that anyone can follow to build a bookshelf from scratch. By the end, you’ll have the confidence and know-how to bring your vision to life—all without reaching for a power drill.
Ready to get started? Let’s dive in!
Materials And Tools Needed
Building a bookshelf without power tools is simple with the right materials and tools. Choosing quality items makes the project easier and the final product strong. This section covers the basic hand tools, wood choices, and extra supplies you need.
Basic Hand Tools
Start with a handsaw for cutting wood pieces to size. A hammer will help drive nails safely and firmly. Use a measuring tape to get exact lengths and widths. A carpenter’s square ensures your corners stay at perfect right angles. Sandpaper smooths rough edges and surfaces. A pencil marks where to cut and nail.
Choosing The Right Wood
Pick wood that is easy to work with and sturdy. Pine or poplar are good choices for beginners. They are soft enough to cut by hand and hold nails well. Avoid hardwoods like oak if you lack experience. Check the wood for straight grain and no large knots. This makes cutting and assembling easier.
Additional Supplies
Gather nails or screws to join the wood pieces. Wood glue adds extra strength to joints. Use clamps to hold pieces together while glue dries. A small container of wood filler fixes any gaps or holes. Finish with paint or varnish to protect and beautify your shelf. Clean rags help with applying finishes evenly.

Credit: www.reddit.com
Planning Your Bookshelf
Planning your bookshelf is the first step to building a strong and useful piece. Good planning saves time and materials. It helps avoid mistakes during building. Start by thinking about what you need. Consider the space where the bookshelf will go. This makes sure the shelf fits well and looks good.
Determining Size And Design
Decide how tall and wide your bookshelf should be. Think about the size of your books and items to store. Choose a design that matches your room style. Simple shapes are easier to build without power tools. Keep the design practical for your needs.
Sketching Your Blueprint
Draw a clear plan of your bookshelf on paper. Include all shelves and supports. Use simple lines and shapes. Label the parts with their measurements. This blueprint guides you step-by-step during building. It helps avoid confusion and errors.
Measuring And Marking Wood
Use a tape measure to mark wood pieces. Double-check each measurement before cutting or assembling. Mark straight lines with a pencil and ruler. Clear marks make cutting and joining easier. Careful measuring ensures the bookshelf fits your plan.
Cutting Wood By Hand
Cutting wood by hand is a key skill when building a bookshelf without power tools. It lets you work carefully and control each cut. You do not need special machines to get good results. With patience and the right technique, your cuts will be clean and precise.
Using A Hand Saw Effectively
Hold the saw handle firmly but not too tight. Start the cut slowly to make a small groove. This groove guides the saw and keeps it straight. Use long, smooth strokes. Let the saw teeth do the work. Avoid pressing hard or rushing the cut. Keep your arm steady and move the saw back and forth evenly.
Tips For Straight And Clean Cuts
Mark your cut line clearly with a pencil. Use a square tool to keep the line straight. Clamp the wood to a stable surface to stop it from moving. Cut just outside the line for a clean edge. Sand the edges after cutting to smooth rough spots. Take your time and check your progress often. A straight cut makes assembly easier and the bookshelf stronger.
Safety Precautions
Wear safety glasses to protect your eyes from dust and splinters. Keep your fingers away from the saw blade at all times. Work on a sturdy surface to prevent slips. Make sure the saw teeth are sharp to reduce effort and risk. Keep your work area clean to avoid accidents. Always cut away from your body. Stop if you feel tired and rest before continuing.
Assembling The Bookshelf
Assembling a bookshelf without power tools is simple and satisfying. It requires patience and the right techniques. You will connect all parts carefully to build a sturdy shelf. This section explains easy ways to join pieces without electric tools.
Joining Pieces Without Power Tools
Start by aligning the wood pieces correctly. Use clamps or a helper to hold parts steady. Mark where you will join the boards. Drill small pilot holes with a manual screwdriver to avoid splitting wood. This step makes nailing easier and cleaner.
Using Nails And Hammer
Nails are quick and reliable for joining wood. Choose nails that fit the wood thickness. Hold the nail near the point. Tap gently with the hammer to start it in the wood. Then, hammer the nail straight and deep. Avoid bending nails by hitting carefully and steadily.
Alternative Fastening Methods
Wood glue adds strength without tools. Apply glue on joining surfaces before nailing. Use clamps to hold parts until glue dries. Screws can be used with a manual screwdriver. Insert screws slowly to prevent damage. Wooden dowels also connect parts well. Drill holes by hand and insert dowels with glue for tight joints.
Sanding And Finishing
Sanding and finishing are key steps in making a bookshelf without power tools. They help smooth the wood and protect it from damage. These steps give your project a clean, polished look. Taking time here improves the shelf’s strength and beauty.
Hand Sanding Techniques
Start with coarse sandpaper to remove rough spots. Use a sanding block for even pressure. Sand along the grain to avoid scratches. Change to finer sandpaper for a smooth finish. Use gentle, circular motions on edges and corners. Check your work by running your hand over the surface. Repeat sanding if needed for a soft feel.
Choosing Paint Or Stain
Pick paint for a bright, colorful finish. Use stain to show the natural wood grain. Consider the room’s style and your shelf’s use. Choose water-based paint for easy cleanup and low odor. Select oil-based stain for deeper color and protection. Test color on a scrap piece of wood first. Let the paint or stain dry fully before the next step.
Applying Finishing Touches
Apply a clear coat like varnish or polyurethane for extra protection. Use a brush or cloth to spread evenly. Avoid thick layers to prevent drips or bubbles. Allow each coat to dry before adding another. Lightly sand between coats with fine sandpaper. This creates a smooth, durable surface. Finish by cleaning dust and storing the shelf in a dry place.
Troubleshooting Common Issues
Building a bookshelf without power tools can bring some challenges. Small mistakes can cause problems like uneven surfaces, weak joints, or misaligned shelves. These issues can affect how the bookshelf looks and how strong it is. This section helps you solve common problems easily. Follow these tips to get a solid and neat bookshelf.
Fixing Uneven Surfaces
Uneven surfaces happen when wood pieces are not flat or cut straight. Use sandpaper to smooth rough or bumpy areas. Rub the sandpaper gently in one direction for a flat finish. Check the surface often with a small level or a flat edge. If the wood is too thick in some spots, shave it carefully with a sharp chisel. Take your time to get a smooth, even surface.
Strengthening Weak Joints
Weak joints can make the bookshelf unstable. Apply wood glue at the joint before fastening. Clamp the pieces tightly and wait for the glue to dry. Add small nails or screws by hand if possible. Use corner braces or wooden blocks inside the joints for extra support. Tight joints help the bookshelf hold heavy books without wobbling.
Adjusting Shelf Levels
Uneven shelves spoil the look and make books fall. Use a measuring tape to check each shelf height. Loosen screws or nails slightly to adjust the shelf level. Place a small shim under the low side to lift it. Tighten the fasteners again after adjusting. Double-check the level with a bubble level or a straight edge. Proper shelf levels keep books safe and the shelf balanced.
Maintaining Your Bookshelf
Maintaining your bookshelf helps it last longer and look great. Simple care keeps the wood strong and clean. This section shares easy ways to care for your shelf. Follow these tips to enjoy your handmade bookshelf for years.
Regular Cleaning Tips
Dust your bookshelf often using a soft cloth. Avoid wet cloths that can damage the wood. Use a small brush to clean corners and tight spaces. Clean spills quickly to stop stains or damage. Keep books and items organized to prevent scratches.
Preventing Wear And Tear
Place your bookshelf away from direct sunlight. Sunlight can fade and dry the wood. Avoid putting heavy items on one shelf only. Spread the weight evenly to keep shelves strong. Use felt pads under objects to stop scratches. Check screws and joints regularly for tightness.
When To Refinish
Refinish your bookshelf if the wood looks dull or scratched. Sand the surface lightly with fine sandpaper first. Apply a fresh coat of wood finish or paint. Choose a finish that matches your original look. Refinishing brings new life to old wood. Do this every few years for best results.

Credit: www.amazon.com

Credit: www.youtube.com
Frequently Asked Questions
What Materials Do I Need To Make A Bookshelf Without Power Tools?
You need wood planks, nails or screws, wood glue, a hammer, a hand saw, and sandpaper. These basic materials help build a sturdy bookshelf manually. Choose quality wood for durability and ease of cutting by hand.
How Can I Cut Wood Without Power Tools Accurately?
Use a sharp hand saw with steady, even strokes for clean cuts. Mark measurements clearly with a pencil and square. Take your time and keep the saw straight to ensure precise wood pieces.
What Is The Best Way To Join Wood Without Power Tools?
Use wood glue combined with nails or screws for strong joints. Clamp pieces together while the glue dries. This method creates a durable bond without needing power tools.
How Do I Finish And Smooth A Bookshelf Made By Hand?
Sand all surfaces with fine-grit sandpaper until smooth. Wipe off dust, then apply paint, stain, or varnish as desired. This protects the wood and enhances the bookshelf’s appearance.
Conclusion
Building a bookshelf without power tools is simple and fun. You only need a few hand tools and some patience. Taking your time helps you create strong shelves. This project saves money and adds a personal touch to your space.
Everyone can try this, even beginners. Start small, follow steps carefully, and enjoy the process. Soon, you will have a useful and beautiful bookshelf made by your own hands. Why not give it a try today?