Are you tired of searching for the perfect bookshelf that fits your space and style? What if you could create one yourself, tailored exactly to your needs?
Building a bookshelf might seem tricky, but with the right steps, you can do it easily—even if you’ve never tried before. In this guide, you’ll learn how to make a bookshelf step by step, using simple tools and clear instructions.
By the end, you’ll have a beautiful, sturdy shelf that holds your favorite books and adds charm to your room. Ready to get started and see your vision come to life? Let’s dive in!
Choosing The Right Materials
Choosing the right materials is the first step to build a strong bookshelf. Good materials make your project last longer. They also make the shelf look better. Pick materials that suit your style and budget.
Types Of Wood
Solid wood is strong and lasts many years. Pine is soft and easy to cut. Oak and maple are hard and look nice. Plywood is cheaper and stable. It has layers glued together. Choose wood that fits your project needs.
Tools Needed
You need basic tools for this project. A saw cuts the wood pieces. A drill makes holes for screws. Sandpaper smooths rough edges. A measuring tape helps with sizes. A screwdriver tightens screws. These tools make building easier and safer.
Additional Supplies
Get screws to hold parts together. Wood glue adds extra strength. Paint or stain finishes the wood. Brushes help apply paint evenly. Wood filler fixes small holes or cracks. These supplies improve your bookshelf’s look and durability.

Credit: woodworkingacademy.com
Planning Your Bookshelf
Planning your bookshelf is the first step to a successful build. It sets the foundation for the whole project. Careful planning saves time and materials. It helps avoid mistakes and makes the process smoother.
Think about the space where the bookshelf will go. Consider the style you want. Create a simple drawing to guide your work. These steps make building easier and more fun.
Measuring Space
Start by measuring the wall or area where the bookshelf will stand. Use a tape measure for accuracy. Write down the height, width, and depth available. Check for obstacles like vents or outlets. Keep these measurements handy for the next steps.
Design Ideas
Decide what type of bookshelf fits your needs. Open shelves work well for books and decor. Closed cabinets hide clutter and dust. Think about shelf height for different book sizes. Consider adding extra features like drawers or lighting.
Sketching The Layout
Draw a simple sketch of your bookshelf design. Use your measurements to keep it precise. Mark where each shelf will go. Show spacing between shelves for tall or short books. This sketch will be your building guide.
Cutting The Wood
Cutting the wood is an important step in making a bookshelf. This step shapes the pieces that will hold your books. Precise cuts ensure the bookshelf fits together well and looks neat. Taking time here saves effort later.
Marking Measurements
Start by measuring the wood carefully. Use a tape measure for accuracy. Mark the cutting lines with a pencil. Double-check each measurement before cutting. Clear, straight lines guide the saw and prevent mistakes.
Safe Cutting Techniques
Wear safety glasses and gloves to protect yourself. Secure the wood with clamps to keep it steady. Use a saw that matches the wood size and type. Cut slowly along the lines for clean edges. Keep fingers away from the blade at all times.
Sanding Edges
After cutting, smooth the edges with sandpaper. Use medium-grit sandpaper first, then fine grit. Sand in the direction of the wood grain. This removes splinters and rough spots. Smooth edges make the bookshelf safer and look better.
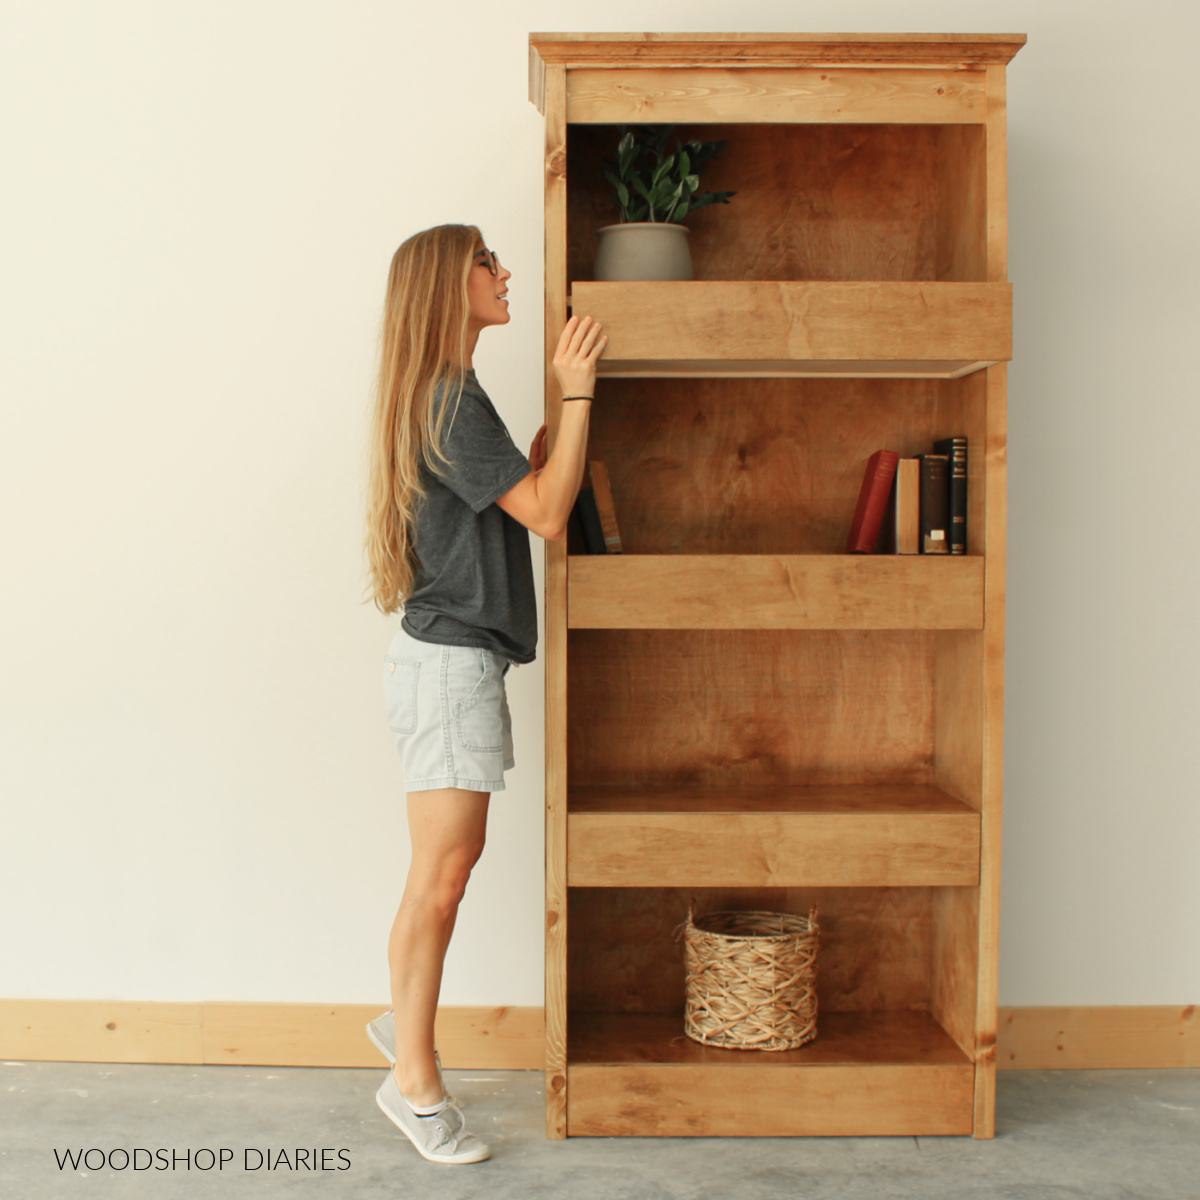
Credit: www.woodshopdiaries.com
Assembling The Frame
Assembling the frame is the key part of building your bookshelf. This step forms the basic shape and support. Take time to fit the pieces correctly. A strong frame means a sturdy bookshelf.
Follow clear steps to join, fasten, and check your frame. Keep your work area clean and organized. Use the right tools for best results.
Joining The Pieces
Start by lining up the side panels with the top and bottom boards. Use wood glue on the edges for extra hold. Press the parts firmly together. Hold them in place until stable. This creates a tight fit before adding screws or nails.
Using Screws And Nails
Choose screws for stronger joints. Nails can work but are less secure. Drill pilot holes first to avoid splitting the wood. Insert screws slowly and evenly. Keep the frame square while fastening. Use a hammer carefully if nails are needed.
Checking For Stability
Stand the frame up and press on different corners. Check for any wobbling or loose parts. Tighten screws or add more nails if needed. Use a level to ensure the frame is straight. A stable frame will support shelves and books safely.
Adding Shelves
Adding shelves is a key step in building your bookshelf. Shelves hold your books and decor. Proper spacing and support keep them strong and stable. You can choose fixed or adjustable shelves. Each choice changes how your bookshelf looks and works. Follow clear steps to add shelves that fit your needs.
Spacing Shelves Evenly
Measure the height of your bookshelf frame. Decide how many shelves you want. Divide the space by the number of shelves plus one. Mark the spots inside the frame for each shelf. Use a level to make sure marks are even. Proper spacing helps your books fit well and look tidy.
Securing Shelf Supports
Choose shelf supports like brackets or pins. Attach supports firmly at each mark. Use screws or nails that fit your shelf material. Check the supports with a level to keep shelves straight. Secure supports tightly to hold weight. Strong supports prevent shelves from sagging or falling.
Adjustable Vs Fixed Shelves
Fixed shelves are glued or screwed in place. They add strength but stay in one position. Adjustable shelves rest on pins or pegs. You can move them to different heights. Adjustable shelves offer flexibility for different book sizes. Fixed shelves provide more stability for heavy items.
Finishing Touches
Finishing touches give your bookshelf a polished, professional look. They protect the wood and enhance its beauty. These final steps make your project last longer and fit your style perfectly.
Painting Or Staining
Choose paint for a bright, colorful finish. Stain shows the natural wood grain. Use a brush or cloth to apply evenly. Let each coat dry fully before adding the next. Light sanding between coats creates a smooth surface.
Sealing The Wood
Sealing protects the wood from water and damage. Clear sealants keep the natural look. Use polyurethane or varnish for strong protection. Apply thin coats with a brush, letting each dry well. Seal both inside and outside surfaces for best results.
Adding Decorative Elements
Decorative touches make your bookshelf unique. Add trim, decals, or stencils for style. Use knobs or handles on shelves for a creative touch. Choose elements that match your room’s decor. Keep decorations simple to avoid clutter.
Safety Tips And Maintenance
Building a bookshelf is fun and rewarding. Safety and maintenance keep your project strong and long-lasting. Following safety tips protects you during work. Proper maintenance keeps your shelf looking good and sturdy.
Safe Handling Of Tools
Always wear safety glasses and gloves. Keep your work area clean and bright. Use tools as the instructions say. Hold tools firmly and cut away from your body. Store tools safely after use to avoid accidents.
Regular Cleaning
Dust your bookshelf often to keep it neat. Use a soft cloth to wipe surfaces gently. Avoid harsh chemicals that can damage the wood. Clean spills quickly to prevent stains. Regular cleaning helps your shelf last longer.
Repairing Minor Damages
Check your bookshelf for small cracks or loose screws. Tighten screws with the correct screwdriver. Fill small cracks with wood filler and sand smooth. Fixing minor issues early stops bigger damage. Keep your shelf safe and strong this way.
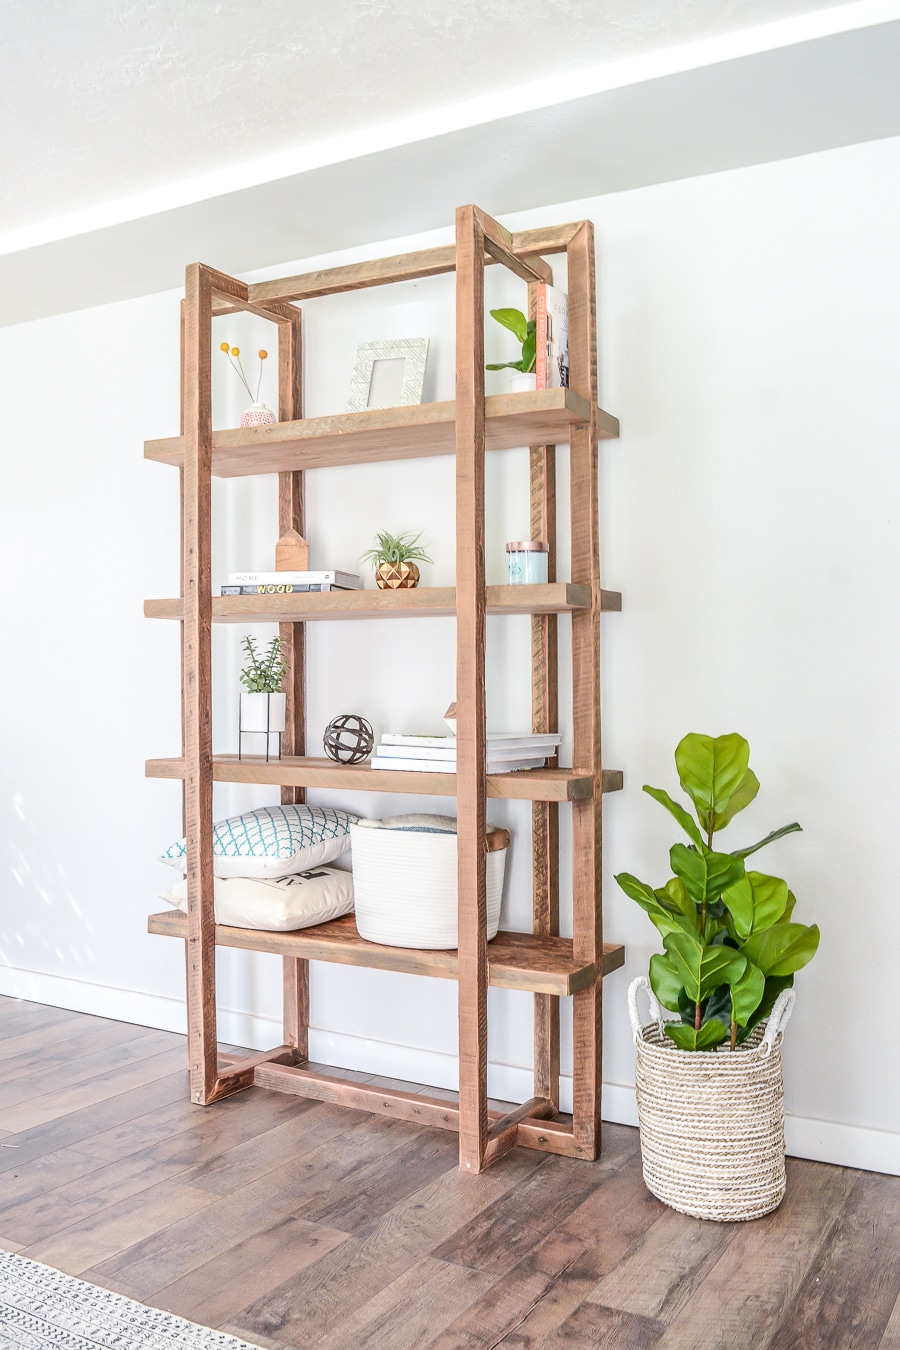
Credit: jenwoodhouse.com
Frequently Asked Questions
What Materials Do I Need To Build A Bookshelf?
You need wood planks, screws, nails, wood glue, sandpaper, paint or stain, and basic tools like a saw and drill. These materials ensure a sturdy and attractive bookshelf.
How Long Does It Take To Make A Bookshelf?
Building a bookshelf typically takes 3 to 6 hours, depending on design complexity and your experience. Proper planning speeds up the process.
Can I Customize The Size Of My Bookshelf?
Yes, you can customize the bookshelf size to fit your space. Measure carefully and adjust wood dimensions before cutting.
What Type Of Wood Is Best For Bookshelves?
Pine, oak, and plywood are popular choices. Pine is affordable, oak is durable, and plywood offers a smooth finish.
Conclusion
Building a bookshelf can be simple and fun. Follow each step carefully for best results. Use the right tools and materials for safety. Take your time and measure twice before cutting. Enjoy the process of creating something useful. A handmade bookshelf adds charm to any room.
Share your work with friends or family. Keep practicing to improve your skills. Small projects like this build confidence. Start your woodworking journey with this easy guide.