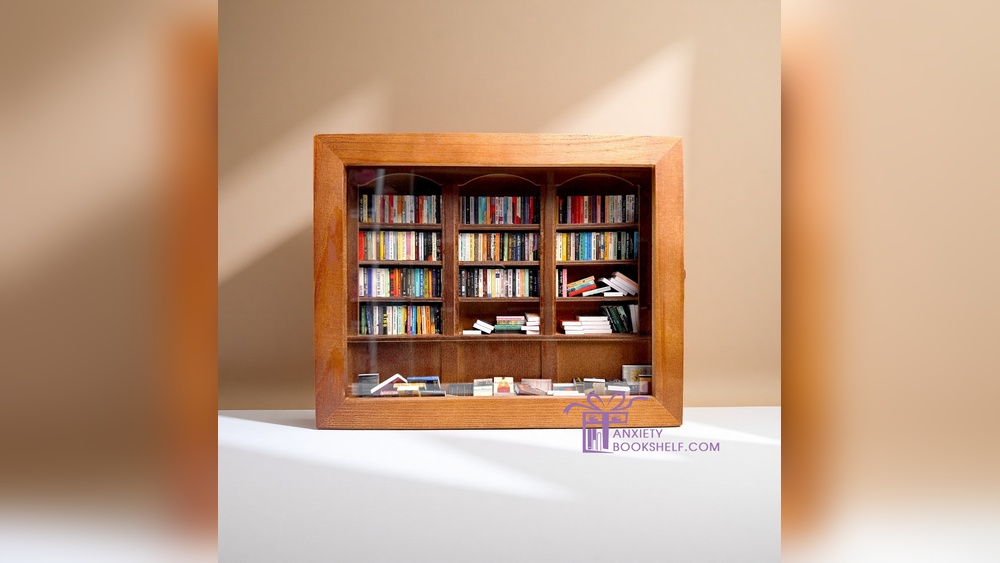
Are you looking for a simple, stylish way to organize your books and add charm to your space? Making a wooden crate bookshelf might be just what you need.
It’s a project you can easily do yourself, even if you’re not an expert. Imagine turning plain wooden crates into a custom shelf that fits perfectly in your room and shows off your favorite reads. In this guide, you’ll discover step-by-step how to build your own wooden crate bookshelf with tools and materials you probably already have.
Ready to create something functional and beautiful? Let’s get started!
Materials Needed
Before starting your wooden crate bookshelf project, gather all the materials. Having the right supplies makes the process smooth and fast. This section lists everything you need for a sturdy and beautiful bookshelf.
Types Of Wood Crates
Choose wood crates that fit your style and space. Pine crates are light and easy to work with. Oak crates are strong and last longer. You can also find reclaimed wood crates for a rustic look. Make sure the crates are clean and free of cracks.
Additional Supplies
Besides wood crates, you need a few more tools and materials. Sandpaper smooths rough edges. Wood glue helps hold parts together. Screws and a screwdriver add extra strength. Paint or stain gives your shelf a nice finish. A drill makes assembly faster and easier. Measuring tape ensures accuracy in your project.
Tools Required
Building a wooden crate bookshelf requires a few basic tools. These tools help you cut, join, and finish the wood. Having the right tools makes the project easier and safer. Below are the main types of tools you will need.
Cutting Tools
Cutting tools shape the wood into pieces for your bookshelf. A handsaw or circular saw works well for straight cuts. A jigsaw is useful for curves or detailed cuts. Sandpaper or a sanding block smooths rough edges after cutting.
Assembly Tools
Assembly tools help put the pieces together. A drill with screwdriver bits is perfect for screws. Wood glue strengthens joints and keeps the shelf sturdy. Clamps hold parts tight while glue dries.
Finishing Tools
Finishing tools give your bookshelf a polished look. Paintbrushes or foam brushes apply paint or stain evenly. A clean cloth helps wipe off extra stain or dust. Protective gloves keep your hands clean during finishing.
Preparing The Crates
Preparing the crates is the first step in making your wooden crate bookshelf. Proper preparation ensures your shelf looks great and lasts long. It also makes the building process easier and safer.
Focus on cleaning and sanding the crates first. Then, customize their size to fit your space perfectly. These steps help create a sturdy and beautiful bookshelf.
Cleaning And Sanding
Start by removing dust, dirt, and any old paint from the crates. Use a brush or a cloth for cleaning. This helps the wood look fresh and ready for work.
Next, sand the crates to smooth rough spots and edges. Sanding prevents splinters and gives the wood a nice finish. Use medium-grit sandpaper, then finish with fine-grit for softness.
Clean off sanding dust with a dry cloth. This step prepares the wood for painting or staining later.
Customizing Size
Measure the space where you want to place the bookshelf. Decide how many crates you need and their arrangement. This helps plan the shelf size well.
Cut the crates if needed to fit your design. Use a saw carefully, following safety rules. Customized sizes make your bookshelf unique and practical.
Check each crate fits well with others. Adjust as needed before starting to join them together.
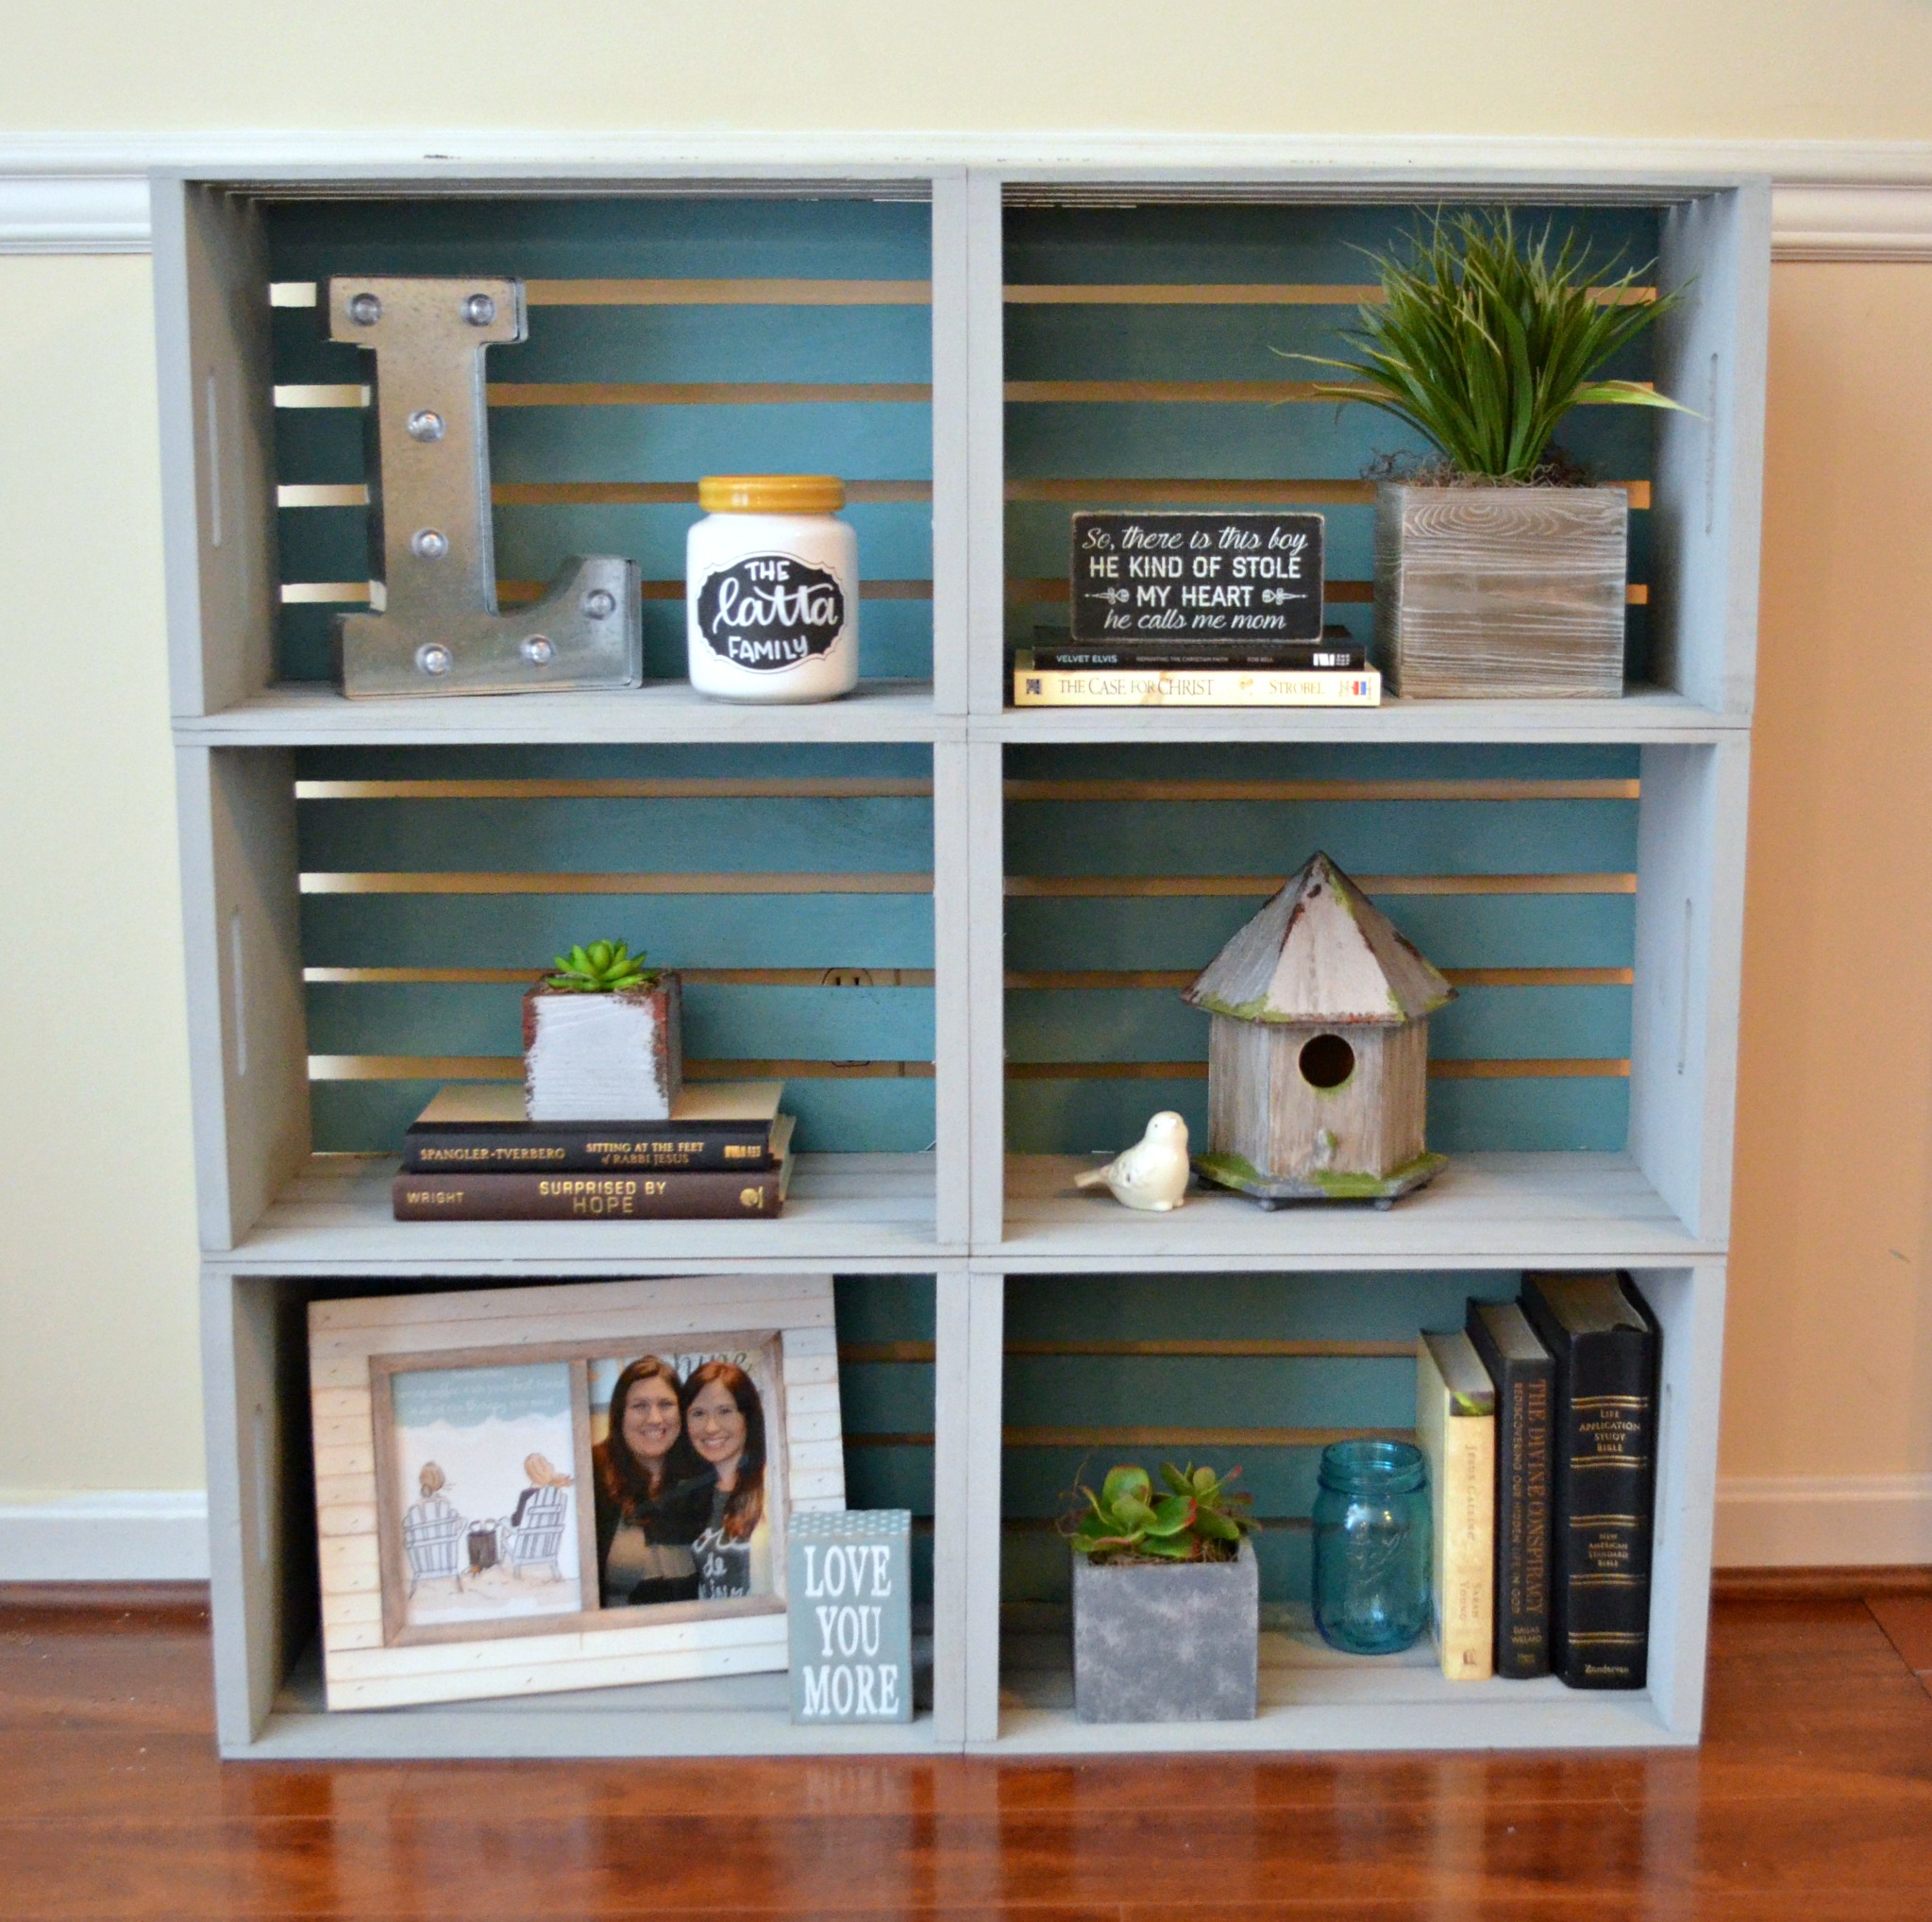
Credit: www.amylattacreations.com
Designing Your Bookshelf
Designing your wooden crate bookshelf is the first step to a useful and stylish piece. A good design helps you fit the shelf in your space and hold your books well. It also makes the project easier and more fun.
Think about your needs and the room where the shelf will go. The design should match your style and the items you want to store. Keep it simple and practical for the best results.
Layout Options
Choose how to arrange your crates. You can stack them in a grid for a classic look. Or try a staggered pattern for a modern style. Horizontal or vertical stacks change the shelf’s shape and use of space.
Consider crate sizes. Mix different sizes to hold big and small books. Leave some space for decorations or plants. Plan the layout on paper before building to avoid mistakes.
Stability Considerations
Make sure your bookshelf is strong and safe. Use screws or brackets to join crates tightly. Avoid stacking too high without support. Secure the shelf to the wall if it feels wobbly.
Check the weight of your books and items. Heavy objects need a sturdier design. Use wood glue for extra hold. A stable shelf lasts longer and protects your books well.
Assembling The Bookshelf
Assembling the wooden crate bookshelf is a simple and rewarding step. This part brings your project to life. You will see the shape and structure taking form. Follow clear steps to stack and secure the crates properly. Add support to keep the shelf stable and safe for books.
Stacking And Securing
Start by placing the crates in your chosen arrangement. Align edges carefully for a neat look. Use screws or nails to join the crates together. Drill pilot holes first to avoid wood splitting. Secure each crate firmly to prevent wobbling. Check that all crates are level and even.
Adding Support
Add braces or corner brackets inside the shelf for extra strength. Attach supports to the back and sides of the crates. This prevents the shelf from tipping forward. Use wood glue along with screws for a stronger bond. Let the glue dry fully before placing books on the shelf. Proper support keeps your bookshelf durable and safe.
Finishing Touches
Finishing touches give your wooden crate bookshelf a polished, complete look. These steps protect the wood and enhance its natural beauty. Proper finishing also makes your bookshelf last longer and look great every day.
Focus on painting or staining first. Then apply a protective coating. Both steps improve the shelf’s durability and style. Take your time and follow each step carefully for the best result.
Painting And Staining
Choose paint or stain based on your style. Paint adds color and hides wood grain. Stain shows the natural wood patterns and tones. Use a brush or cloth to apply evenly.
Apply thin coats for smooth coverage. Let each coat dry before the next. Sand lightly between coats if needed. This keeps the surface even and clean.
Test colors on a scrap piece first. This avoids surprises and ensures you like the shade. Bright colors bring energy. Dark stains add a classic, warm feel.
Protective Coating
Protective coating seals the wood from damage. It guards against scratches, moisture, and dirt. Use clear polyurethane, varnish, or wax.
Apply in thin, even layers. Let each layer dry fully. Sand gently between coats for smoothness. This helps the finish last longer and look polished.
Choose satin or matte finishes for a natural look. Glossy finishes add shine but show scratches more. Protective coating keeps your bookshelf looking new for years.
Maintenance Tips
Keeping your wooden crate bookshelf in good shape is important. Regular care helps it look nice and last longer. Simple steps can protect the wood and maintain its natural beauty.
Cleaning Advice
Dust your bookshelf often with a soft cloth. Avoid wet or rough materials that can scratch the wood. Use a dry or slightly damp cloth to wipe the surface gently. For sticky spots, a mild soap solution works well. Always dry the wood completely after cleaning.
Preventing Damage
Keep the bookshelf away from direct sunlight to avoid fading. Avoid placing it near heaters or damp areas to prevent warping or cracking. Use coasters or mats under heavy items to protect the wood. Handle the bookshelf with care to stop dents and scratches.

Credit: smokymountainfarmhouse.com
Creative Variations
Creative variations help turn a simple wooden crate bookshelf into a unique piece. They add style and function. These ideas make your bookshelf stand out and fit your space better.
Adding Wheels
Adding wheels makes the bookshelf easy to move. Choose strong caster wheels that support weight well. Attach them to the bottom corners of the crates. Wheels let you clean or rearrange the room quickly. Locking wheels keep the shelf steady when needed.
Incorporating Decorative Elements
Decorative elements bring personality to the bookshelf. Paint the crates in bright or soft colors. Use stencils or patterns for a custom look. Add handles or metal corners for a vintage feel. You can also line the inside with wallpaper or fabric. These small touches make the shelf unique and eye-catching.

Credit: smokymountainfarmhouse.com
Frequently Asked Questions
What Materials Are Needed For A Wooden Crate Bookshelf?
You need wooden crates, screws, sandpaper, wood glue, paint or stain, and a drill. These materials ensure sturdy and attractive shelves.
How Do You Assemble Wooden Crates Into A Bookshelf?
Stack crates in your desired arrangement. Secure them with screws and wood glue for stability. Sand edges for a smooth finish.
Can I Customize The Size Of The Wooden Crate Bookshelf?
Yes, you can adjust crate numbers and layout. Choose crate sizes based on your space and storage needs.
How Do I Finish The Wooden Crate Bookshelf?
Sand all surfaces thoroughly. Apply paint, stain, or sealant to protect wood and enhance appearance.
Conclusion
Building a wooden crate bookshelf is simple and fun. You only need basic tools and some wooden crates. This project saves money and adds charm to any room. You can paint or stain the wood to match your style. The shelf holds books, plants, or decorations easily.
Try making one to enjoy a unique and useful piece. Keep learning and improving your woodworking skills with each project. Crafting your own furniture brings pride and joy. Give it a try today!